Pages: 1 2 3 4 5 6 7 8 9 427 replies
|
E

ErichTroudt
Posted
posted
on
Mon, May 11, 2015 4:05 PM
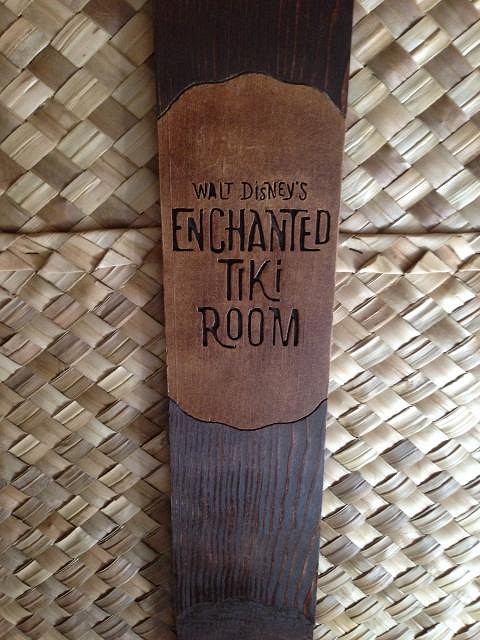
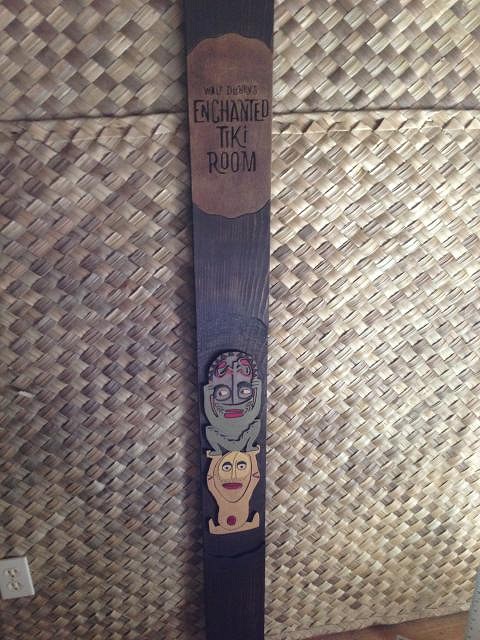
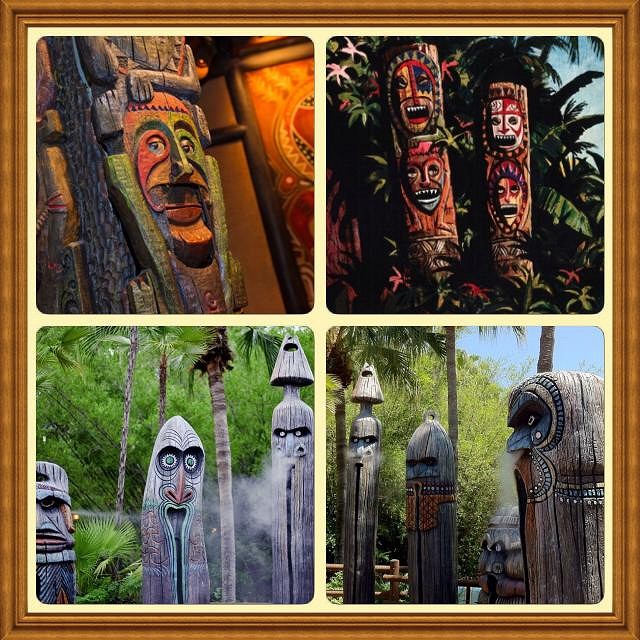
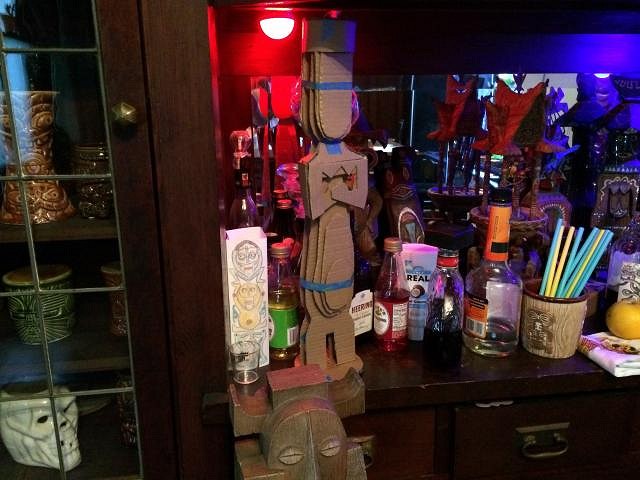
Well, I hope Router wood is cool, because that's my plan too. Here's a few disney pieces I've done in the past for my hut
I love the topic...but honestly I don't want to get started until TU confirms its on and he's playing ringmaster to this circus. |
|
H

hang10tiki
Posted
posted
on
Mon, May 11, 2015 6:18 PM
Awesome guys......can't wait to see the chips fly |
|
L

LoriLovesTiki
Posted
posted
on
Mon, May 11, 2015 6:20 PM
I'd love some trim or other router work! I've tried to do it, it's HARD! |
|
JB

Joshua Bell
Posted
posted
on
Mon, May 11, 2015 9:15 PM
Oh, this would be one for me to participate in. Unfortunately we've been crazy busy house shopping and (assuming that is successful) will then be crazy busy packing. Maybe I can pull off another tiki god between boxing stuff up... |
|
M

MadDogMike
Posted
posted
on
Wed, May 13, 2015 7:59 AM
Love the router work Erich!
I like those bottom guys as mugs :wink: Do they have names? |
|
D

danlovestikis
Posted
posted
on
Wed, May 13, 2015 8:52 AM
Most I ever did was an edge of a board and that was hard. Wow. Thank you hang10tiki for more inspiration. This is gonna be fun! |
|
M
MadDogMike
Posted
posted
on
Wed, May 13, 2015 8:48 PM
|
|
B

bitterfishies
Posted
posted
on
Thu, May 14, 2015 11:54 AM
I'd love to join in too! Though I'm more of a textiles person (sewing, embroidery, fabric prints, ect), is that ok? |
|
D
danlovestikis
Posted
posted
on
Thu, May 14, 2015 2:12 PM
bitterfihies please join in the fun. Last time Sewtiki did a wonderful quilt picture of Tiki Bob that I still think about. Your skills will be appreciated here. Eric October is a fabulous artist and he used to make tiki pillows that sold out at Tiki Oasis. Check out his Gallery Thread for photos of those. We look forward to getting to know you, Wendy |
|
M
MadDogMike
Posted
posted
on
Thu, May 14, 2015 8:16 PM
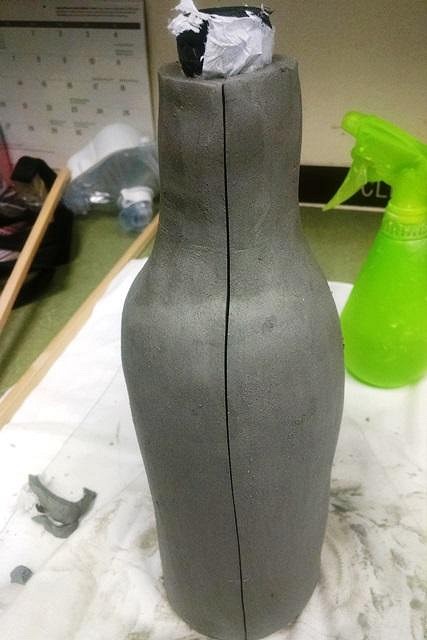
Workin' a night shift tonite and not too busy, let's see what I can get done.
|
|
M
MadDogMike
Posted
posted
on
Thu, May 14, 2015 10:06 PM
Wrap it in a little mud. Now to let it dry some, but not too much |
|
M
MadDogMike
Posted
posted
on
Thu, May 14, 2015 10:46 PM
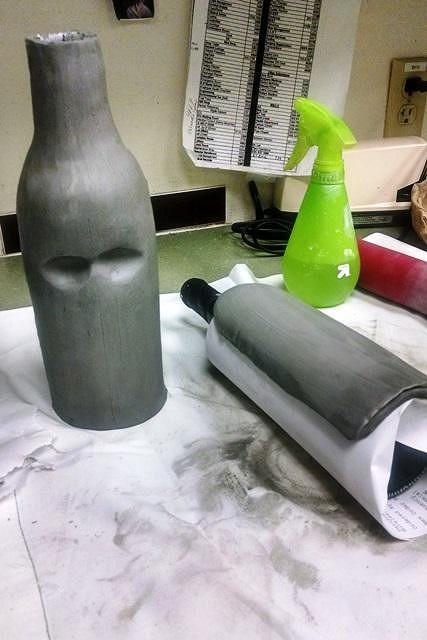
As the clay starts to dry and shrink, it will spread at the slit instead of cracking |
|
M
MadDogMike
Posted
posted
on
Fri, May 15, 2015 12:42 AM
(continued from previous page) [ Edited by: MadDogMike 2015-05-15 00:43 ] |
|
M
MadDogMike
Posted
posted
on
Fri, May 15, 2015 3:41 AM
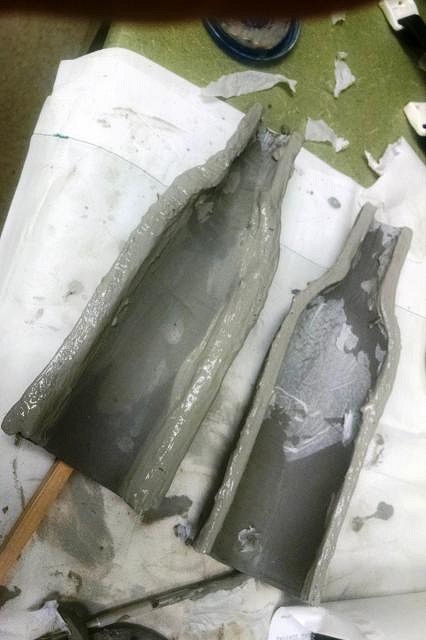
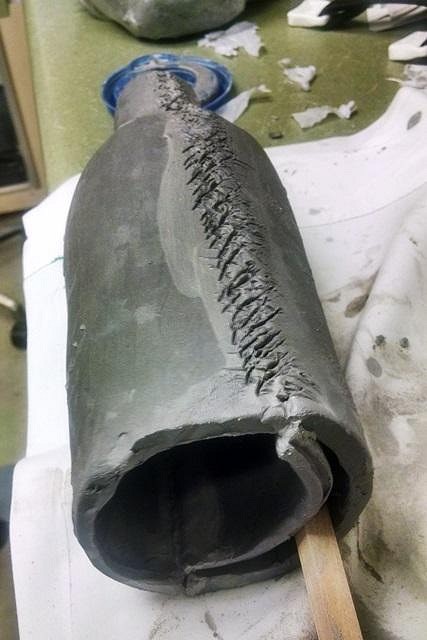
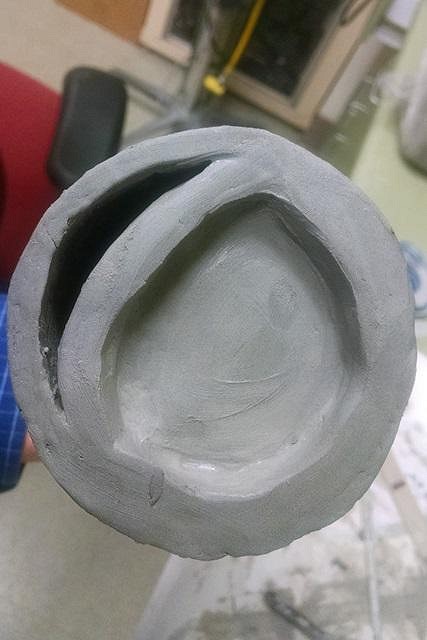
Score and slip the extra curved slab and the front of the clay bottle, join the 2 parts Score and slip the front and back halves of the bottle and join them together, note the "pocket" in the front behind the wall of the bottle. Shape the bottle back to round, scrape it smooth again as it starts to dry. Add a recessed bottom to the bottle. |
|
H
hang10tiki
Posted
posted
on
Fri, May 15, 2015 6:45 AM
MadDog- u da man |
|
M
MadDogMike
Posted
posted
on
Fri, May 15, 2015 8:17 PM
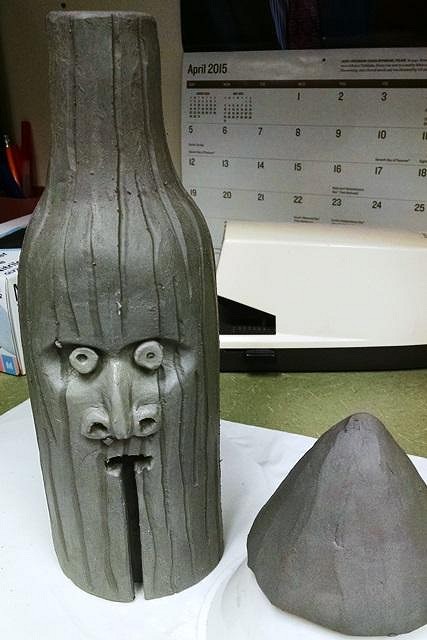
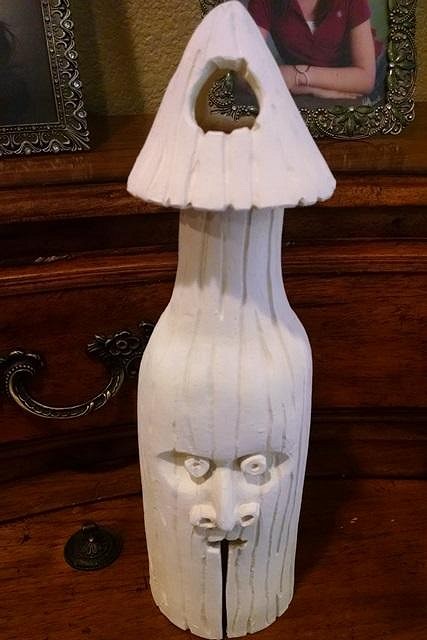
Hopefully only half a night shift tonite (6 hrs). But I will be busy doing more actual work tonite so not as much time playing in the mud :lol: Working on the face, the conehead, and the texturing. It looks EXACTLY like the model (as long as you don't look at them side-by-side :wink: ) |
|
M

MaukaHale
Posted
posted
on
Fri, May 15, 2015 10:08 PM
That is so cool! |
|
M
MadDogMike
Posted
posted
on
Fri, May 15, 2015 10:57 PM
Thank you Mauka, just tryin' to stay awake on not enuf sleep :lol:
|
|
M
MadDogMike
Posted
posted
on
Sat, May 16, 2015 10:54 AM
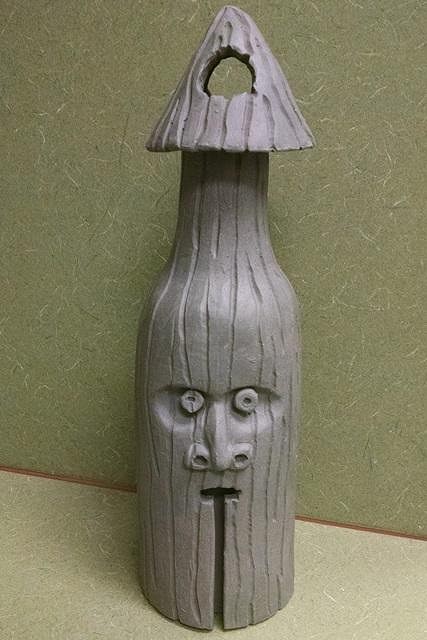
I read somewhere about the 6 stages of the creative process :lol: :wink: :P :lol: I'm up to stage 5, will probably drop back to stage 2 when I go to fire it and back to stage 2 again when I go to glaze :wink:
|
|
R

RVICTOR
Posted
posted
on
Sat, May 16, 2015 8:12 PM
Mike-great job so far...your quick out of the blocks. Maybe you will help get me motivated to start. |
|
WC

Will carve
Posted
posted
on
Sun, May 17, 2015 5:12 AM
I can't wait to hear what it sounds like. |
|
H
hang10tiki
Posted
posted
on
Sun, May 17, 2015 8:06 AM
Dang Mad Mad |
|
T

tigertail777
Posted
posted
on
Sun, May 17, 2015 9:58 AM
Okay with this theme you may have dragged me into this. I have a lot of client work right now, but I am going to do my damnedest to make something for this. Enchanted Tiki Room is what actually got me into tiki stuff so it holds a special place for me. :) |
|
T

TikiAno
Posted
posted
on
Mon, May 18, 2015 9:20 AM
Mike, as always, your work is 2x awesome. Looks great- glad to see you're getting some... work done.. at work. :wink: :wink: |
|
M
MadDogMike
Posted
posted
on
Mon, May 18, 2015 10:23 AM
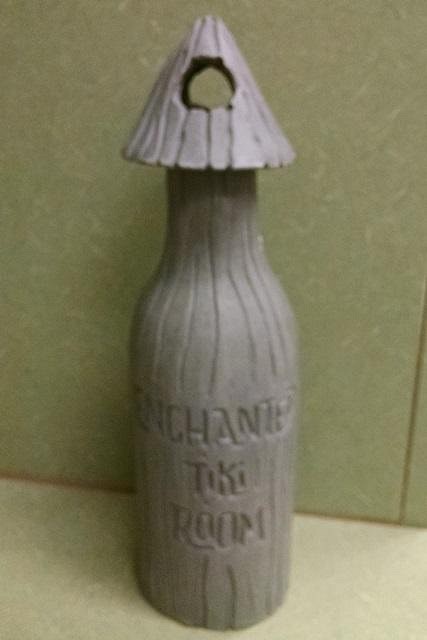
Thanks guys. Now to let it dry for the next week or so and see if it survives the kiln.
I'm a little confused here Will :-? Were you thinking it's a slit drum? I did try blowing across the top of the clay bottle but didn't get much sound :lol: |
|
WC
Will carve
Posted
posted
on
Tue, May 19, 2015 4:11 AM
It's not? |
|
M
MadDogMike
Posted
posted
on
Tue, May 19, 2015 9:33 AM
LOL |
|
T
TikiAno
Posted
posted
on
Tue, May 19, 2015 10:16 AM
The phallic undertones... or perhaps overtones of this one, Mike, are, well.... um... not Disney-like. For this reason, I approve. :wink: :wink: Great build out- and fast, too- impressed, as always. I apologize if I've offended anyone with above comment. Though I know you were thinking the same. Okay, maybe just a few of you.... Okay, bye. |
|
JB
Joshua Bell
Posted
posted
on
Tue, May 19, 2015 7:14 PM
Not that I'm committing yet or anything...
|
|
C

cy
Posted
posted
on
Wed, May 20, 2015 11:01 AM
Fantastic MadDog!! |
|
L
LoriLovesTiki
Posted
posted
on
Thu, May 21, 2015 6:54 PM
Mike, You amaze me! Seriously! |
|
H
hang10tiki
Posted
posted
on
Thu, May 21, 2015 7:57 PM
JB- good start |
|
M
MadDogMike
Posted
posted
on
Thu, May 21, 2015 10:22 PM
Very cool Josh! Nice thing is, there's no commitment until the very end (for those of you guys out there with commitment issues :wink: ) |
|
R
RVICTOR
Posted
posted
on
Fri, May 22, 2015 3:16 PM
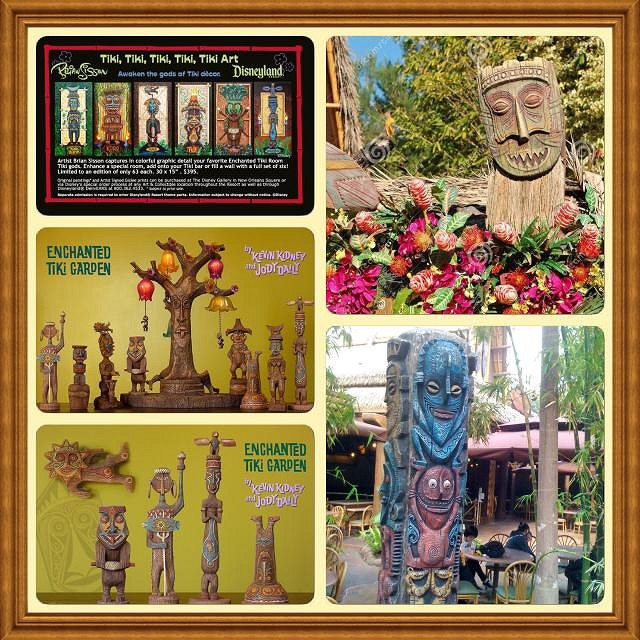
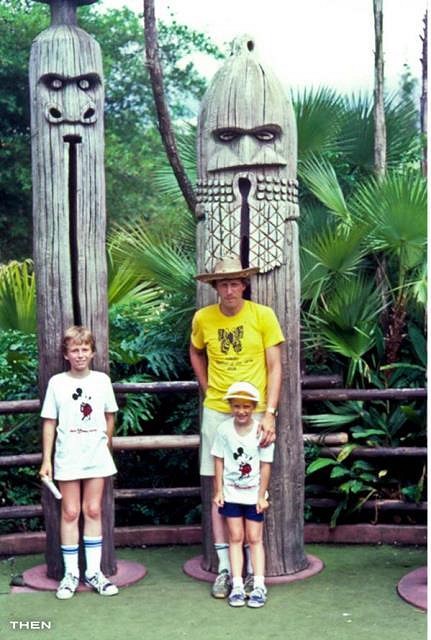
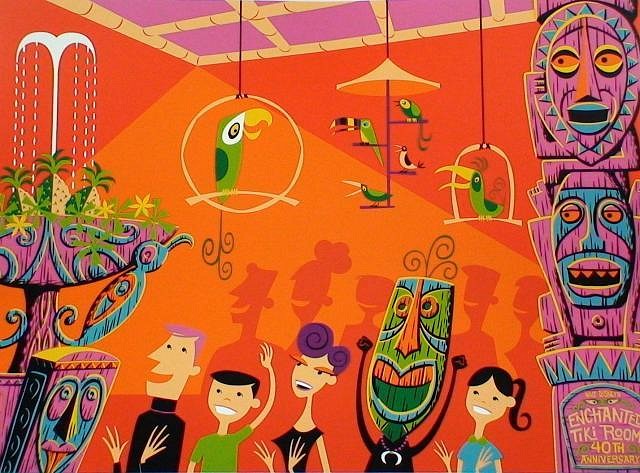
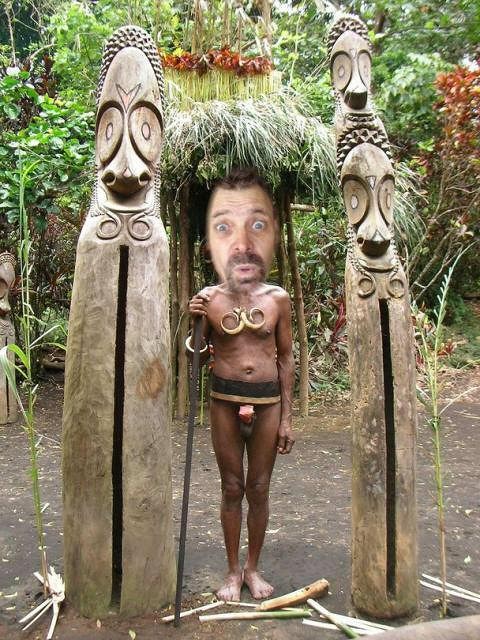
Hey everyone...I have to get started early or I'll never finish on time. Based on the images I looked at this one stuck with me.
It looks like a family at Disneyland visiting the ETR. They all look mildly excited and a little bewildered (typical human response to animatronics)...except....except for this guy in the mask...plainly this dude is stoked. Is he leading the show or part of the audience, it's just not clear. It looks like another case of "one of these things is not like the other" from Sesame Street. But does it go deeper than that? The guy in the mask is a little unsettling, he is obviously the focal point of the picture. Is this the Shag persona in the composition? He has the same wisp on his head as is used for the birds tail. His teeth and eyes are orange just like the bottom figure on the totem to the right which appears to be looking at him. The bone around his neck is similar in shape, and the same color as, the fountain. Is there some sort of Knights-Templar hidden code to Shag's work or am I clearly bat-shit crazy like a blind man stuck in a cave eating guano just to survive. I am bound to exploring this further... |
|
JB
Joshua Bell
Posted
posted
on
Fri, May 22, 2015 6:06 PM
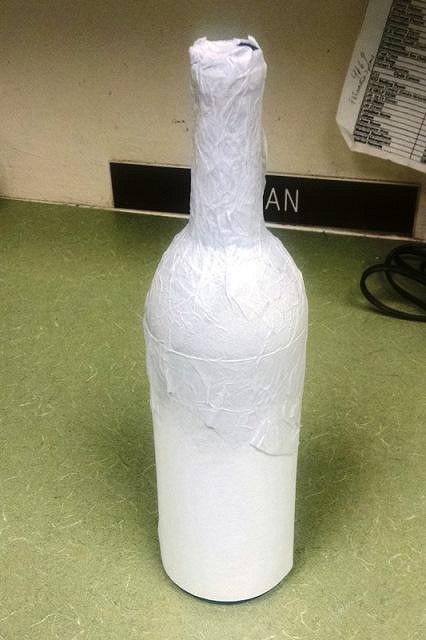
First coat of papier-mâché:
Needs sanding, then a build-up of eyes, nose, ears, and an expanded/weighted base before a second coat of paper. I supposed I need to make a bird at some point too. |
|
M
MadDogMike
Posted
posted
on
Sun, May 24, 2015 9:05 AM
Great progress Joshua! Over the next few weeks I need to build a Mt Everest stage set for the church kids program, write and perform 10 short skits, and film a climbing Everest video. May not be any ETR progress for a bit :( :lol: EDIT - oh yeah, a first wedding anniversary to celebrate and a Harry Potter themed graduation party for 60 people LOL [ Edited by: maddogmike 2015-05-24 13:54 ] |
|
H
hang10tiki
Posted
posted
on
Mon, May 25, 2015 9:40 AM
Lookin good guys |
|
JB
Joshua Bell
Posted
posted
on
Mon, May 25, 2015 10:45 AM
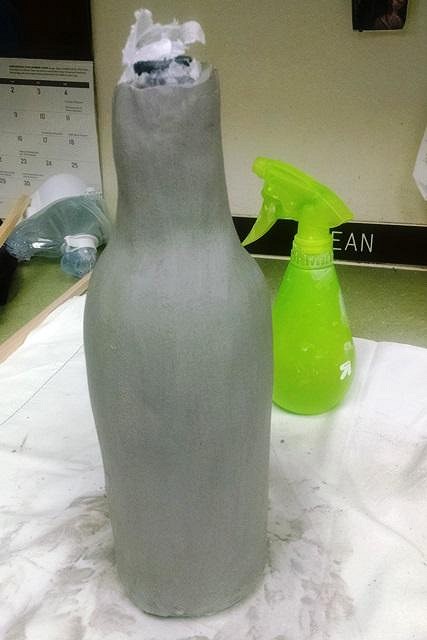
Nice MadDogMike! I can almost feel the cooling mist! (Or maybe that's the seasonal fog that has settled over the city...) Drying after adding details:
Still needs more sanding and paper touch-ups. And a bird. Definitely worth at least $1. Because the base is weighted down with 100 pennies! |
|
C
cy
Posted
posted
on
Mon, May 25, 2015 4:20 PM
What a great start, so happy you are also in this swap Joshua Bell! |
|
M
MaukaHale
Posted
posted
on
Tue, May 26, 2015 8:20 PM
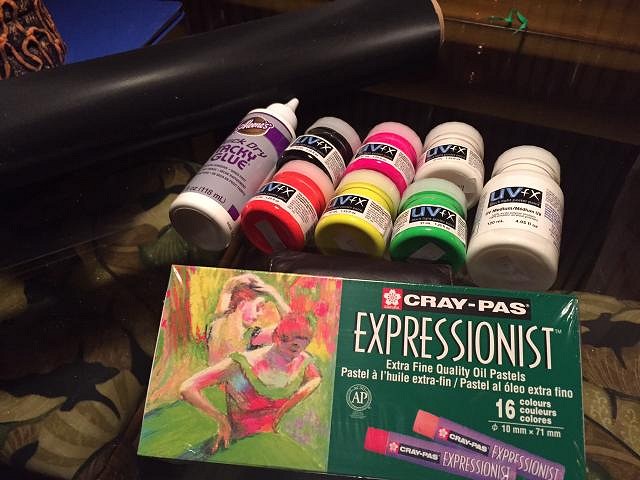
My art supplies arrived in the mail.
I'm going to attempt a black light painting, with UV paint on black velvet. Something I have never done before. Why, I don't know except I thought the painting Wendy did last time would have made a great black light painting. |
|
M
MadDogMike
Posted
posted
on
Tue, May 26, 2015 9:37 PM
Looking good Josh! Funny how pennies are the most economical heights you can buy. They also make great washers LOL! |
|
D
danlovestikis
Posted
posted
on
Wed, May 27, 2015 6:24 AM
All the projects look so cool. MadDogMike I love this tiki design and what you have made. I choose it too for my project. I hope that's alright. I just like it so much. I'll get started on mine right away. I'll not do the top you chose so that they'll be different. Wendy |
|
M
MaukaHale
Posted
posted
on
Wed, May 27, 2015 7:10 AM
Wendy, Those guys at Disney World are Tam-Tam drums from the island of Vanuatu. Here is Chief Bong standing next to two original drums.
http://ngm.nationalgeographic.com/ngm/photo-contest/2011/entries/72727/view/ |
|
M
MadDogMike
Posted
posted
on
Wed, May 27, 2015 2:17 PM
Dammit, Will was right, it was a drum. I hate it when that happens :lol: Thanks for the info MaukaHale Wendy, the more the merrier :wink: Can't wait to see what you do with it. |
|
H
hang10tiki
Posted
posted
on
Wed, May 27, 2015 9:44 PM
Mike,
|
|
WC
Will carve
Posted
posted
on
Thu, May 28, 2015 4:50 AM
Ah yes, |
|
C
cy
Posted
posted
on
Thu, May 28, 2015 7:59 AM
You got that right H10, I had to show that elder gentleman who the REAL Chief Bong is. |
|
R
RVICTOR
Posted
posted
on
Thu, May 28, 2015 10:18 AM
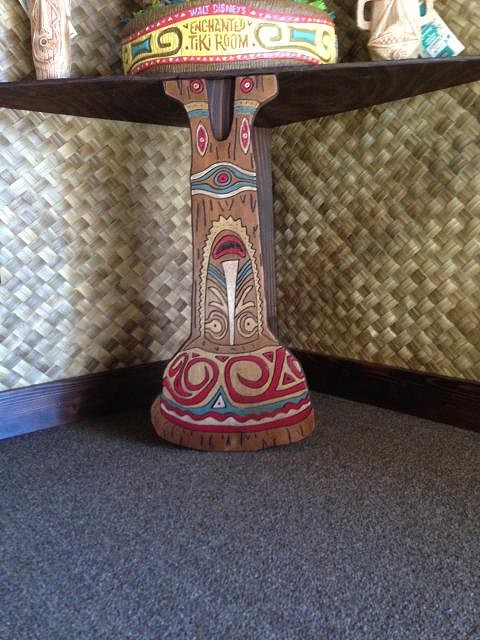
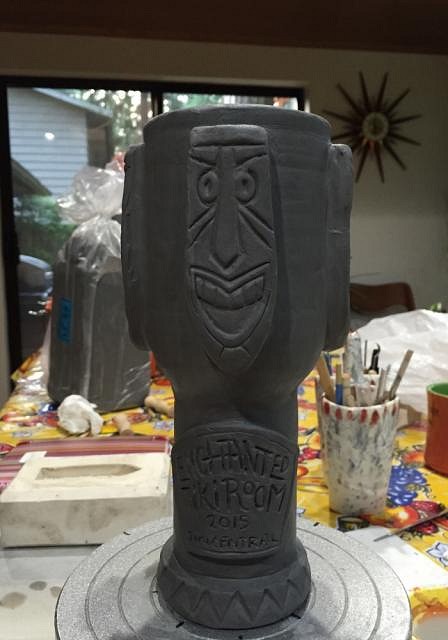
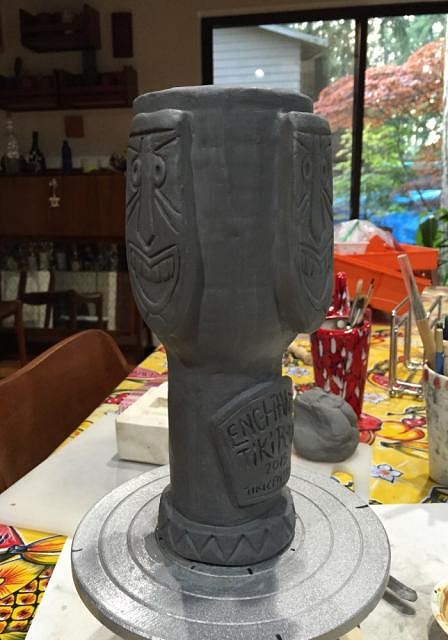
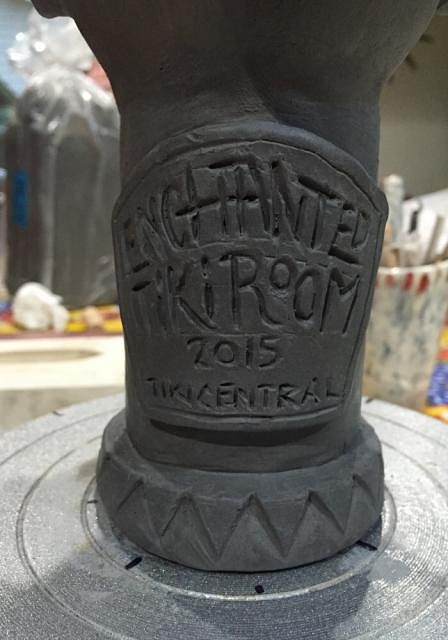
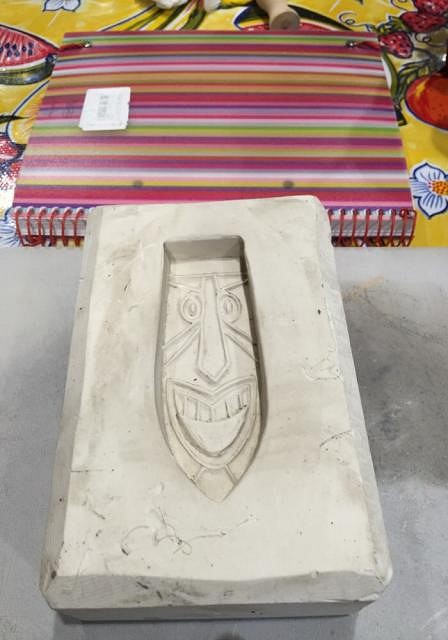
What a good start. Great job MadDog and Josh. Your posts did serve as motivation. After looking at the photo I chose...And after looking at all the Disney mugs out there...I decided to stick with ceramics as a medium so that I could try making a chalice. Because what is more enchanting that drinking from a chalice? So, working with the photo I posted earlier, here is the progress as of this morning.
I used a piece of plastic tubing to form the cylindrical base and attached a slip cast tumbler to the top. The trim base and the sign/nameplate are built slabs. I had already carved the tiki face and decided to made a mold so that the masks all looked the same.
Going to let it get to leather hard now and start carving designs on it to tie in other elements of the photo. I need to get this one done as it takes me a long time to finish these out. |