Tiki Central / Other Crafts / Menu Boards
Post #316527 by Numastar on Tue, Jul 3, 2007 11:45 AM
|
N
Numastar
Posted
posted
on
Tue, Jul 3, 2007 11:45 AM
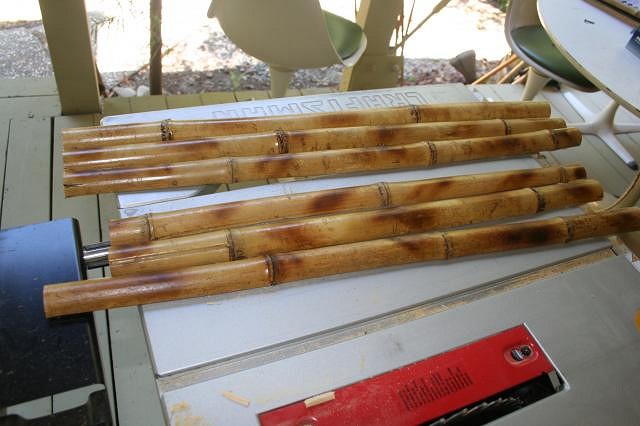
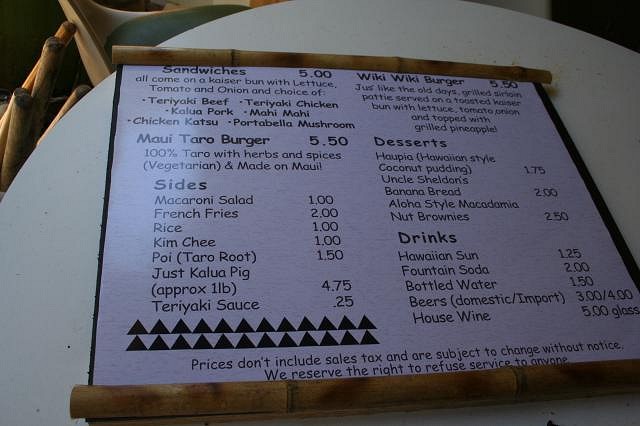
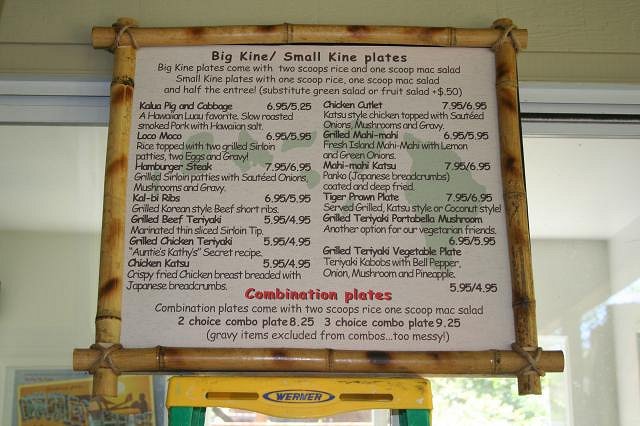
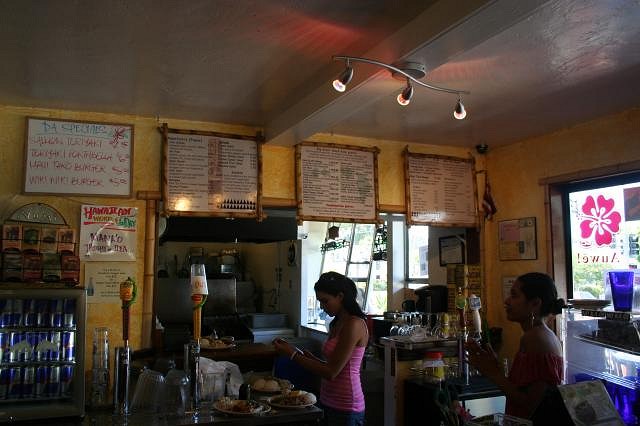
Aloha all, First I cut my foam boards down to 20" by 24", and then I used 3M photo adhesive to apply the photo paper to the foam. I sprayed the adhesive on both surfaces to achieve a nice bond. As my board dried, I split my bamboo on the table saw, wearing a dust mask, gloves and ear protection. To protect my eyes I wore sunglasses, 'cause it was sunny. Once the bamboo was split I cut it into 25" and 22" sections, then I hit them with a blowtorch to give them that real aged look. (be careful not to over do it and start a fire). Once my wood was ready, I laid it out on the board and marked where the bamboo criss crossed. Setting my table saw blade to 1/4" I cut grooves into the bamboo (on opposite sides) to get a flush mount. I then drilled holes for screws to go through the bamboo, foam and into some 3/4" scrap wood behind the foam. Using a simple knot with the jute, I made the bamboo look lashed together by tying the jute like a bow on a package and hiding the knot behind the wood. The jute then covered up the screw to make it look very natural. Here is the first one I finished: And here is the final product in place on the wall, now I just need to do the Dry erase specials board seen to the left: This project was super simple and cheap too. Materials were: Thanks TCers for the inspiration and as I mentioned in another post we are "Tikifing" the joint a bit more and would love any ideas or comments. We're glad to be a part of keeping such an awesome style alive and hope that we can use our venue to inspire others. Mahalo and Aloha for now! Cheers, |


