Tiki Central / Other Crafts / Wendy Cevola - Doing a major repair of a Tiki Diablo bowl.
Post #741981 by danlovestikis on Wed, Apr 29, 2015 9:40 AM
|
D

danlovestikis
Posted
posted
on
Wed, Apr 29, 2015 9:40 AM
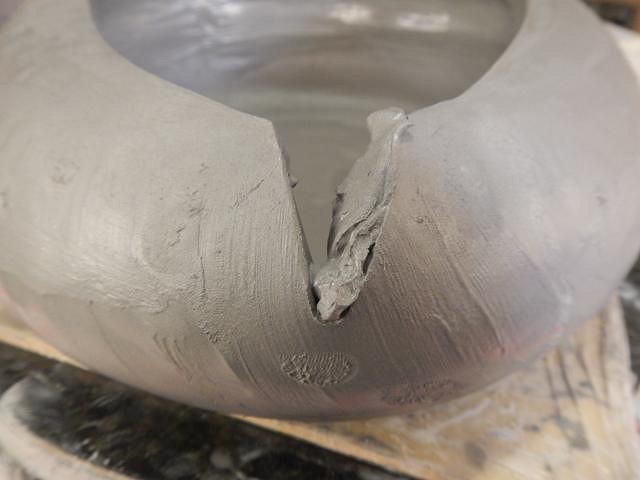
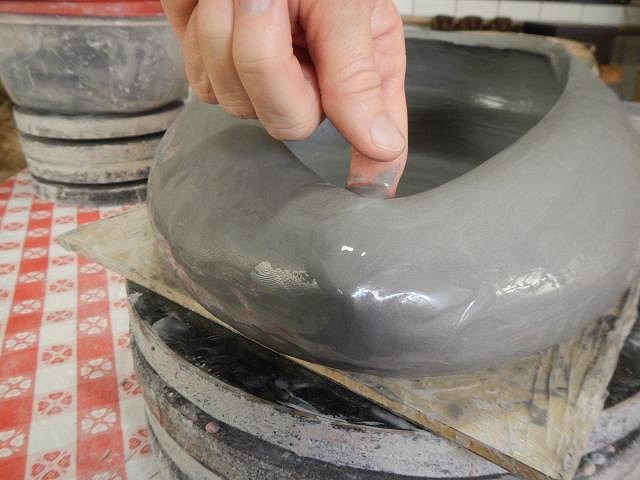
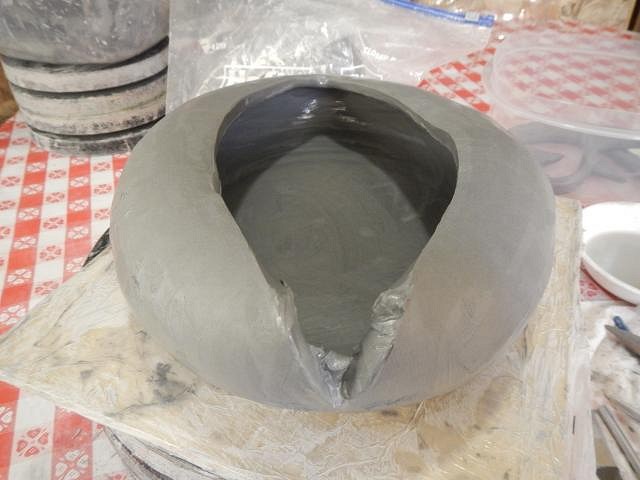
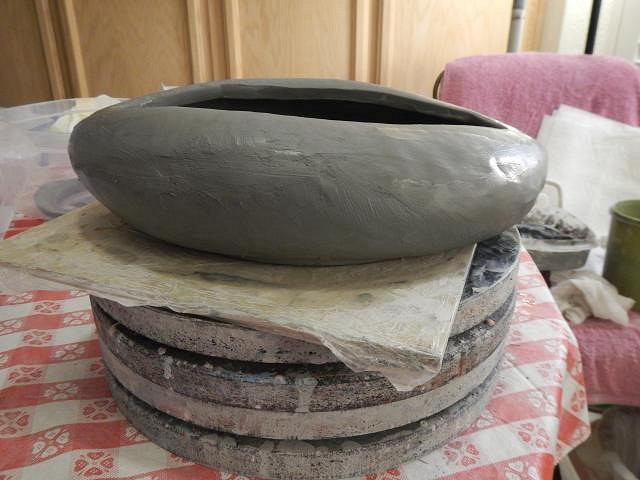
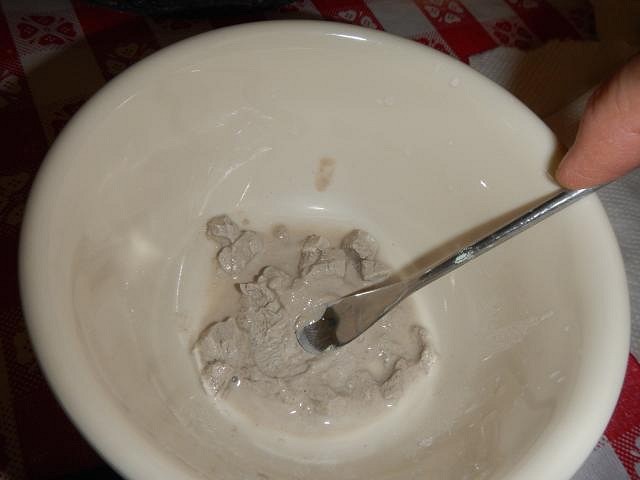
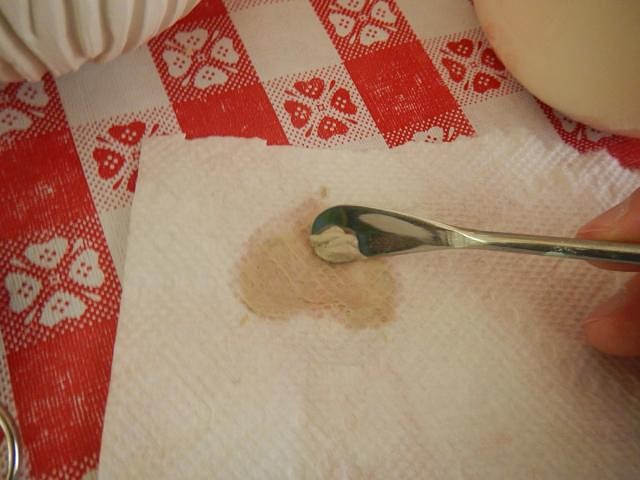
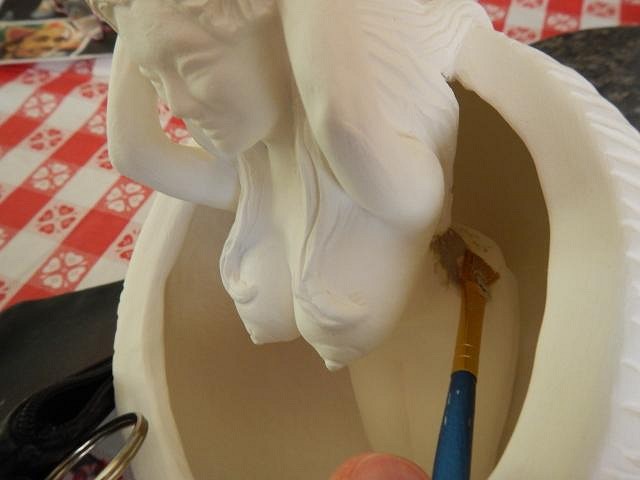
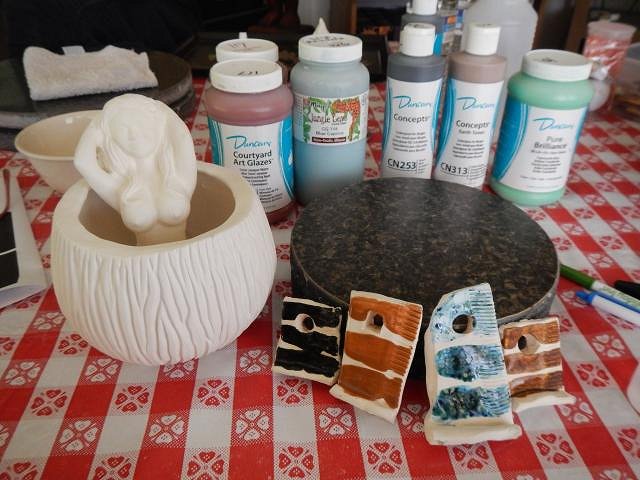
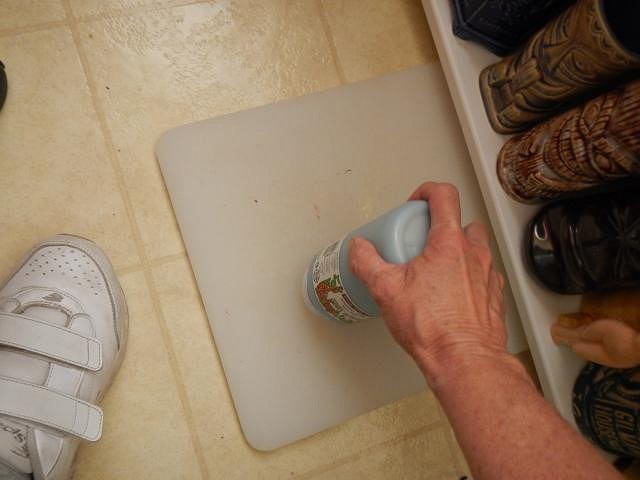
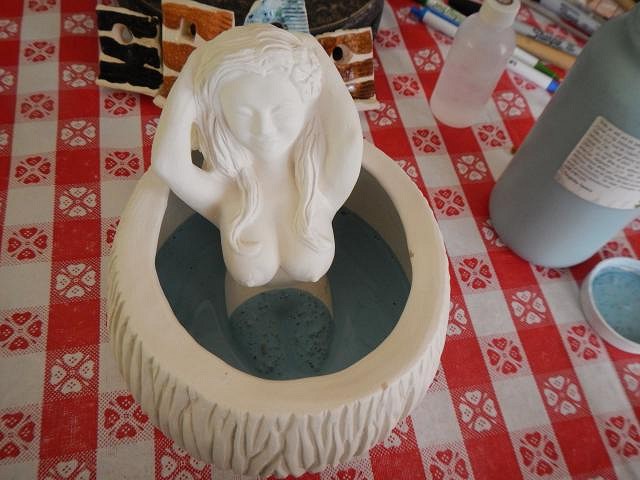
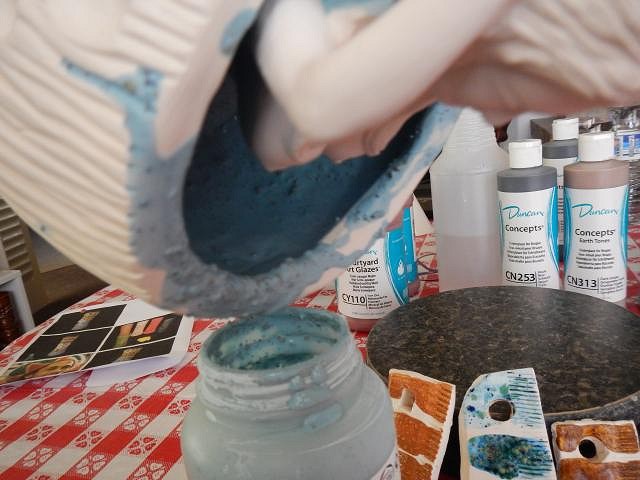
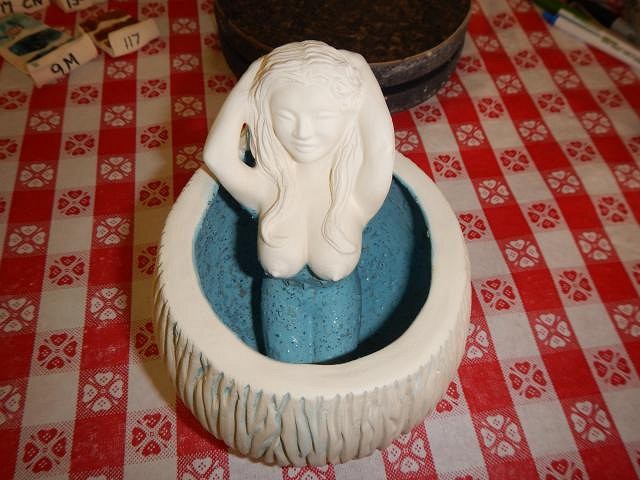
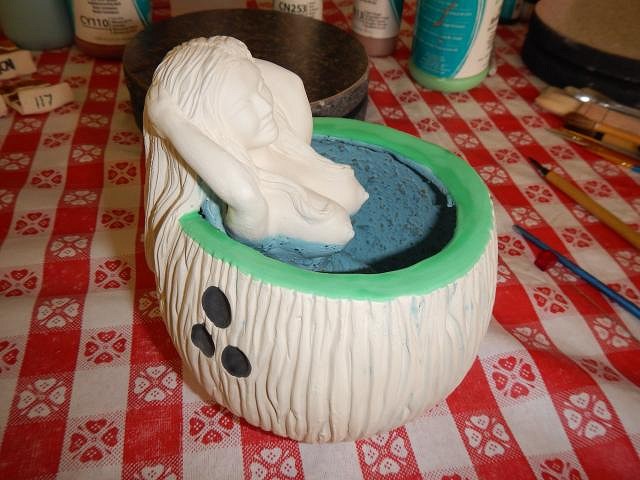
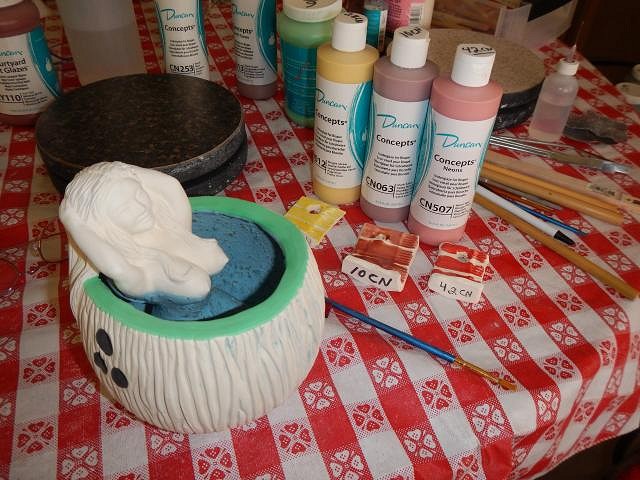
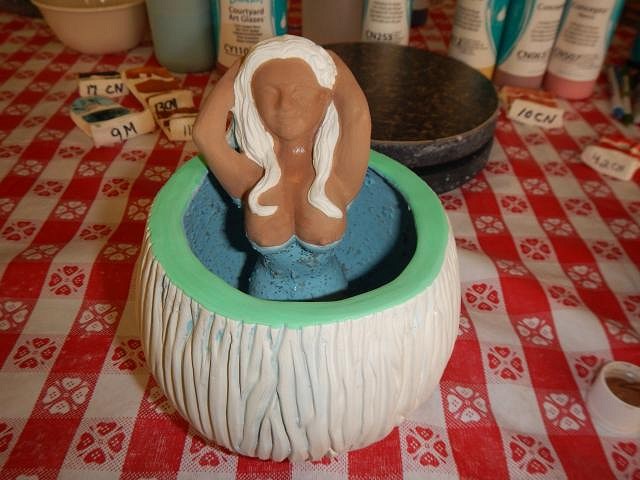
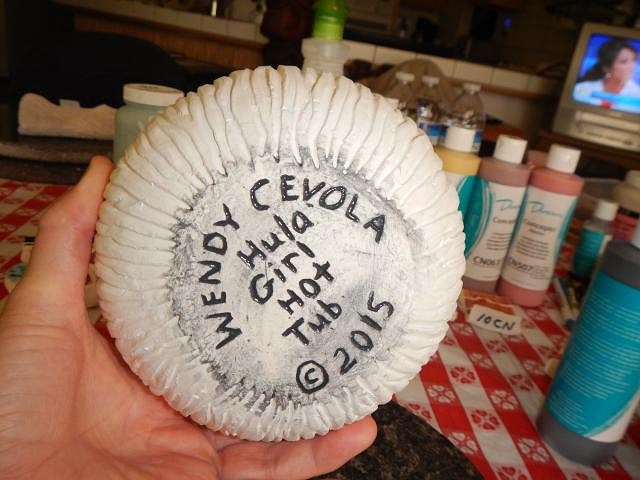
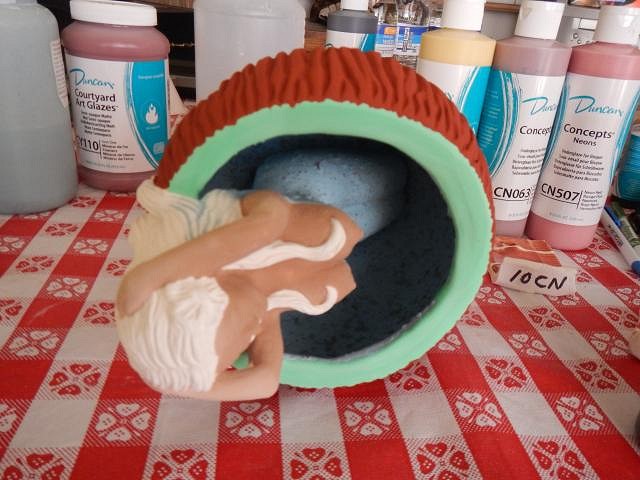
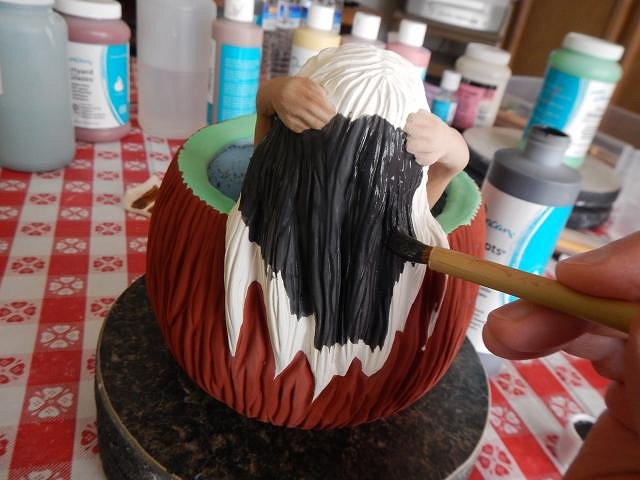
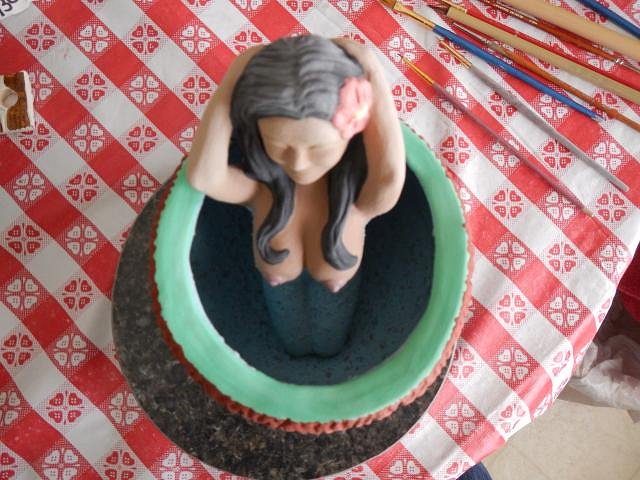
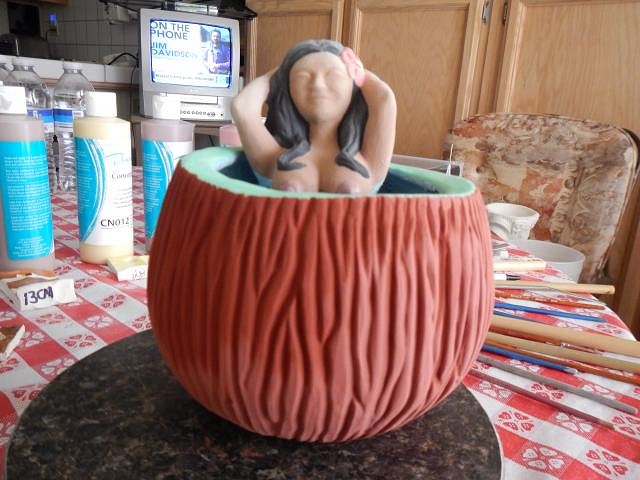
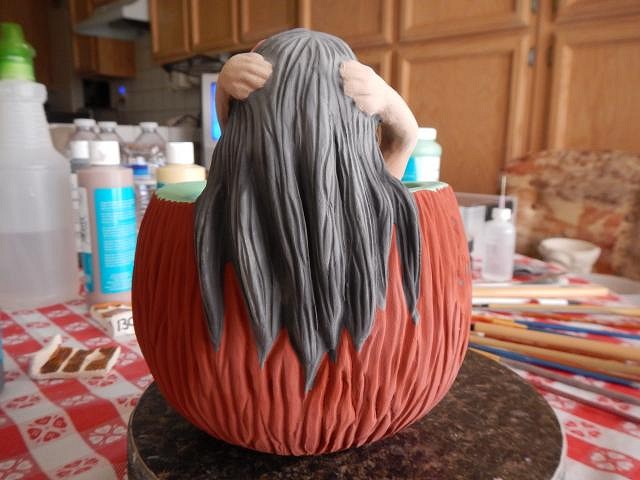
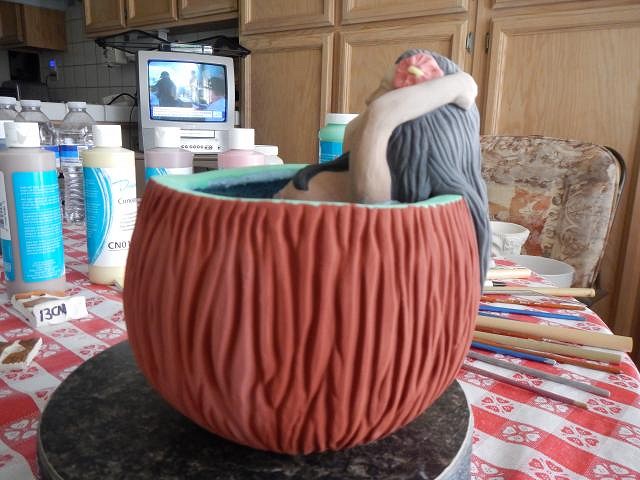
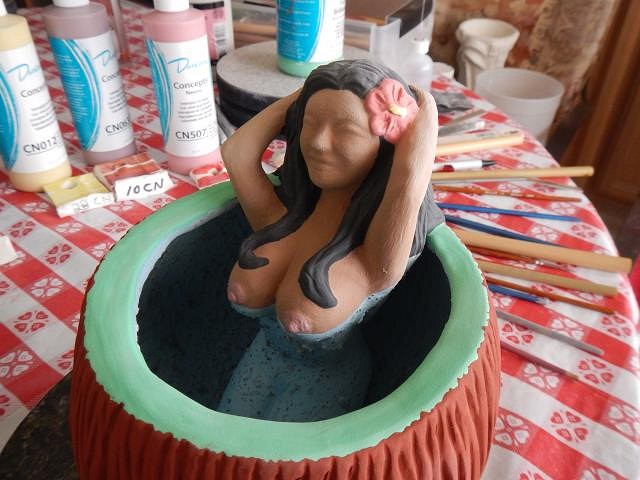
TikiHula the kiln is almost cool enough. The lamp will ship out this week if it has enough glaze to make it just right. Tyber Tiki Tyber Tiki I'll open it today and start taking photos. I should have them to post by tomorrow! Tikiwahini your Rasta Bob got fried last night. Photos tomorrow. LoriLovesTiki after you see your photos just let me know if it needs more. hang10tiki see the bedpan fix coming right up! =========================== I've made a Space Ship. Here are some more step by steps. First I needed to remove the resemblance to a bed pan. I cut out a wedge from one end and added sticky clay. I pressed it together and formed one end of the ship. Now I did it to the other end. That part is done. Top view and side view. Since this will be a drinking vessel rather than actually fly I'm keeping parts of it open for fuel. ============================== The Wish List has been made and now I've moved on to the Hula Girl Hot Tubs. I had one that had a crack and that one will be Dan's. So here is how I've repaired it. In 2011 I bought a big piece of paper clay. It has since dried into a rock. When I need some I chip it off the block and add water. It softens up really fast. This is the crack that needs repair. This will be Dan's mug. I had a bit too much water added to the clay. A paper towel will easily leach it out. I used both my fingers and a wet brush to get the paper clay in the right place and smoothed. It doesn't shrink when it dries. I gathered up most of the glazes that I would need for this project. I keep a plastic chopping board on the floor for pounding glaze lids that are stuck. It helps me loosen them without yelling, Daaaaaaaaaaaaaaaaaaan! I decided that there is water in the Hot Tub. I picked the prettiest speckled blue and poured it in. I moved it around all the sides of the coconut and then poured it out. It only takes one time to get it thick enough. Always spray water on your bisque item before you do any glazing. It makes it adhere better and also in this case to not make it too thick. The water level is half way up her breasts. I cleaned the white rim and then glazed it with clear. It still needs to look like a coconut. I picked out some more glaze colors and started work on her body. I added black to the wording on the bottom and wiped it clean. Then I began to glaze the coconut. Bottom first. I would paint a section and lay the mug in a way to let it dry before I moved on. After the three layers of skin tone I started on her hair. I finished the hair the flower and the nipples. She's all done and posing.
Her face will be done with enamel after she fires. Tiny detail often just blends in so I prefer to keep it neat. The kiln is cooling cooling cooling!!! Cheers, Wendy |