Tiki Central / Other Crafts / Wendy Cevola - Doing a major repair of a Tiki Diablo bowl.
Post #764358 by danlovestikis on Sat, May 28, 2016 7:33 PM
|
D

danlovestikis
Posted
posted
on
Sat, May 28, 2016 7:33 PM
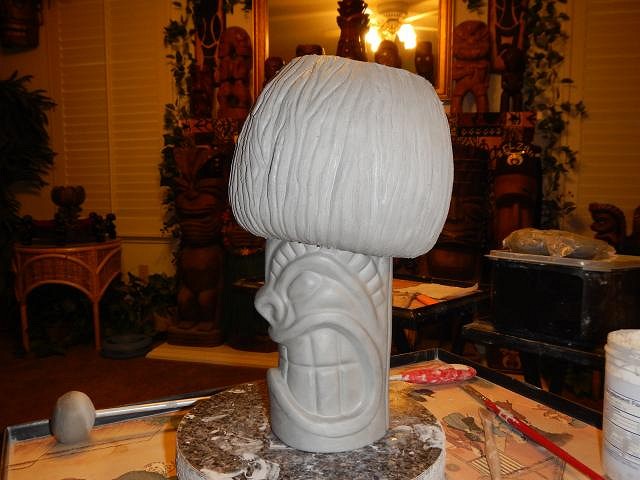
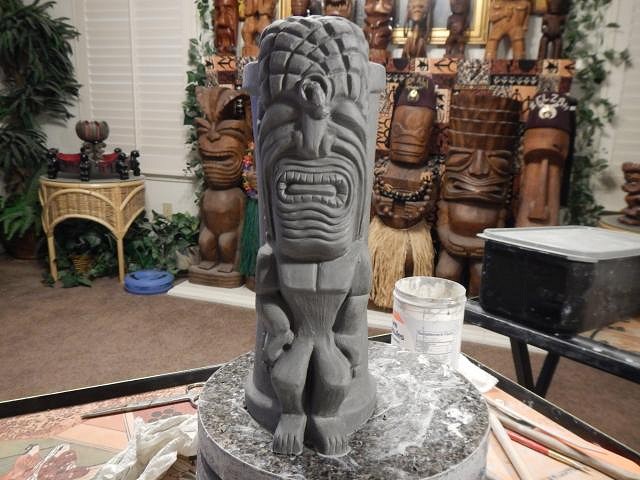
bobtiki we posted 2 mins. apart! Thank you all for the congrats. We do feel very lucky to have this long successful marriage. The experts say we'll live longer because of it. ========================= I've been making so many things that it was already time to go back to Alpha Fired Arts for more slip. I also ordered glaze for the pineapple. Dan and I went to a Chili festival near our home. I like to go for walks and its fun to have something to look at. I got a free oil funnel. Of course I'll use it with clay. ======================= Play time is over and now it's back to work. With the nose healed it was time to assemble the Frankoma coconut goblet. Then I stuck it on the head which had a hole in it to prevent air from being trapped. All done and ready to slowly dry.
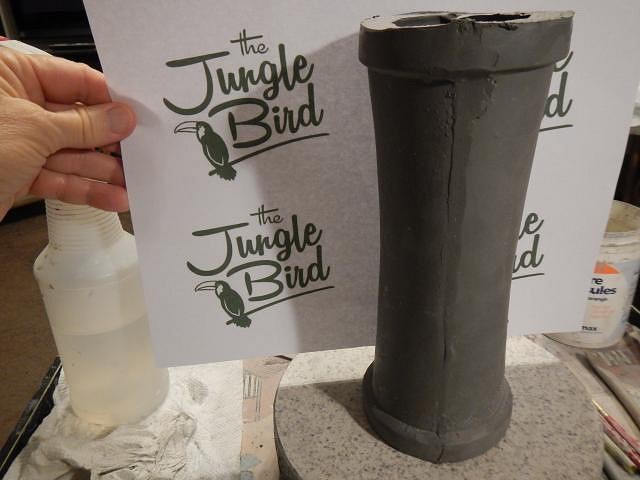
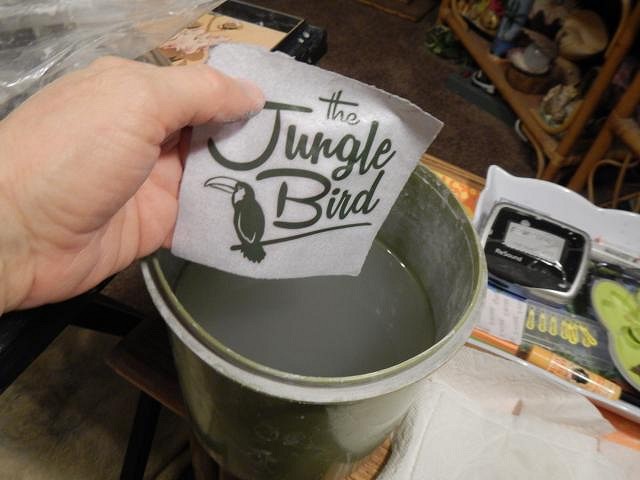
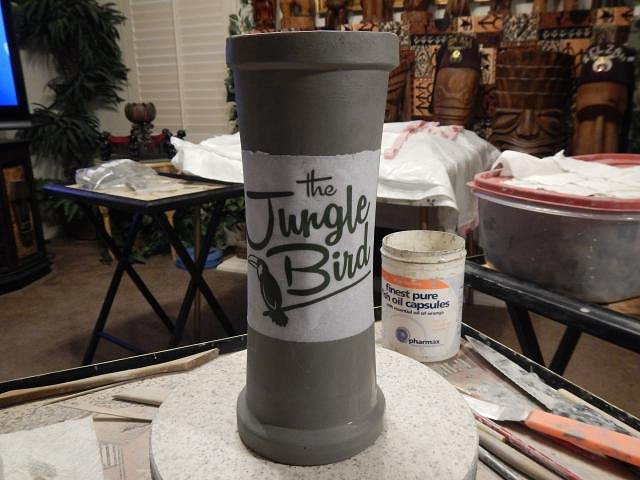
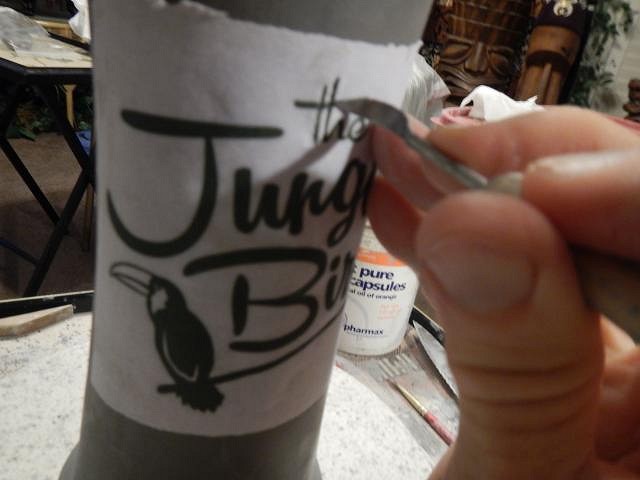
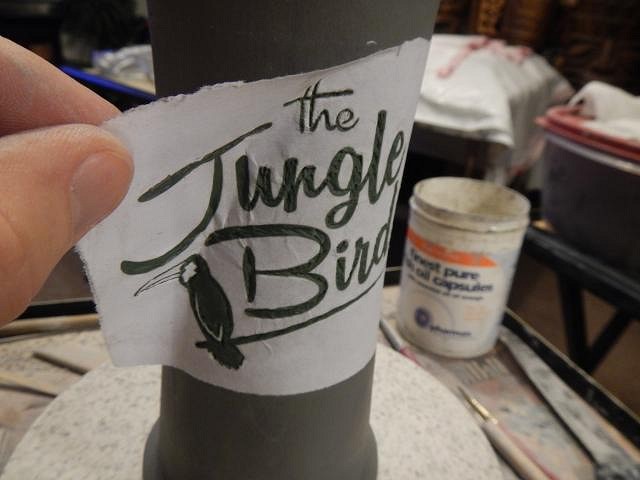
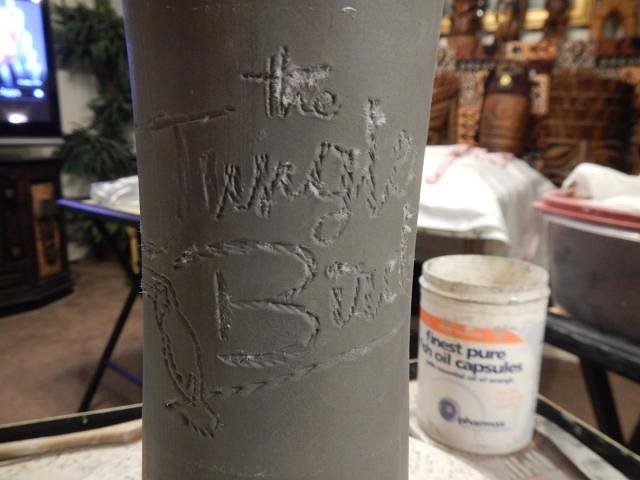
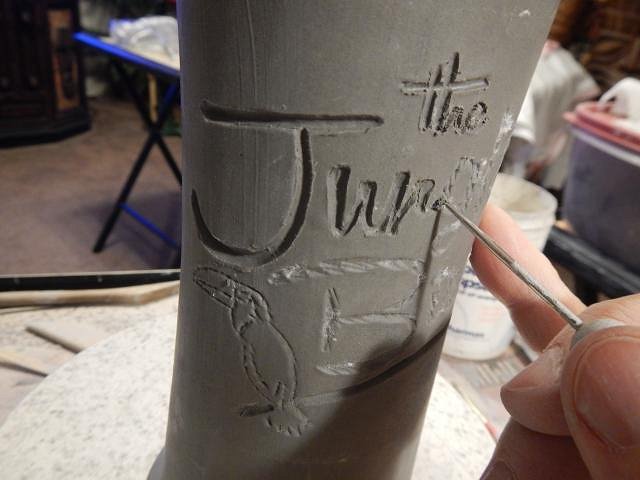
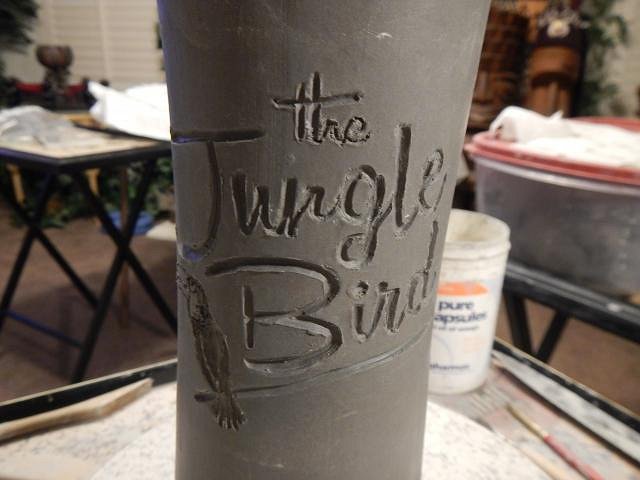
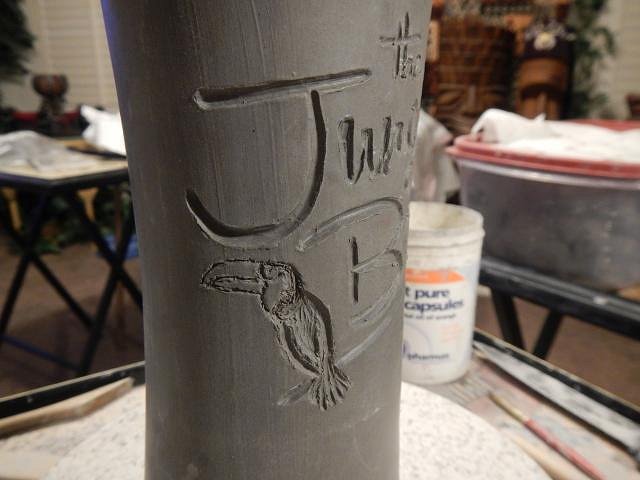
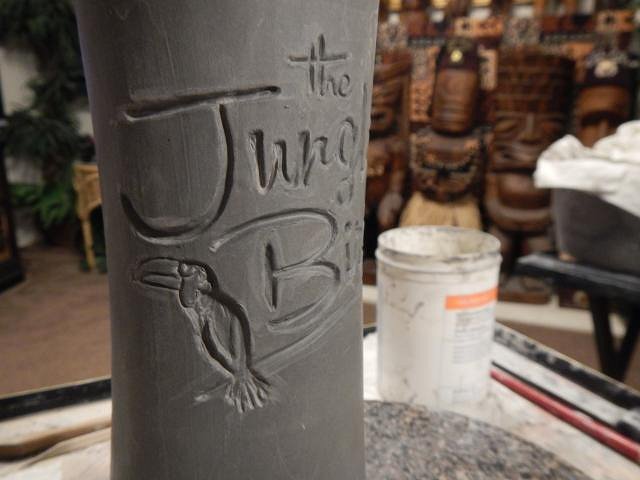
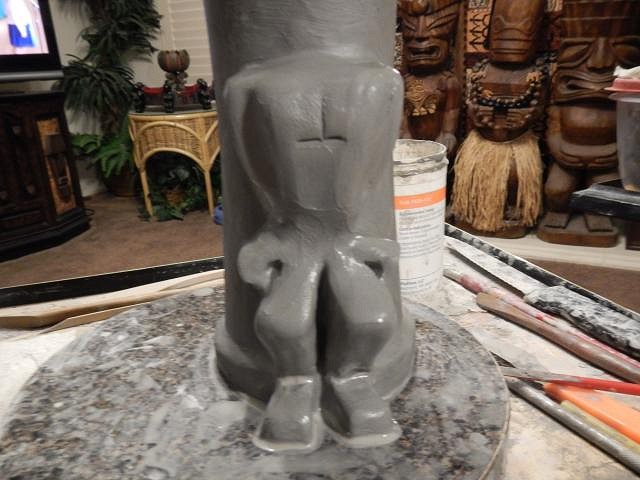
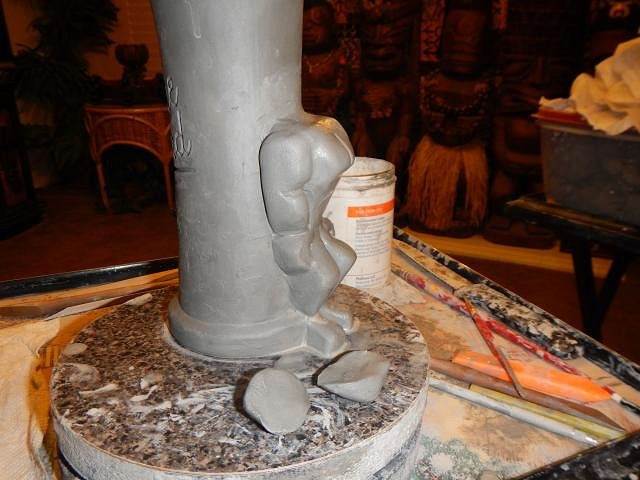
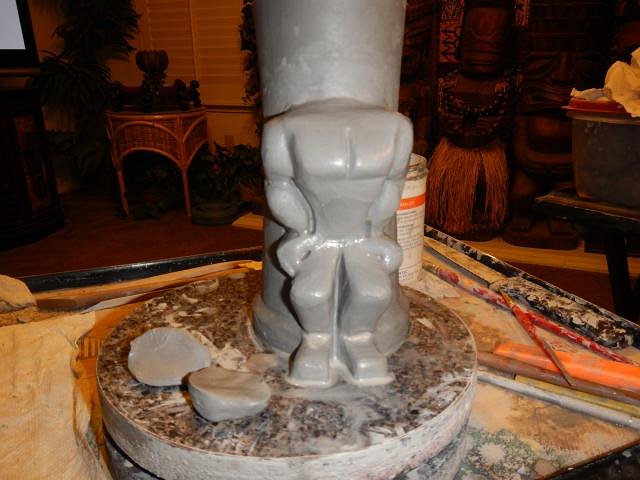
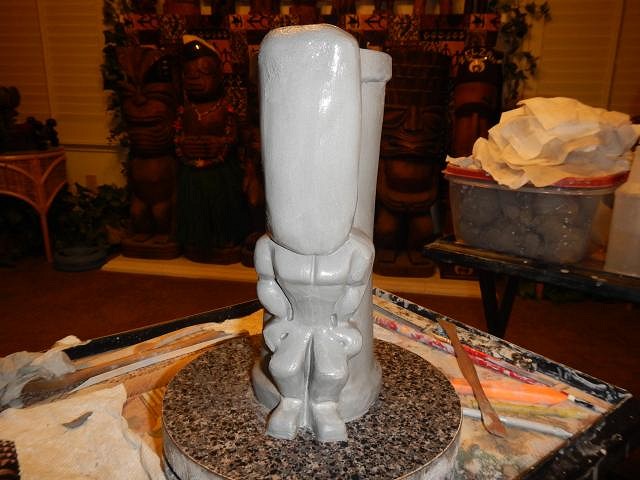
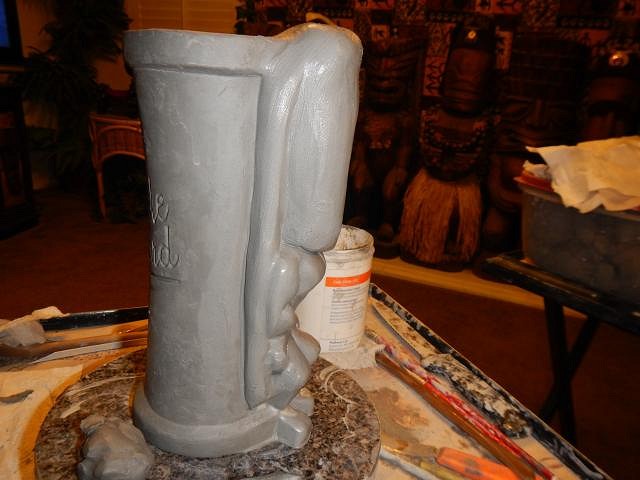
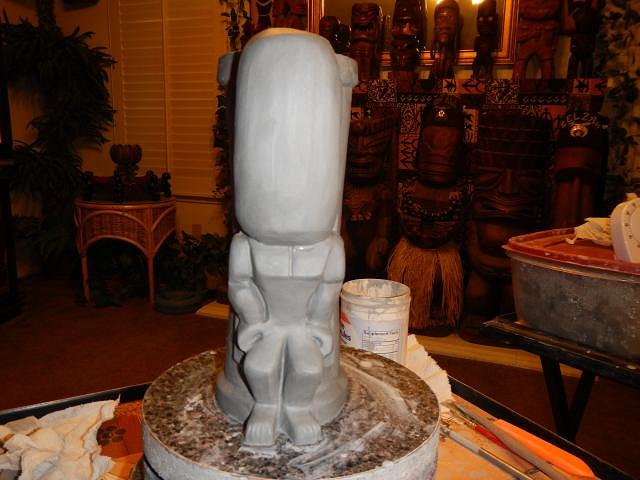
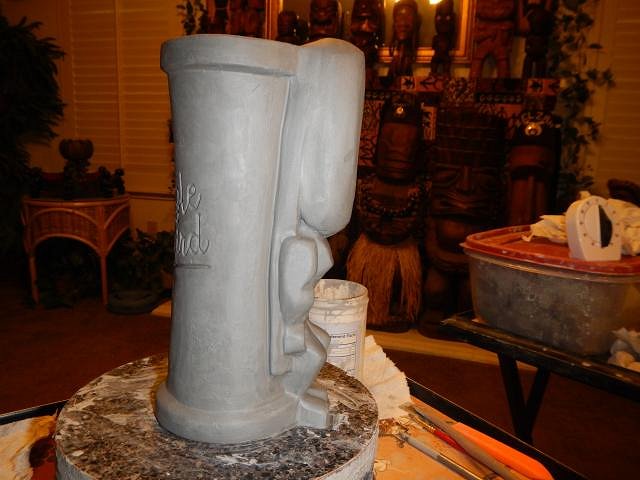
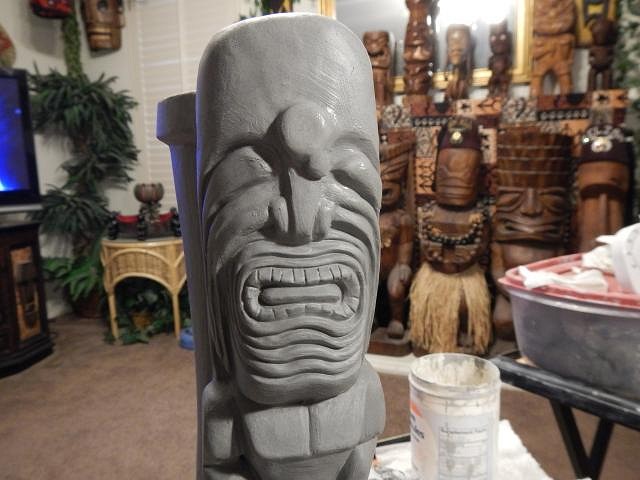
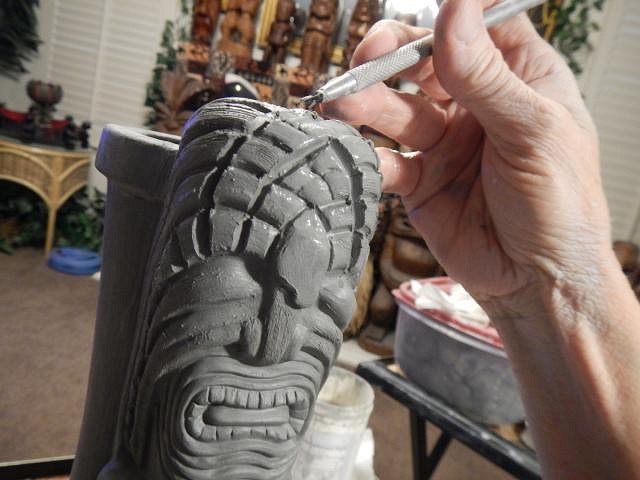
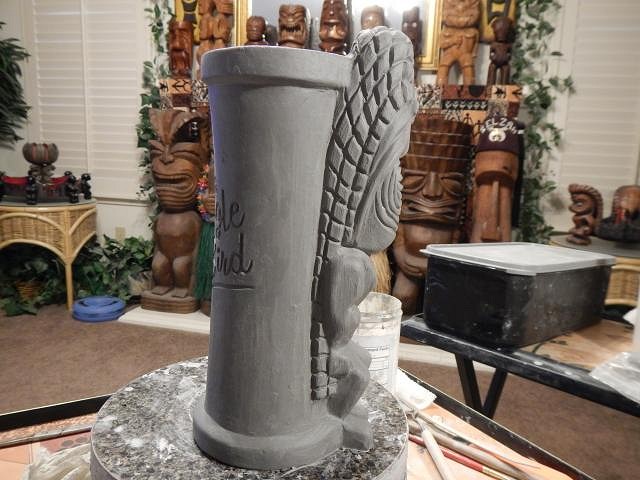
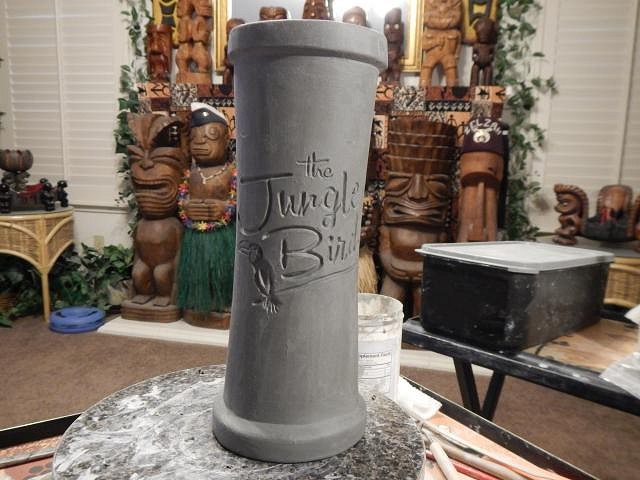
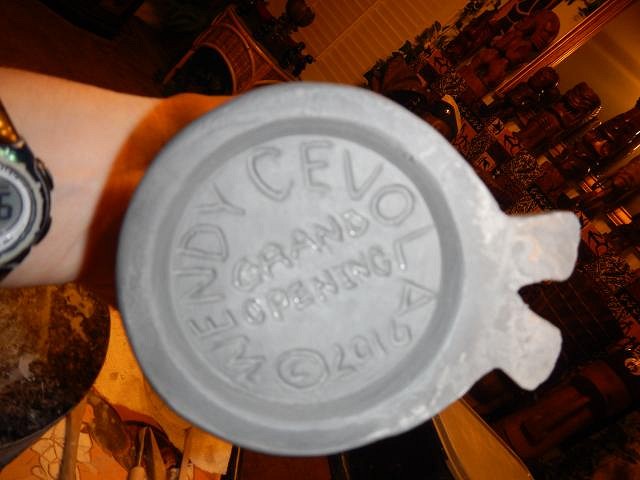
======================== We are soooooooooo lucky. There is a tiki bar/restaurant being built in Sacramento. One of the owners Buddy wished for a special mug to drink from at the opening. I couldn't say no and jumped it ahead with two other wishes I have in the works. I'm sneaking them in with the crawl mugs. Here's Buddy's mug which is based on the signature tiki of the bar which will be called The Jungle Bird. I can share the logo but not a photo of the tiki which I used to make the mug. I printed the logo in the right size and then cut it out and dipped it into water. I stuck it on the mug. I used a tool to press into the clay. When I finished I peeled it off. This is what it looked like. Then I used a stick with an end that I sanded straight across. I stopped here and I'll fine tune it when the clay is drier. Next I worked on the bird. Done for now. Now I show the step by steps as I built the body.
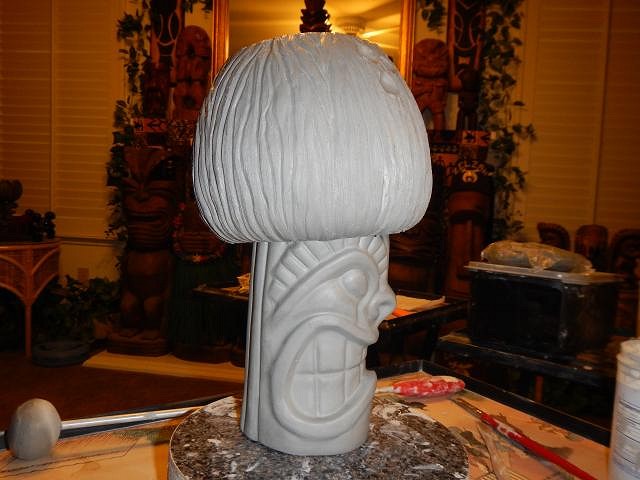
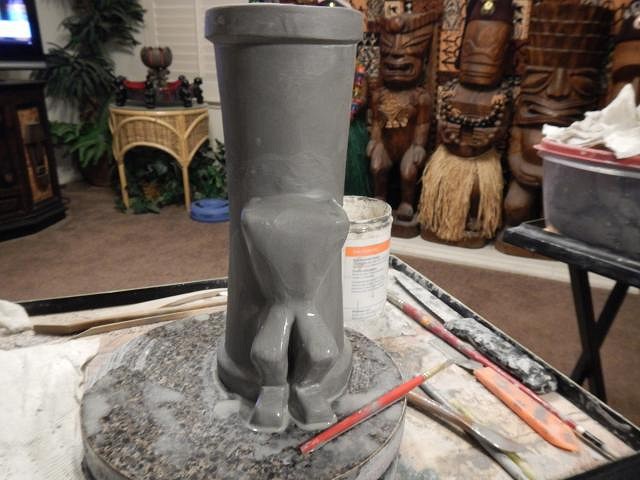
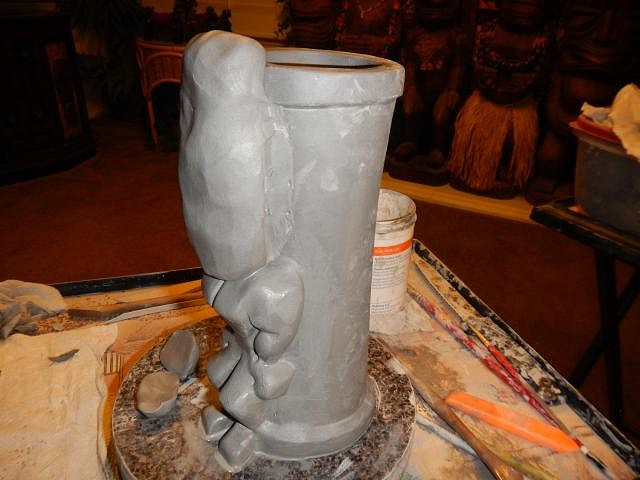
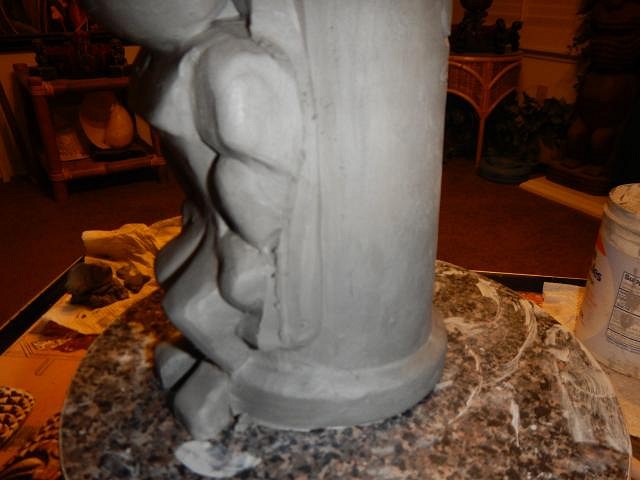
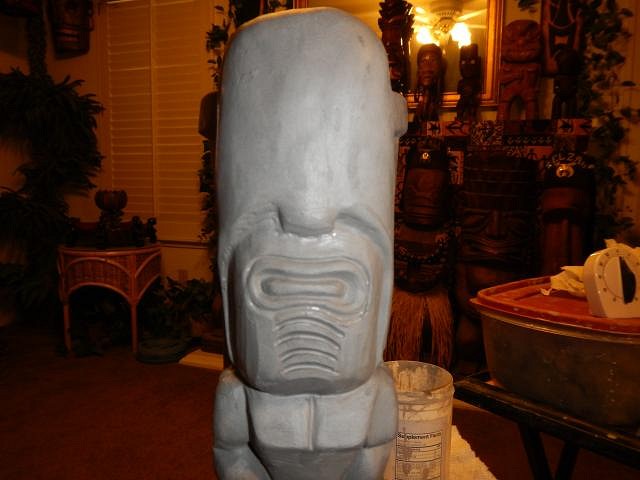
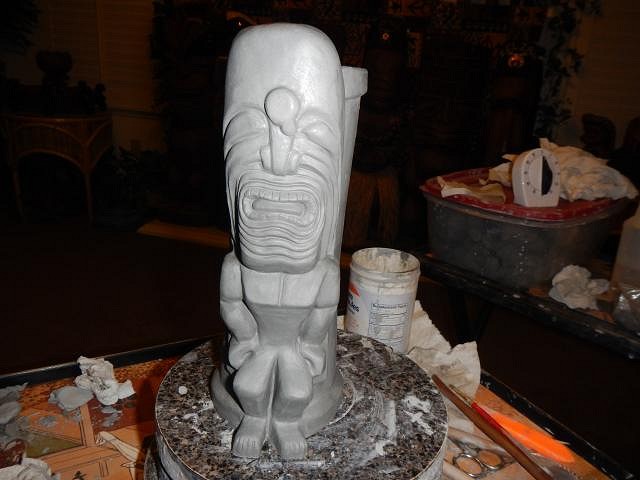
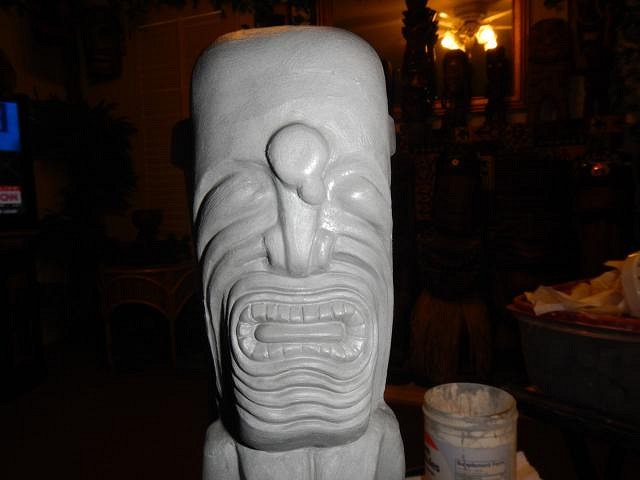
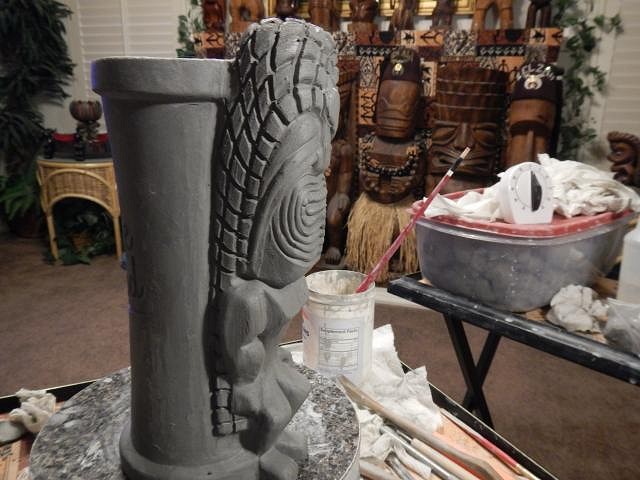
Now that the body is build I need to cover it with a loose plastic bag to let the clay firm up so that I can carve in the detail. A day later I can now do all the rest of the carving.
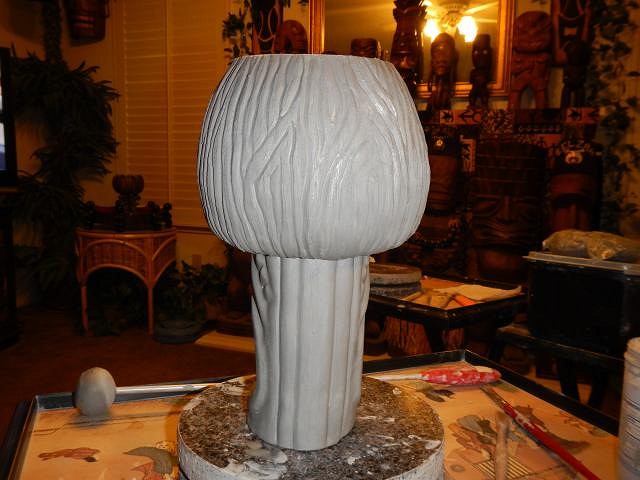
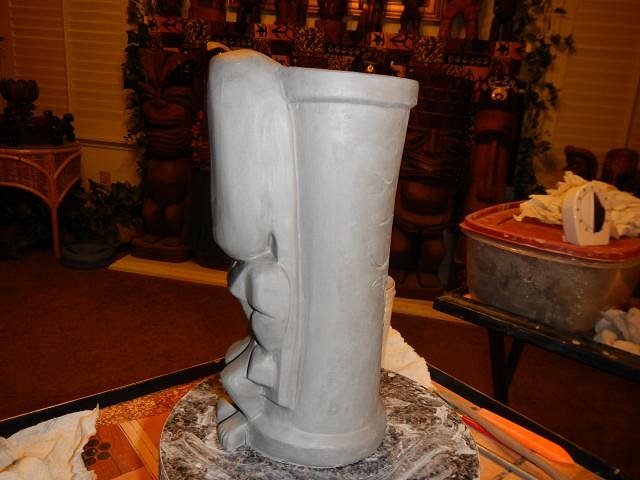
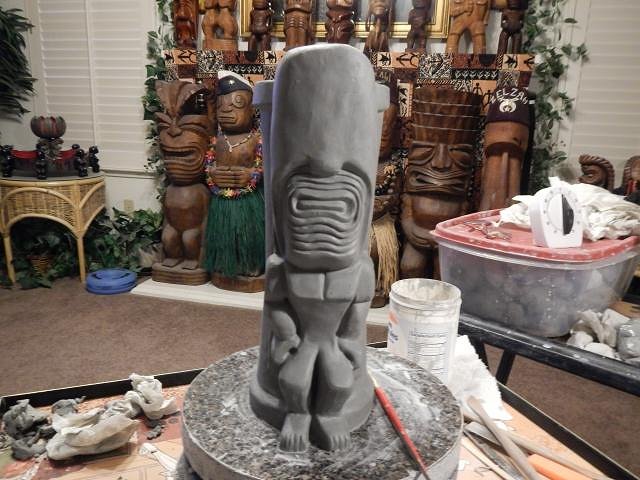
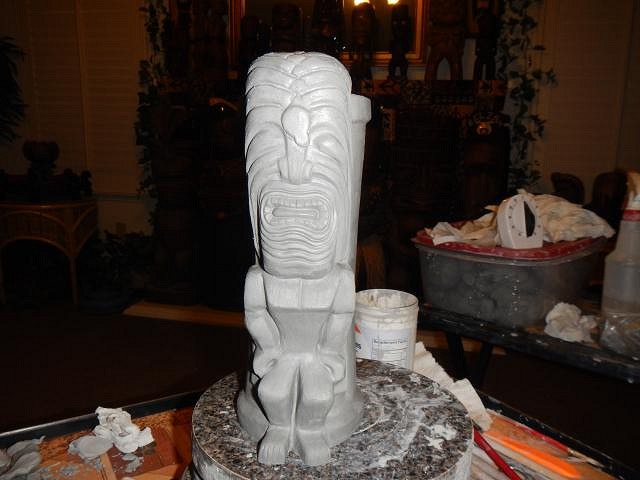
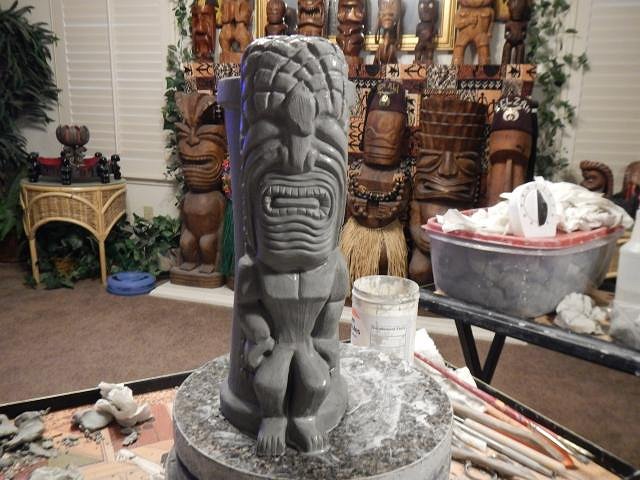
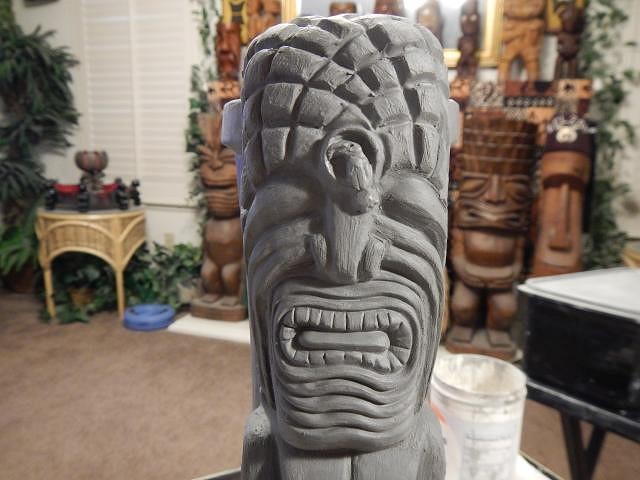
All done and posing. This will be fun to glaze.
It will take a couple of weeks for it to slowly dry. I put it into a loose plastic bag then I take it out for a couple of hours and then back in again. If I didn't dry it this slowly it will crack. Cheers, Wendy |