M

Melintur
Tiki Socialite
AKA Colonel Tiki § Portland, OR
Joined: Mar 23, 2002
Posts: 326
|
M
 As part of the most recent (2019) update of my basement bar The Monkey Hut, I wanted to intensify the intrusion of overgrowth by adding creeping vegetation. After not having any luck finding vines that I liked available commercially, I devised this DIY method reusing artificial potted houseplants. With a handful of finds from most any thrift store, some floral wire, twine, and a bit of labor, you can have as much creeping vegetation as you like. Here's How I did it:
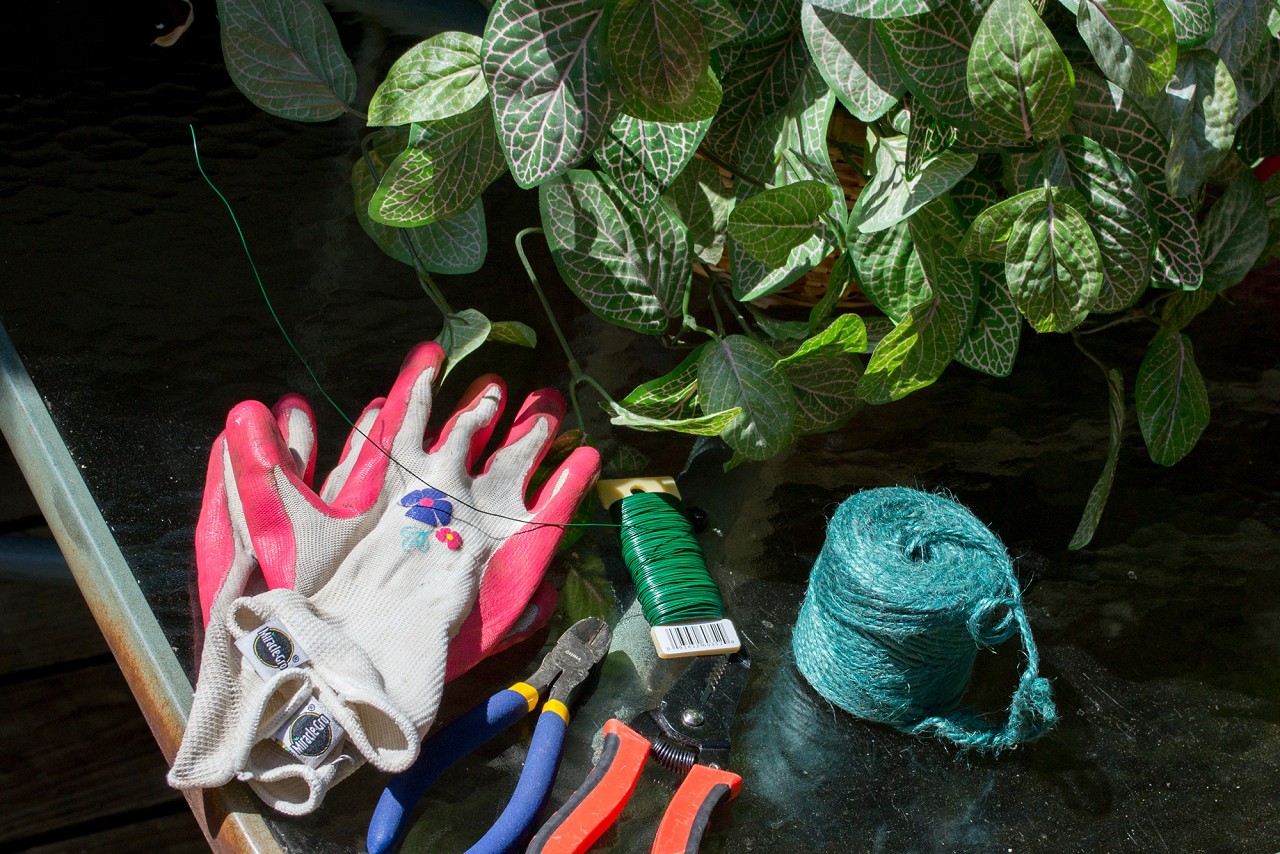
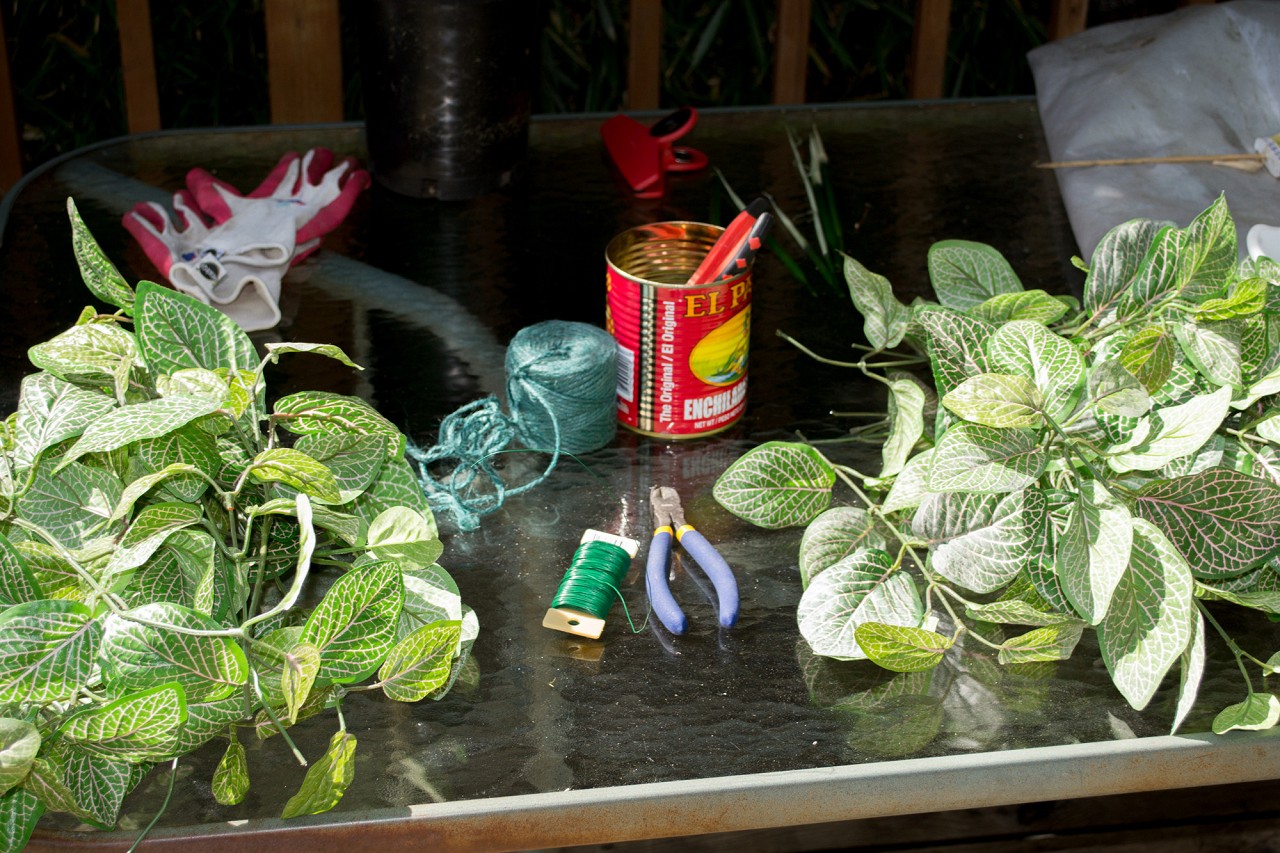
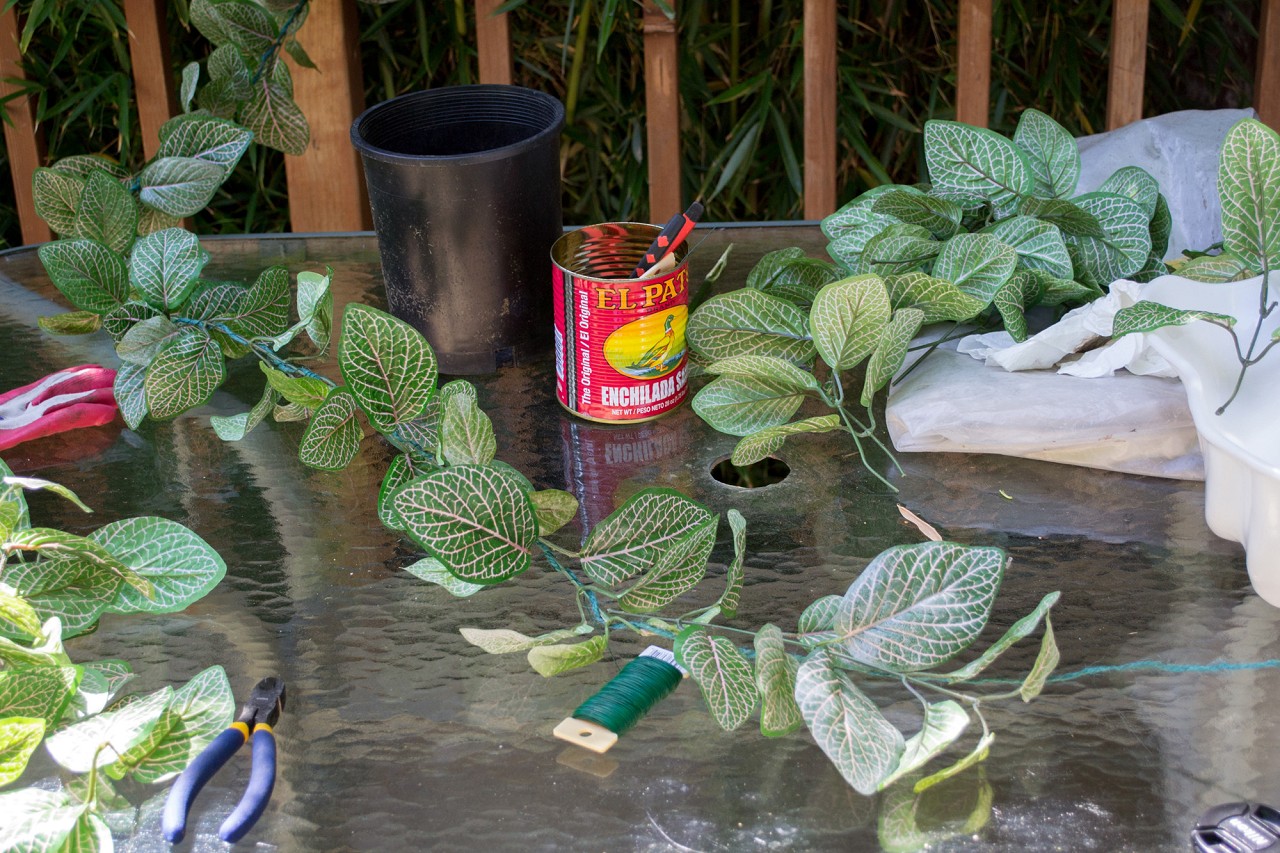
YOU WILL NEED
Gloves are a must. The jute twine will give you horrible splinters.
Floral Wire
Jute Twine(Here green, brown also works very well)
Wire Snips
Needle-nose Plyers or other wire bending tool
Soapy and Clear Water to wash the fake foliage
Patience
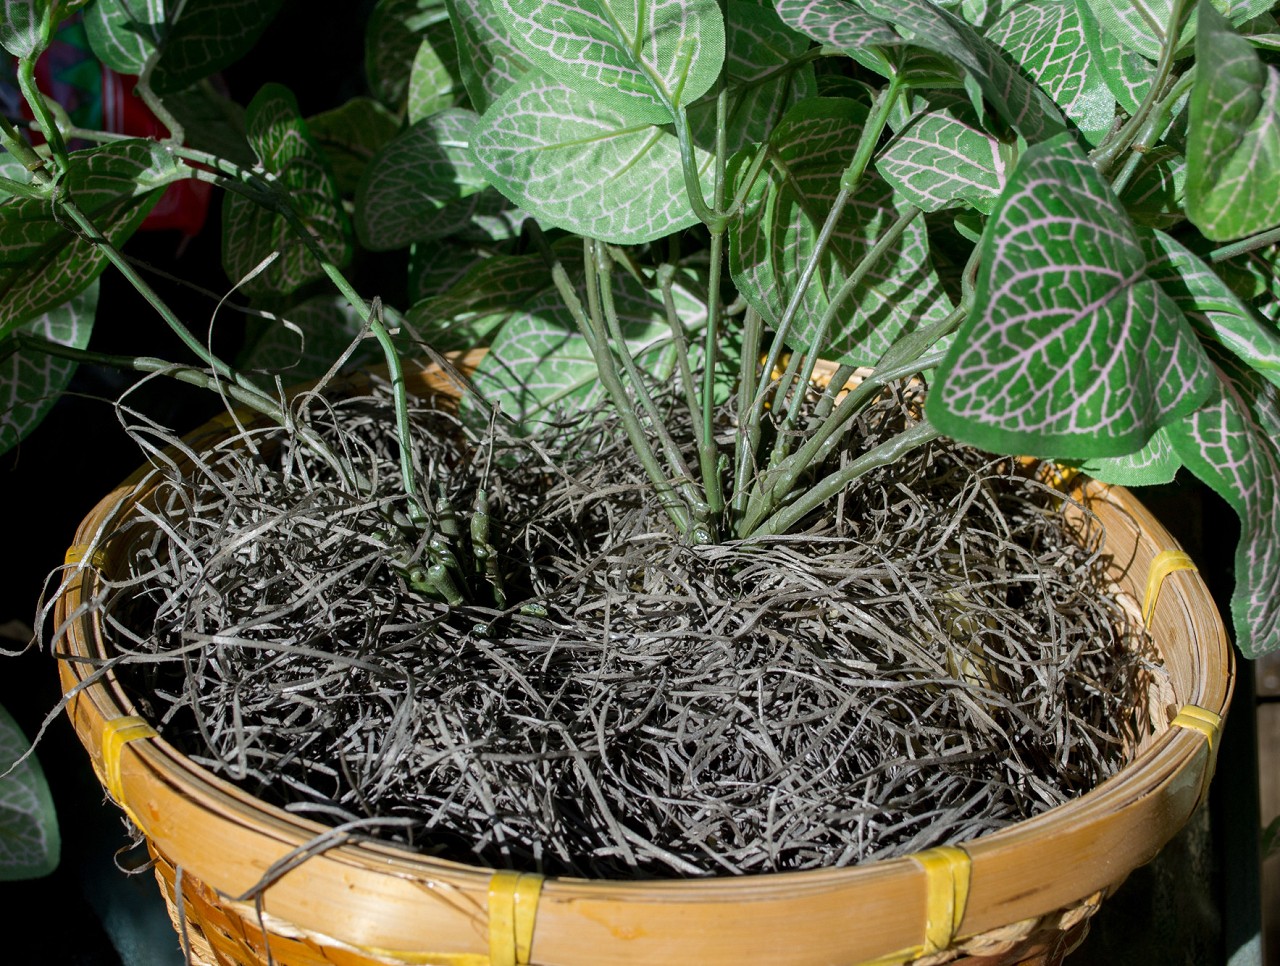
- Using the wire clippers, cut each individual sprig of foliage from the base of the potted plant.

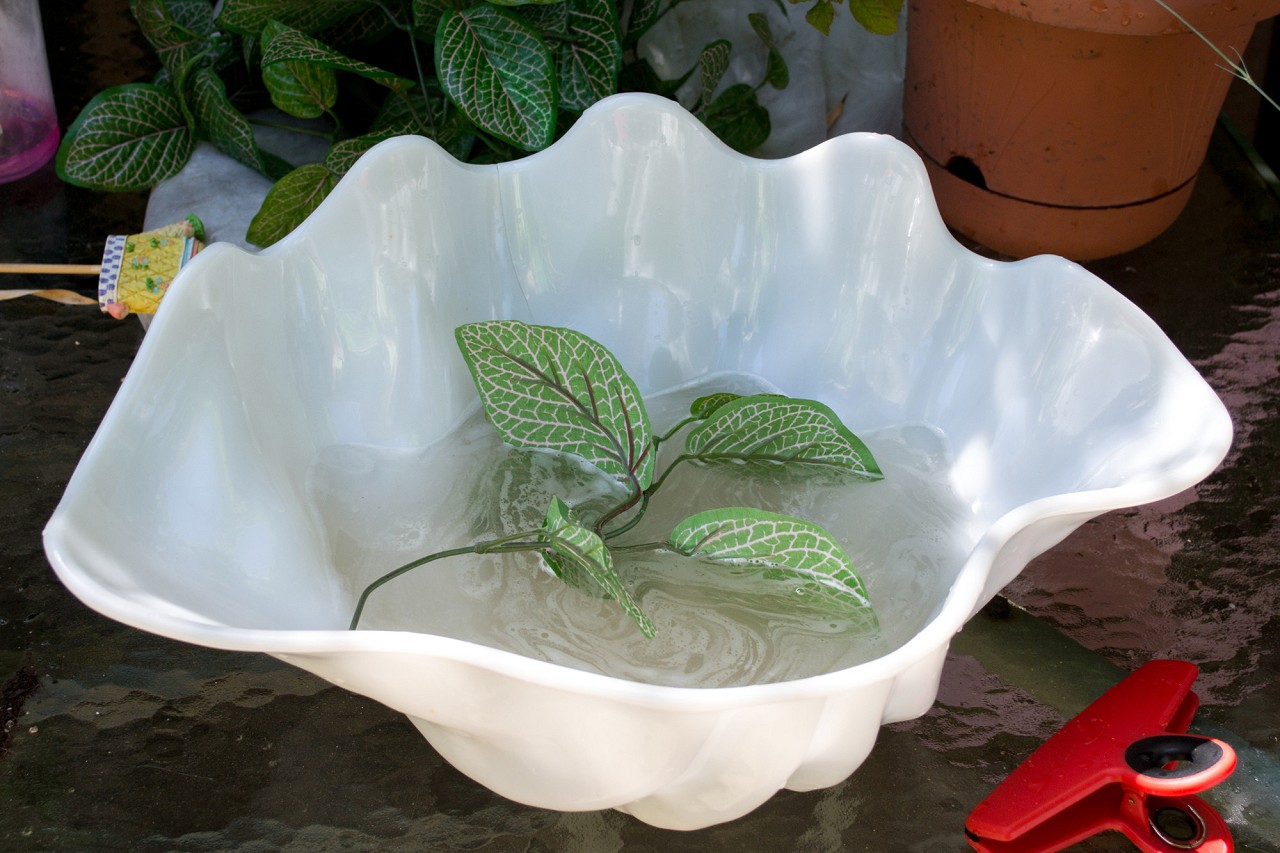
- Wash each sprig in mildly soapy water. Be sure to do a 'sniff' test before you purchase the plant if possible. Some fake foliage had odors that cannot be removed so the best bet is to leave those on the shelf.
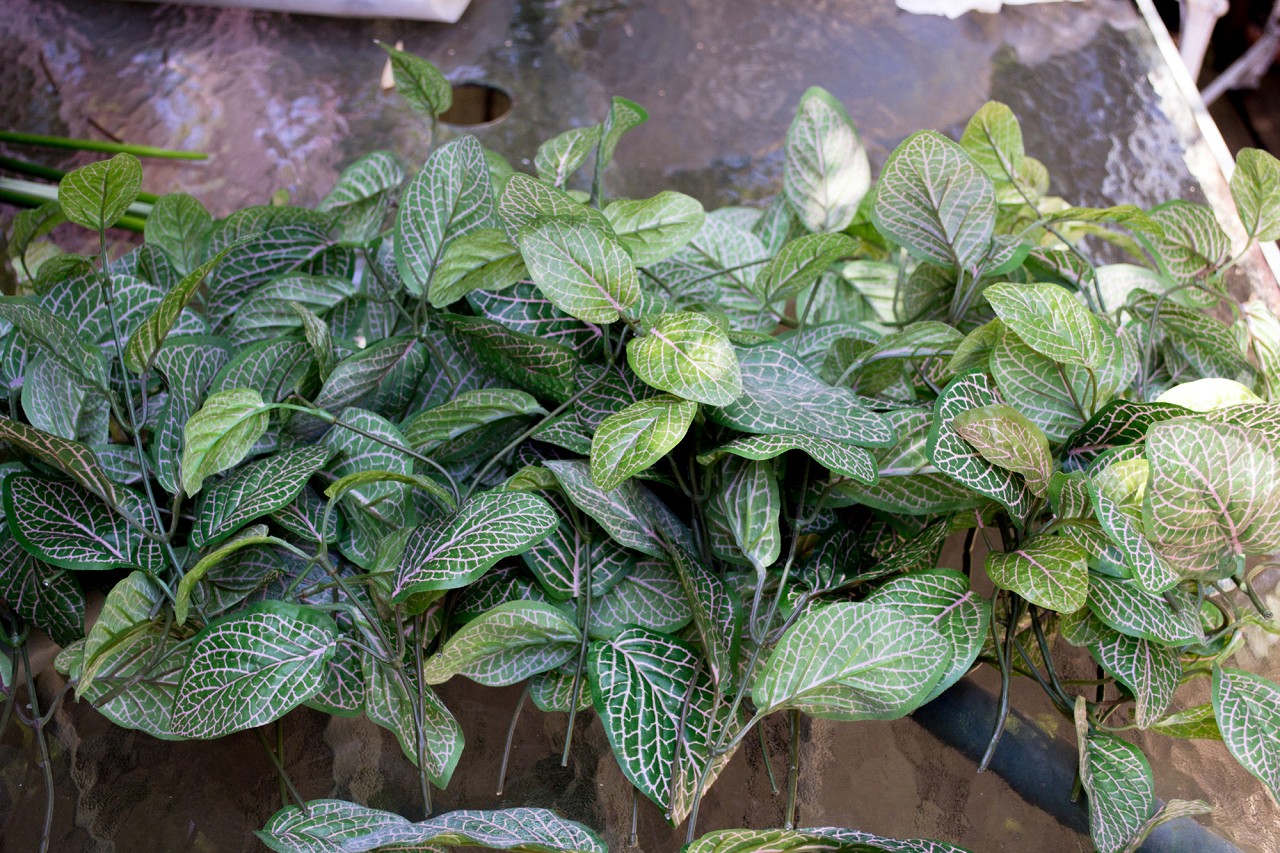
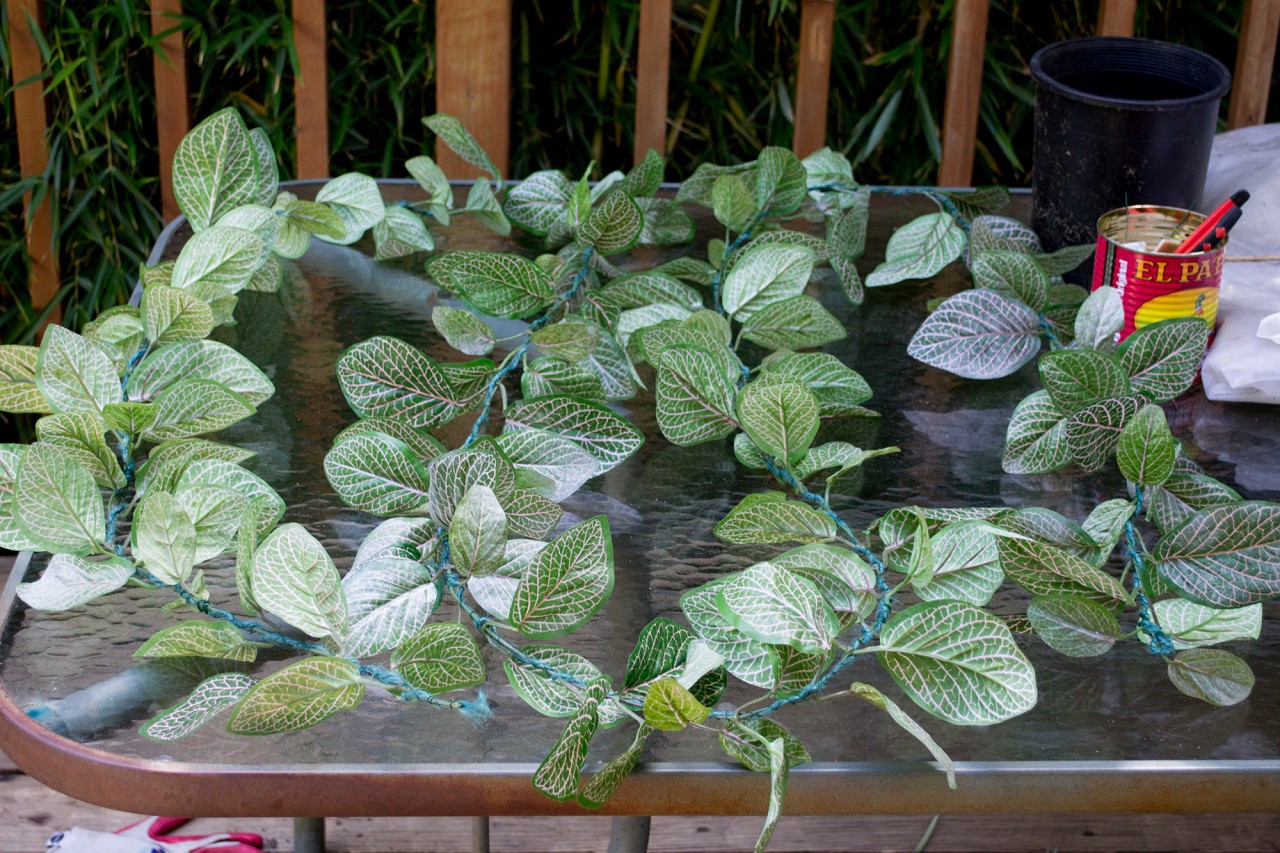
- Looking through your cut sprigs, divide them into groups that have the same size and/or amount of leaves. Natural vines will have a variation of sizes as well as a 'direction' for growth. We will want to have a palette of sprigs to choose from when we build our vine.
 You can here see the two different kinds of sprigs in my particular potted fake foliage - in the image directly above, you can also see the possibility of another vine coming from one of the larger nodes for two-or-three vined pieces. The creativity is up to you.
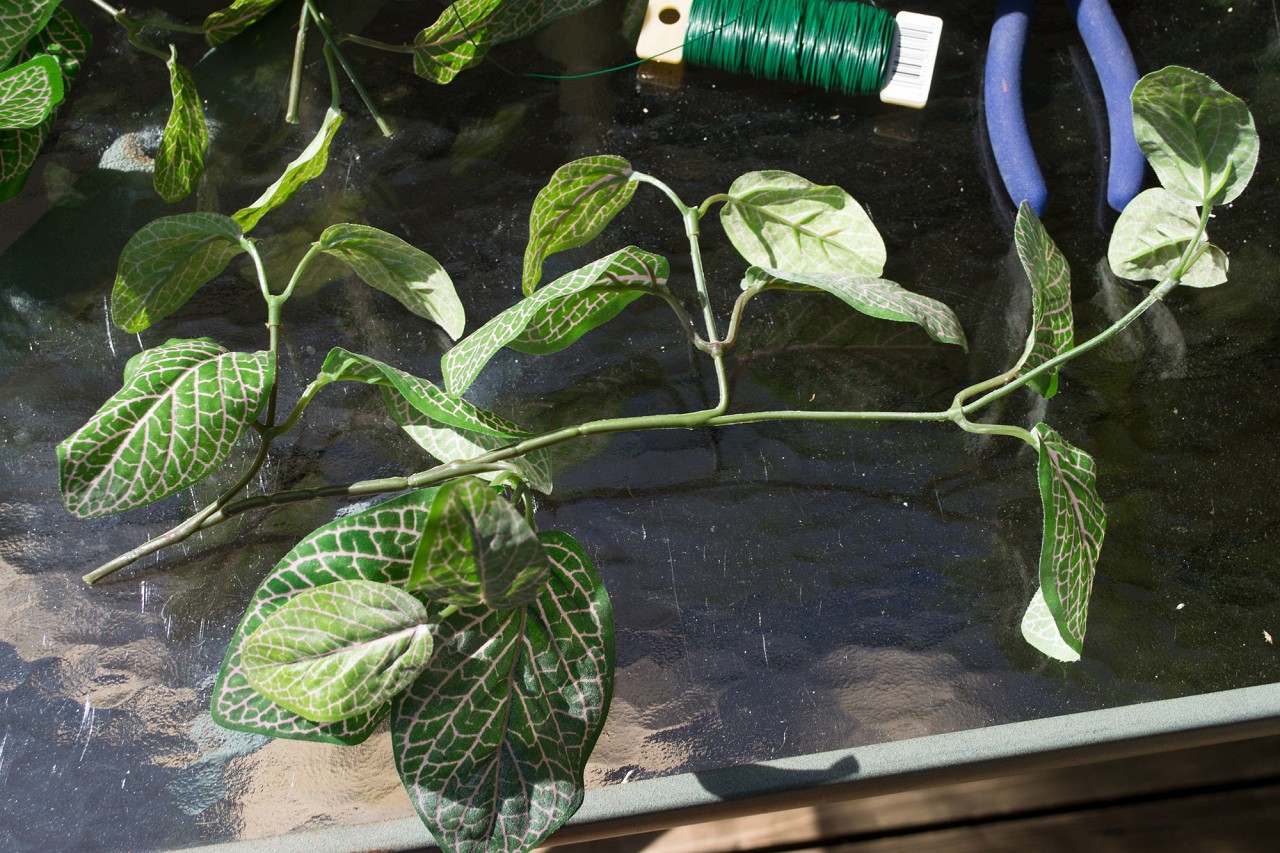
- Find your first two pieces to join together, being sure to match the direction of growth and understand that the left side in both the above pictures are towards the "root" end of the vine, and the right is the "tip." Smaller sprigs should be saved for the last bits, with some variation to improve the natural look.

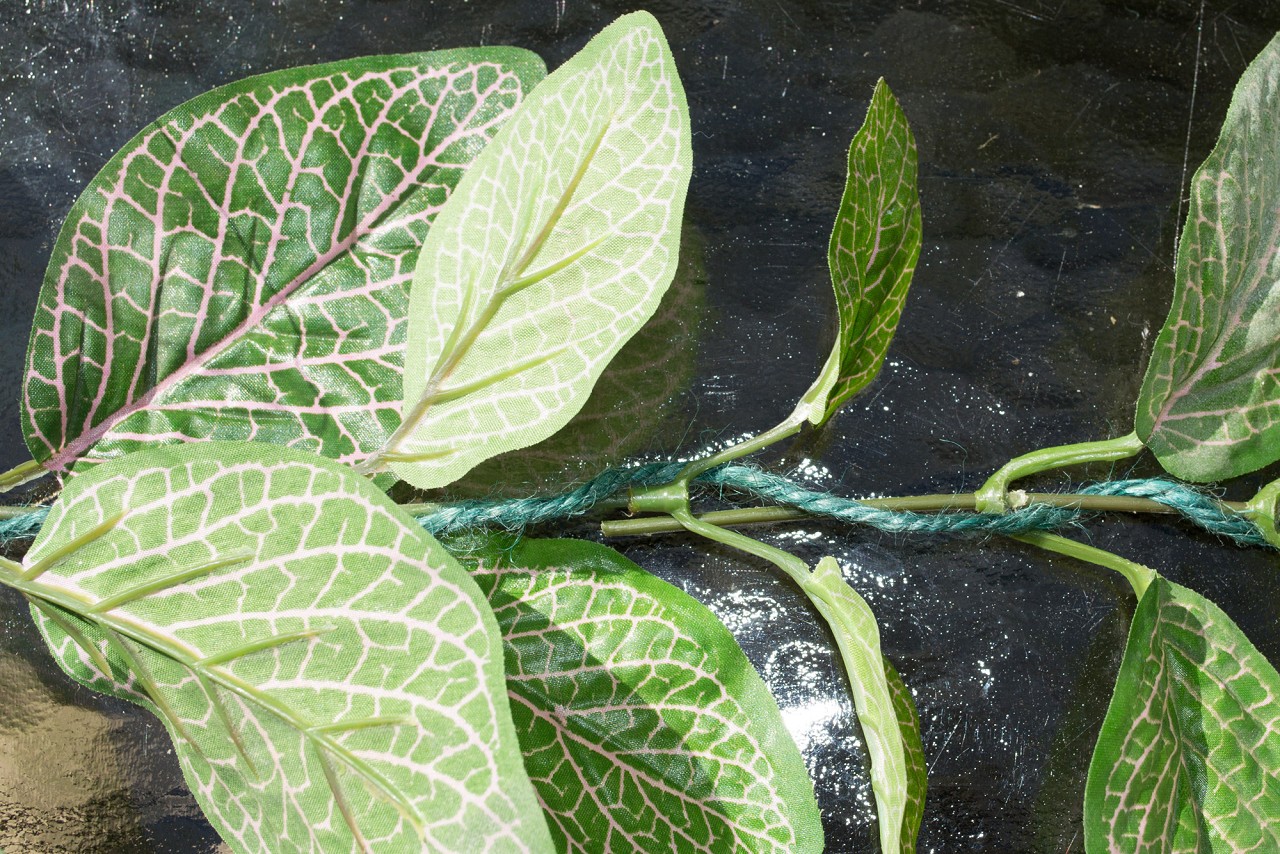
- Wind the twine around the main wire of the fake foliage, with a twist around and between each node. When joining two pieces together, be sure to overlap the main wire sections. Keep the nodes spaced as evenly to further hide the junction.
- Wind the floral wire in the reverse direction, but in the same manner as the twine and be sure to do so tightly, we want this snug.
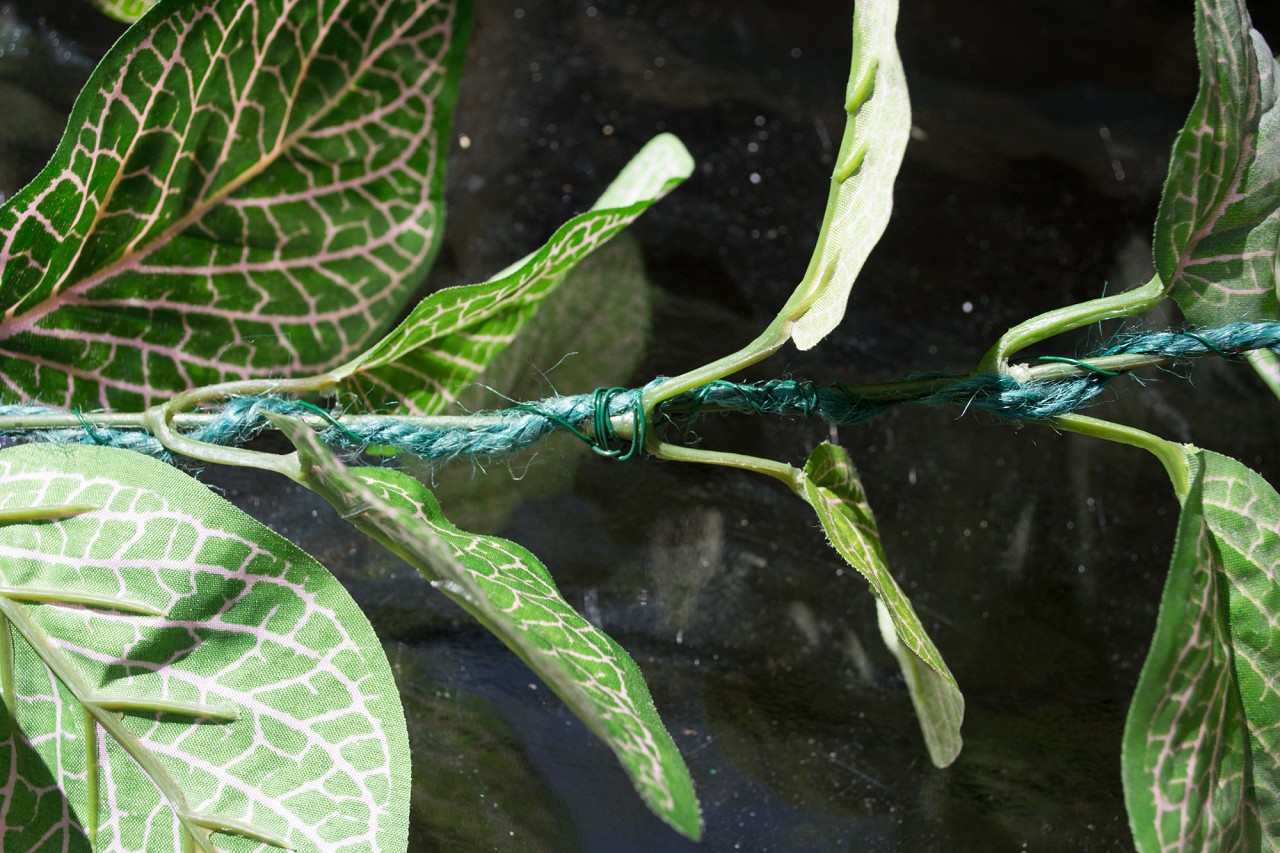
- When you come to a splice between sprigs, tightly wind a few times to secure the junction before continuing on. If you have an area of weakness or loose twine, do not be afraid to perform another few tight twists for security.
- Continue on with the rest of your sprigs until you have your completed vine: Smart, affordable, and just to your specifications.
|