Tiki Central / Other Crafts
Fixing up those nasty ol' Garden Ridge resin tikis
Pages: 1 4 replies
|
T

TikiTres
Posted
posted
on
Tue, Jun 29, 2010 10:21 PM
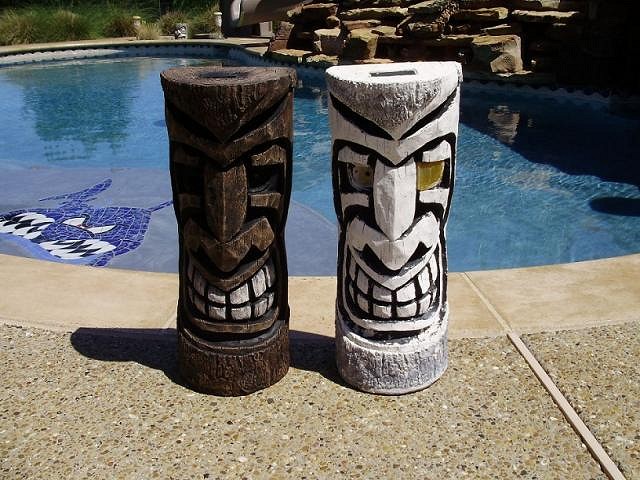
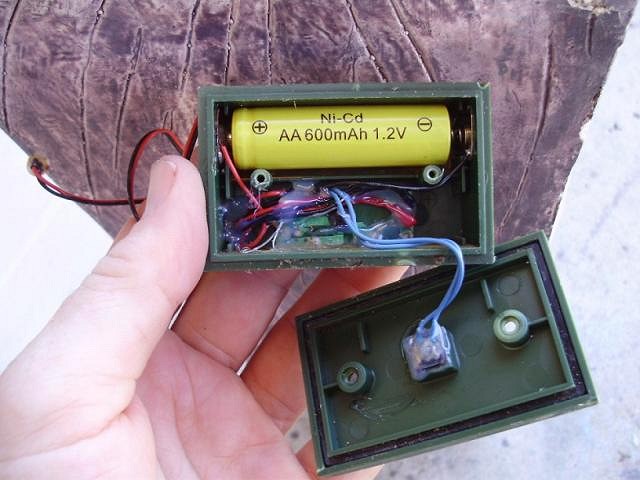
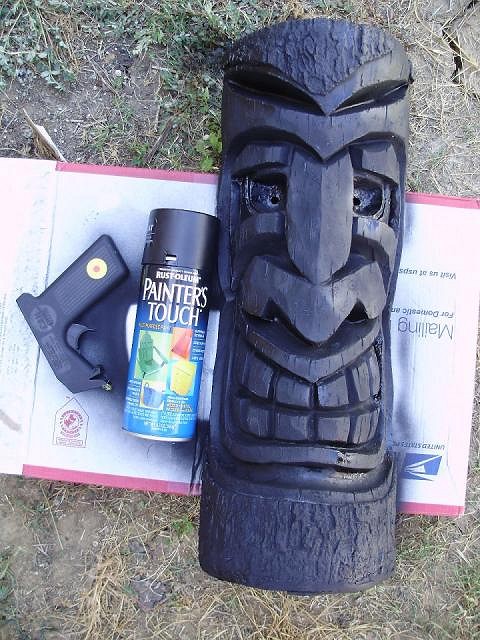
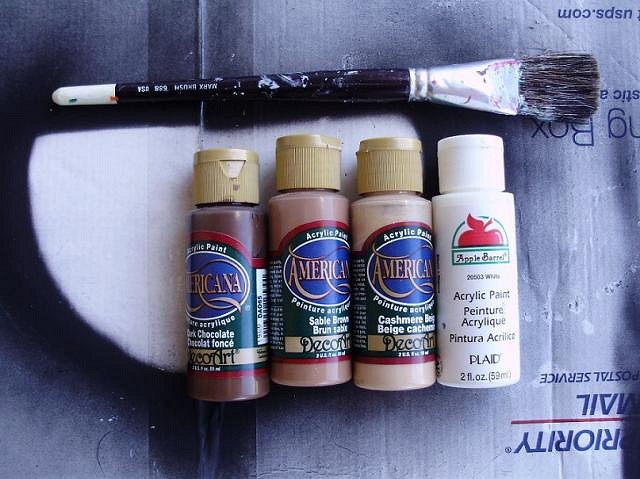
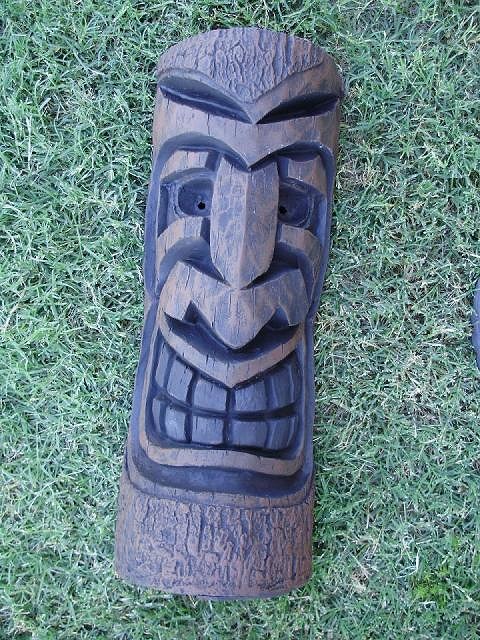
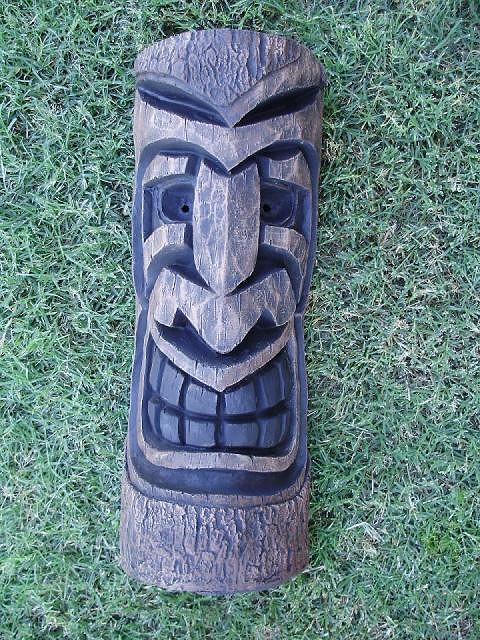
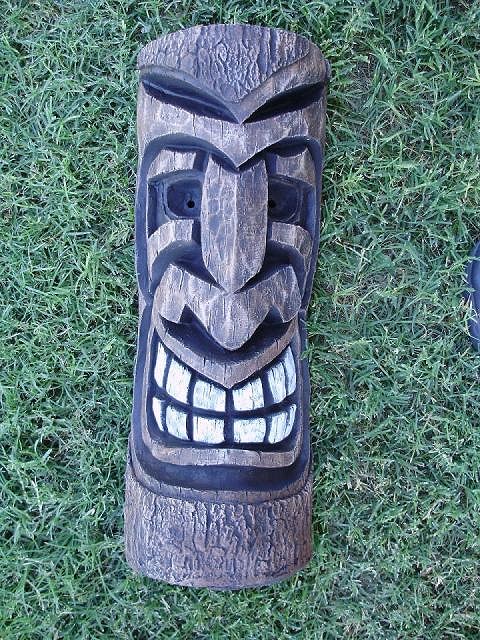
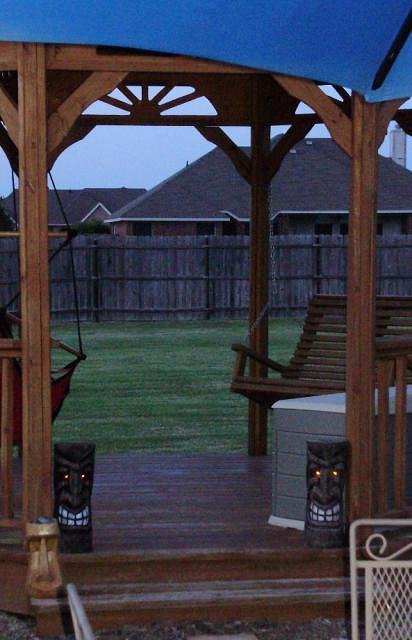
OK, so your friends & family know you love all things tiki and so of course they shower you with the most untiki of gifts from local stores and you've ended up with some of these resin tiki thingies with the light-up eyes. A year or two later the eyes don't light up anymore and the finish is looking like bleached whale bones. But you dare not toss them because Aunt Gertrude will throw a fit the next time she comes over and doesn't see her thoughtful gift on your patio. What will you do? Well if you've got a little time to burn, read on.... Here's a comparison between a fixed up one and a bleached out weathered one: Start by popping those eye lenses out (if they haven't already just fallen out on the ground like mine) and use a stiff-bristled brush to scrape off the loose paint: Next access the battery compartment by removing the rubber plugs on the cover and pulling the screws. The old batt is probably toast, pull it and dispose of it properly (it's Nicad, take it to a recycling center). I put in a NiMH replacement cell from the Walmart camera department and now those beady eyes burn all night long! Check the terminals and steel-wool them if there's any rust on them. It's also a good idea to bypass that wonky on/ off switch, just clip the wires, wrap them together and put some heat shrink tubing over them. This pic is before the battery replacement and switch bypass: Now for the fun stuff, mask off the LED eyes and the solar cell on top and paint the whole thing flat black: Now we're going to do some drybrushing. Most of you probably know what drybrushing is, but if not, basically you take a stiff-bristled brush and dab some paint on it, then rub it on a paper towel until most of the paint is gone, then brush it lightly over the surface such that it leaves paint on the ridges and high surfaces, but leaves the crevices black. I used some cheapo acrylic paints from Walmart that we had laying around: Start with the darkest brown... And work your way to the lighter... And then lightest browns. And toss some white on those teeth: I chose to leave the plastic eye lenses off and just let them have beady eyes: Hit them with some exterior clearcoat (I used satin Krylon), pull the masking off and you're done, Gertrude will love you for it! |
|
K

kingstiedye
Posted
posted
on
Tue, Jun 29, 2010 11:23 PM
good tips, but brown teeth look better. |
|
1

1961surf
Posted
posted
on
Wed, Jun 30, 2010 12:05 AM
Agreed Bullet . |
|
M

MadDogMike
Posted
posted
on
Wed, Jun 30, 2010 1:17 AM
Nice rehab |
|
A

amybean
Posted
posted
on
Wed, Jun 30, 2010 8:30 AM
I like em a lot. Maybe dry brush the teeth a bit with some darker color so you have the best of both light (for accent) and dark (for mostly monochromatic).. ? Thanks for the step by step! |

Pages: 1 4 replies