Tiki Central / Home Tiki Bars
Simple Mug Shelves
Pages: 1 7 replies
|
C

coldwarspacemonkey
Posted
posted
on
Sun, Oct 21, 2018 10:50 AM
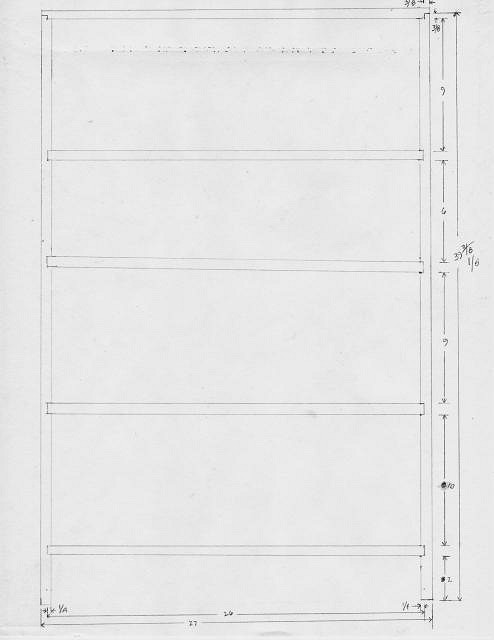
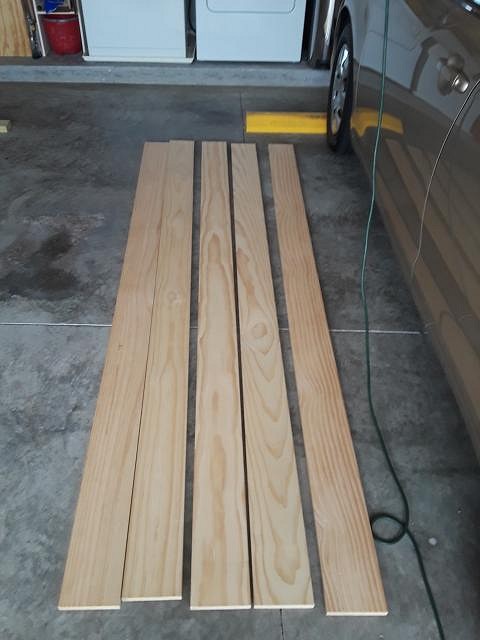
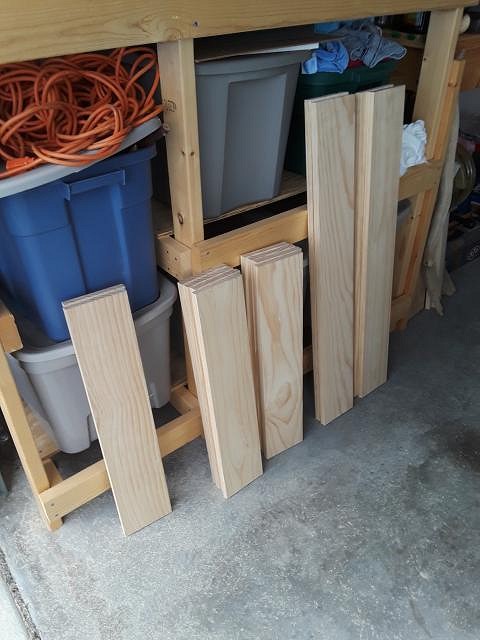
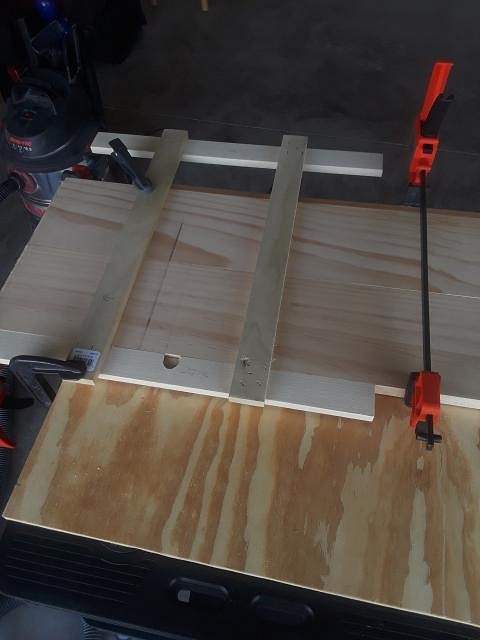
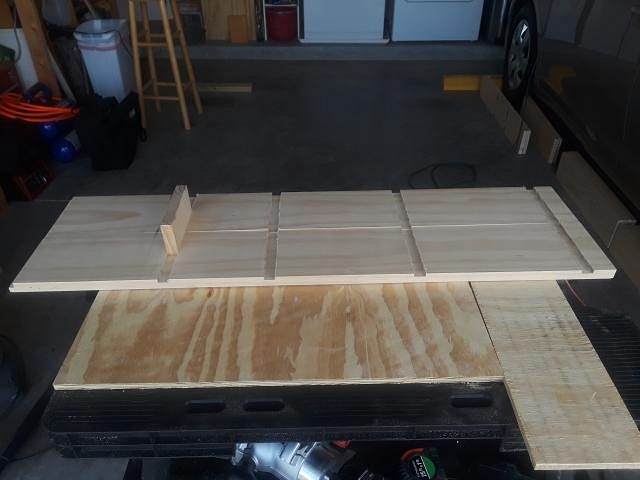
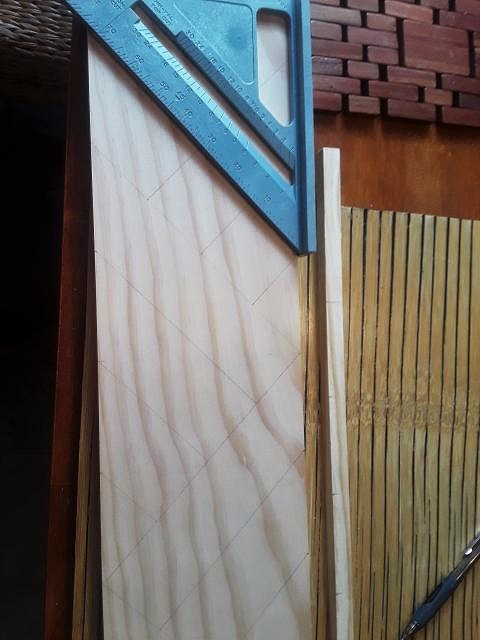
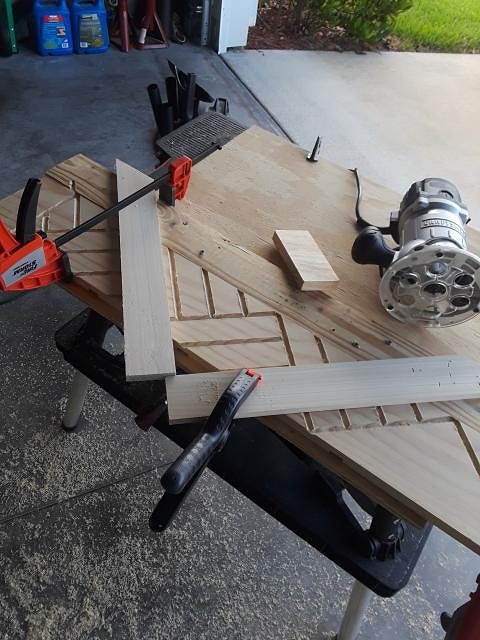
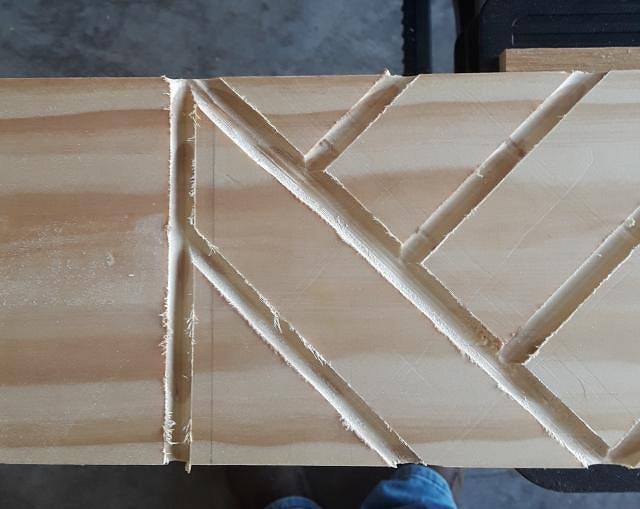
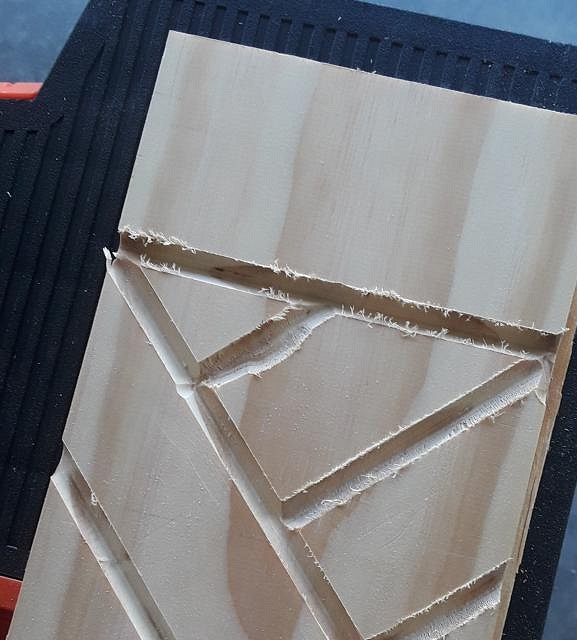
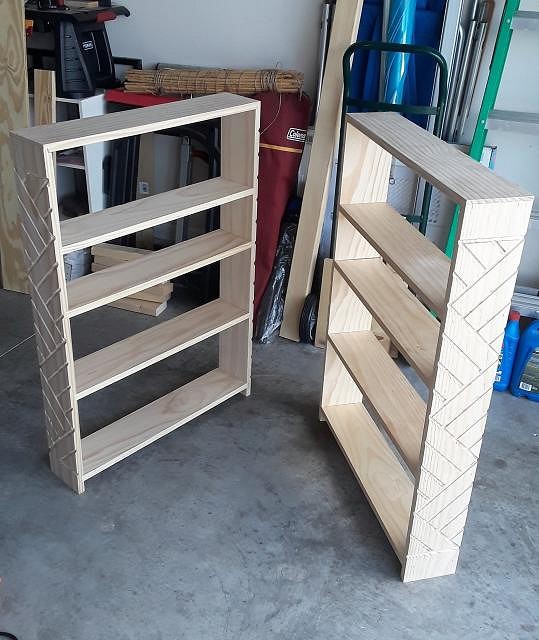
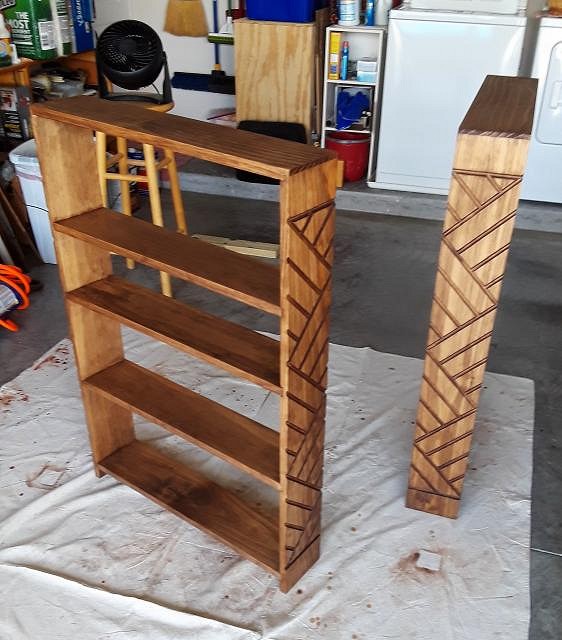
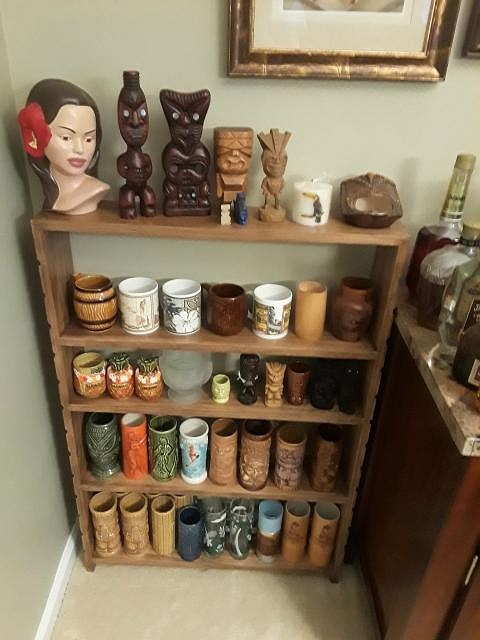
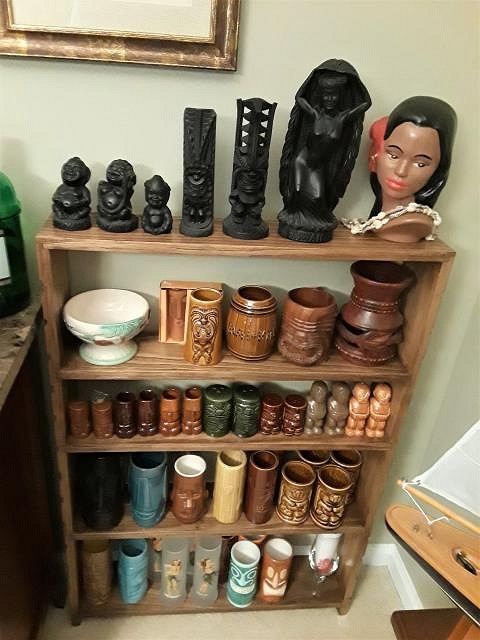
I needed some free-standing shelves for my fledgling tiki and mug collection. I did a search and came up with some amazing stuff here on TC, but nothing for something as basic as what I needed. Absent a good how-to, I decided to keep it simple and make it up as I went along. While using the “learn by doing” school of trial and error, I took a few pictures in case some other furniture-challenged TC’er might find them of use. First thing I remembered from my long-ago junior high shop class (and from my Dad, the NASA engineer) is that you need a plan. I sketched up this one (minor changes were made during construction, like lowering the bottom shelf an inch): Then it was off to my choice of the orange store or the blue store for some lumber. The orange store was closer. I decided on 1” x 6” (actually ¾” x 5 ½”) “select” pine stock. Used a circular saw to knock them down. One side and two shelves from each of 4 boards, with the two top shelves from the last board. Next stop was the router table to cut the ends of the side pieces and the top shelves for the double rabbet joints on the top corners. This is where I started wishing I’d spent the money for a rabbeting bit for the router. I cut them in two passes. Then it was time for the dadoes. I used a homemade fence, and clamped matching side pieces together, routing them at the same time. After the first cut I used a scrap piece of 1” x 6” inserted across both sides into the first cut to index the sides, ensuring the remaining cuts matched and would result in level shelves. Then it was time for the fun part. I wanted a simple design on the sides, even though in their planned location it wouldn’t be visible (maybe later when I get a full on lounge put together…). My router skills are still evolving (they’re in the amoeba stage at the moment) so I decided on straight cuts with no freehand work. Speed square simplified drawing the pattern (don’t tell Mrs. Monkey I laid out the pattern on the kitchen table.) Then it was time to get make some more fences and get to work with the router. Here’s the error part of “trial and error”. The next foul-up was from not getting the fence and the workpiece adequately clamped together, and the wood beginning to wander. Not fixable, but hey, this is supposed to look handmade, right? Router work done. And assembled. Next was Minwax Special Walnut stain. Three coats of satin poly later and here they are in their assigned location. I secured them to the wall to prevent tipping (6” is pretty narrow, especially on carpet) using some leftover hardware from a “buy it in a box” piece of furniture. Other than correcting the errors I mentioned, the only change I would make on a future project like this is to use a spit coat on the pine before staining. I’ve done that before and it evens out the stain a lot better, but I got in a hurry on this one. Thanks to all the folks on TC who have shared both their knowledge and their inspiration. Mahalo! |
|
PP

Pele Paul
Posted
posted
on
Sun, Oct 21, 2018 12:41 PM
awesome!!! nice work |
|
BB

Bam Bam
Posted
posted
on
Mon, Oct 22, 2018 6:11 PM
Awesome work! Certainly puts my bookshelf brackets to shame. |
|
S

Sandbartender
Posted
posted
on
Mon, Oct 22, 2018 6:52 PM
That looks great! Nice collection of mugs, BTW. |
|
PP

Prikli Pear
Posted
posted
on
Tue, Oct 23, 2018 8:28 AM
Good job! The only downside is that your nice router work is obscured! |
|
C
coldwarspacemonkey
Posted
posted
on
Tue, Oct 23, 2018 12:50 PM
Pele Paul - Thanks! |
|
W

W8N2Surf
Posted
posted
on
Fri, Oct 26, 2018 7:19 AM
I like the lumber thickness, great woodworking for a solid clean result. |


Pages: 1 7 replies