Tiki Central / Home Tiki Bars / Hakalugi's - Bamboo Fence & Play Structure Makeover
Post #229130 by Hakalugi on Thu, Apr 27, 2006 11:21 PM
|
H

Hakalugi
Posted
posted
on
Thu, Apr 27, 2006 11:21 PM
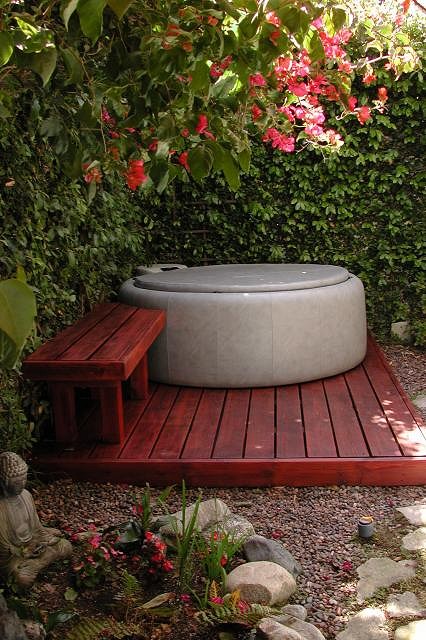
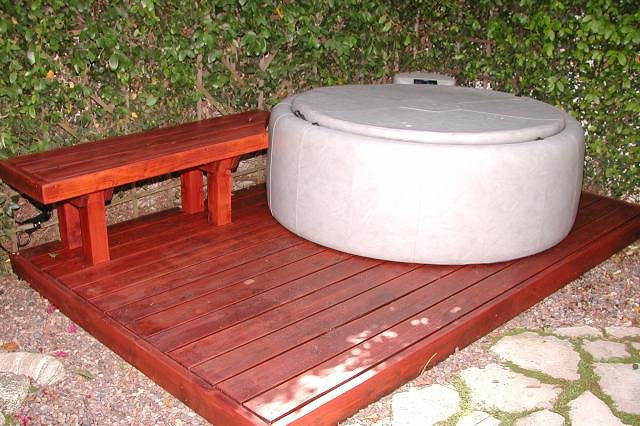
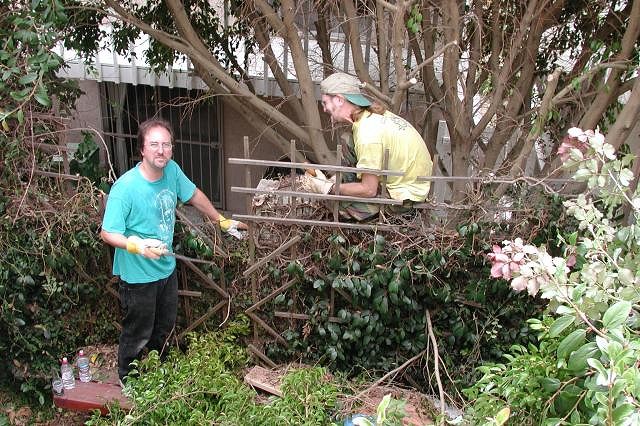
Hakalugi's Bamboo Fence Project: Below are some before shots in better times. After many years the thick overgrown vines were becoming harder and harder to manage. Plus there were times when you would be sitting in the hot tub and you would hear creatures clambering through the vines. You never knew if one of them might fall into the hot tub right into your lap. It was definitely time for a change.
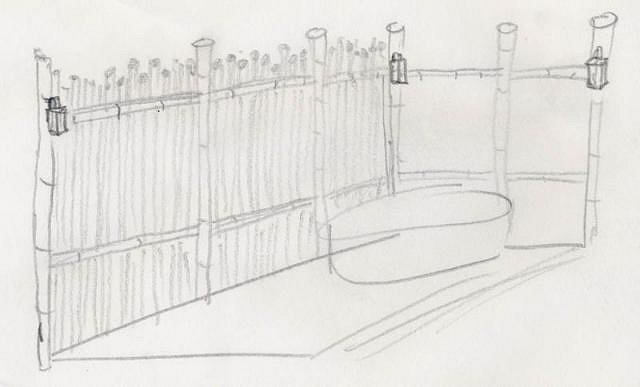
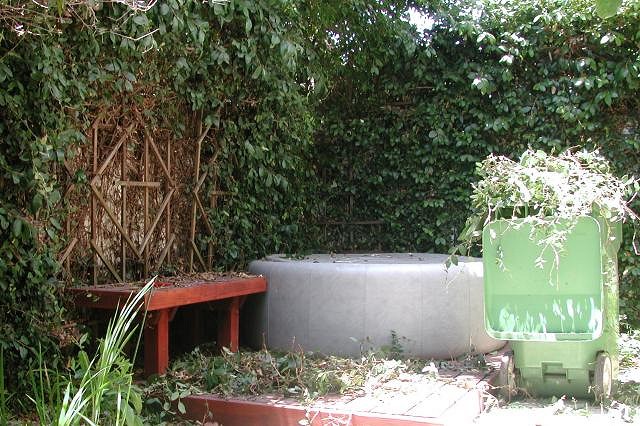
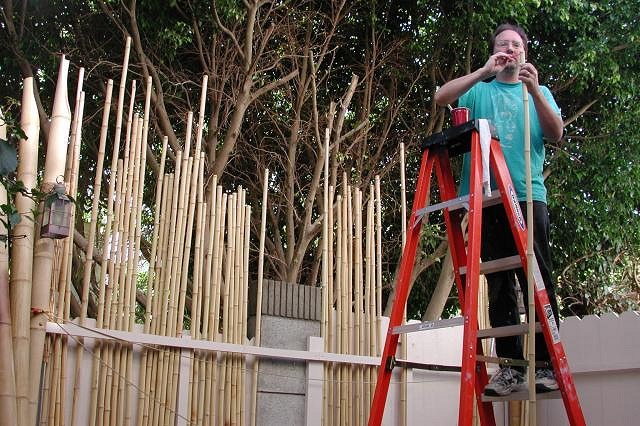
The Plan: Removing the overgrowth: Getting started: Hakalugi (me) and Bartman cutting back the vines and the neighboring tree which leans over the fence and drops tons of leaves and messy seedpods. Our first obstacle was an opossum which had decided to take up residence next to the warm hot tub. When Bartman found it cornered between the fence and the hot tub, it had leaped up hissing and tried to bite him. The opossum had no intention of leaving and we had no choice but to relocate it. Without hesitation Bartman grabbed it by the tail and then was able to hold it by the scruff of the neck. Fortunately I had a cage to put it in. It looked like the opossum had been nesting there for a while. We looked to see if there were any babies but found none. Later that night we drove out to a remote field that had a stream and released it.
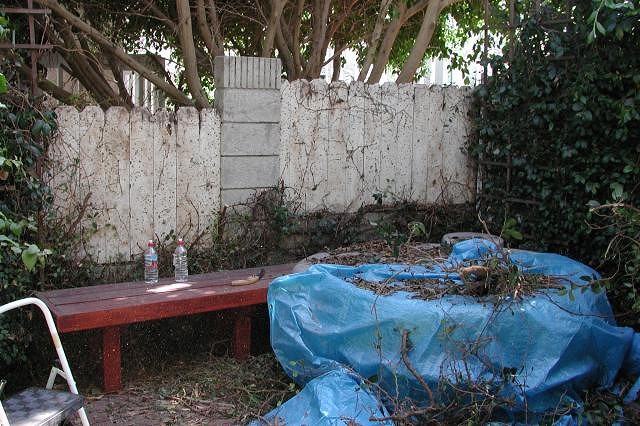
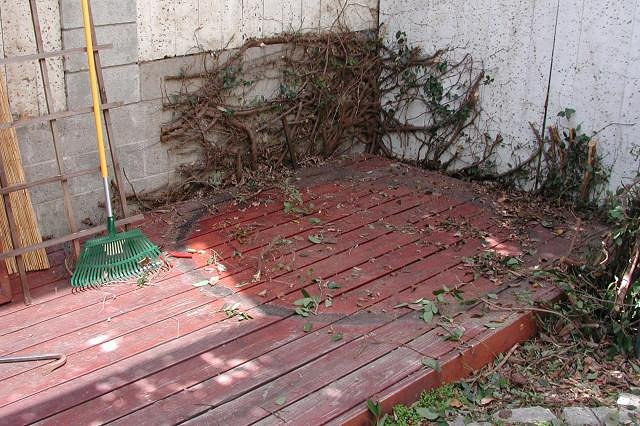
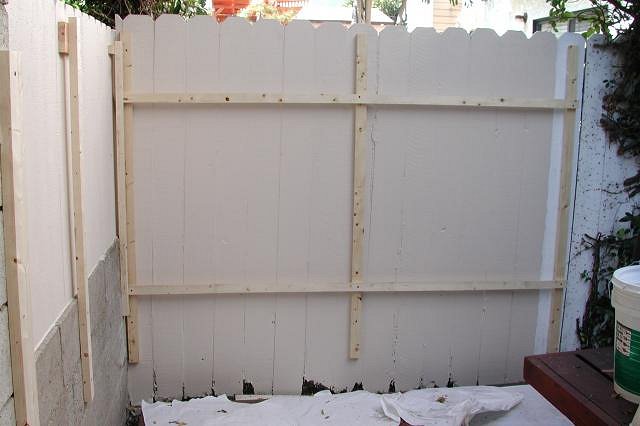
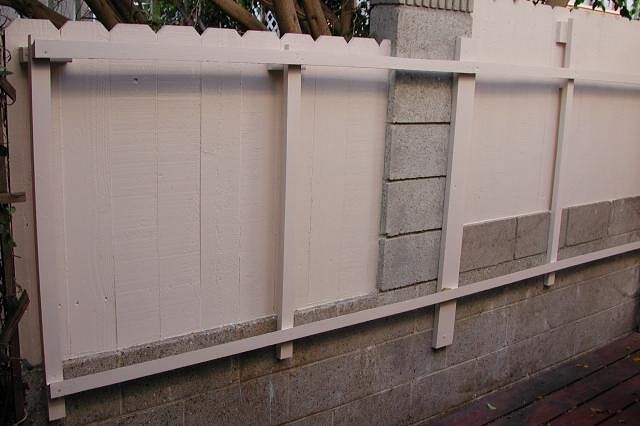
By the end of the first day I was left with this: A few weekends later: These vines were quite thick. Not only did they have to be cut back, but the roots needed to be removed too. After a few more weekends of work all of the growth was removed. I then did some repair work to the fence and painted it. Actually that’s an understatement. I actually had to replace the fence along the back wall because it was badly damaged by termites and from where vines had pushed between the slats. If I didn’t fix it now, any future repairs would involve removing the bamboo fence. Plus the bamboo fence was to literally hang from this existing fence, so it had to be strong. So, new slats, painted on both sides with primer and two coats. I then caulked all of the seams to prevent any new vines from the neighbor’s yard from sneaking through. Of course they might still come over the top but at least they won’t do any damage. After a few more weekends, the above work was done and I was able to install the supports for the bamboo fence:
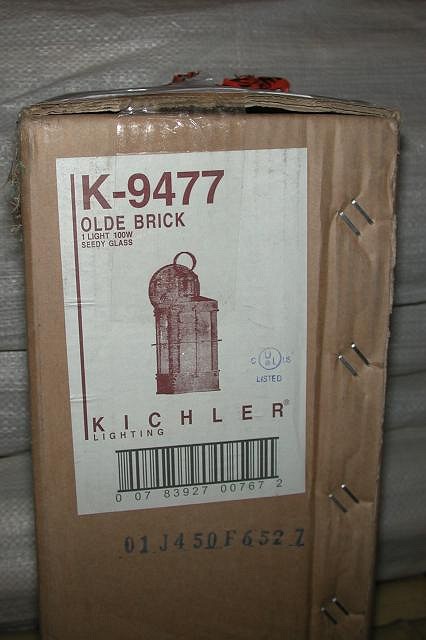
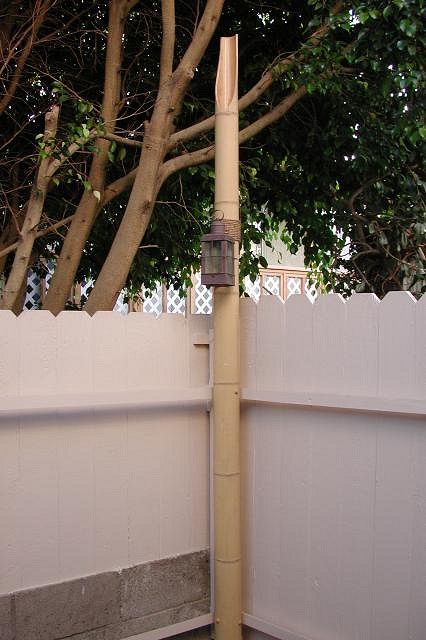
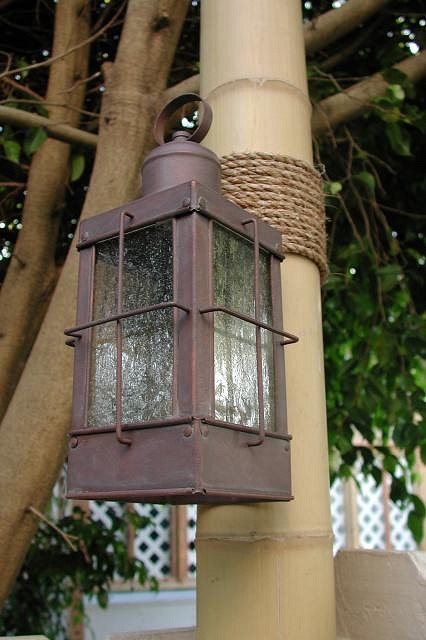
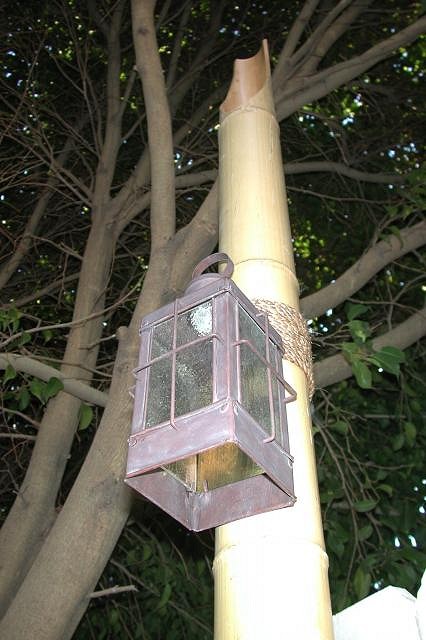
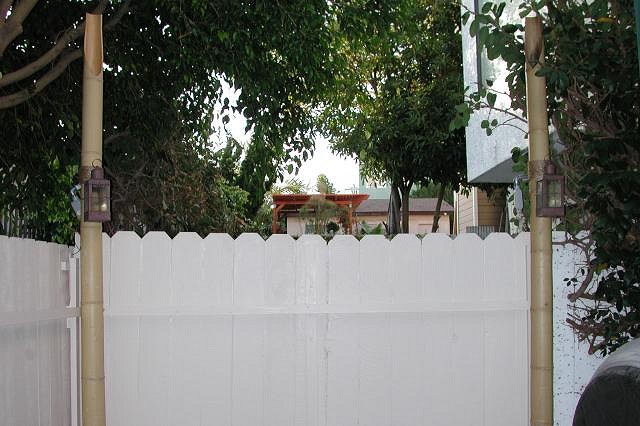
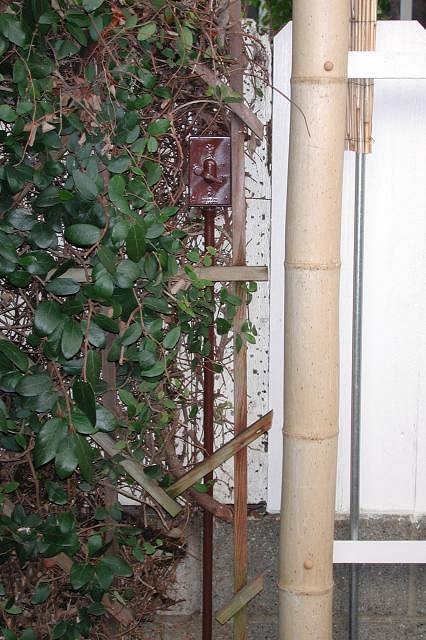
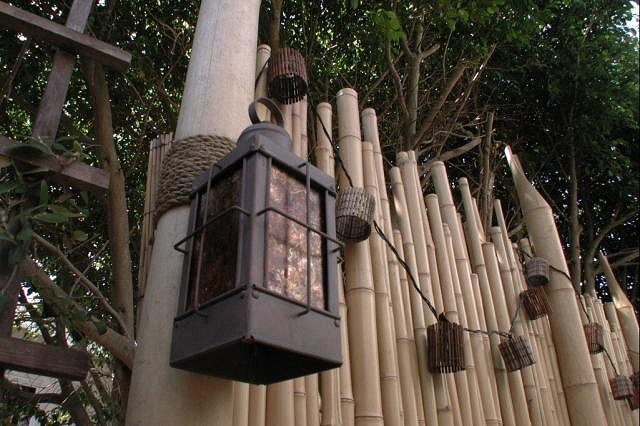
The crossbeams that the bamboo would mount to are angled so that rain water drains off: The light fixture I settled on. The other fixtures I liked had glass globes but I chose these because I wanted to be able to replace the glass with something that looked aged. The posts with lanterns (still with stock glass) go up. I used a fine tooth saber saw to cut the tops of the posts:
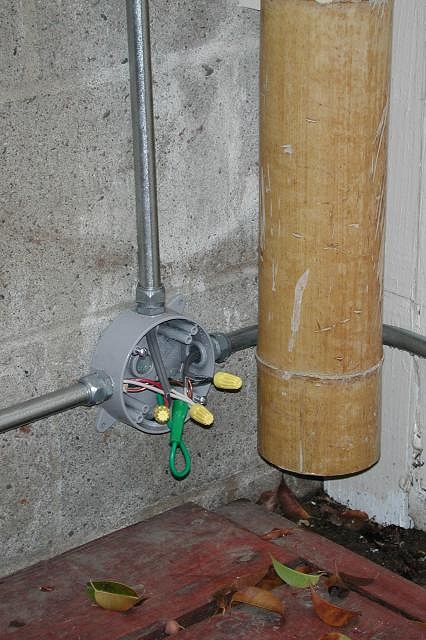
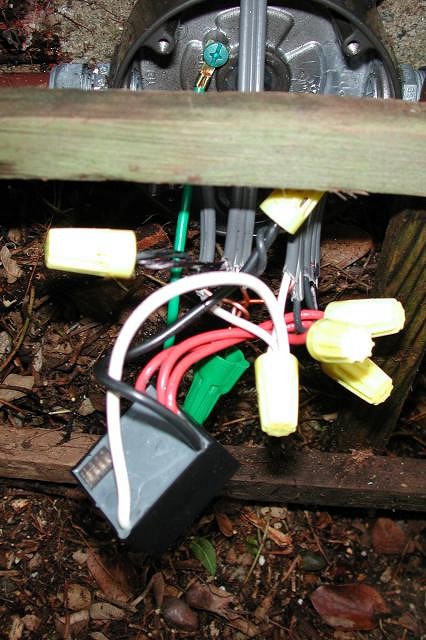
Now that the three lamp posts were installed I was able to move on to the electrical. I was able to tap into an existing outlet which was already along the back wall of the yard:
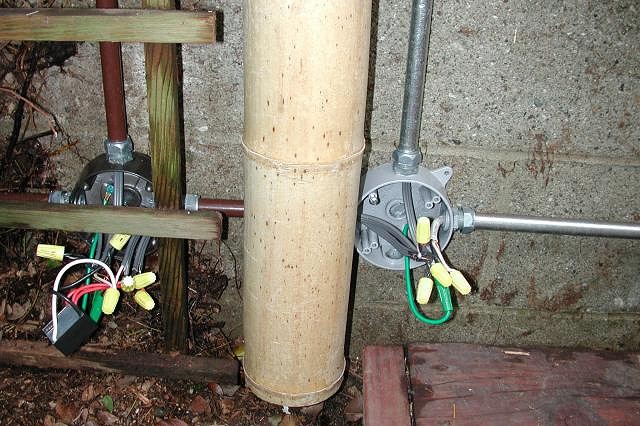
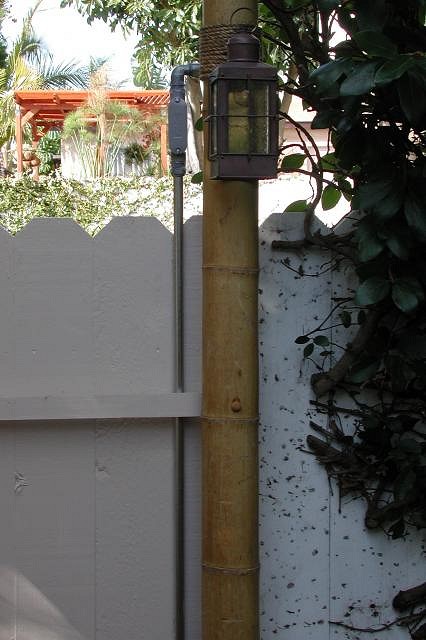
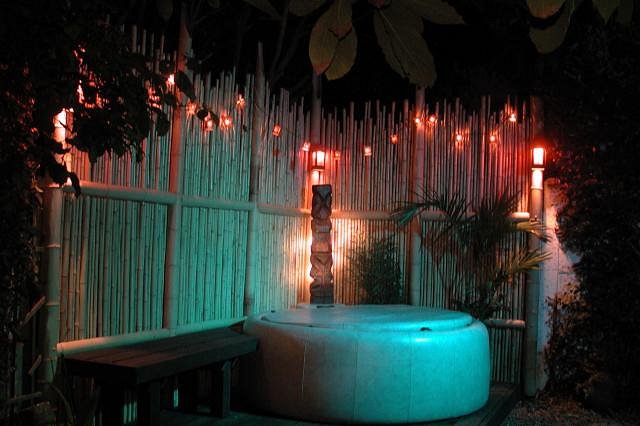
Here is a close up of the three channel random flicker circuit from SimFlame as originally pointed out by Tiki Lee over here. This is a really cool device. Each lamp is independent and softly flickers like a flame. Switch for the lamps: Since I attempt to be nice to my neighbors, I didn’t want the electrical to look obtrusive from the backside of the fence. So I wrapped the conduit. Unfortunately this didn’t stop the neighbors from complaining about the noise from my last late night gathering.
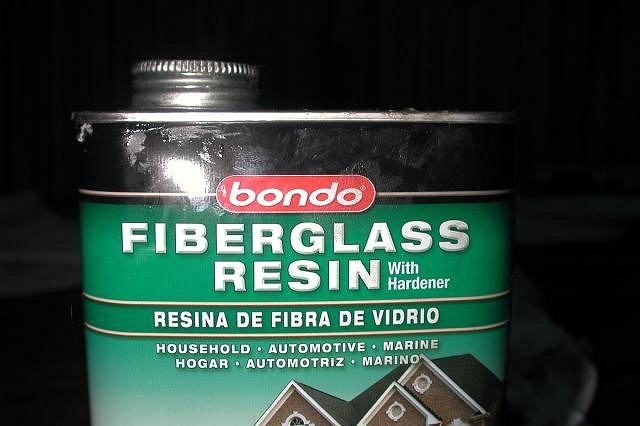
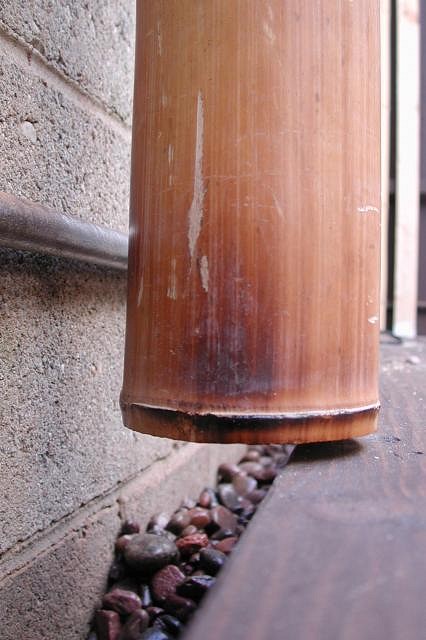
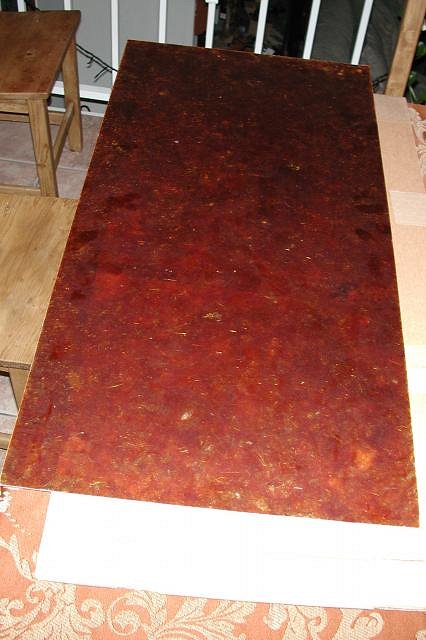
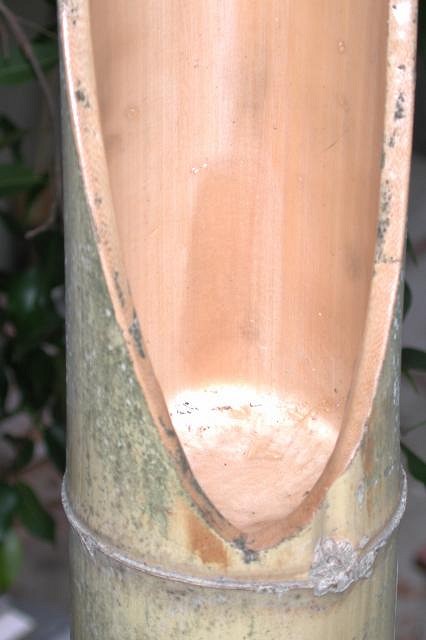
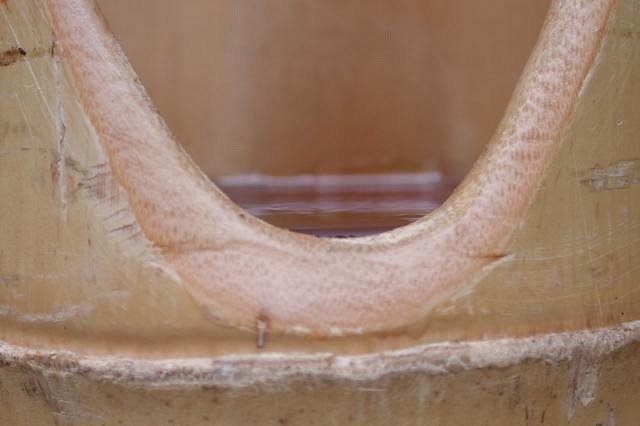
All of the bamboo was sealed on the ends with resin.
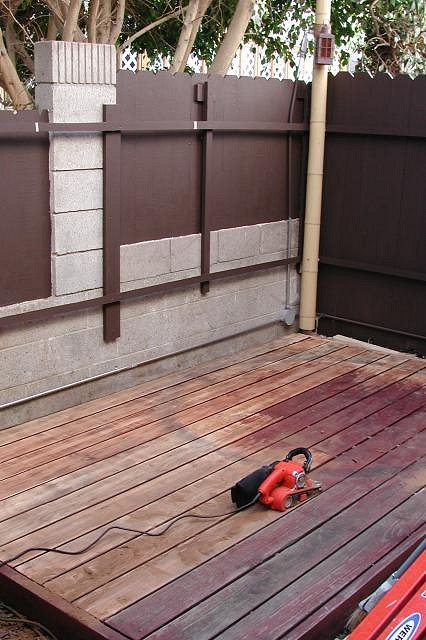
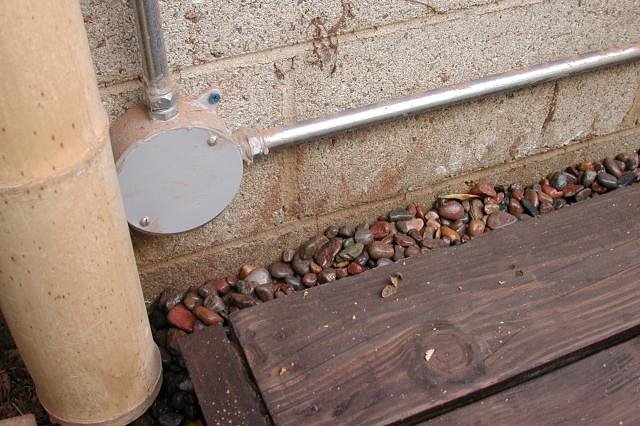
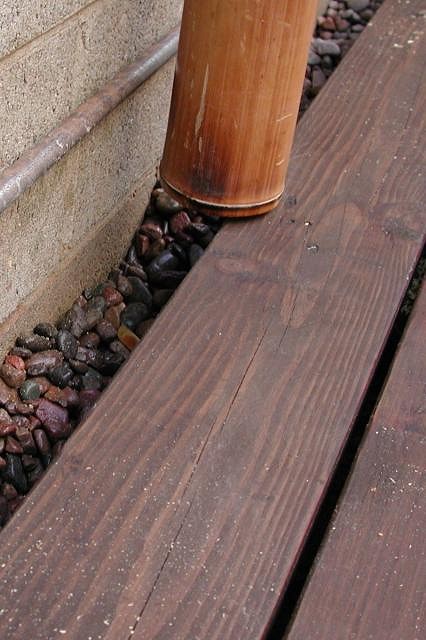
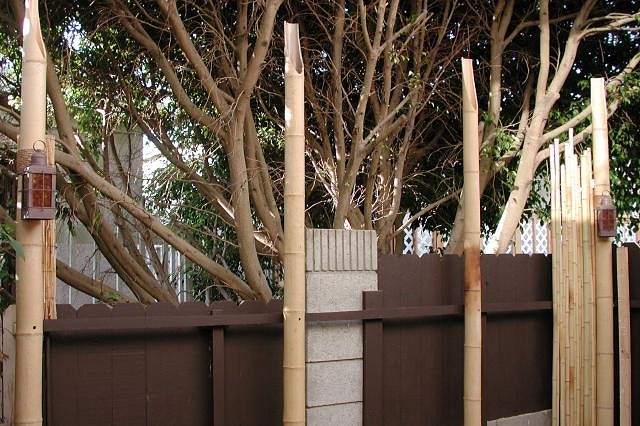
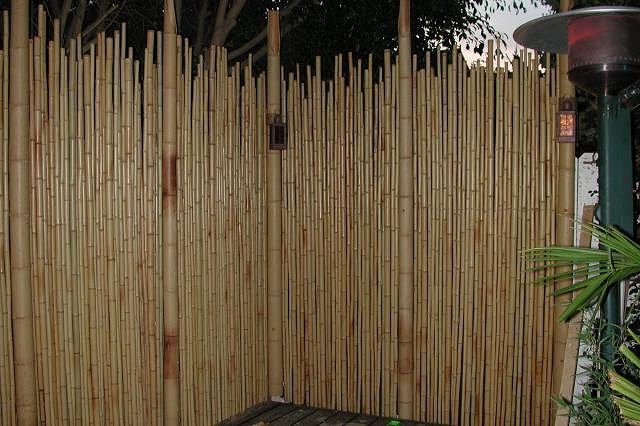
I decided it would be best to paint the fence a darker color so it would be less visible through the spaces between the bamboo. Refinishing of the deck has also commenced: Fresh gravel has been laid along the perimeter: The bamboo must not be allowed to touch the ground (or deck in this case).
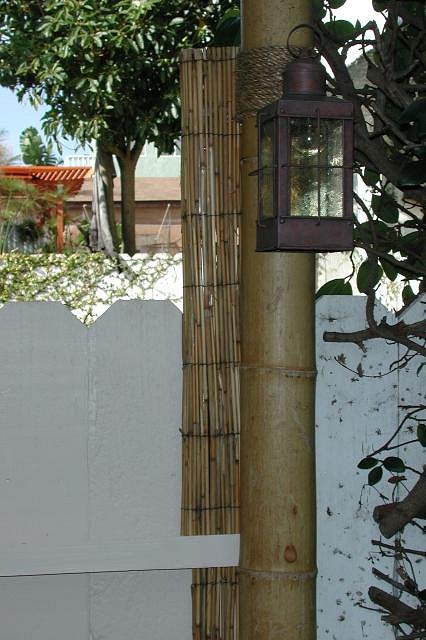
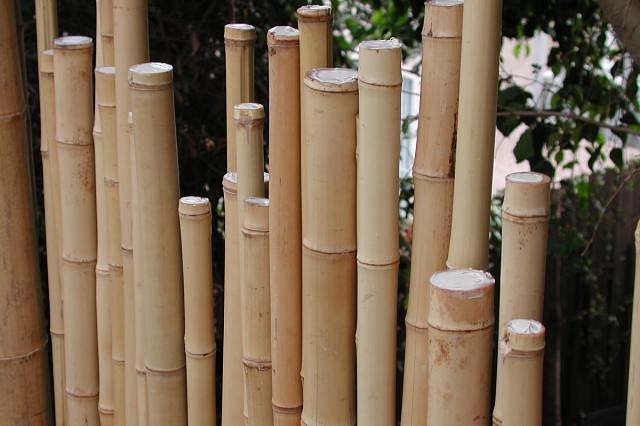
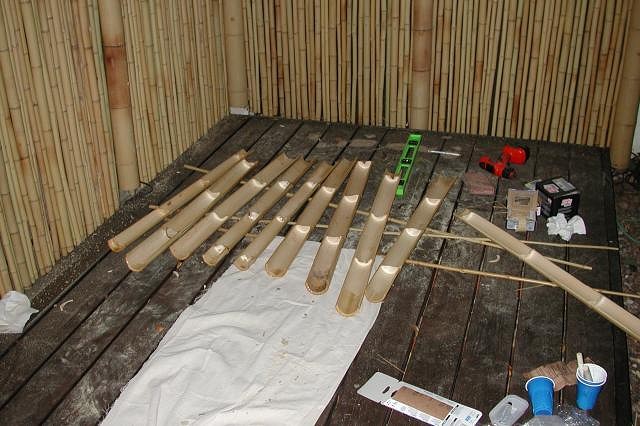
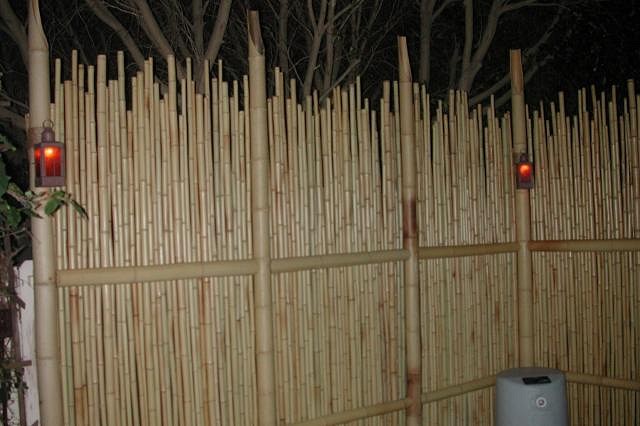
I replaced the stock glass in the lamps with amber mica. This stuff looks great when illuminated. I purchased it from here. The final posts go up and the rest of the bamboo starts going in. The bamboo was all cut in random lengths (prior to sealing you dope!).
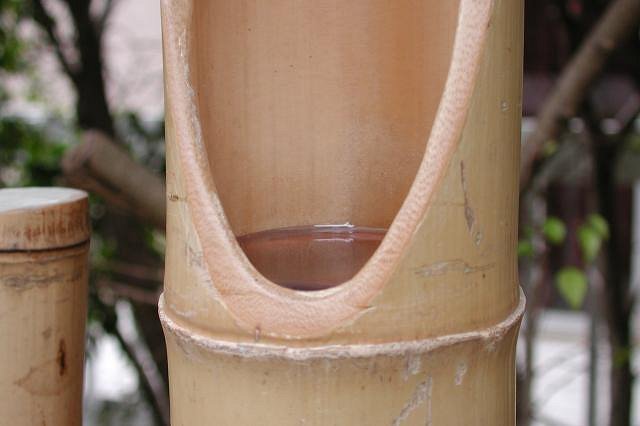
The tops of the bamboo are then filled with caulking to prevent standing rain water and mosquitoes. The post tops are filled with resin for the same reason. After:
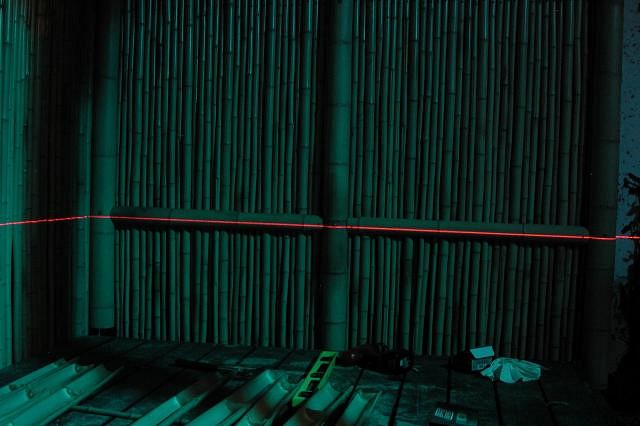
One thing I chose not to do at this time was to completely seal the outside of the bamboo with some sort of varnish. Why? Because I was in no mood to sand off the waxy coating on the hundreds of pieces of bamboo. Over time the waxy coating will weather away (6 to 18 months?) and the bamboo will begin to change color, at this time I will seal the bamboo. I may use Australian Timber Oil unless someone here has a better recommendation. The cross beams are cut and ready to install. I aligned them the way the ancient Polynesians would have, with a laser:
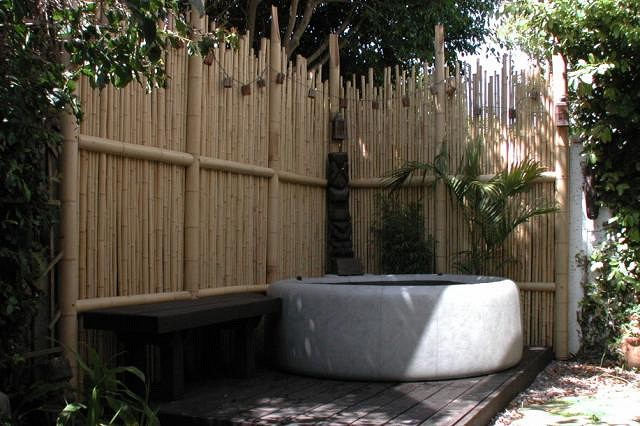
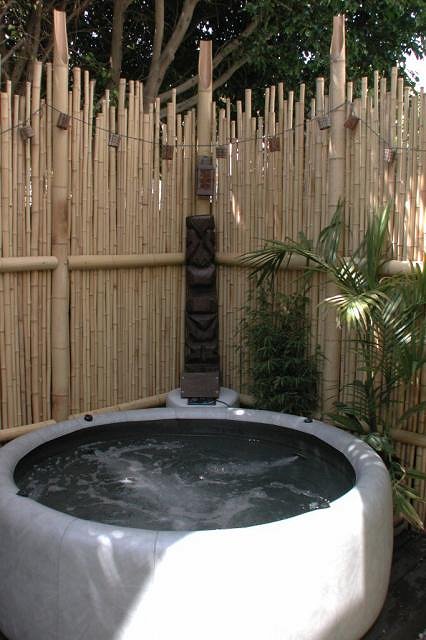
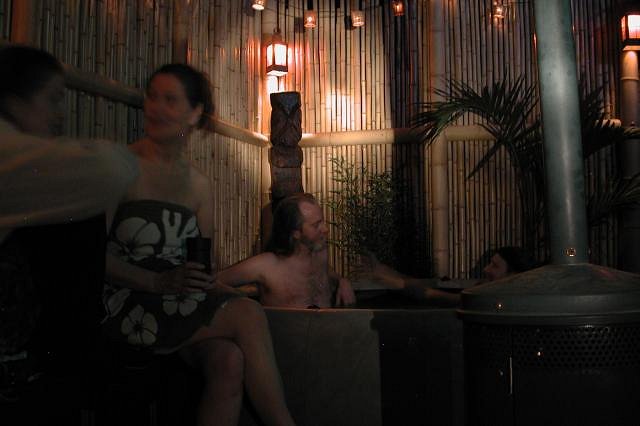
Pretty much done. The Tiki is a temporary one which I found for $40.00 at a garden décor shop which was going out of business. I will soon commission someone for something better. But for now, this Tiki is quite happy where it is.
Scoundrels enjoying the fruit of my labor: Time for a Mai Tai. (edited to fix image links) [ Edited by: Hakalugi 2008-08-08 02:05 ] (edited to revise subject) [ Edited by: Hakalugi 2013-07-11 00:24 ] |