Tiki Central / Other Crafts / Plaster Mold Making & Some Ceramics
Post #374339 by Babalu on Thu, Apr 17, 2008 3:30 PM
|
B

Babalu
Posted
posted
on
Thu, Apr 17, 2008 3:30 PM
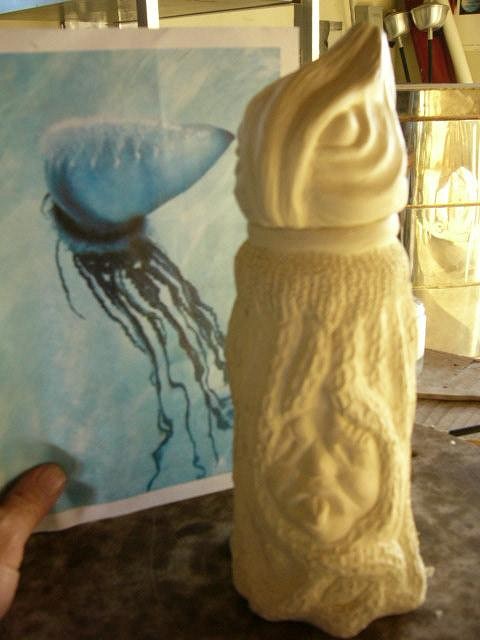
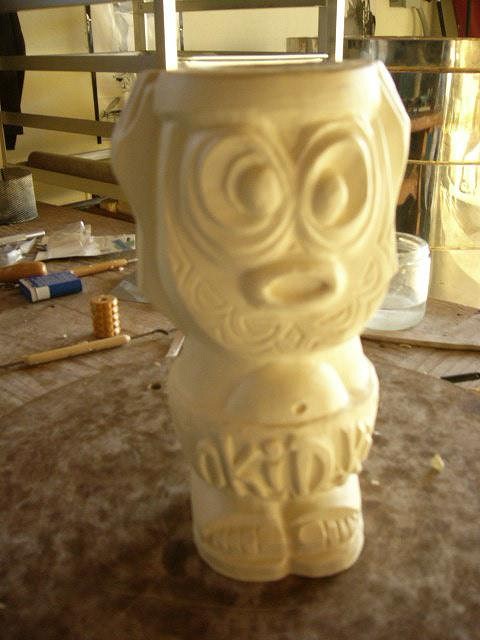
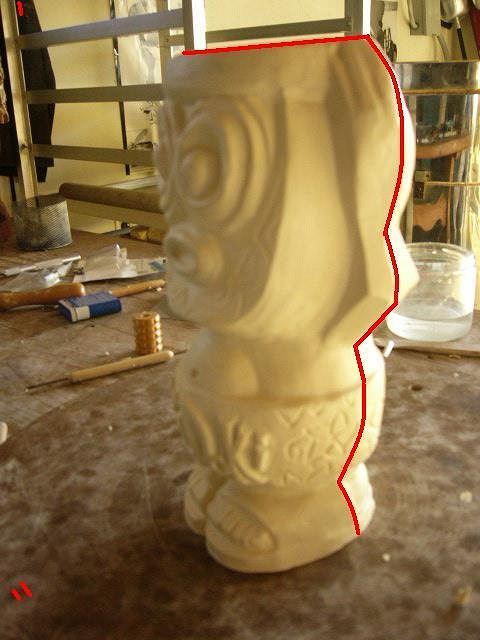
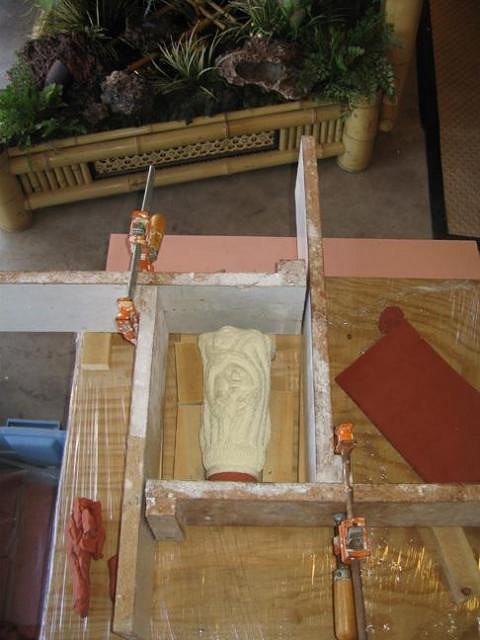
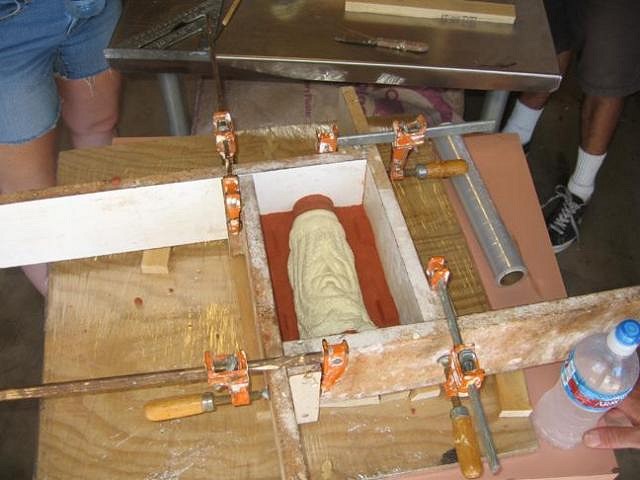
Ok gang, here we go...These were the finished oil based clay sculptures that we started with (the masters). When you sculpt your design you want to make sure you have designed in no undercuts on the master as your plaster molds will need to pull away from the slip formed clay inside the mold when is broken apart. If you have undercuts in the design, it will rip the the clay where the undercuts are located. The Man of War mug shown here is a 4 part mold for the bottom part, and a 2 part mold for the lid. The Oki Doki mug (also shown) is a 3 part mold. As you are sculpting your master, you want to always work thinking about where you want to make your part line on the mold as you go...note the red line on the Oki Doki mug.
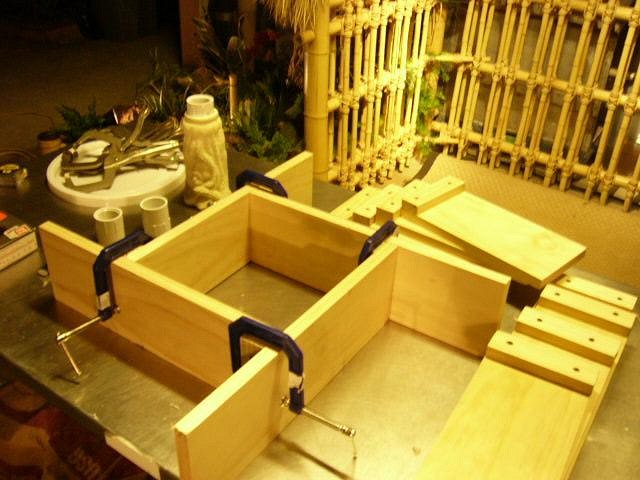
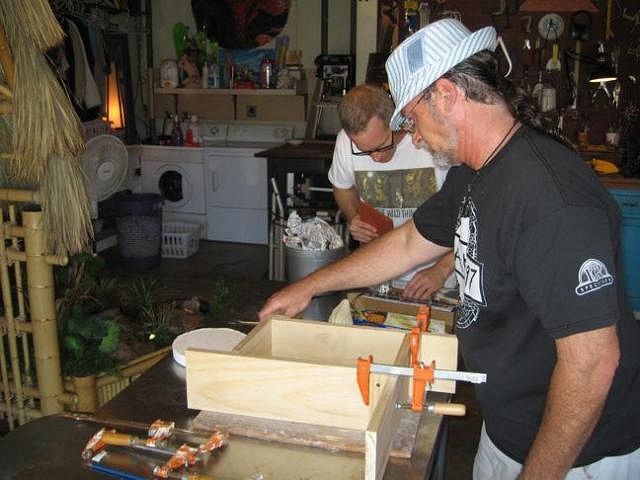
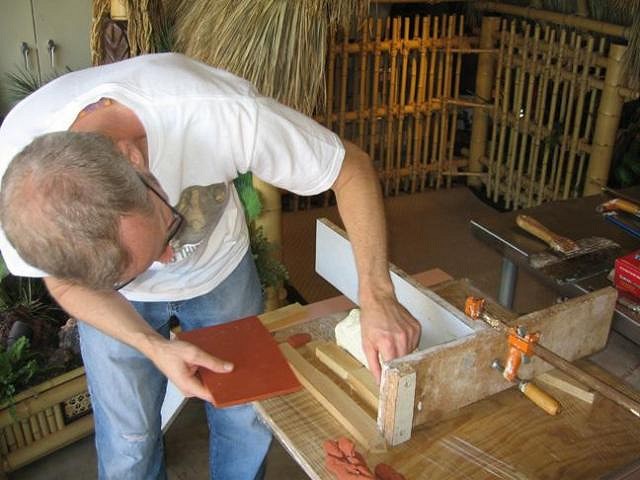
I made these simple wood forms. This design makes it easy to be able to adjust the size of the form, and can be used multiple times, for many molds. You want to coat the inner sides of the wood forms with mold soap, or a wood floor soap which will act as a releasing agent...the dried plaster won't stick to the wood.
Next, we started adding a softer cheaper brand of oil based clay(found this stuff at Arron Brothers) to build up on the inside of the form. This will be the first half of the MOW mug. Note how Bowana put some small strips of wood on the bottom which acted a filler so we didn't have to use so much of the soft oil based clay. The clay was built up to our choosen part line on the master.
Note how clay was added to the base of the master and to the top. Bowana...anything you can add to these steps? |