Tiki Central / Tiki Carving / A couple more weapons
Post #508383 by coconuttzo on Mon, Feb 1, 2010 5:05 PM
|
C

coconuttzo
Posted
posted
on
Mon, Feb 1, 2010 5:05 PM
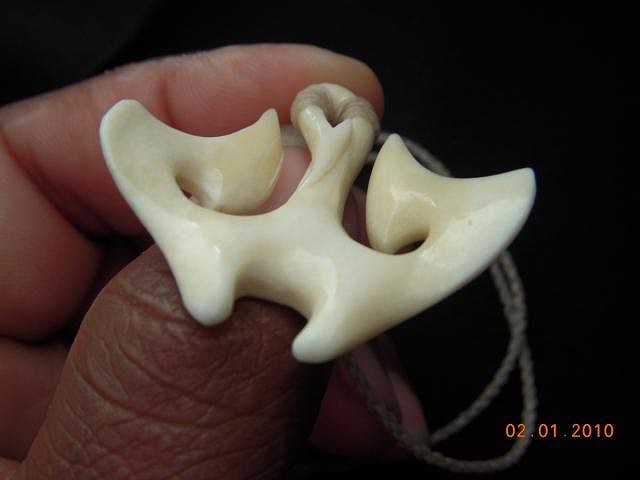
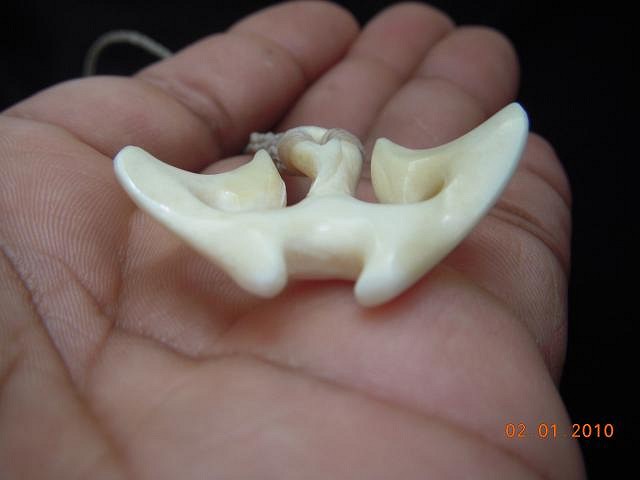
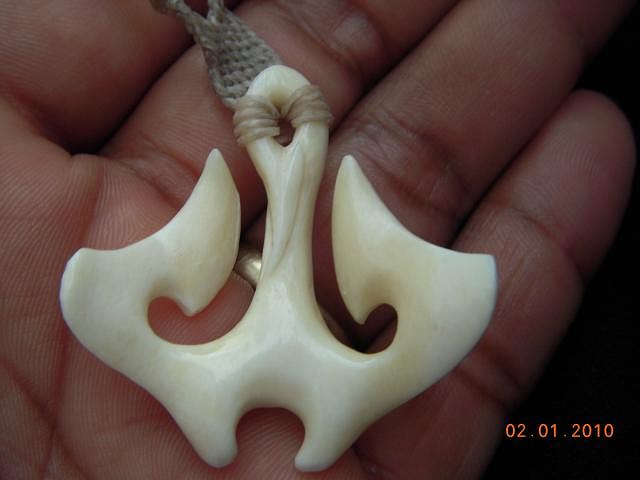
I was drawing sketches in my book of 'STUFF' this past Sat, Jan 30, of designs that I've never seen before for makau designs. I wanted something to POP! So I doodled & thought, 'what about double hooks?' I've seen some, but I wanted to seperate myself from the others, so the symetry elements went in then not so symetrical but more fluid, they then started to resemble anchors, so flowing anchors were drawn and then I put a semicircle gap on the bottom and was amazed that I had eventually ended with a design that resembled a manta ray. So my next drawing subject, a flowing manta ray, but I wanted mine's to fly, so I had to picture it underwater, in flight, thus the piece I call "Soaring Depths". It measures 1 3/4" x convexed curved 2"(44mm X 51mm).
This was pretty difficult to say the least because of the different planes that I had to make up as I was creating it which a paper drawing does not show. I wanted the planes to stick with the fluidity of the piece. At first started by trying to be more symmetrical but then thought, when is mother nature ever symmetrical? That's the reason our left finger prints never match our right. The bulky Dremel don't help either.
I let the bone speak to me on all my pieces so this was a no brainer on how I was going to achieve the curve for the fins, if that's what they're called.
I lashed it on with waxed nylon thread, 4 plaited, unbraided, with a simple single prussik loop but dressed the loop to show the threads wrapping around & dissappearing around the back. Then I wanted to do something different yet again and remebered my sisters braiding friendship bracelets back in da day. So 3 tried & failed attempts & a couple of youtube tutorials later I got it started to about 8 rows(to even out my thread). I then split them & made 4 rows each & then continued the 'under 2, over 1' 4 plait round braid. When I was finished, it was too tight for my neck. I only compensated for the usual round braid and did not take to account the friendship braid knots(note to self: Next time stick to the plan, dummy). |