Tiki Central / Tiki Carving / Buzzy's work: Lasciate ogne speranza, voi ch'intrate
Post #516155 by Bay Park Buzzy on Tue, Mar 9, 2010 8:14 PM
|
BPB

Bay Park Buzzy
Posted
posted
on
Tue, Mar 9, 2010 8:14 PM
Today's sunset: pt. 1 Today's sunset: pt. 2
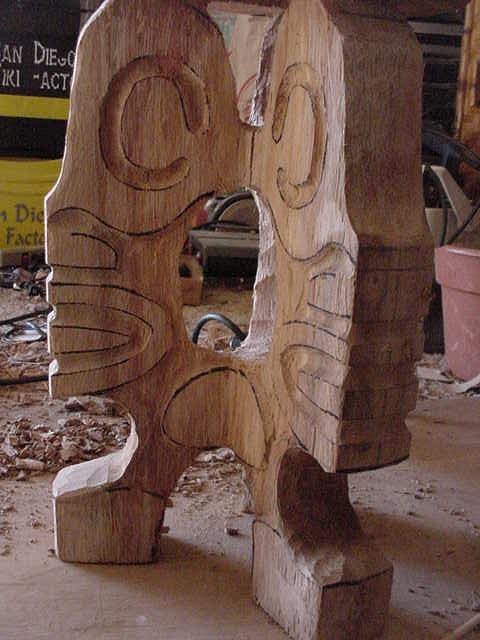
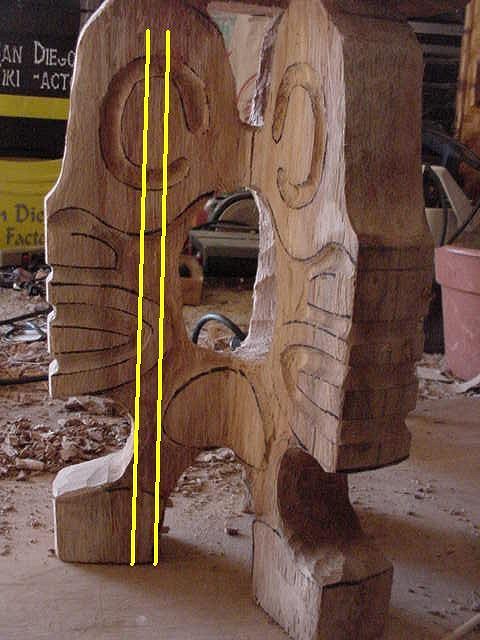
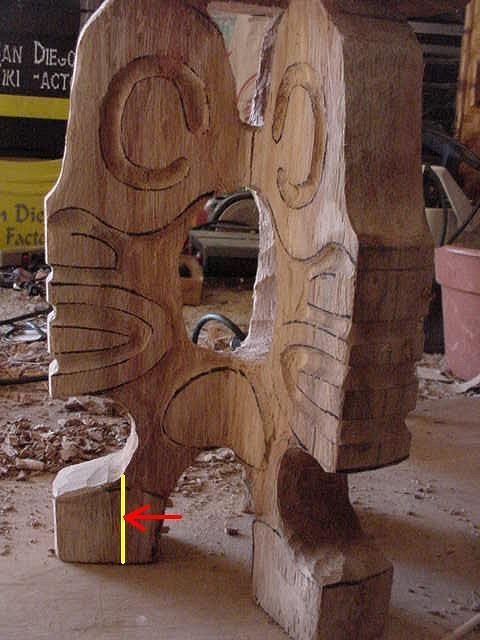
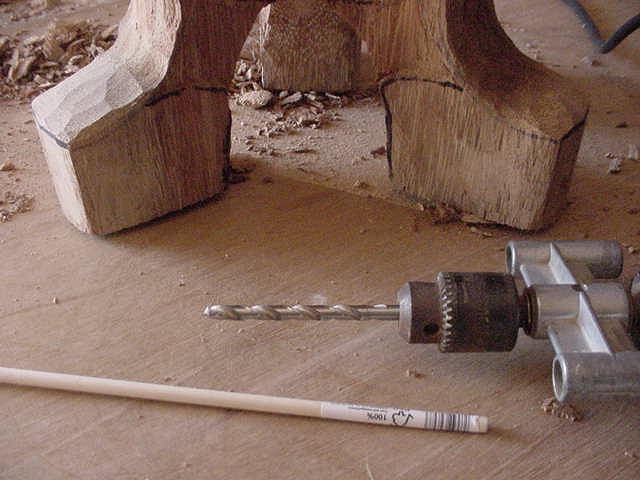
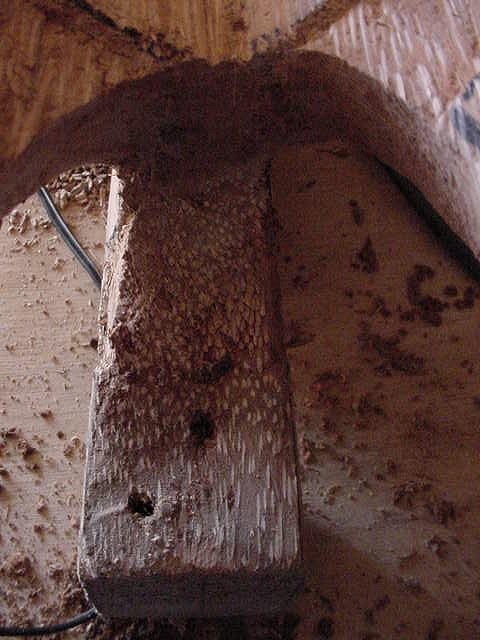
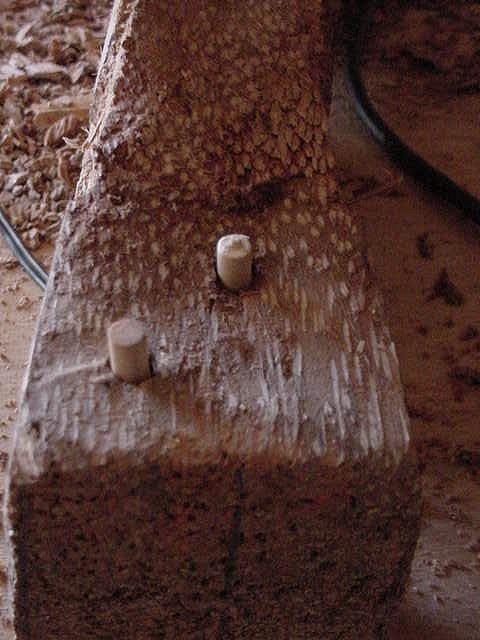
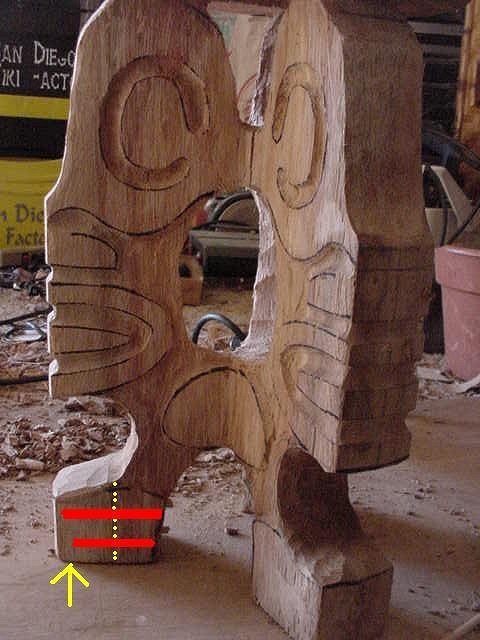
OK, here's how I think I overcame the weakness of the palm in that part we'll reference the tiki profile on the left for this theory: Because of the log's composition, I only have to worry about vertical breaks. And, the only vertical breaks I have to worry about, would be those vertical breaks on a plane, caused by an impact or shifting weight on it at that exact spot. The way to lessen the chances of this happening is through designing it initially to be structurally sound and the reinforcement of its weak spots First step is to work on the overall structural strength. I did this through the original design. The longer the uninterupped section of vertical palm strands that I could leave untouched, the stronger the piece will be. I made sure when I did my stencil that I left an "anchor alley" from the top of the leg through the bottom of the drum. Here it is lined out: the only place I really have to worry about it breaking now is left of that line: that can be addressed through a little reinforcement. The reason it's weak there is because the only thing holding the vertical strands together are the natural bonding material in the wood. This stuff will hold, but not that well. I need to add to its natural adhesion. The way I'll do that is with dowels, and as Cammo suggested, elmers glue. here's how I did it: 1/4" drill bit set to correct depth and a 1/4" dowel I drill the holes staggered and close to all the way through. later, I'll glue in the dowels. For now, I just have them all sized and ready to go My theory is that those dowels will provide extra support from impacts in the direction of the arrow in this picture:
Thanks BigT. I'm on th ehome stretch now...
You, and all others, are quite welcome. one day I hope to have my own New Yankee Tiki carving Living room workshop show. "On today's show, we'll be making a drum based on this Marquesan Knifey thingey tourist carving. But first, let's take a minute to talk about shop safety..." That'd be the life. Until then, I'll just pretend and do it like this on TC.
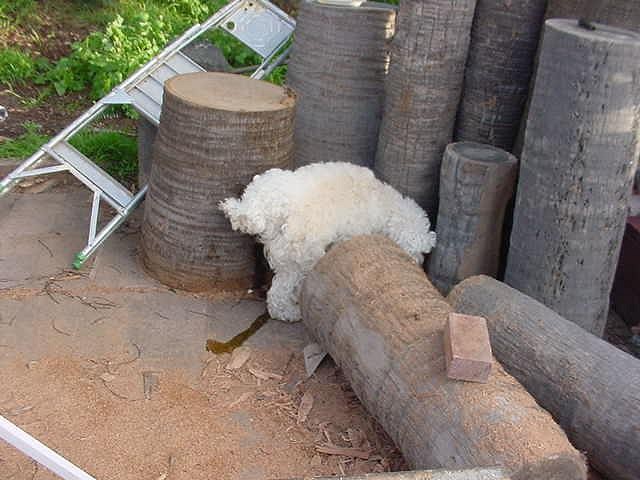
You're welcome Benz! You think my dowels will work? Dog Blog: Zaya went to Ireland today so I have Ringo for the week. I tell you, that boy just has no respect for the logs: Dear GROG, please photoshop one of Kinny's paintings over the log on the Ringo pissing photo. Thank you. In other news: I hope to see you all there!
[ Edited by: Bay Park Buzzy 2010-03-09 20:16 ] |