Tiki Central / Tiki Carving / Buzzy's work: Lasciate ogne speranza, voi ch'intrate
Post #522502 by Bay Park Buzzy on Tue, Apr 6, 2010 9:43 PM
|
BPB

Bay Park Buzzy
Posted
posted
on
Tue, Apr 6, 2010 9:43 PM
Today's sunset: Since winter's officially over, I got the factory carving area set up for a summer of use today:
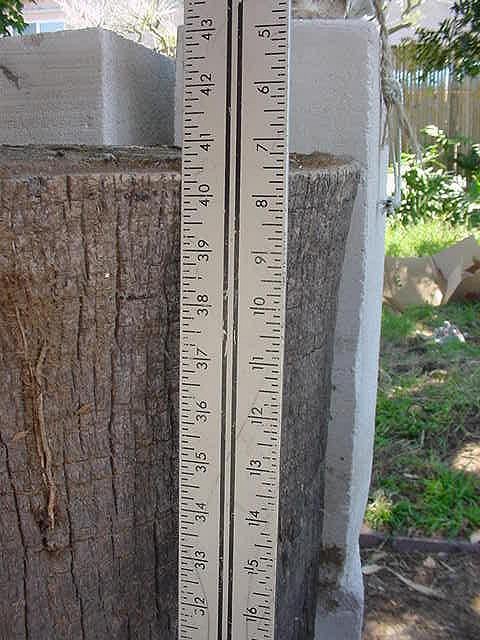
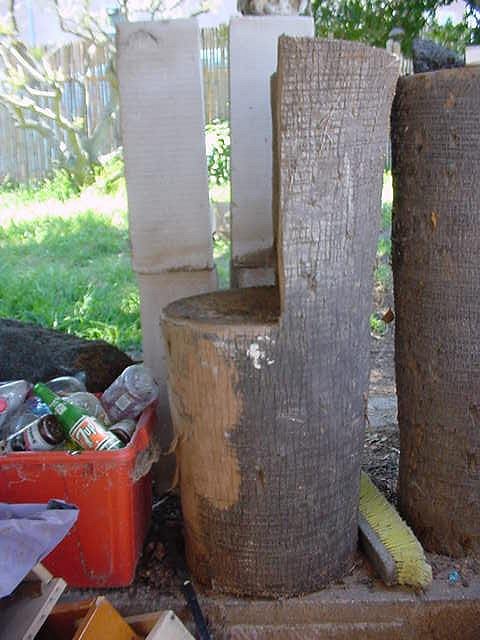
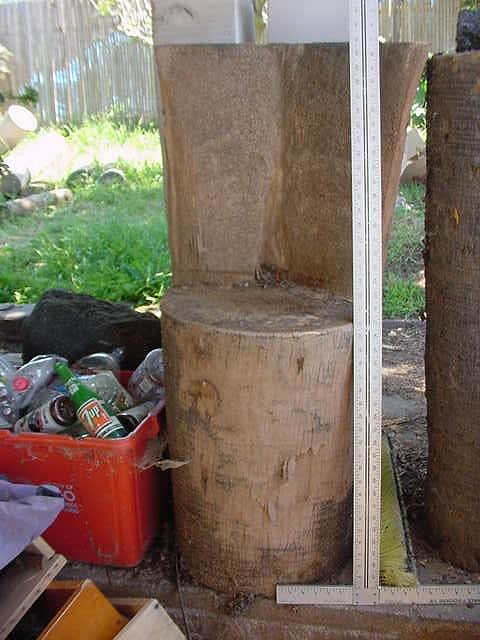
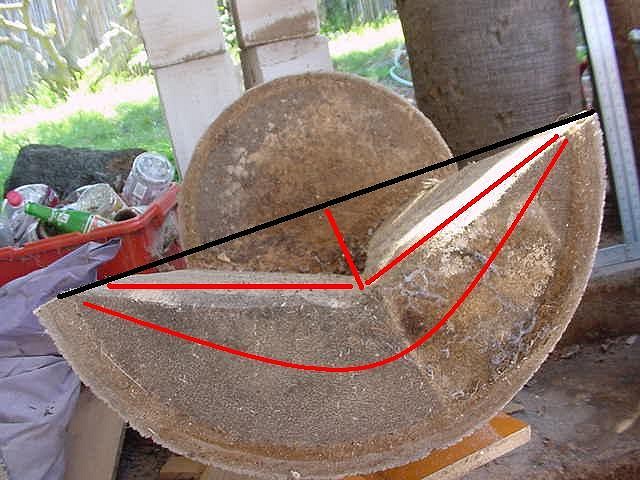
Here's a quick run through of the roughing out part: Chair Tutorial #1 I take as wide and nice a log as I can find. They need to be dry too, because you dont want crappy, cracked furniture from a wet log drying too fast. I want it to be 38" tall in the end, but I also want some error room because the chainsaw isn't exactly a precise tool with the blind cuts we'll have to make later on. I leave 2" extra on it. The plan is to have one extra inch on top, and one on bottom to fix any misscuts while making the seat part. I cut the seat level 2" above where i want it to be. This way, if i do the seat cuts perfectly the first time, all I have to do is cut two inches off the bottom of the log and all the rough cuts are correct. If the saw wanders while making the seat, I can move the seat level down a max of two inches to remove the mistake. the first two cuts are just a right angle: Now we'll do the back of the seat. It can be left just a right angle, but that's not comfy. Next step is to round it out the black line is the original 90degree cut. first cut was the red one in the center. Next cuts were the two red angle cuts. Then after all that, all you have left to do is the carving... It looks easier than it is! |