Tiki Central / Home Tiki Bars / Pao Pao Hut
Post #527601 by ashman_atl on Sun, May 2, 2010 10:35 PM
|
A
ashman_atl
Posted
posted
on
Sun, May 2, 2010 10:35 PM
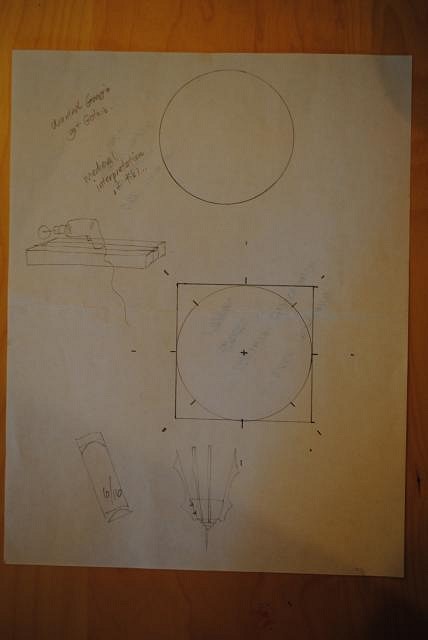
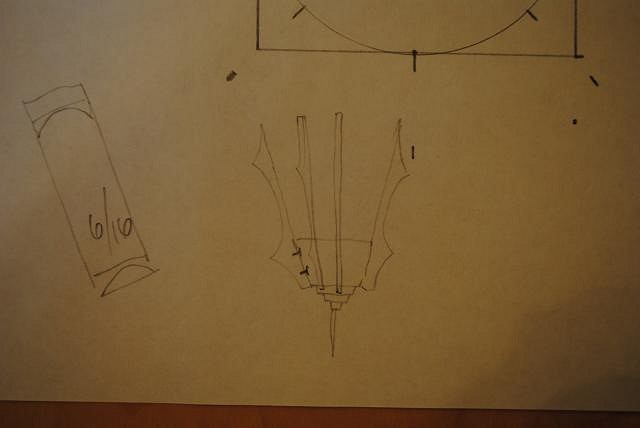
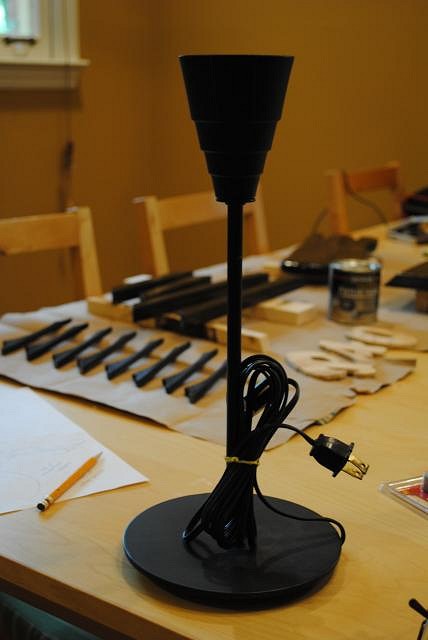
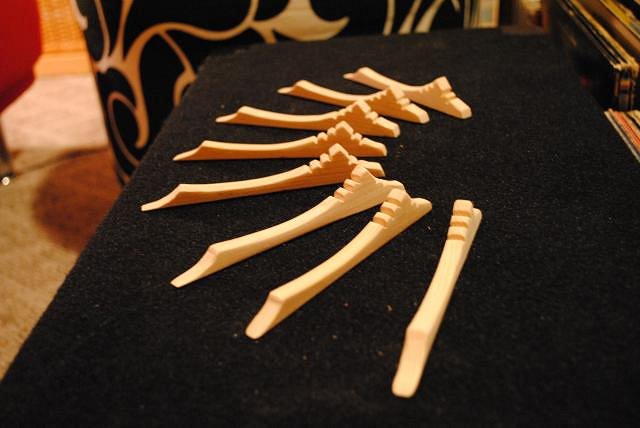
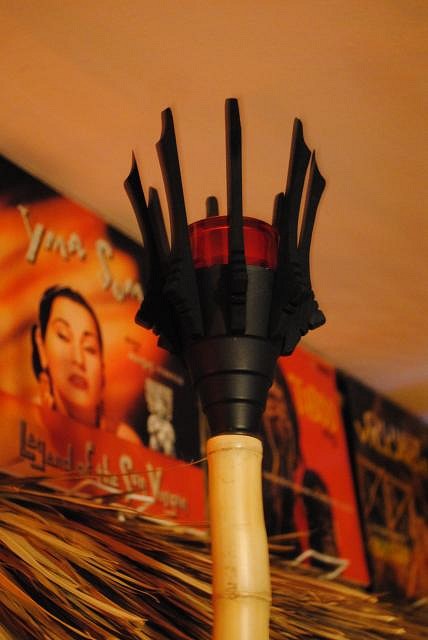
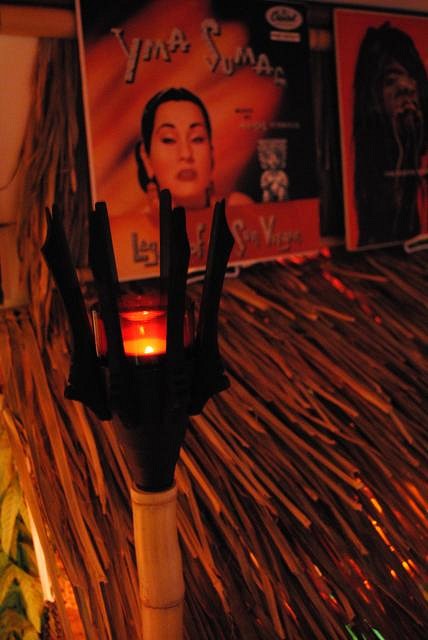
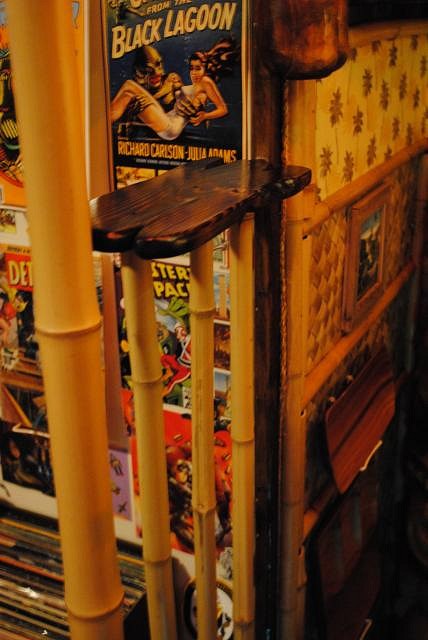
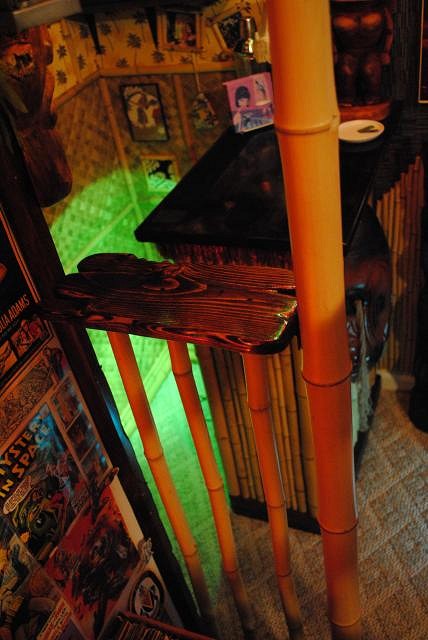
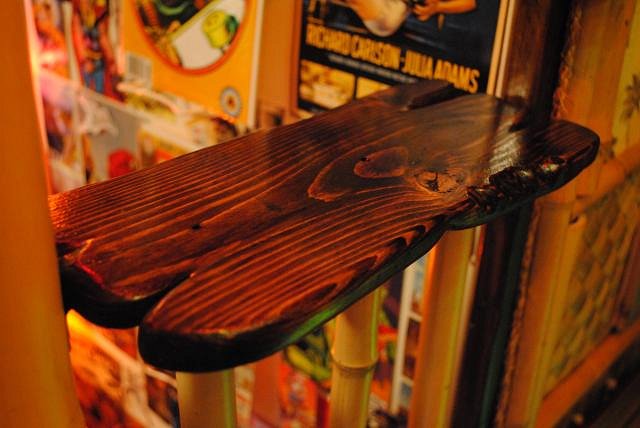
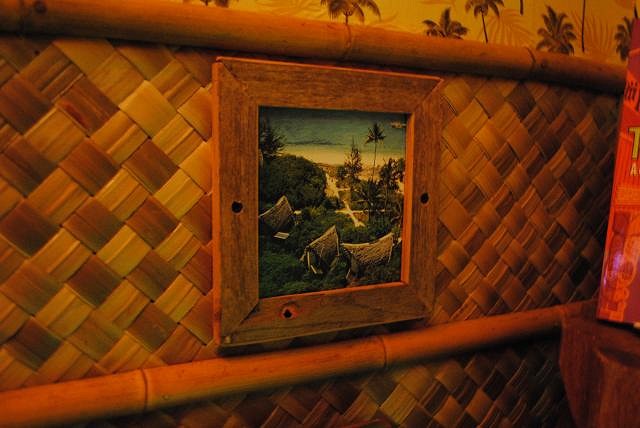
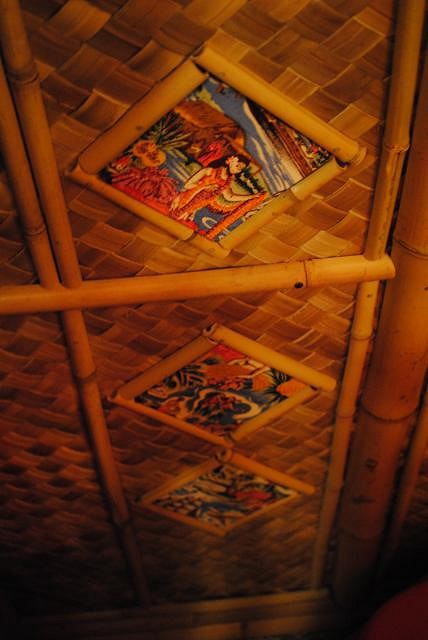
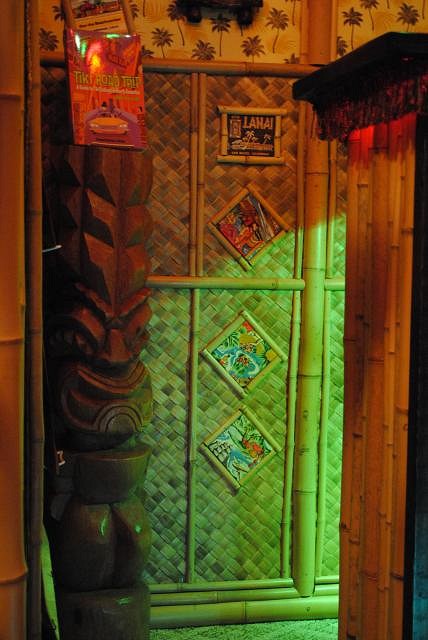
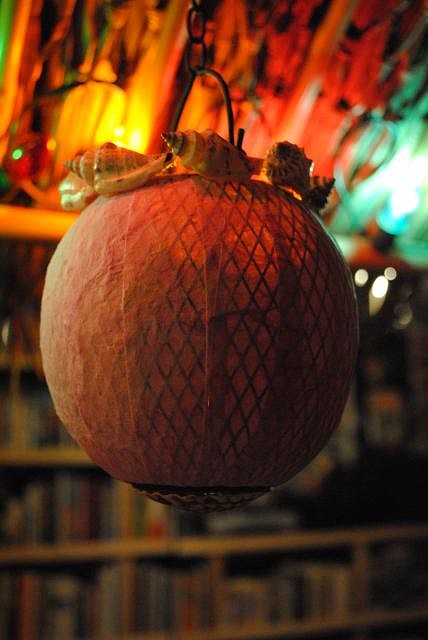
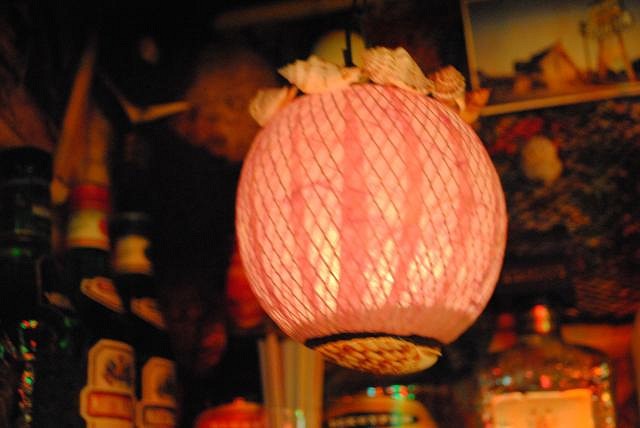
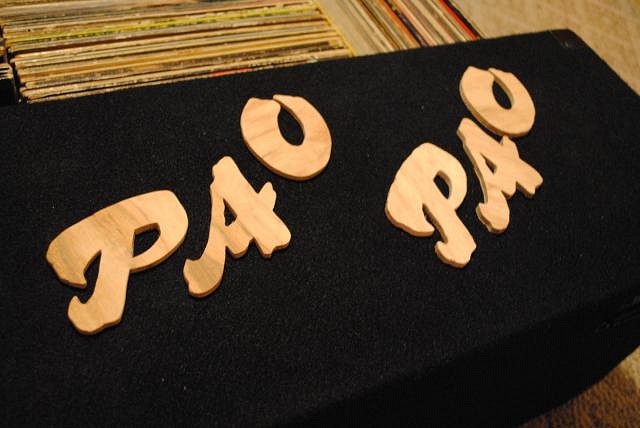
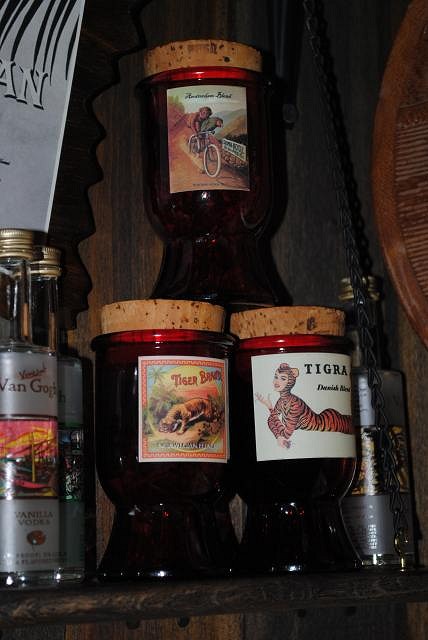
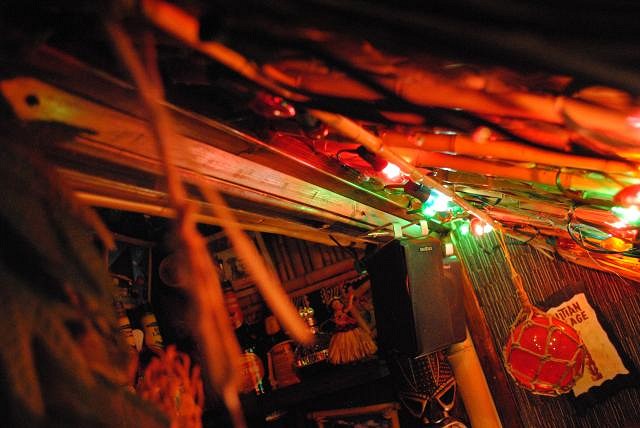
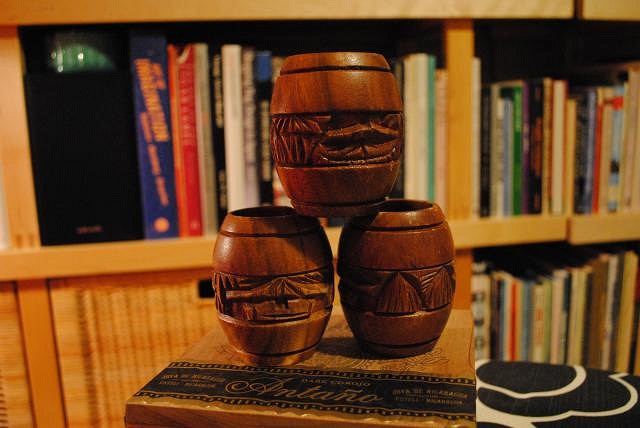
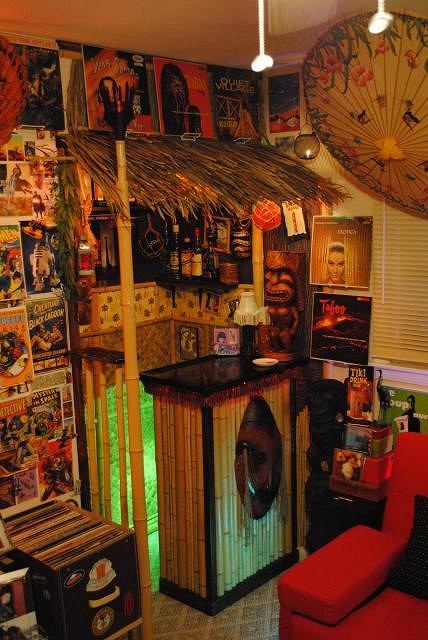
Well, I'm quite convinced that tiki tricking a bump-out from the ground up with little to no experience can be quite maddening. In my opinion, there are a lot of builders here who make it look easy, but it's been a battle for me. Anyway, after 10 weeks of messing with this thing, I'm about ready for a break. With the exception of the sign, which will be another story, everything I had imagined and conceived for the design is done. The main things accomplished this weekend have been the torch and the fence with shelf... (John and Chris- I have taken your suggestions for the easels to heart and will be working on something custom to replace them this week. Thanks guys, you knew I needed a little extra push...) I'm not completely satisfied with the torch, but from concept and design to the final product, it is my own work and I'll keep it for now. Here are some pics of the process (lighting is terrible in most of this post's pics, so please excuse...) I wanted to incorporate some Googie influence in the design and got some idea from this photo... My sketches for the design... An old lamp base that's been in storage for years would supply the "cone"... Chopped up some pine on the DeWalt and then sketched out the shape for cutting with the scroll saw. Lots of cutting and sanding, but here's what the "fingers" ended up looking like... After everything is put together... So, as you can see, it's a bit more goth than Googie (Neptune meets Mad Max?)............ Wanted to have the effect of separating the hut from the rest of the room, while still keeping the whole thing together and thought that a bamboo fence between the corner pole and the wall/closet corner would work. Here is the result... Those were the most perplexing things I did this week. Design was pretty easy, execution a whole other basket o' weasels... Managed to complete a few other things to help decorate the place up a bit... Another page-a-day calendar pic framed with scrap from the front of the bar top where I had to cut it down to size. At the bottom, you can see the hole where the bees made their way in and out of that old lumber over the years... (love the solar panels in use on these huts) More panels... Found a couple of wire basket candle holders at the thrift store. Spray painted them flat black and covered one with art paper and shells... Finished cutting out the letters for the sign... Made some labels for repurposed spice jars... Cut, sanded, and stained a couple of wood strips to finish covering up the white at the top of the opening... Managed to score some cups from the thrift store which will be perfect for holding stirring straws, etc. or for use in the kava ceremony! And one last going out pic (with the sorry lighting, angle, focus, etc., but you can get an idea of the fence and torch elements together here; also, the other, unfinished, wire basket candle lantern above the right awning corner)... Looks like it's about time to give Mrs. Ashman her living room back and a couple of Mai Tai parties next weekend means I have a lot of cleaning up to do. Still have a few irons in the fire, so hopefully some update will be forthcoming next weekend. Thanks for looking. Hope there's something new here you can dig. |

