Tiki Central / California Events / Sacramento Capital Tiki Bar/Living Space Tour October 7th, 8th & 9th, 2011-Registration Full
Post #530541 by danlovestikis on Sun, May 16, 2010 11:18 AM
|
D
danlovestikis
Posted
posted
on
Sun, May 16, 2010 11:18 AM
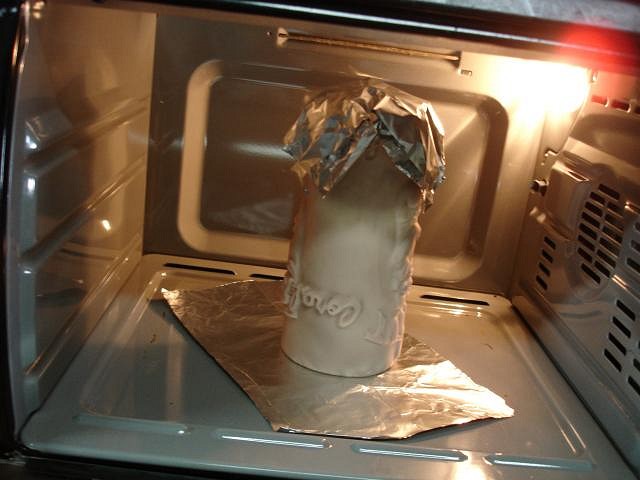
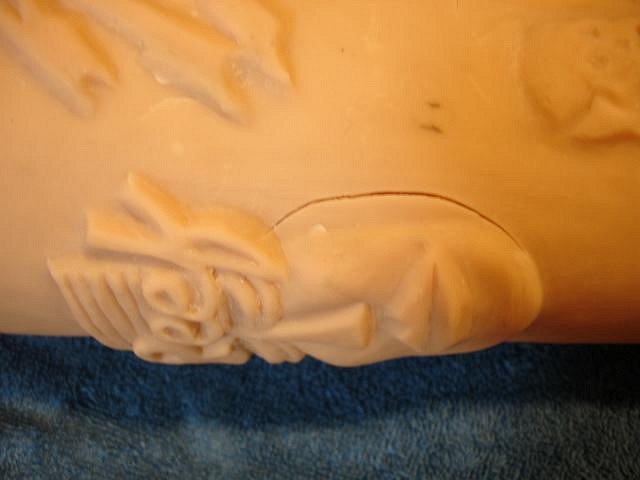
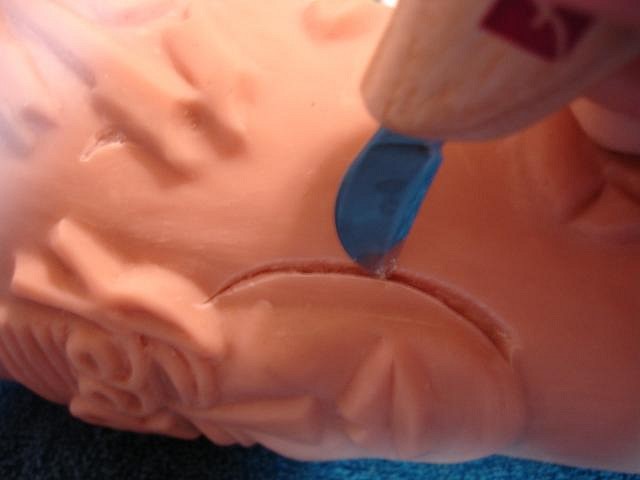
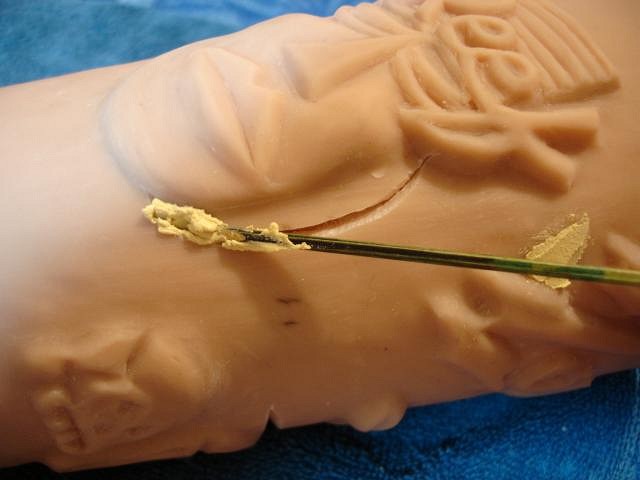
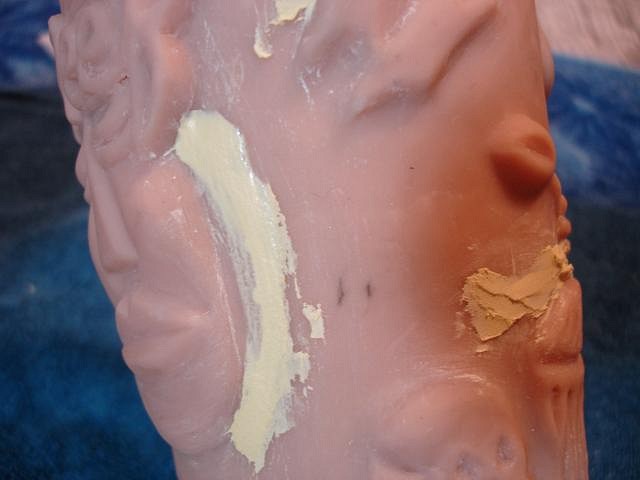
Thank you; I know a fellow named Tom Tolley who runs the Sacramento Room of the Sacramento City Libary on I Street. He was a bartender at the Zombie Hut for years and he was able to confirm that they never had a mug or any other tiki items. Dan's and my family went there often. At age 10 my grandpa took the family there for Thanksgiving. Dan and I went on dates where we danced with friends after the hula show. All of this before we discovered tikis. We have wonderful memories of being there together. When Duane approached me to do a mug with these two Sacramento landmarks on it I was immediately ready to do my best to get it done. He sent the two pictures that were perfect for the mug. Yesterday I baked it and now I'm fixing the cracks that always show up when you use Super Sculpey.It seems to me that "Tiki People" are artists and almost everyone has an idea for a mug they would like to see made. So I am going to use this thread to show you the steps I use to get this done. I hope this will inspire more of you to pick up some clay and to get started. Sculpey is a low temperature clay, 278 degrees. I use a convection oven out in the garage because the fumes are toxic.I do this upside down so the thinnest part is far from the elements. Aluminum foil can protect it also. |

