Tiki Central / Home Tiki Bars / Vintage Hostess Stand
Post #551873 by kawikasurf on Fri, Sep 3, 2010 12:38 AM
|
K
kawikasurf
Posted
posted
on
Fri, Sep 3, 2010 12:38 AM
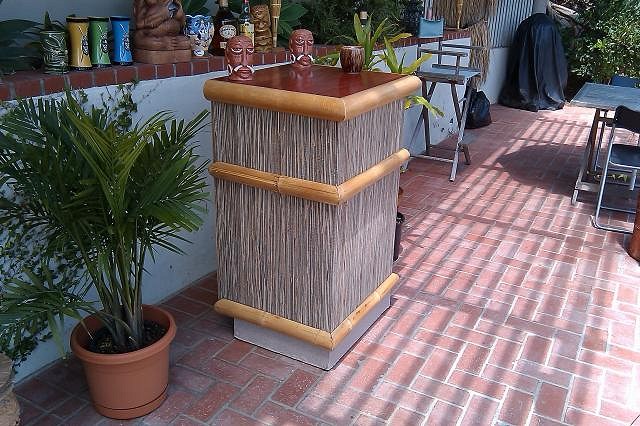
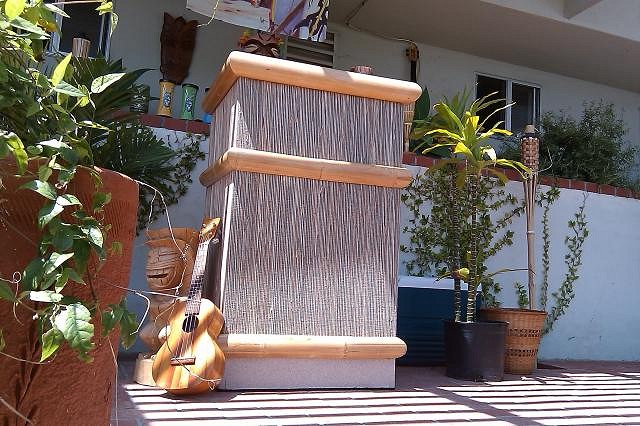
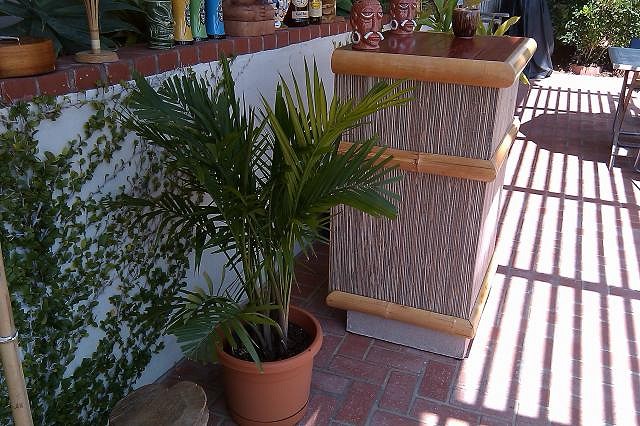
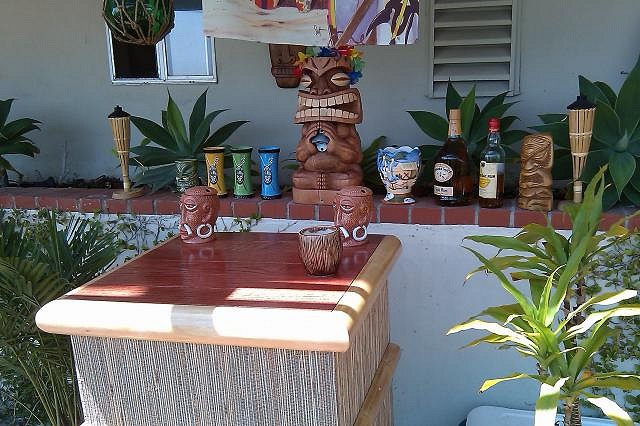
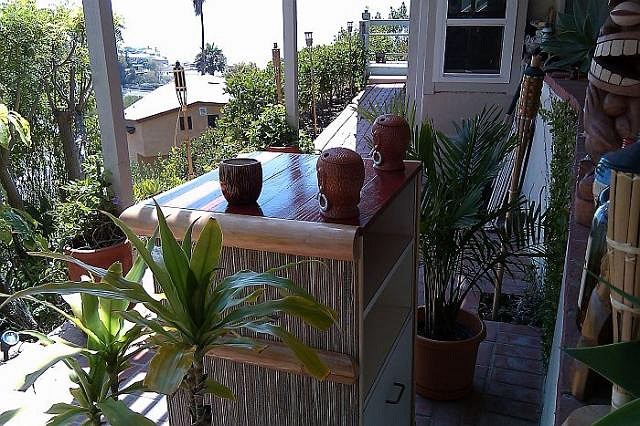
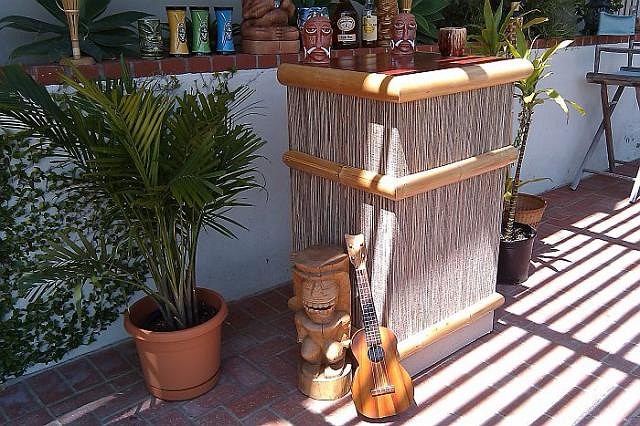
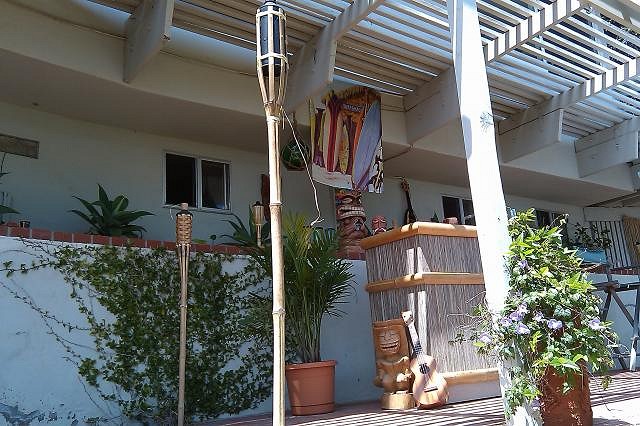
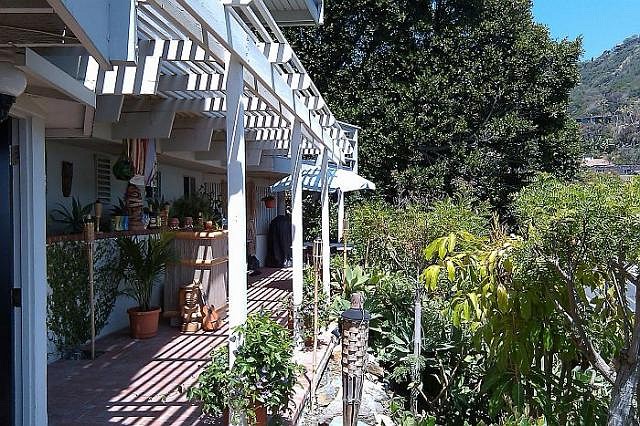
Well, I’m almost finished. It’s close enough to being completed that I can now post some fairly definitive “after” photos. I still have a lot of work to do on the surrounding area but, for purposes of this “photo shoot” I brought down a few tiki accoutrements from upstairs, where the bulk of my tiki stuff resides.
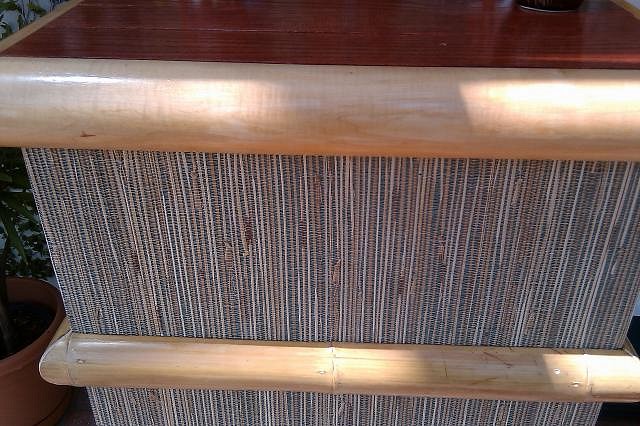
All things considered, I’m pretty happy with the outcome. As with most projects, starting over, I can see a few things I’d do differently. I had ordered a grass cloth covering for the sides of my mini-tiki bar/hostess stand.
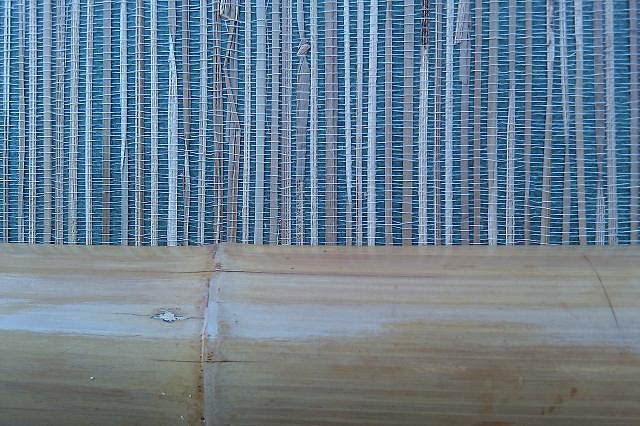
I had considered using bamboo slats or half rounds as a siding but, frankly, the darn thing is heavy enough as it is and I know I'm going to have to move it up the stairs again some day. Besides, the hostess stand originally had a woven grass matting and I wanted to stay within the original spirit. I selected a natural cattail grass over a forest green background.
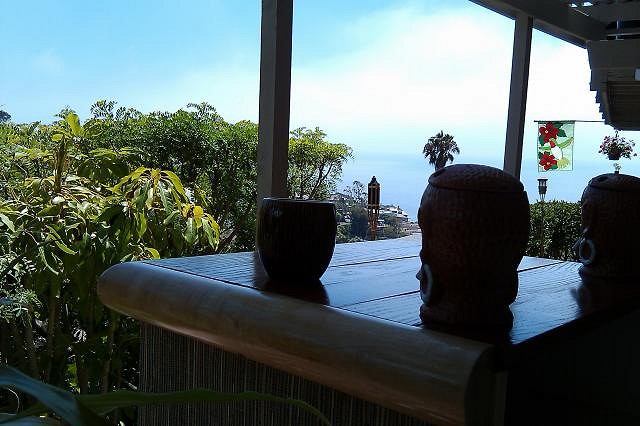
It’s why I chose red oak for the bar-top. I thought that the deep reddish color would contrast with the natural bamboo trim and also look good with the forest green grass cloth background.
In retrospect, I’m not certain how well I actually succeeded. It looks good enough, I suppose, but I really should have waited until I had the grass cloth in-hand before proceeding with the top. I ordered the grass cloth online – I didn’t actually see an in-person sample. On the computer screen, the forest green background appeared to be more prominent. In person, especially in bright light, the natural grass coloring predominates.
Fortunately, I didn’t apply the final, thick and glossy bar-top coating nor did I permanently attach the individual bar-top planks and so I can either strip and re-stain the planks or, more likely, I’ll just replace the current top with some sort of exotic tropical wood - maybe an acacia, to simulate koa.
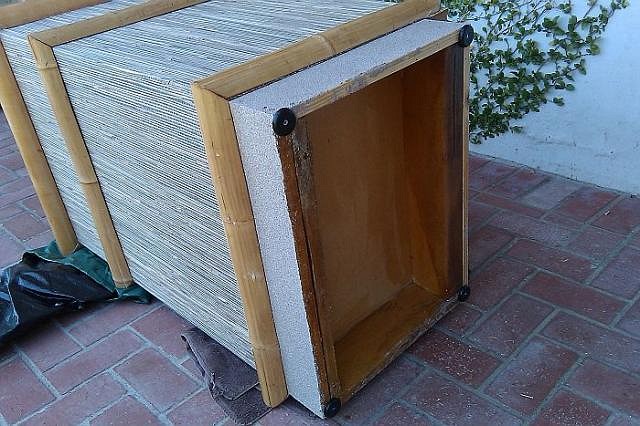
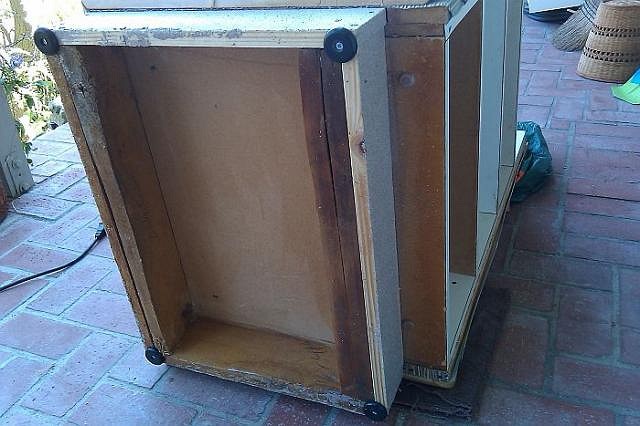
I reported earlier that I had replaced some moisture-damaged, particle-board areas along the base of the bar with new pine. I then sealed the entire underside with multiple coats of clear urethane. On the advice of my good buddy, Wally, a master woodworker who lives on Kaua’i, I also added heavy-duty nylon “feet.” It was good advice – thanks, Wally.
In retrospect, I should have ripped-out the entire base and replaced it all with pine. It’s structurally-sound as-is but, even after three coats of “stone” enamel and two coats of stone sealer, the areas I didn’t replace still look a bit “worked.” Yes, it's hidden underneath - but I know it's there.
Other than that, as I say, I’m pretty excited with the way things turned out. I’ve always wanted a tiki bar and now, finally, and even though it’s only a “mini,” I finally have one.
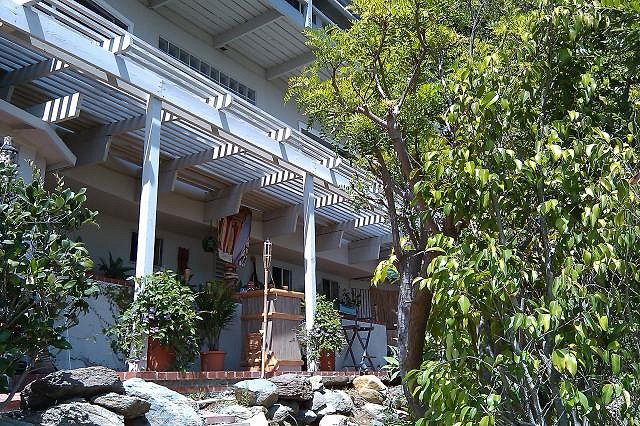
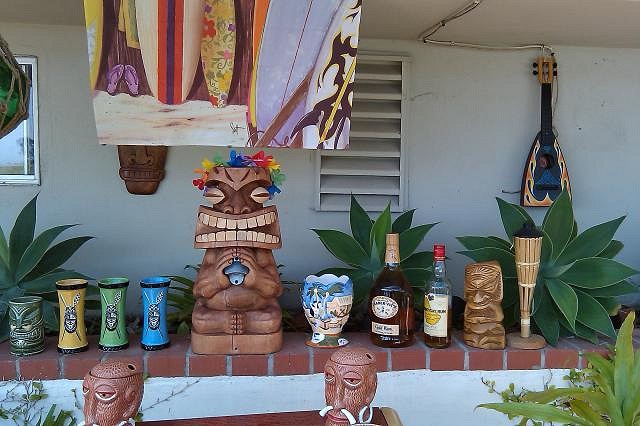
I’d like to figure-out what to do with the ugly wall behind the bar. I rent and so my options are limited. For photo-shoot purposes, I hung this little banner behind the bar to partially obscure the blank wall, . I’ll probably try to figure-out some way to mount some individual bamboo-framed thatch panels over the ugly white expanses. Another option is to cut-down some bamboo privacy fencing to fit over the wall, leaving cut-outs for the windows and vent. It’s a concrete wall and so it will take some thinking (once again, not a problem if I owned the house and could simply drill into the concrete). Another complicating factor is that the planter behind the bar is irrigated via automatic sprinklers and so whatever I do will have withstand some occasional, errant spray.
I’ll probably contrive some sort of grass canopy over the bar, too. Should be easy enough to make a bamboo frame and attach it to the overhead beams.
Guess the next project, in addition to working on the surrounding area, is to locate a couple of vintage bamboo or rattan barstools. I think that two of them is about the most the mini-bar can handle.
[ Edited by: kawikasurf 2010-09-03 09:42 ] |

