Tiki Central / Home Tiki Bars / Club Nouméa
Post #574746 by Club Nouméa on Sat, Feb 5, 2011 4:07 AM
|
CN

Club Nouméa
Posted
posted
on
Sat, Feb 5, 2011 4:07 AM
The next stage was applying wall cladding behind the stove. When the house was built, the builders only applied a basic coat of acrylic paint in the kitchen over drywall. Over the intervening years, grease and fat accumulated on the wall behind the stove. As the paint is acrylic, it couldn't be scrubbed hard without rubbing a hole right through it, so the previous owners had left the wall in a mess. The obvious thing to do was to strip the paint off and recoat. However, there was no protective primer underneath it, so I wasn't keen to see what would happen to the drywall if a solvent was applied. Tiles were too messy and time-consuming, and I couldn't find any with the right pattern, so I opted to cover the wall with Laminex, a Formica clone usually used for benchtops:
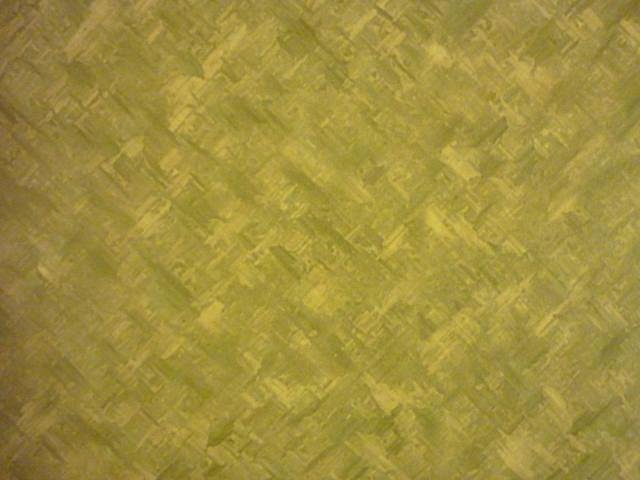
As it's designed for use on benchtops, it's easily wipeable. I chose this particular pattern because it looks retro, and vaguely woven:
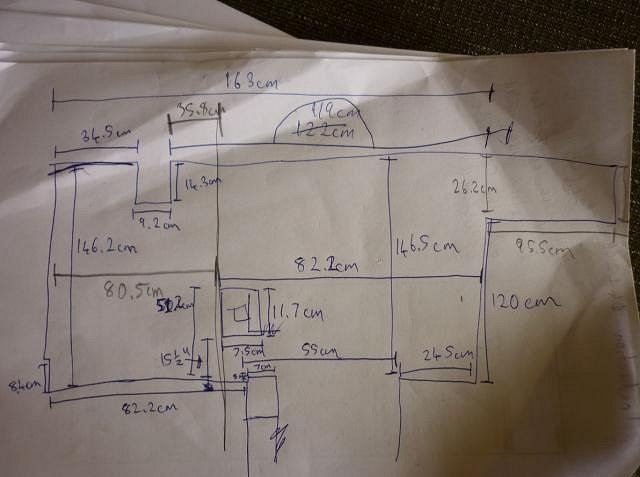
This was the first time I had used this material, and it turned out to be difficult to cut and handle. Laminex is brittle, and splits and rips easily. I found the best way of cutting it was to use very sharp scissors, combined with a craft knife for the cut-outs. Safety glasses were a necessity, particularly when using the scissors, as Laminex splinters when cut. I used Selley's Liquid Nails adhesive, which worked well, athough Laminex also tends to curl when the glue dries, so I had to sit and watch it for about 30 minutes and tap it back into place if it showed signs of curling. What looked like a basic wall shape actually turned out to be quite complicated:
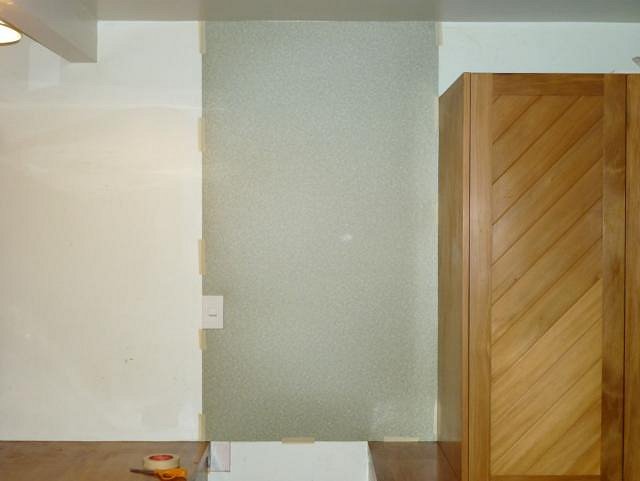
Cutting a single piece to cover the wall turned out to be overly optimistic (it cracked), so I split the wall into 3 panels. The central panel was taped up first, so I could work out the dimensions of the other 2 panels:
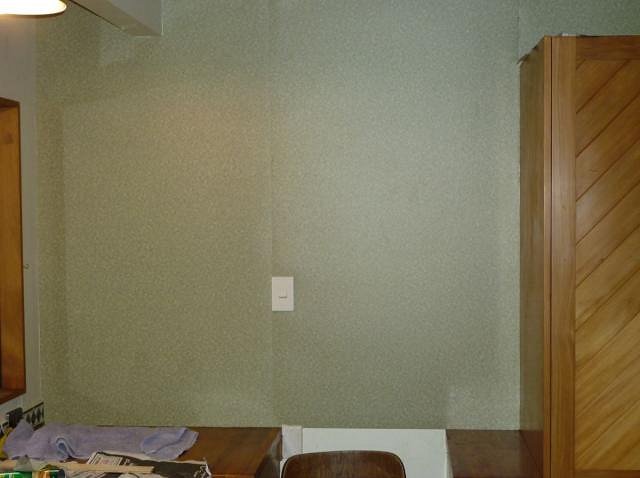
Then all 3 panels were glued in place:
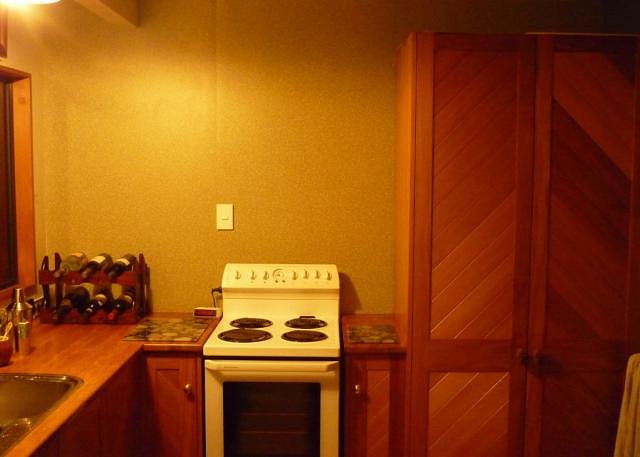
And the final result:
The next phase involves carving(s). CN |