Tiki Central / Other Crafts / Wendy Cevola - Doing a major repair of a Tiki Diablo bowl.
Post #582174 by danlovestikis on Mon, Mar 28, 2011 6:02 PM
|
D

danlovestikis
Posted
posted
on
Mon, Mar 28, 2011 6:02 PM
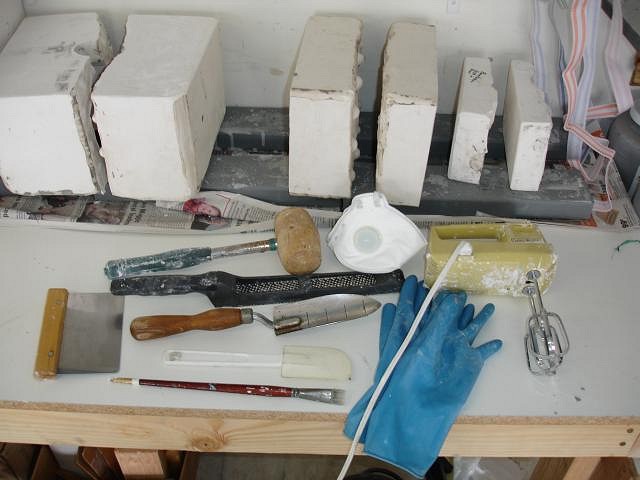
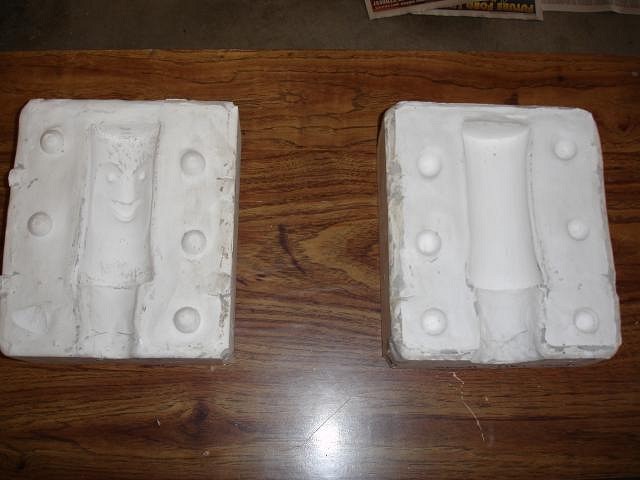
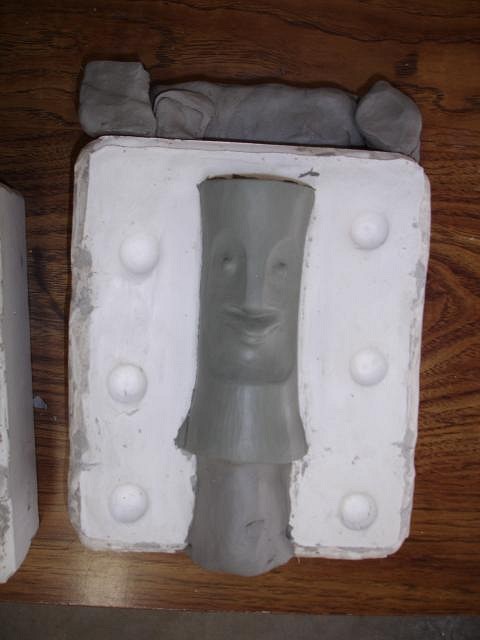
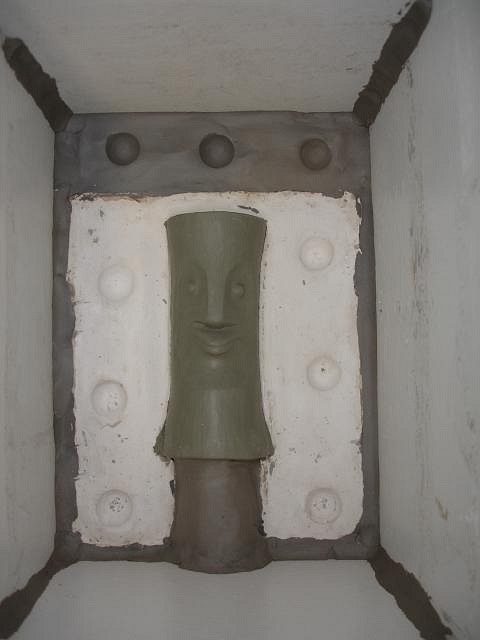
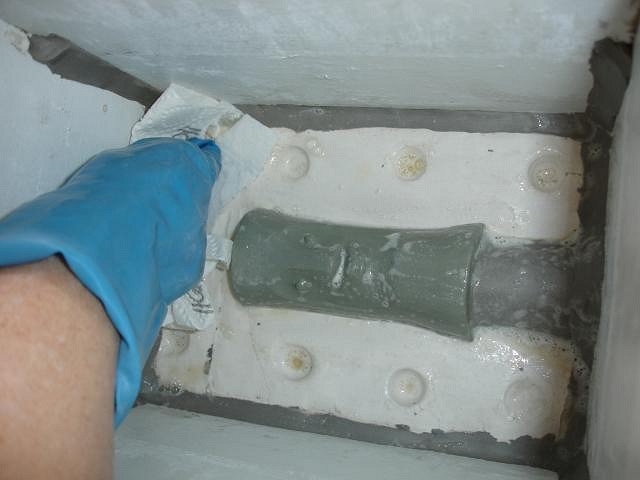
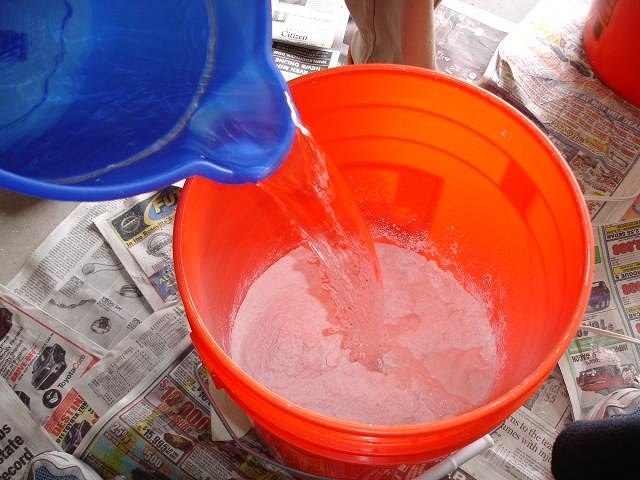
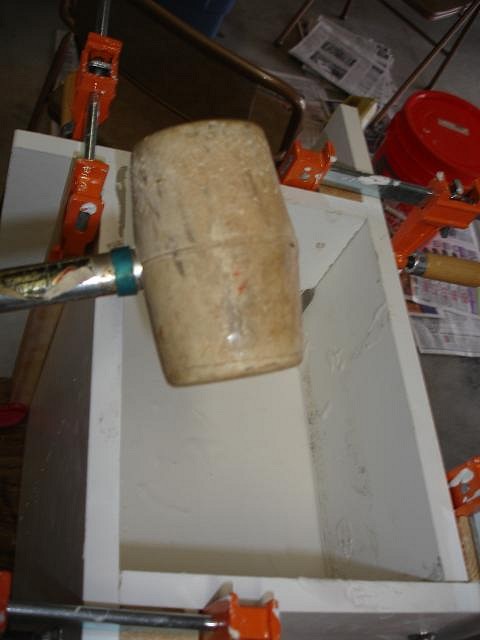
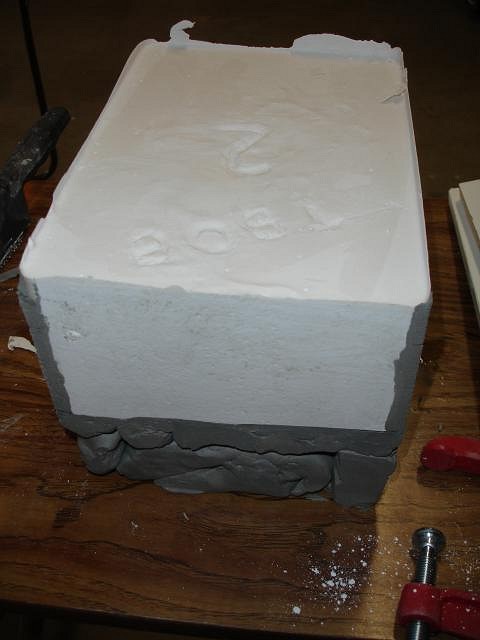
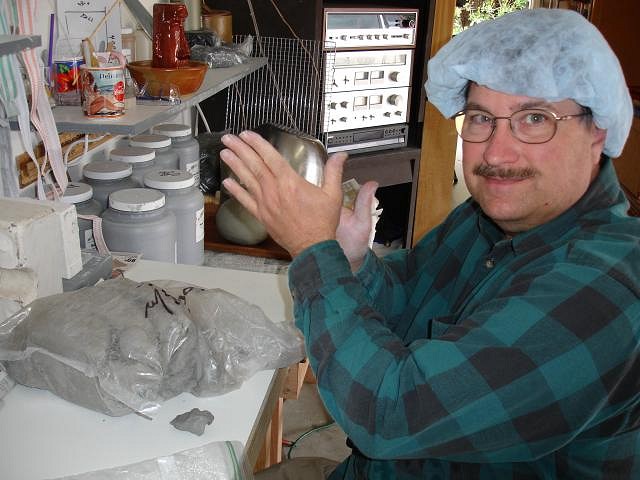
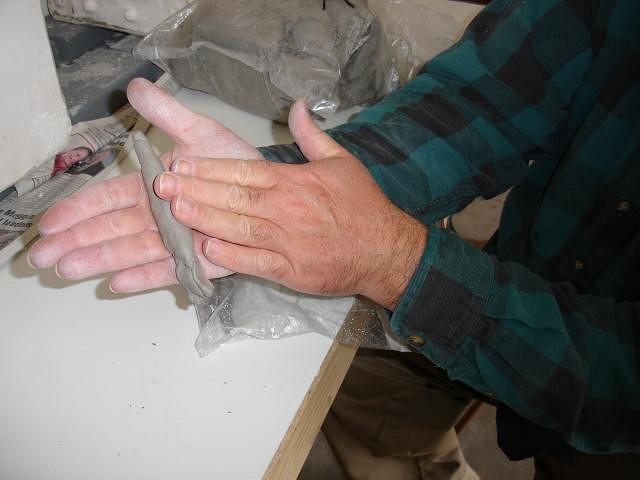
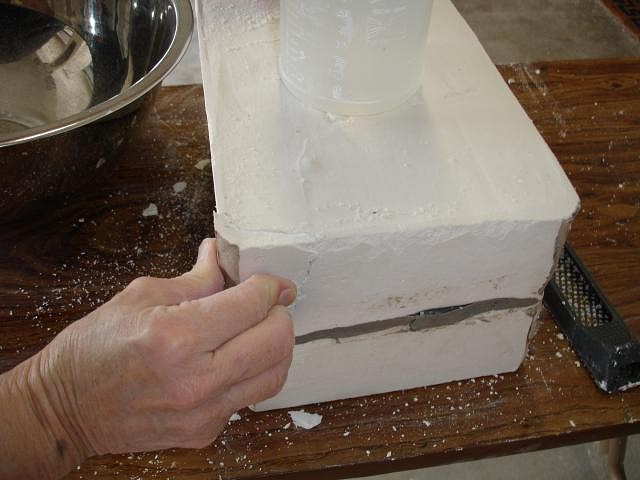
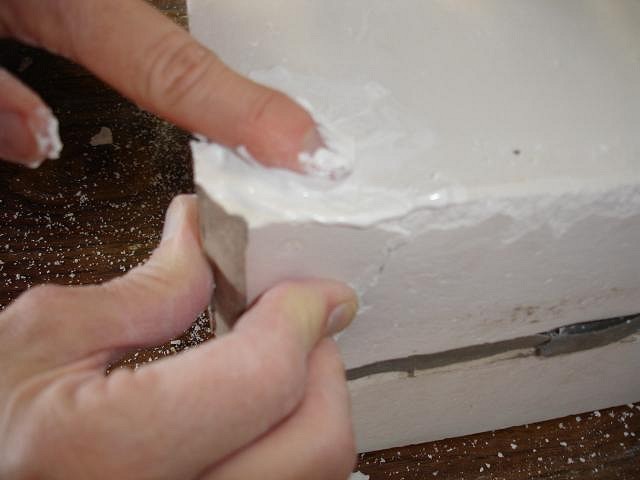
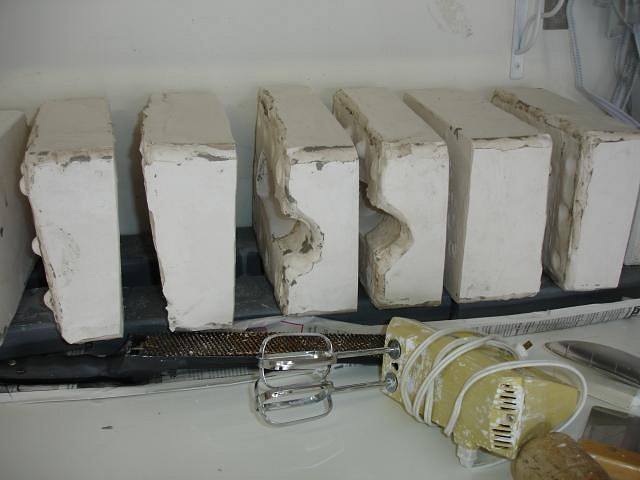
Thank you zerostreet and Torbor64, it is a good life when you have friends. Yesterday was another mold making day. We are getting much better. We didn't yell at each other a single time. The best part was looking at the size of the mold slab and being able to guess how much plaster to put in the bucket. Counting each scoop and remembering that number for all six slabs we made. Here are our helpful hints and our mistakes and corrections. I needed more molds to be able to make more Tiki Bob bowls (a shouldhavebeen bowl). We had made one mold but found that since the plaster was not uniformly thick around the entire tiki that top of the head was too thin if I didn't let the body be super thick. So I needed to make more molds but also correct that problem. I still had my original sculpture of Tiki Bob and I put him back into one side of the first mold. First I got out all of my favorite tools that work best for mixing plaster in a safe manner. Always wear a mask or the plaster dust will harden in your lungs. The top needed to be thicker. I added clay to the top of the existing mold. I boxed him up and added clay to prevent leakage. Mold soap dry with a paper towel and then do it again.
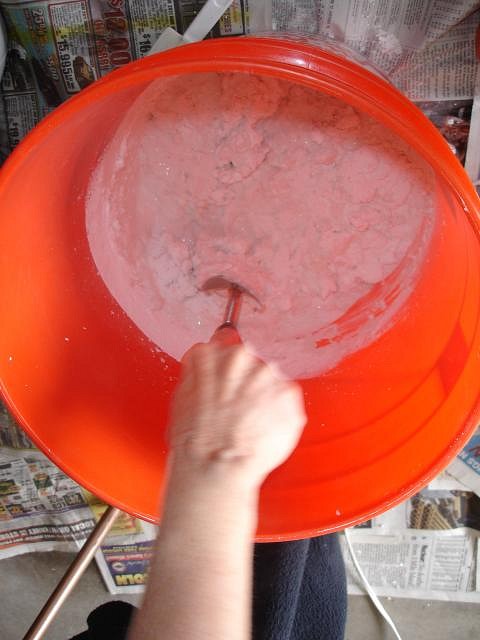
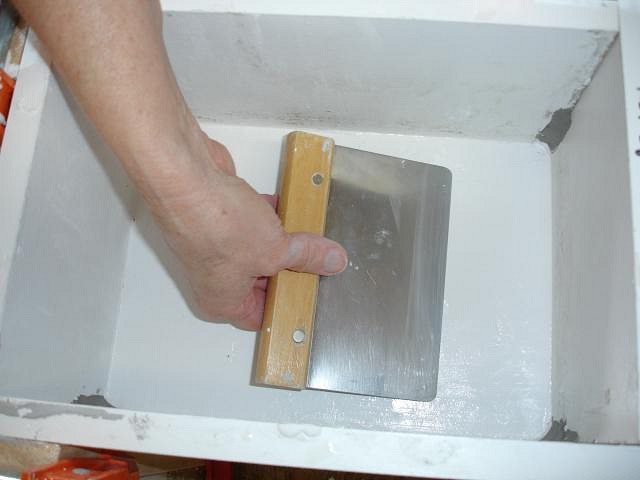
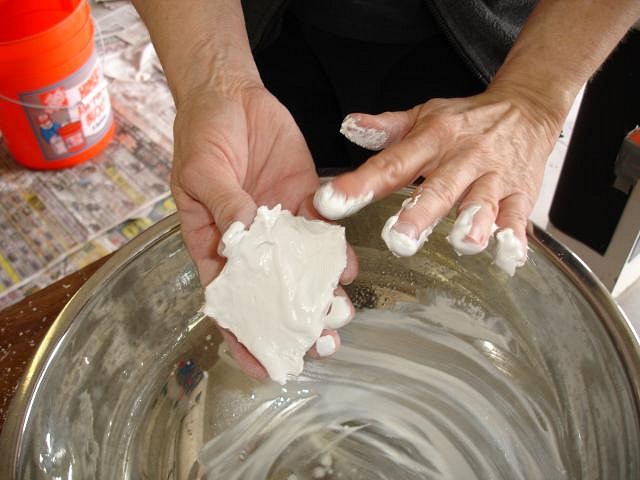
I have found that mixing the plaster with a large handled yard tool with a pointed tip is best. You can scrap the plaster out of the 90 degree angles. I mix it up really well. Next I use a kitchen blender to get rid of any clumps. I have Dan roll clay into snakes. I get a pile of them and use them in the box to prevent the leaks between the boards.
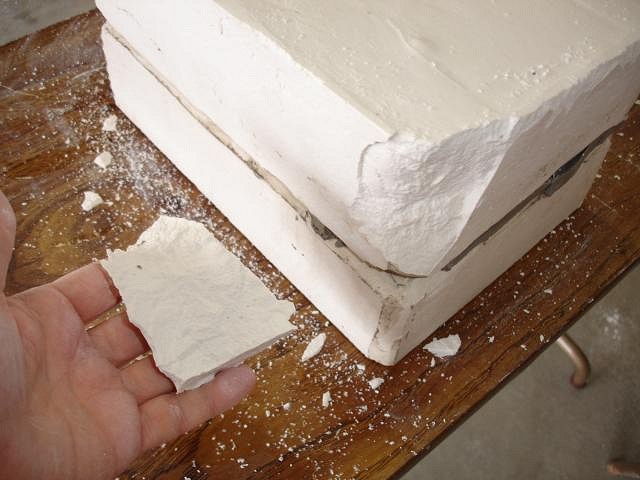
I opened the mold too soon and a corner came off. I just mixed a bit of plaster and put it on the piece. I stuck it back on and held it. Good as new. So fixing a mold can be done. Maybe I'll go add plater to the top of the first mold next. So we started with one mold and boxed it and poured one side. Took it apart and used the new piece to pour the other side. Took it apart so on until we had done 6 new sides = three complete molds. Thank goodness I remembered the mold soap had to be done each time. Clean up so you don't track dangerous dust into your home. If you have a question please feel free to ask, we can figure it out together since Dan and I are still learning this step by step. Cheers, Wendy |