Tiki Central / Other Crafts / Wendy Cevola - Doing a major repair of a Tiki Diablo bowl.
Post #582492 by danlovestikis on Wed, Mar 30, 2011 8:40 AM
|
D

danlovestikis
Posted
posted
on
Wed, Mar 30, 2011 8:40 AM
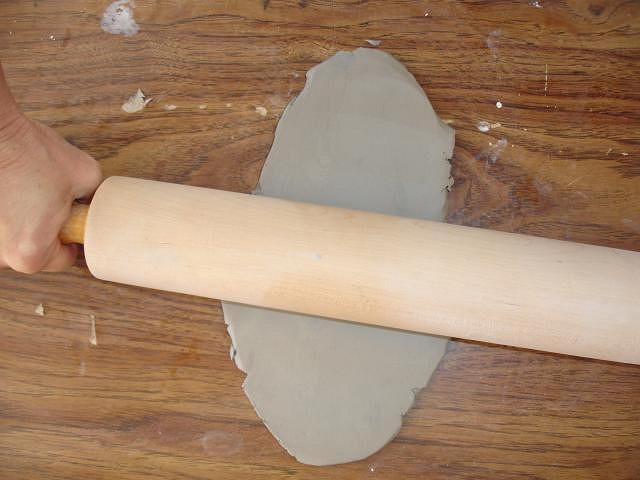
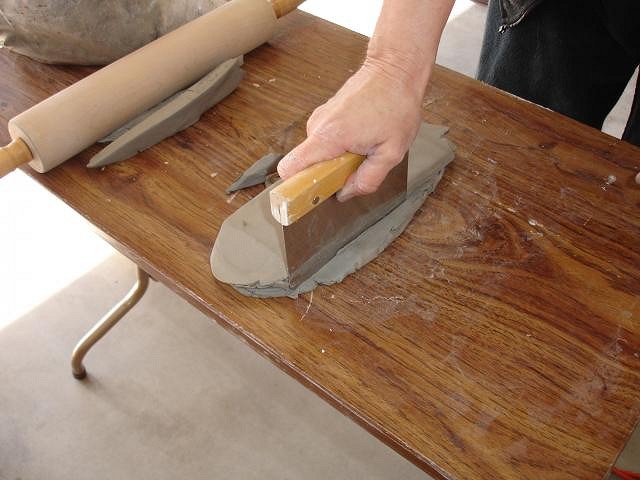
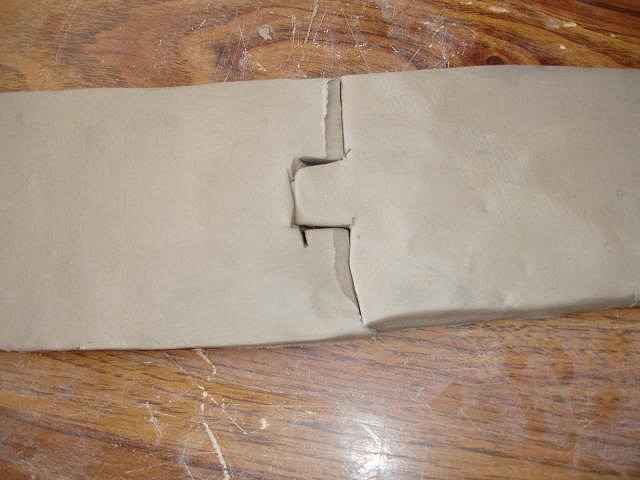
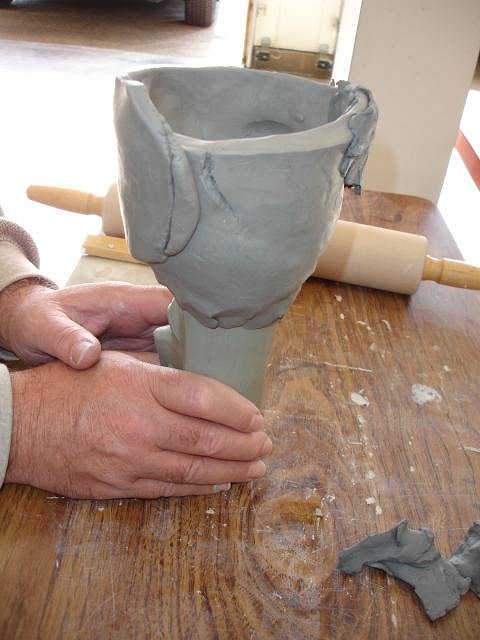
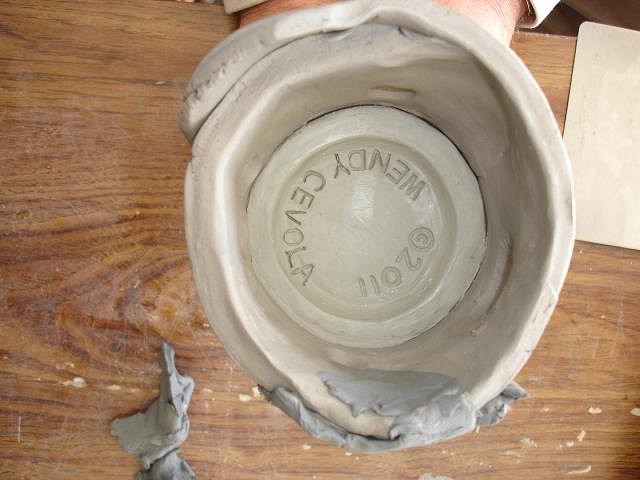
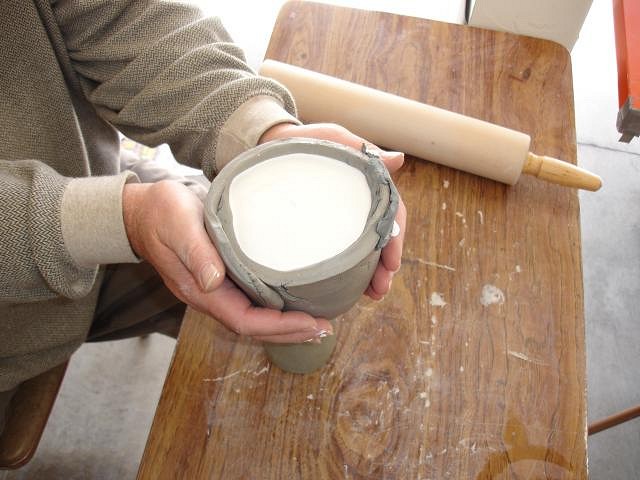
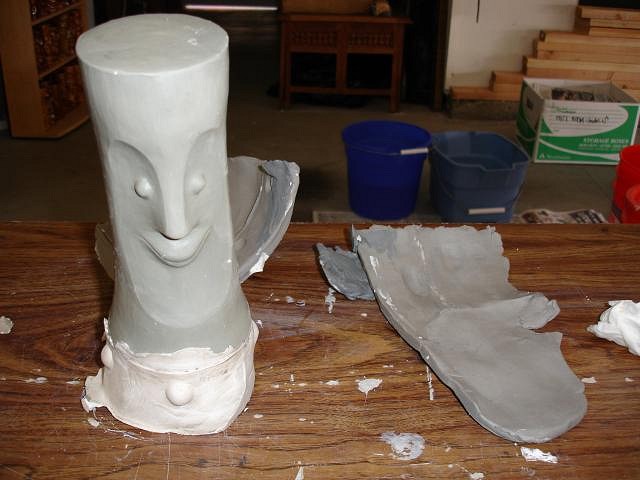
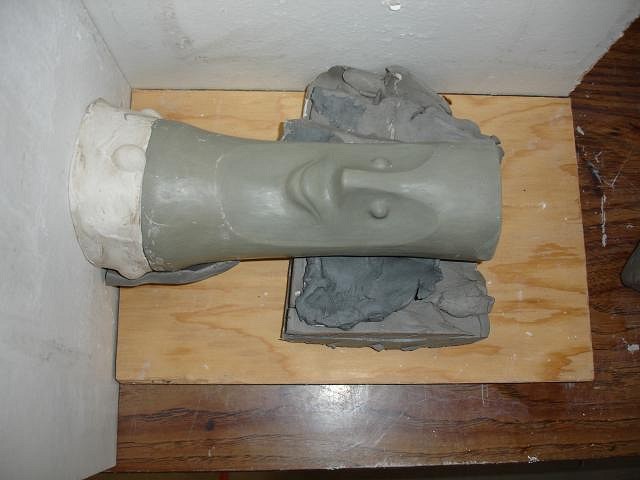
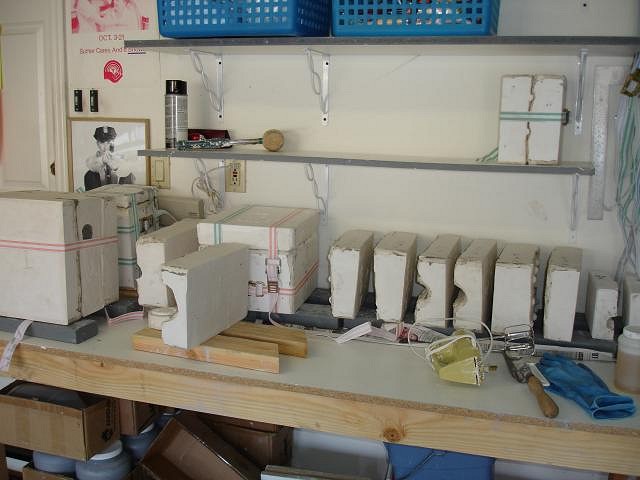
Thanks Cris, my nephew is a West and a dad so I always notice your TC name. Yesterday we made another Big Bob mold so I can work on my orders from Grog's Tiki Bob show. We started from scratch because I wanted to use Maui Tiki's technique. I'm not good at it yet but it worked. Here are some photos from our day. Rolling out the clay like cookie dough. Cutting it to the shape I need with one of my favorite tools. Making a lock before joining the two long pieces. It could have been better. Wrapped around the base of the sculpture of Tiki Bob. I used semi firm slip that I store in a baggie. It's the slip I cut off the top of poured tikis. It comes in handy for all sorts of repairs.
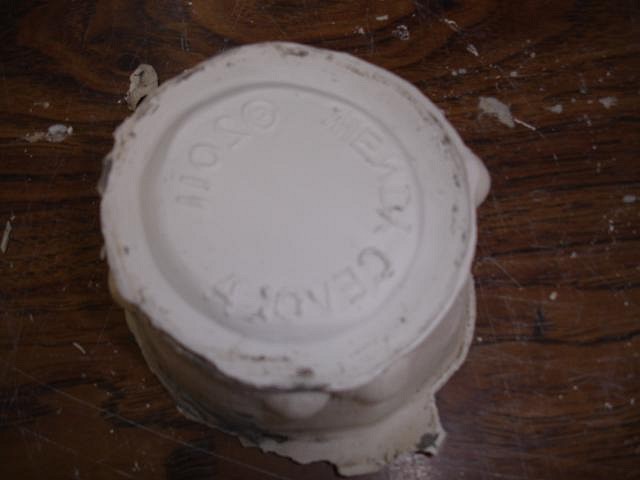
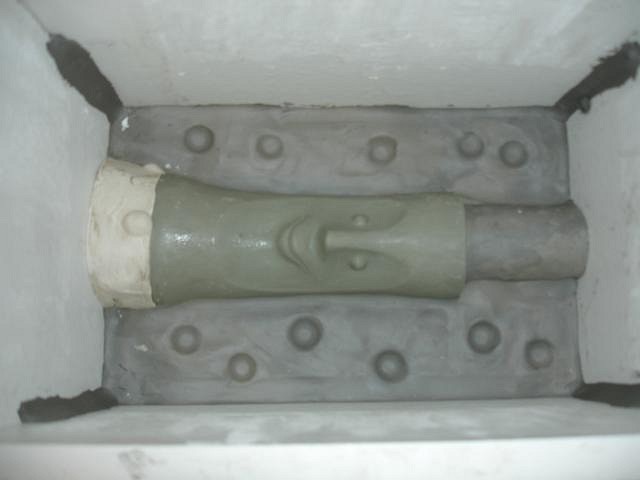
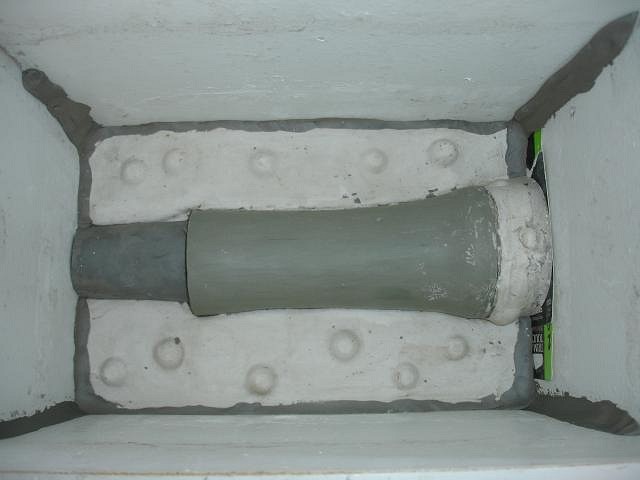
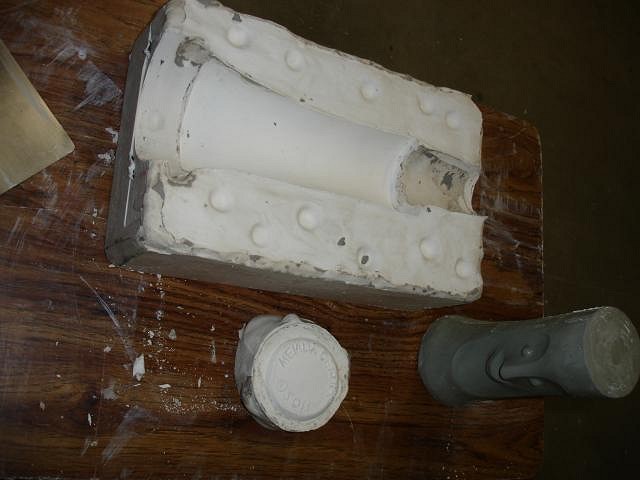
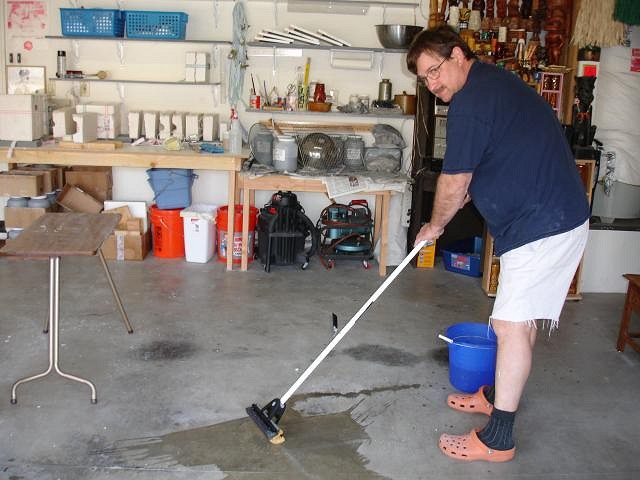
Inside I used a ball tool to press in some half domes for locks. Warning, you need to know where these should go so that the mold pieces can pull apart. Poured in the plaster and risked it coming loose by lifting and tapping it down on the table to get rid of bubbles. I continued to hold it just in case the clay let loose from the tiki. It held just fine. 30 minutes later the plaster was hot so I removed the clay to find the Leaning Tower of Bob. Even though we had tapped the bottom on the table we could tell the plaster wasn't level. I removed plaster where it had run along the tiki see previous photo and then I sanded the bottom until it was flat and didn't lean when sitting on the table. Preparing for the next phase. The new plaster bottom is tight to the board. Clay placed around the bottom half of the tiki. I made sure that there wasn't an undercut at the side of the tiki or at the bumps on the bottom plaster piece. Lots of mold soap applied wiped off and applied again and wiped lightly. Poured the plaster. 30 minutes later removed the sides and cleaned the mold half. Flipped it over and put the boards back on. Next I prepped for the third piece. I found that I couldn't get the boards to hold the plaster base to the bottom of the tiki. So I just put a couple of pieces of cardboard there until it was snug. It came apart easily, no undercuts. I never pour the plaster until I have checked every part of the tiki and previous pieces. It would be disaster if the mold couldn't come apart after all this work. I didn't post photos of every step here since I have in previous lessons. The molds will now be left to completely dry out before use so that they will last. These are the molds that we have made together. It really helps when two people work together to make the molds. Dan and his mop, our new family tradition. I forgot to say that using MauiTiki technique is the way to go. Far easier than how I made my first Big Bob bowl. Thank you for sharing. Thank you for following my thread, your comments make my day. Wendy [ Edited by: danlovestikis 2011-03-31 08:44 ] |