Tiki Central / Other Crafts / Wendy Cevola - NEW: Frankoma Widow Maker for sale.
Post #619530 by danlovestikis on Mon, Jan 2, 2012 10:34 AM
|
D

danlovestikis
Posted
posted
on
Mon, Jan 2, 2012 10:34 AM
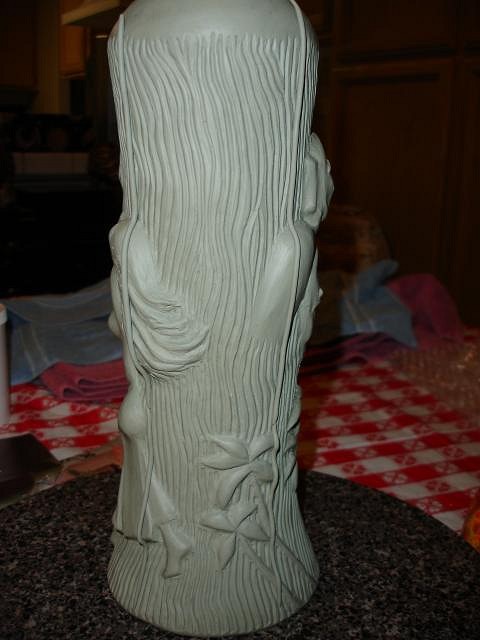
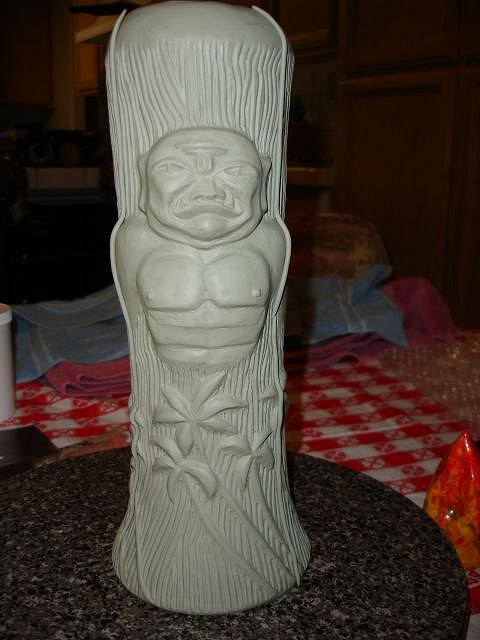
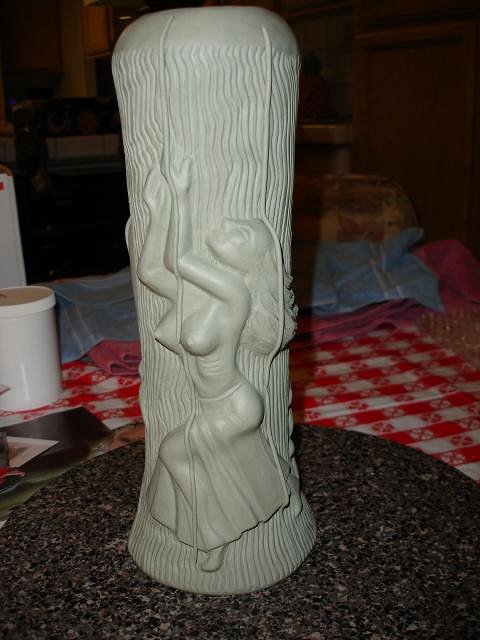
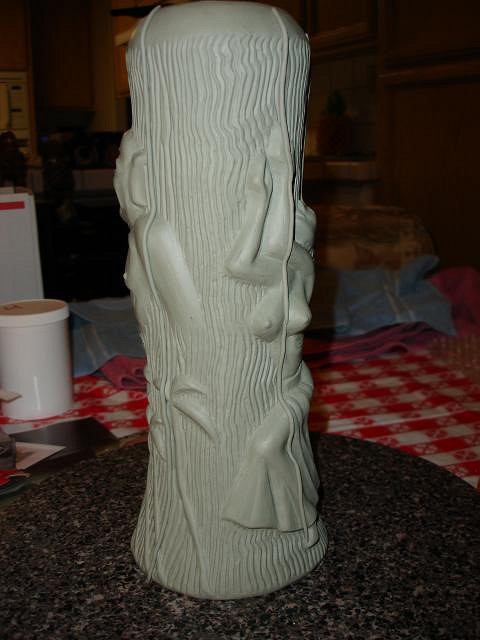
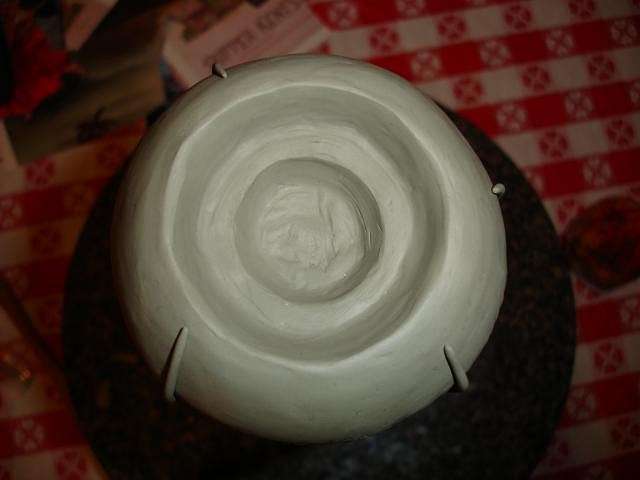
Thank you Vamp and hang10tiki. MDM I was in bed by 8 PM but woke up and decided to post a few photos. I know that there is great interest in learning how to make molds so once again I will show you all how I did it with the Zombie Torch. Believe me when I say this is very hard work and there are so many pitfalls. Did I say falls? Yesterday with only 1 piece left to mold I caught both feet in the cord to the shop vac and did a face first fall to the concrete floor. I hit my forehead so hard that my head bounced. We left for the after hours clinic. I wanted to make sure I wasn't going to have a sub-dural hematoma. I'm fine but I can't bend what was my good knee and my nose and forehead feel like I was in a boxing match. So be careful. Dan spends so much time going with me to doctors appointments. He's wonderful. Step One and more... To start off I roll out some clay that I will use to mark sections.
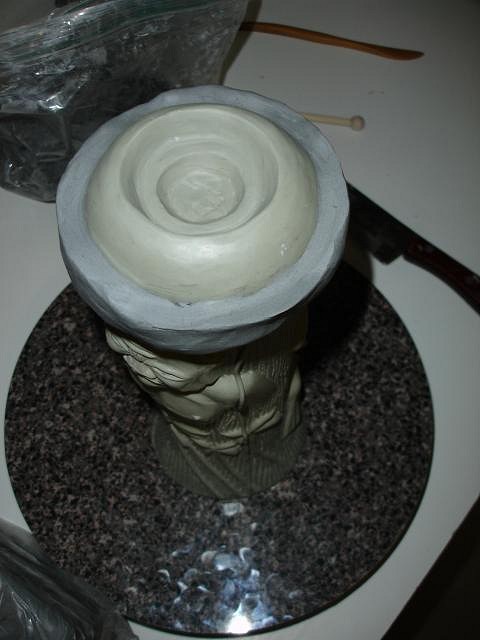
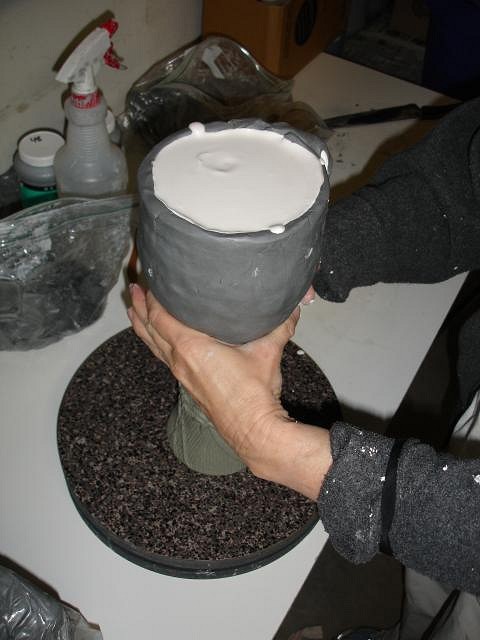
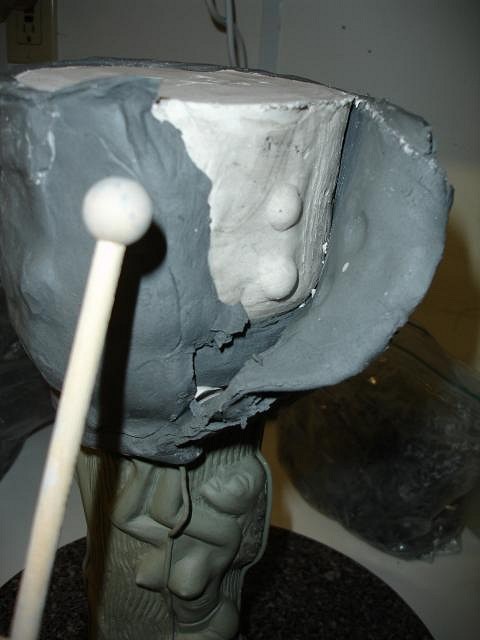
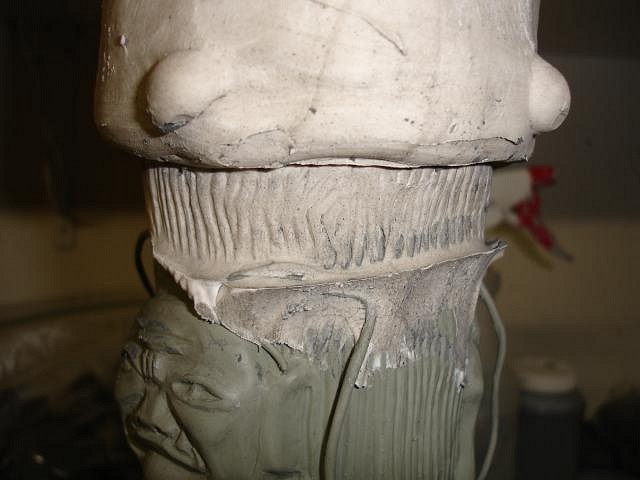
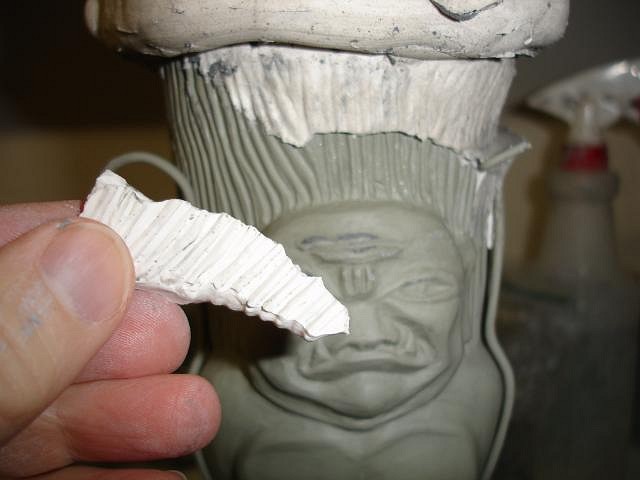
Next we get all the supplies out for molding and put down paper on the garage floor. We use a paint mixer attached to a drill and even a small blender for the plaster. The consistency should be like buttermilk. With so many wood-grain lines I started with a band around the top and pressed it into the clay. I then added a sheet of clay around that. This is a technique I learned from Beachbumz on TC. We mixed and poured in the plaster and held the clay together while it set up. When I had wrapped the clay I also pressed in a couple of dents to make locks with other mold pieces. Here is the tool I used and what it looked like as we peeled the clay away. As we peeled the clay we found that the plaster had leaked anyway. But that's not really a problem other that it takes time to remove it.
I checked the sculpt and made sure it was fine. More later. We have a tiki guest coming tomorrow and I need to put all the Christmas decorations away. Thank you for stopping by, Wendy |