Welcome to the Tiki Central 2.0 Beta. Read the announcement
Celebrating classic and modern Polynesian Pop

Tiki Central / Other Crafts / Wendy Cevola - New colors of the Frank mug by Frankoma now available.

Post #619664 by danlovestikis on Tue, Jan 3, 2012 8:38 AM

You are viewing a single post. Click here to view the post in context.

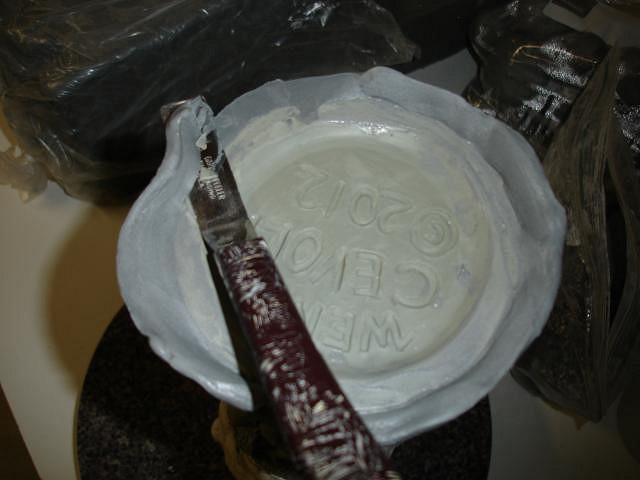
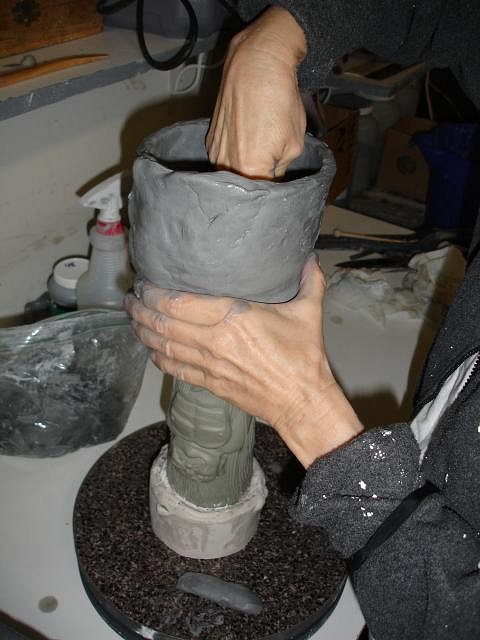
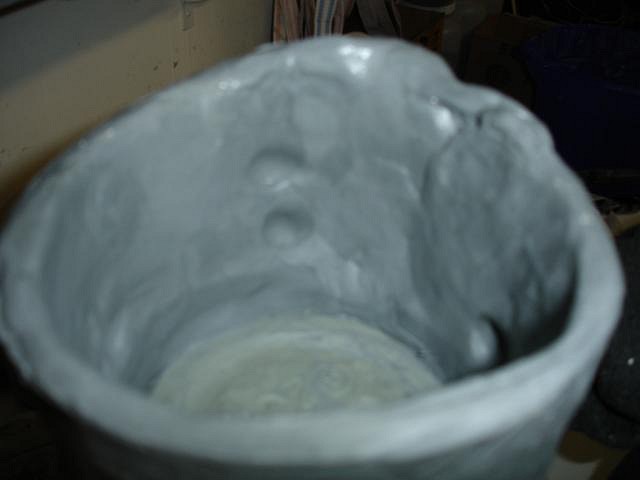
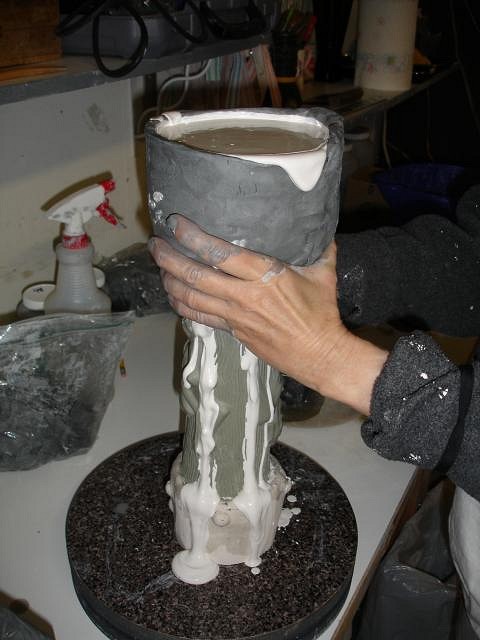
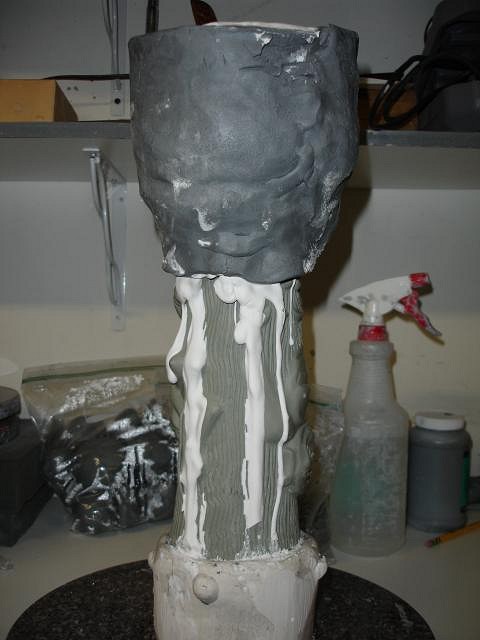
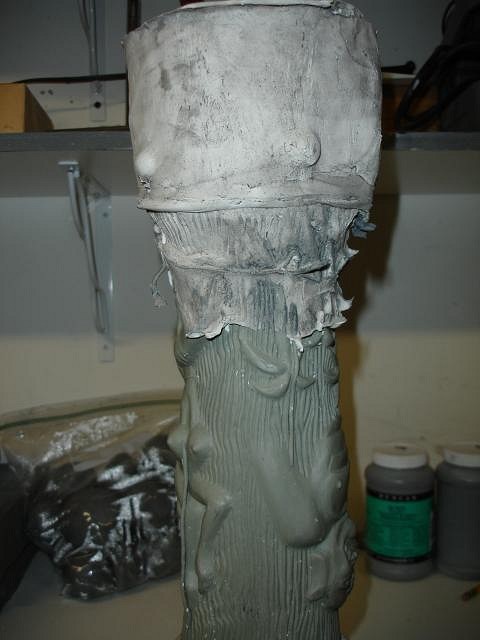
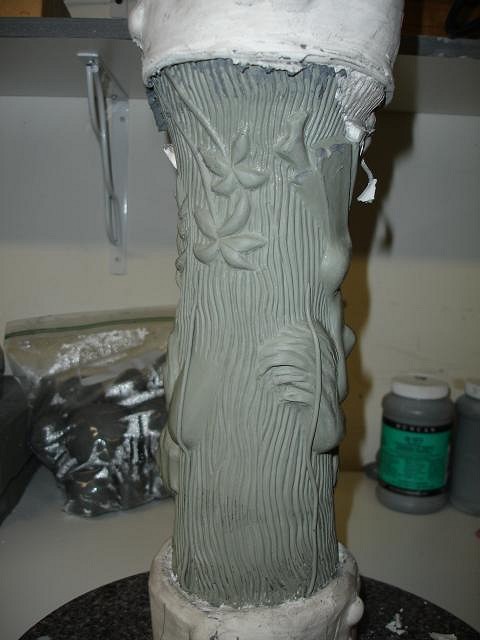
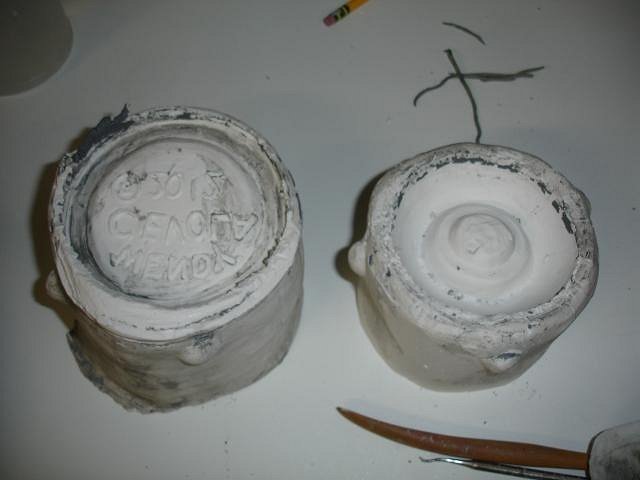
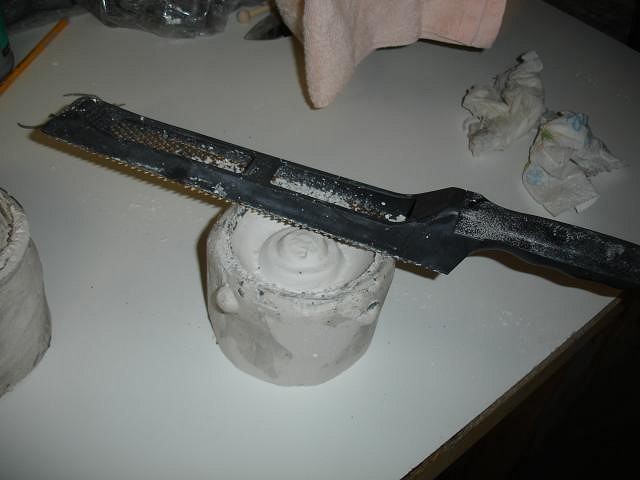
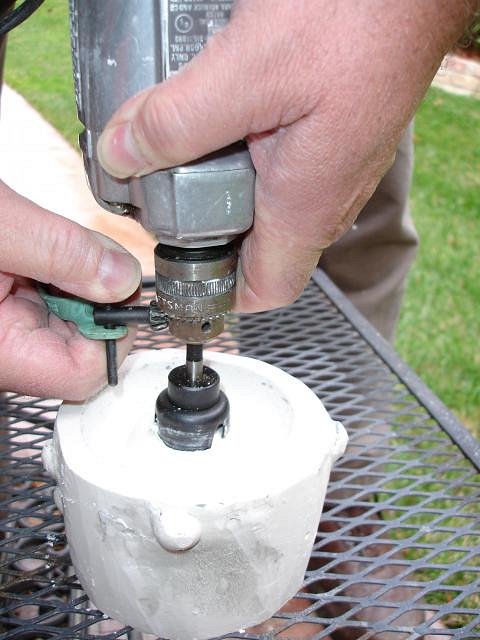
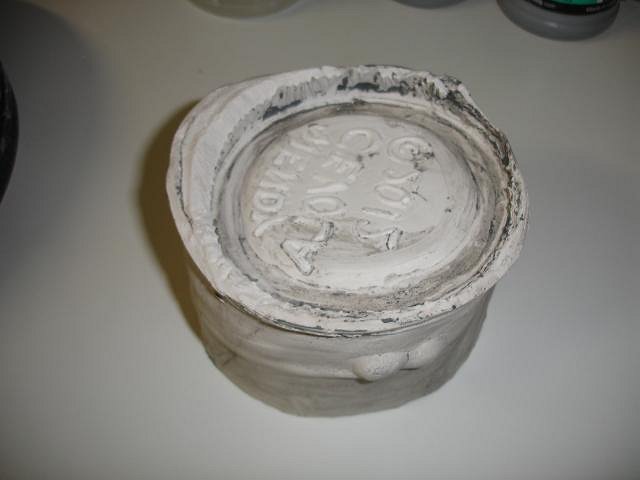
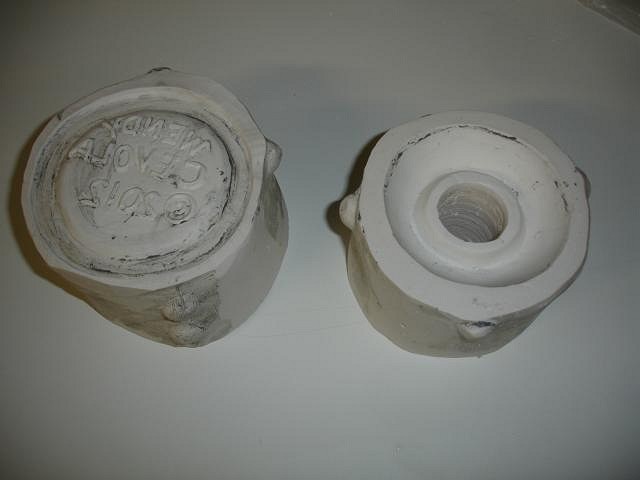
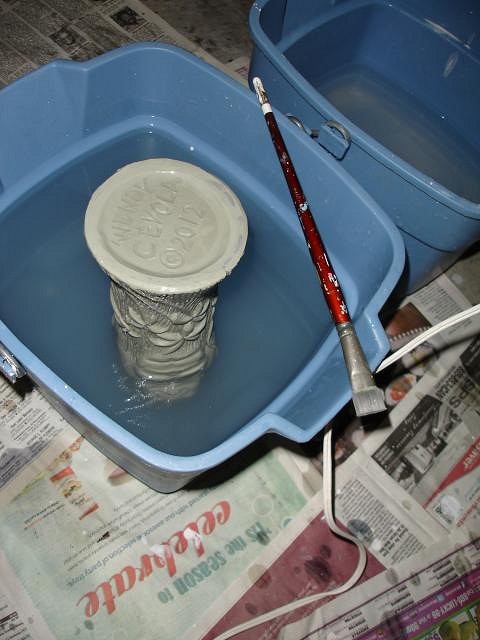
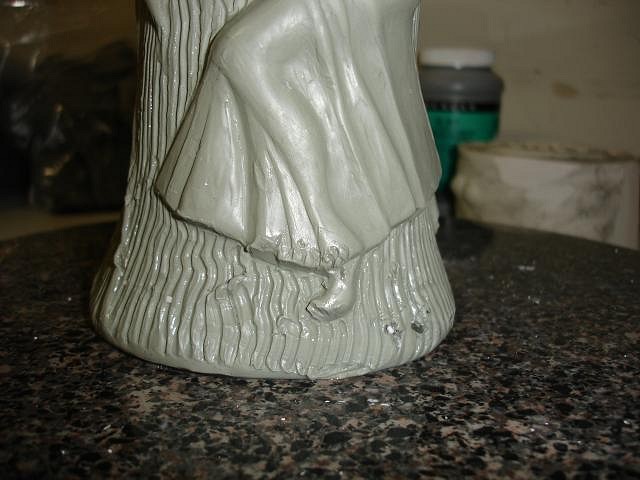
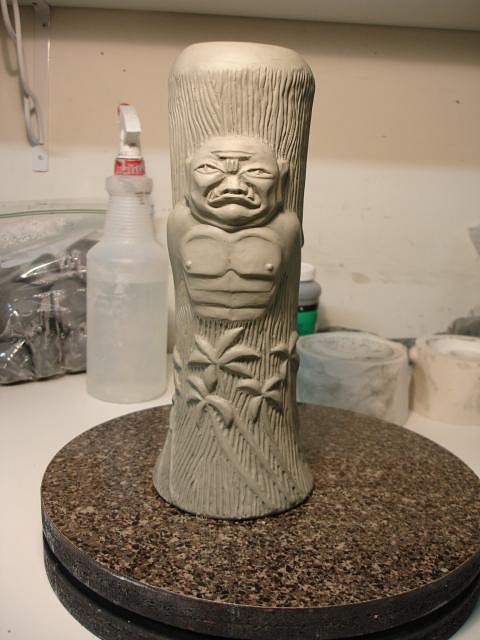
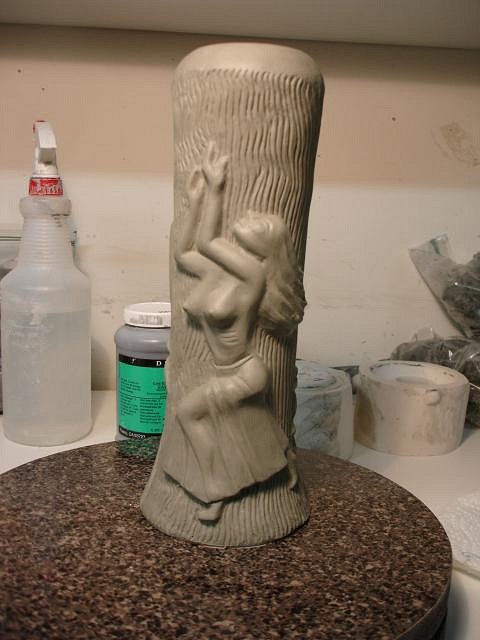
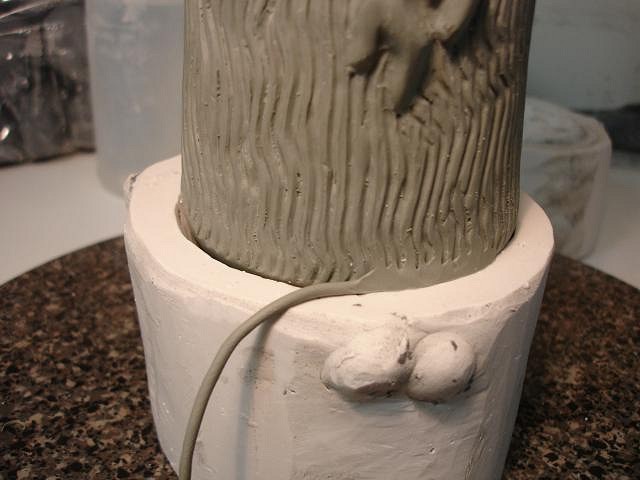
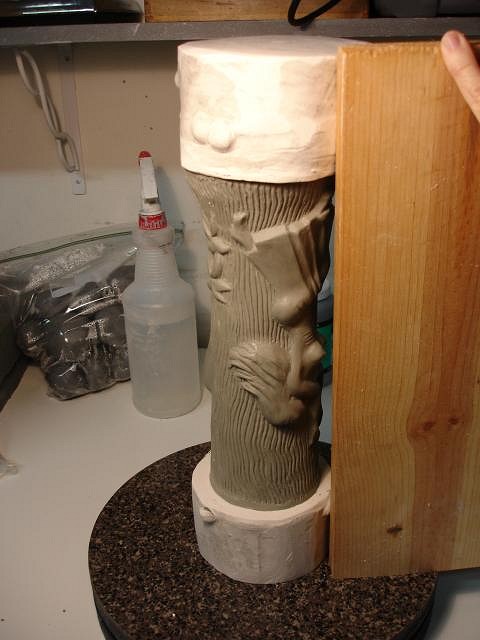
Hi hang10tiki last night I ran into a photo I have of you and I said hi.
Thank you Beachbumz I just posted on your thread, love all your work. My black eye is such a fashion statement but I'll try to be more careful.

Time for revelations and more photos. The last set showed us pour the mold piece for the top. Here comes the bottom.

We flipped the mug over keeping the top in place.

Again I ran a ring around it using a bit more moisture to make the seal better.

After placing the sheet around the ring I rolled out a snake of clay and pressed it inside sealing the sheet to the ring. I used the tool to make the lock dents.

This should have worked perfectly but after the plaster was poured in I decided to lift it up and down and to tap it so bubbles would come to the top. As shown that's the best way to make it start to leak.

So I squeezed harder to stop it. I held it until it was firm.

Here's the mess AGAIN! But no harm done just extra work to pop it off.

Popping and repairing until its all off.

Because all this popping leaves rough edges I removed the top and bottom.

I used a rasp to remove the rough edges. It was that moment when I realized I'd left out one important step. The top piece needed a hole or no one would ever drink from this mug!

Later on when we do mold number two I'll show you what I should have done. However all is not lost. We made a hole with a drill bit used by carpenters to make openings for attaching door knobs.

Here is the bottom with all the extra plaster.

Here are the bottom and top after rasping them smooth.

I soaked the sculpt to remove clay that had stuck. Plaster comes off easier.

Then I searched for any damage and repaired it.

Repairing means less clean up when mugs are poured.

Now I'm happy with the sculpt being ok again so on to the next step.

I put the top and bottom mold pieces back in place. I ran a small amount of clay around to make sure the seal is good. I didn't want plaster to leak into the space.
Next I choose a board that will be the bottom piece for the mold box.

Now it's time to get ready for our Pasadena guest. More photos tomorrow.

Comments are always welcome. (: Wendy