Tiki Central / Other Crafts / Wendy Cevola - NEW: Frankoma Widow Maker for sale.
Post #619761 by danlovestikis on Wed, Jan 4, 2012 8:16 AM
|
D

danlovestikis
Posted
posted
on
Wed, Jan 4, 2012 8:16 AM
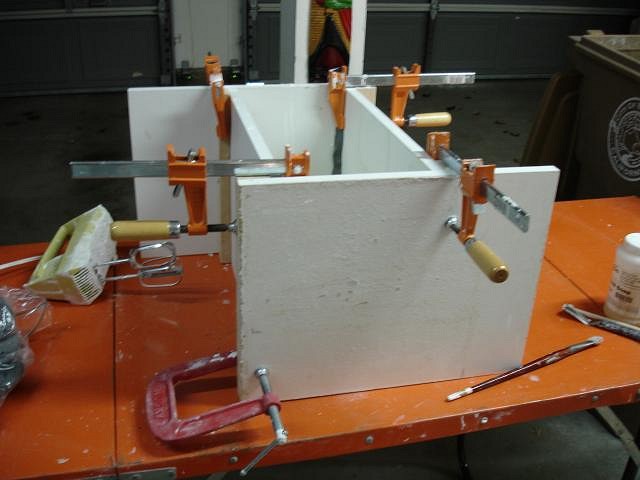
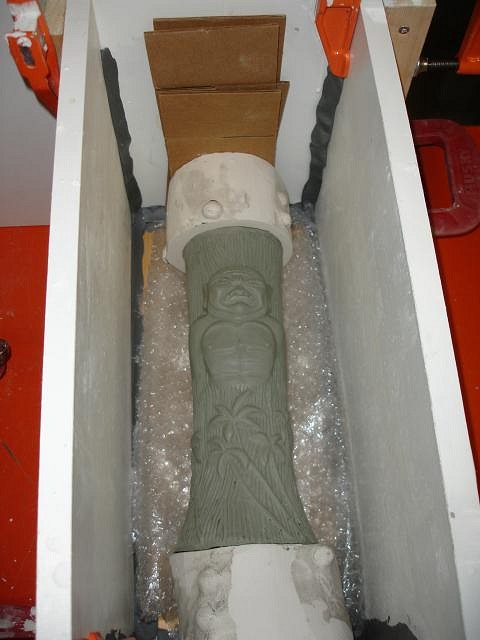
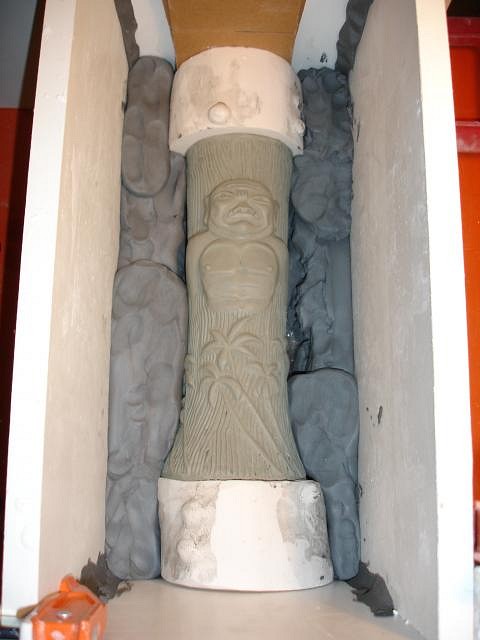
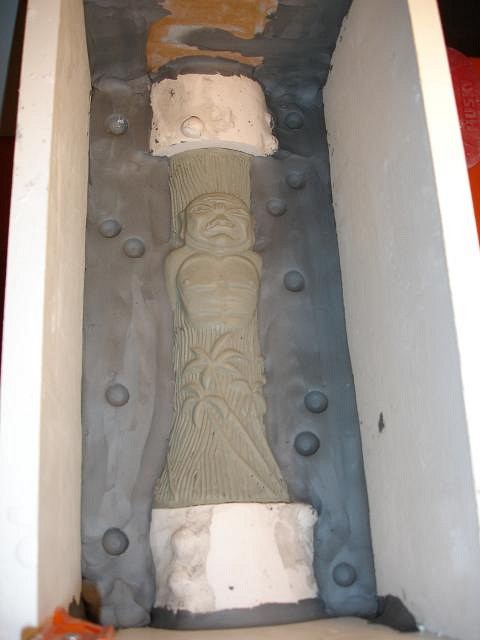
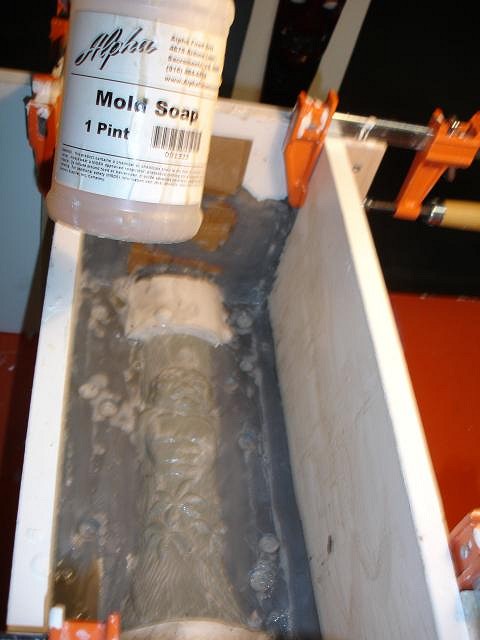
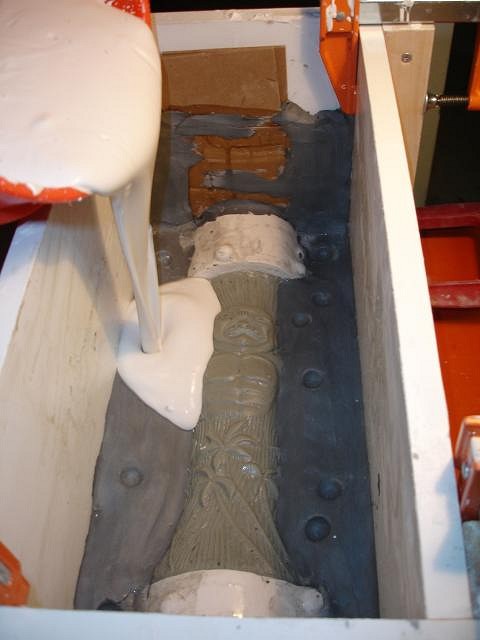
Hey hang10tiki here goes keepin on... First we put down the bottom board and find the right size sides. We get out all the clamps that we will need. Using soft clay I fill in all the cracks along the pieces. The two ends are not really holding the sculpt so I put down bubble wrap just in case the sculpt drops out. We carefully lower it in and then use pieces of cardboard to lock it in place firmly. I do not remove the bubble wrap I just start building soft clay around the sculpt until it has covered all the parts I do not want to mold in the first piece. I remembered where I had the clay lines at the tikis shoulders. Once I've got it built up I smooth it tight against the tiki and then press in the ball locks. Only press in about 1/3 of the ball. Too deep and they will break off. I brush on the mold soap and then soak up the excess with a few paper towels. I do this 2 or 3 times. Mold soap is poison so wear a mask and gloves or do not touch it. There is always soap left in the deeper portions so I use a straw to blow it out. I don't think it matters but just in case. Wear a mask or the plaster dust will harden in your lungs and never go away. Figure out how much plaster you will need to cover your sculpt and be around two inches thick. Put water in a deep bucket. Start your mixer and start adding your dry plaster. Keep adding and mixing until it is like buttermilk. Do this fast the plaster sets up quickly.
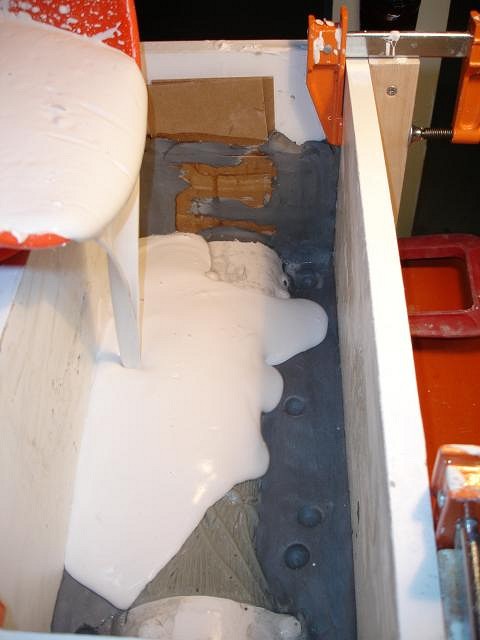
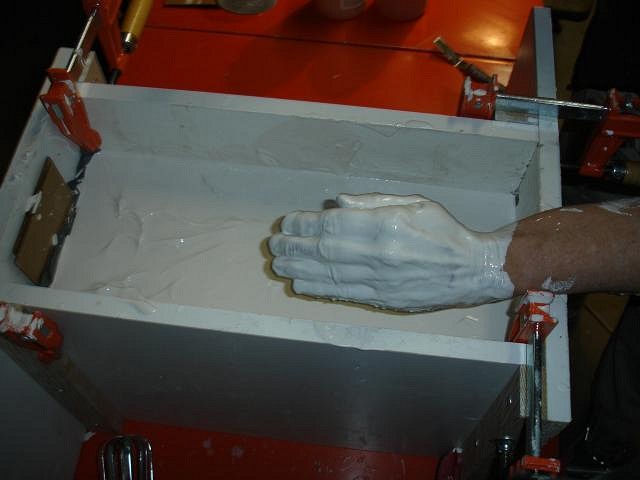
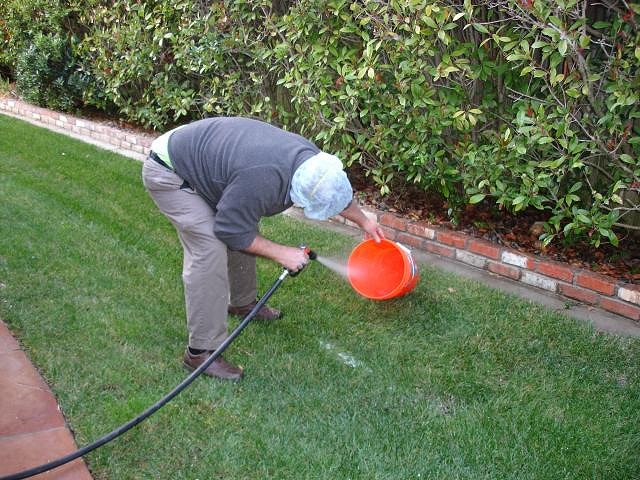
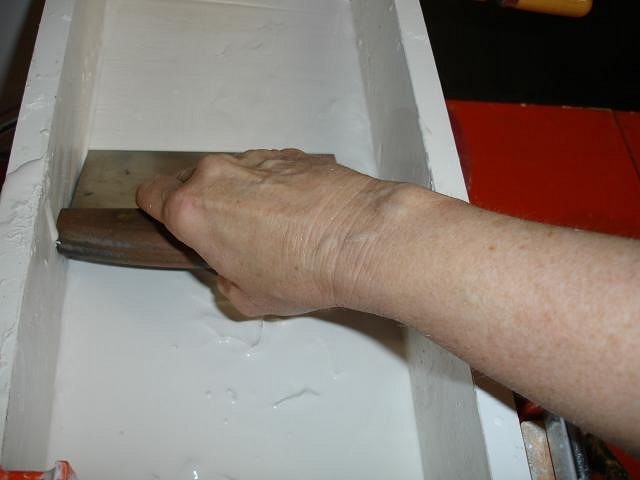
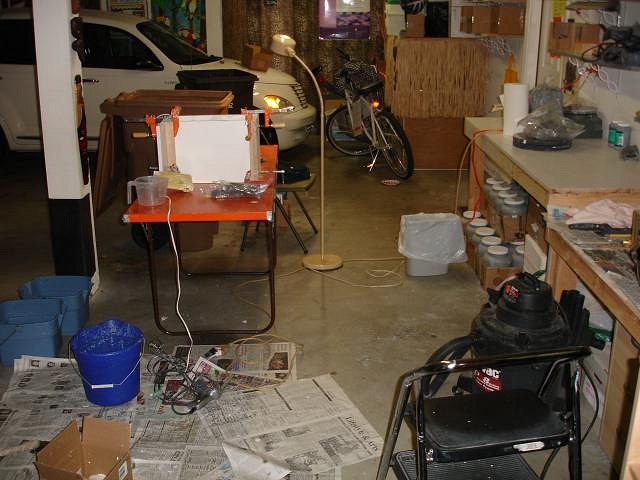
I like to stick my hand in and rub the plaster into my sculpt and to make sure there are no dry lumps. I can break them up if I feel them. This is hard on the skin so get it off as soon as possible. Dan goes out to wash off all the tools and I run out there to get hosed off. Then I run back in and smooth the top with my favorite kitchen tool. In a few minutes I will carve into the top a 1. This is not for the side its for mold number 1. The garage is a mess and will be until we finish. This is a mom day so off we go. See you tomorrow. Wendy |