Welcome to the Tiki Central 2.0 Beta. Read the announcement
Celebrating classic and modern Polynesian Pop

Tiki Central / Other Crafts / Wendy Cevola - New colors of the Frank mug by Frankoma now available.

Post #619909 by danlovestikis on Thu, Jan 5, 2012 9:43 AM

You are viewing a single post. Click here to view the post in context.

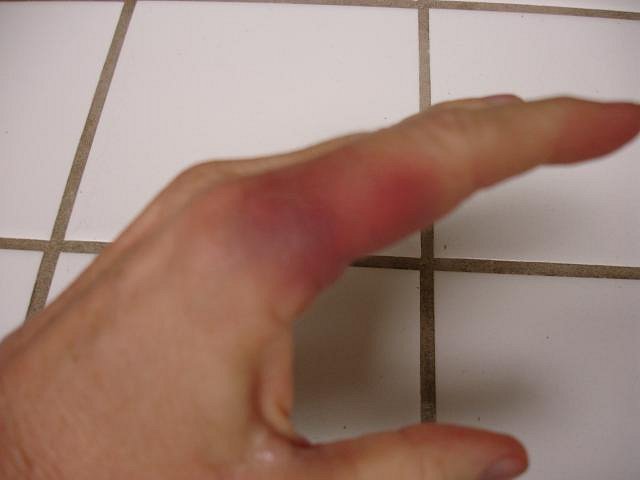
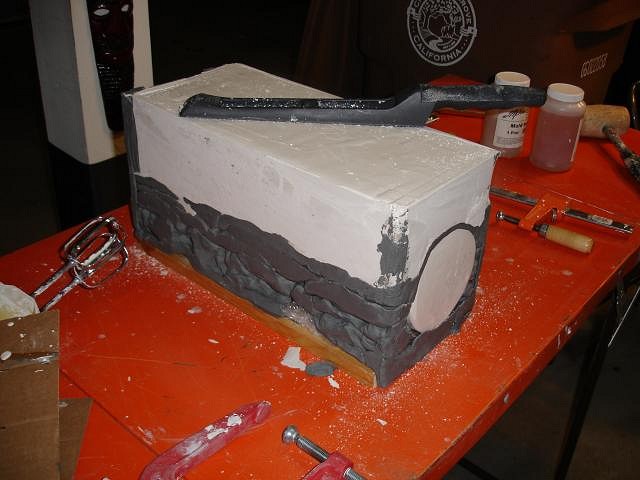
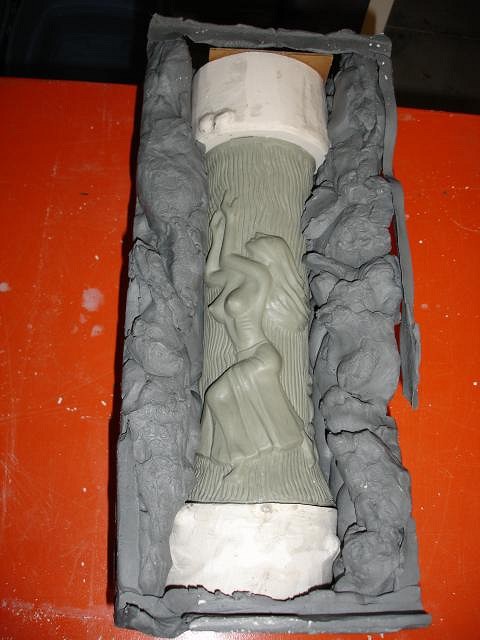
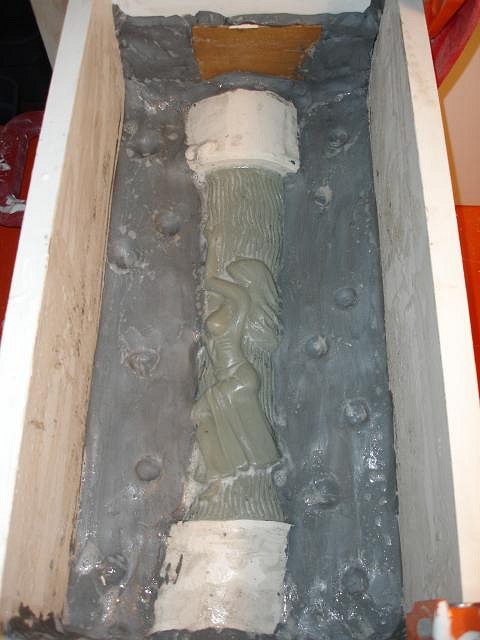
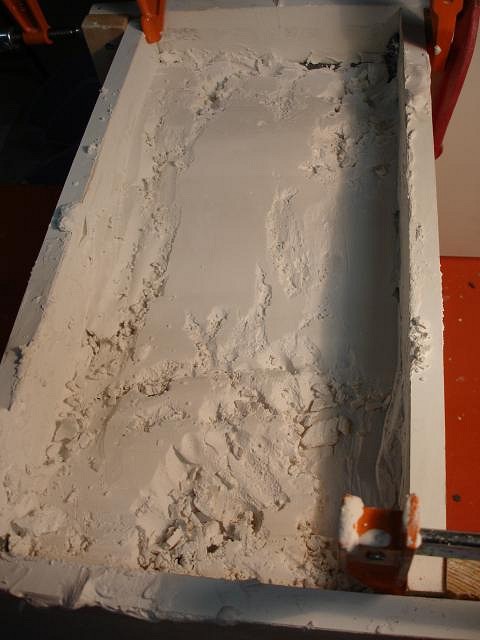
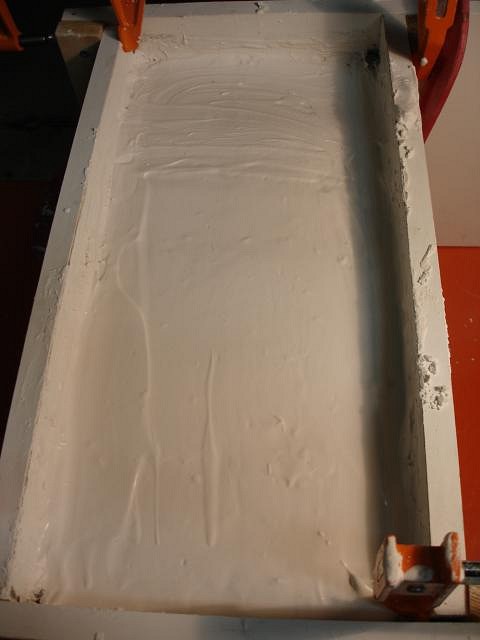
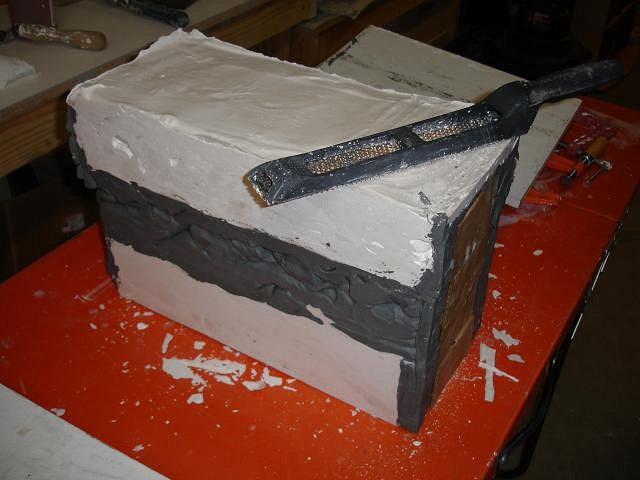
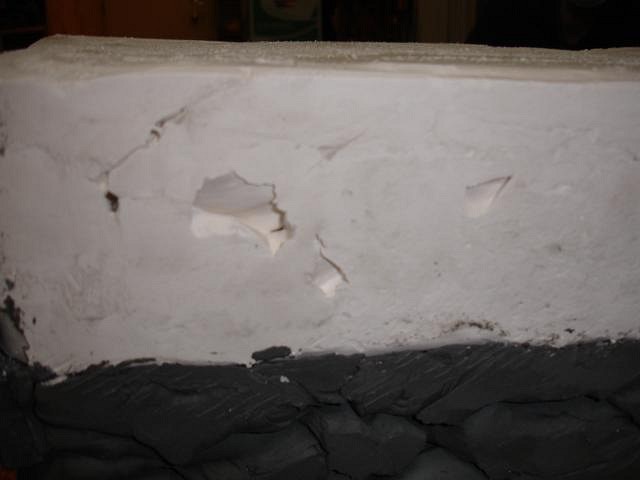
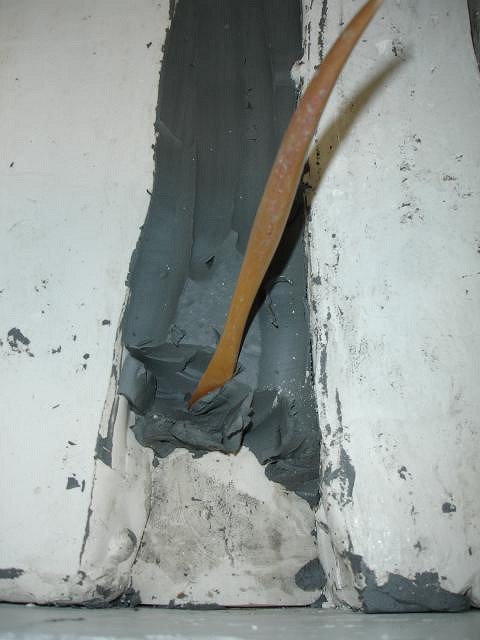
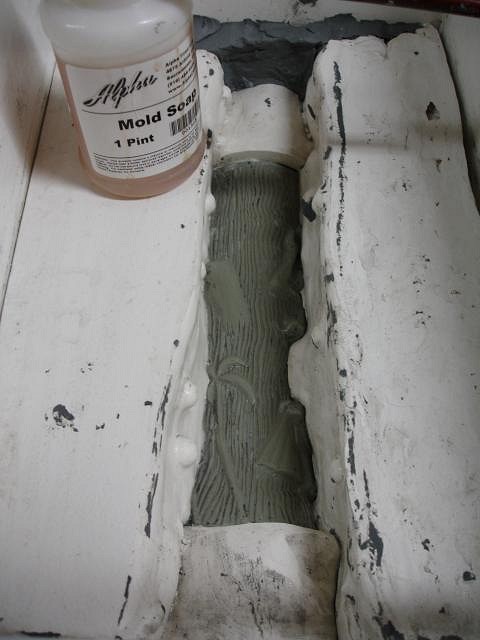
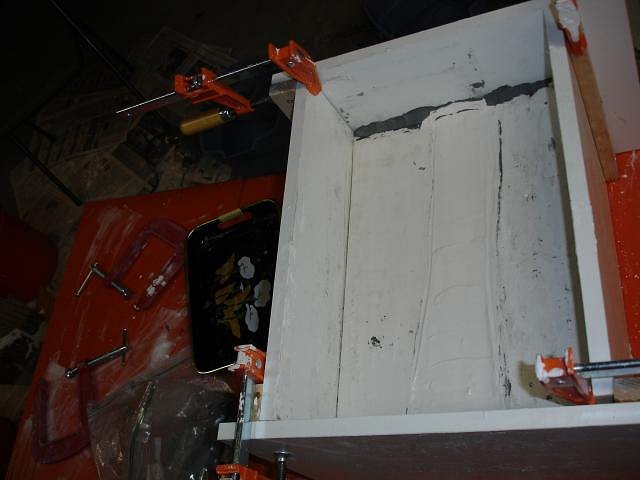
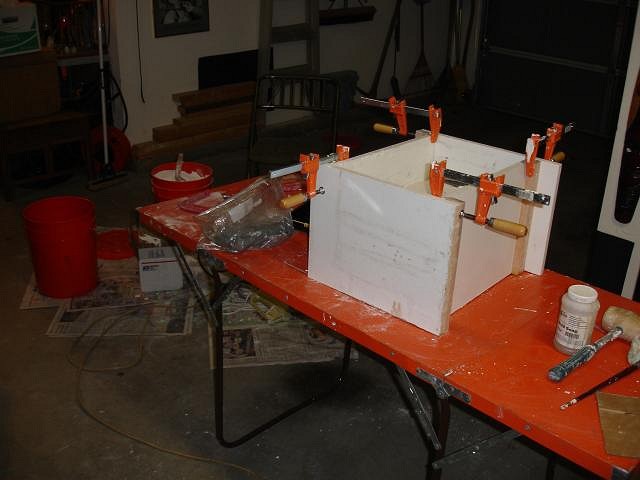
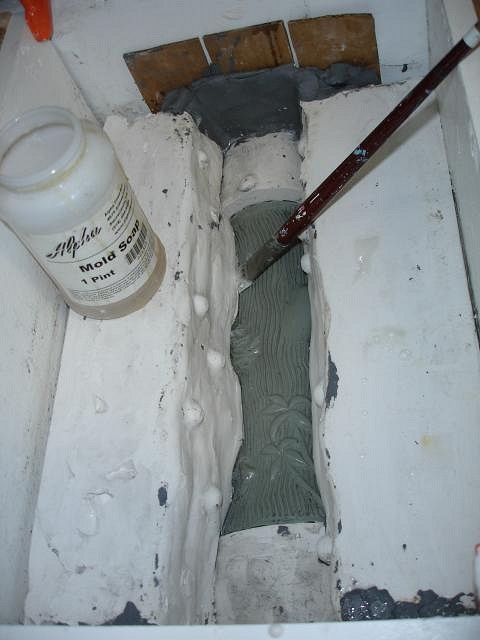
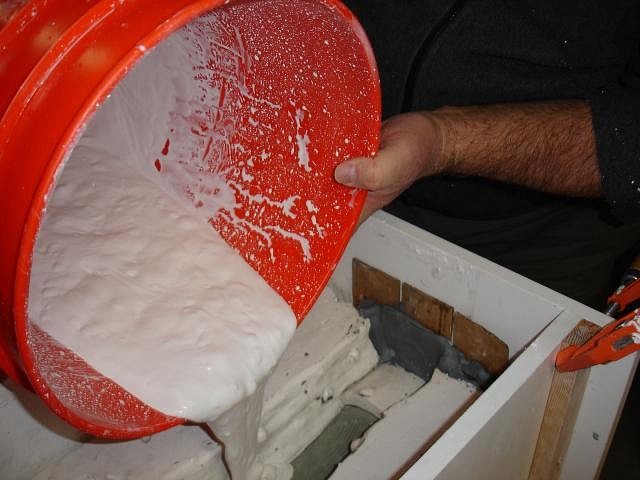
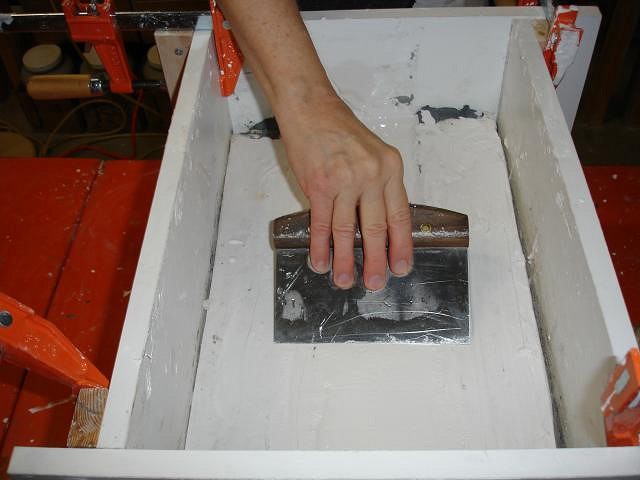
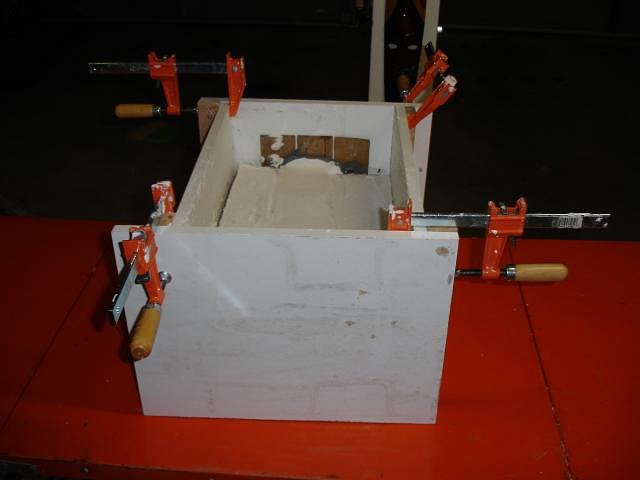
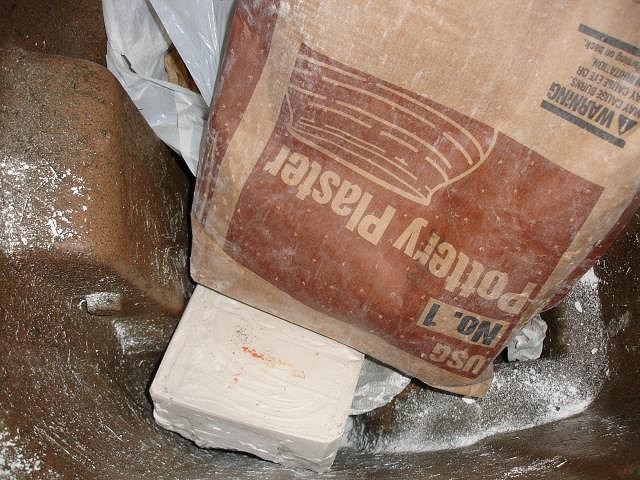
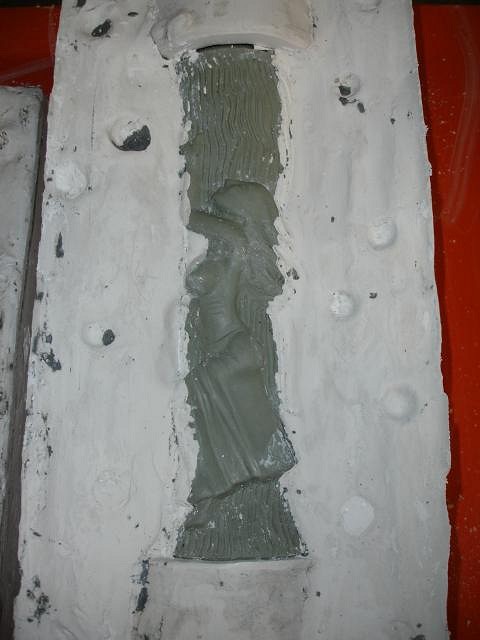
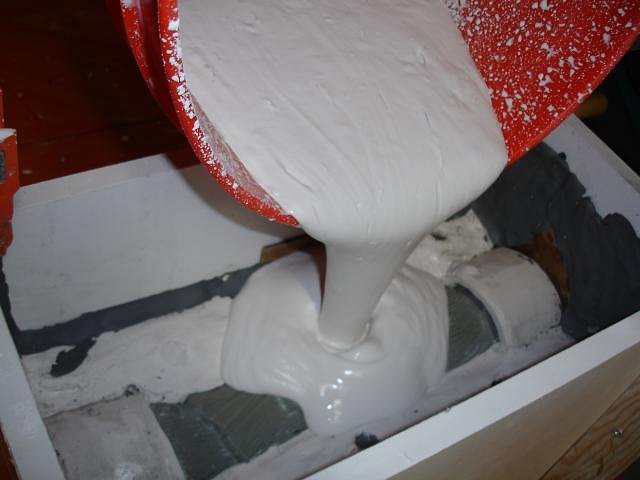
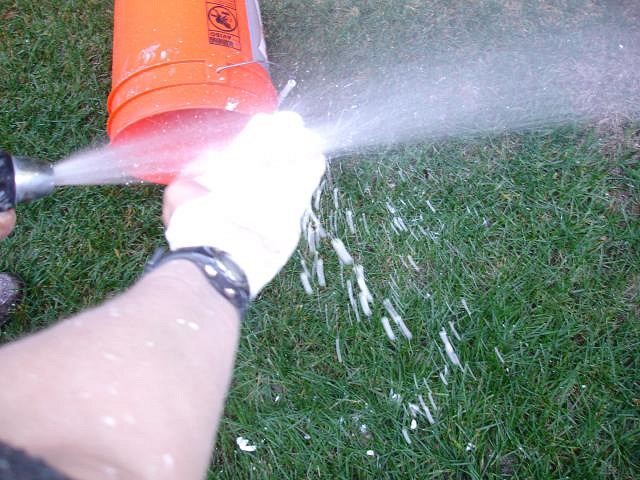
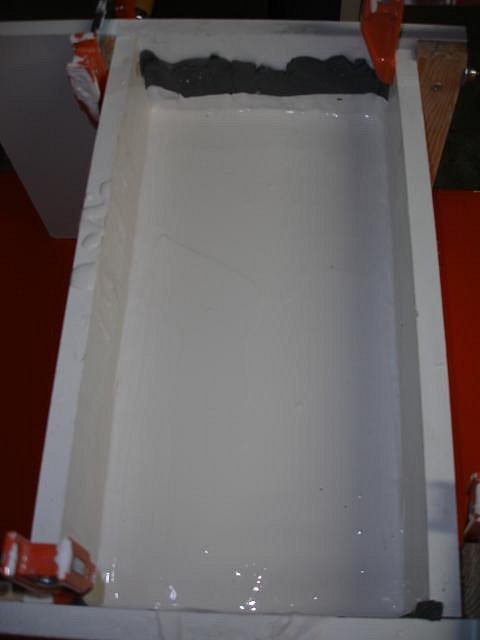
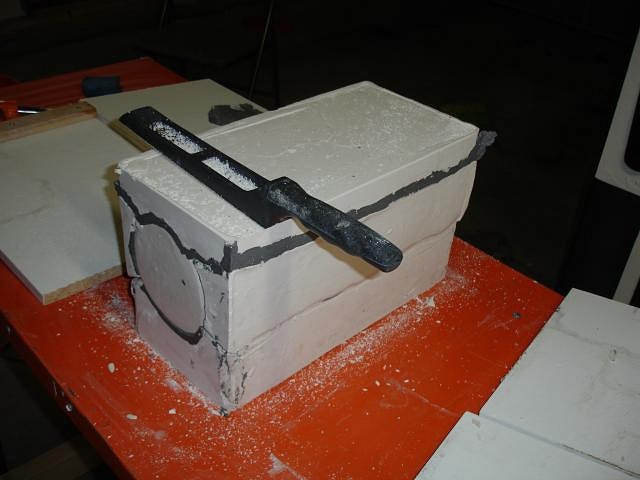
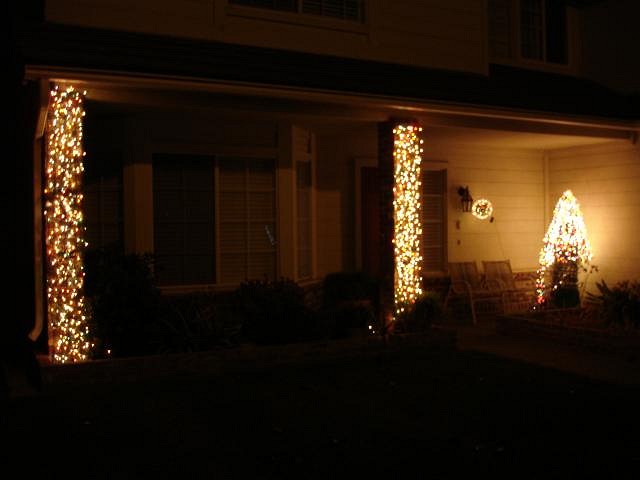
Hi Fellows, its such a joy to hear from you.

Little Lost Tiki your brain is a national treasure, I am loving all your new paintings on gallery. It is super hard work but hopefully in the end it worked and I'll be able to make this mug. I'm so happy you like it.

MadDogMike I need more photos on your thread. How's the axel coming? It's time for more beautiful clay work from you.

Professor G I too am fascinated that this is possible. I hope that in showing all my errors that it will help someone be able to jump in and have perfect molds.

tigertail777 looking back over this list of friends who cheer me on I am thankful for each new person I meet this way. You are one of them. I enjoy watching you make art too.

More step by steps and another error.

One step I left out yesterday involved the rubble mallet. When pouring the wet plaster into the box bang the sides so that all the air bubbles will rise to the top. I bang one side and then the other. I was moving fast and once during this process banged my finger. There are so many ways to get hurt during mold making so be careful.

The third piece has been poured and it is time to use the rasp to clean it up and then to flip it on its back.

I removed the bubble wrap and here's how the clay looked.

I put the box back in place. Added more clay smoothed it out, added the impressed ball locks and painted a couple of layers of mold soap. I removed the excess soap and it ready to have the plaster.

Remember about adding the plaster to the water to mix. Well we tried the reverse. It made the plaster start to set just as we were pouring it into the box. I couldn't get any air bubbles out and immediately I could tell this wasn't going to work.

Being an optimist I mixed a small amount of plaster and covered the rough top just in case. Plaster will fuse to plaster. Without mold soap you would never get pieces apart. It's so easy to forget that I try to keep the mold soap next to the box at all times.

Sad that so much work was going to be thrown out we closed down for the night.

The next morning we took the mold apart. this shows the clay and cardboard at one end of the mold. The mold piece is 2 inches thick and most is hidden by clay. To understand look at the next photo. Clay is placed so the the top of the mold will be even and not dip where the cardboard is placed.

Even though I was sure the slab would be tossed I rasped the sides so that it would sit on the table. I would leave it in place until I poured the two side pieces. That way the bad slab acted as the clay and saved me some time.

Each clay slab should be solid. Looking at the side I could see horrible air bubbles. It's better to have the plaster be too wet than too dry. This will never work.

We turned the mold on the side and I dug out the clay to expose the sculpt.

Paint with the mold soap twice and wipe. Remember its poison don't touch it and wear a mask.

Wearing a mask we mixed the plaster and poured it. I was short a bit of plaster. It's best to keep all sides at the same level so mix too much than too little. Have a waste box to put excess in for disposal.

By now the mold and box are super heavy and my metal table is starting to cave in.

I used some 2 X 4's to support the weight.

After it set about 30 minutes the plaster feels very hot. We again removed the box and flipped it over. Painted it with mold soap.

Mixed and poured the plaster.

Smoothed it out with my kitchen tool.

Here it sits setting up.

We are now ready to remove the bad piece and toss it in the garbage along with a empty plaster bag. We use high quality plaster. The difference is $8 to $30. This $30 plaster is dental stone and will keep the detail better though all the casts.

Removing the bad plaster slab which had pieces breaking off as I handled it I can also see where there were leaks.

I took off the other two side slabs and cleaned the edges carefully. I only removed the leaks. I also cleaned up my sculpture.

Mixed and poured.

Cleaned up for the fourth time. Plaster will harden anywhere so don't leave it on your tools or body.

Let it set.

Removed the box and cleaned the edges with the rasp.

We are now hopeful that we have one working mold. Next up making a mold from this mold and the original sculpt that is still inside of it.

Now it's time to take down all the Christmas Decorations and store them for next year. I Made the tree and post covers out of chicken wire and string lights. They go up in 15 minutes and come down even faster.

Happy New Year, Wendy


[ Edited by: danlovestikis 2012-01-05 09:46 ]