Welcome to the Tiki Central 2.0 Beta. Read the announcement
Celebrating classic and modern Polynesian Pop

Tiki Central / Other Crafts / Wendy Cevola - New colors of the Frank mug by Frankoma now available.

Post #620896 by danlovestikis on Sat, Jan 14, 2012 8:31 AM

You are viewing a single post. Click here to view the post in context.

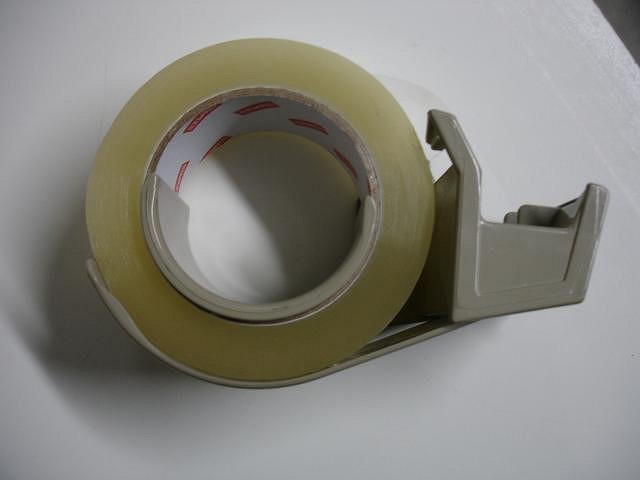
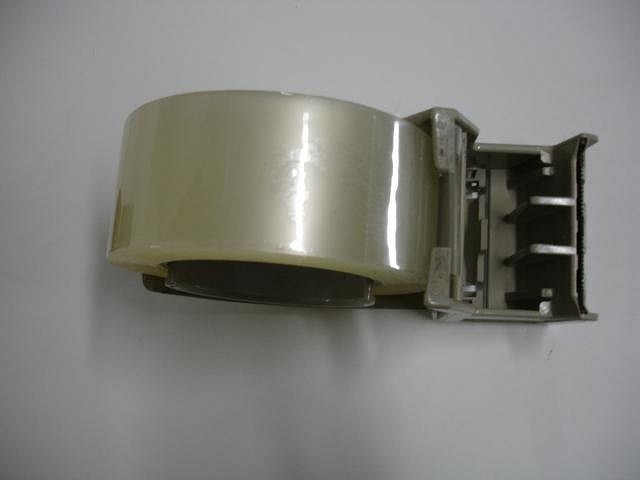
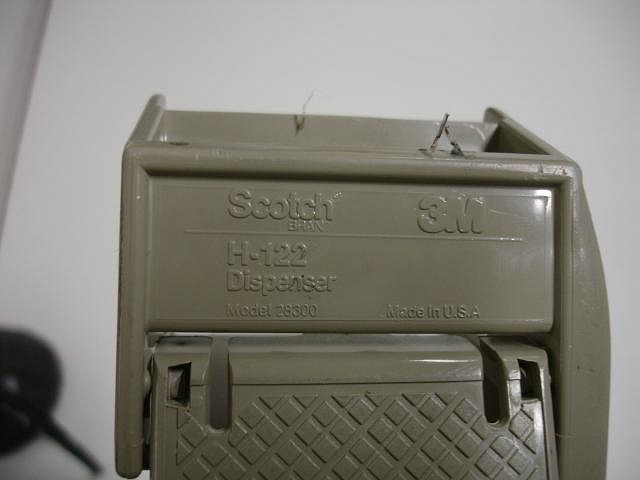
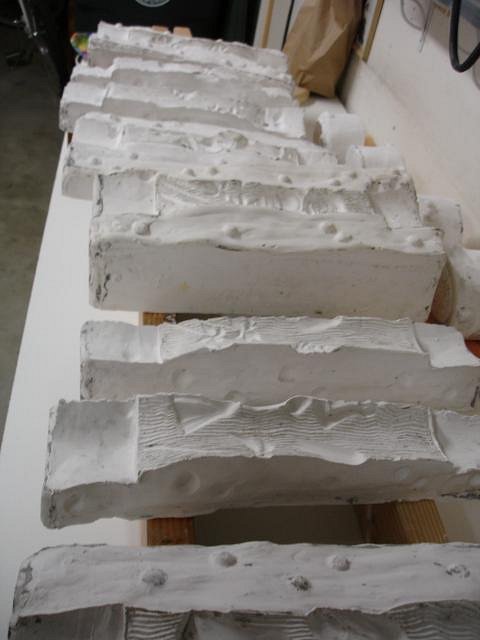
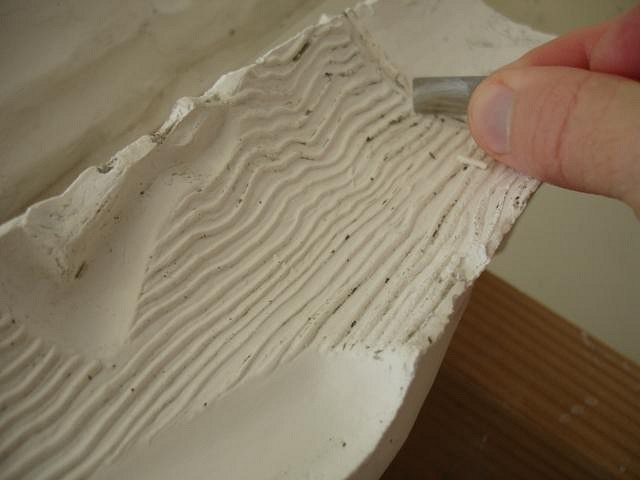
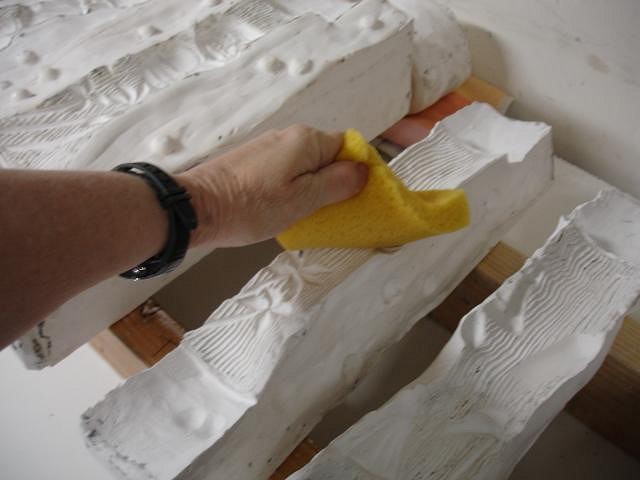
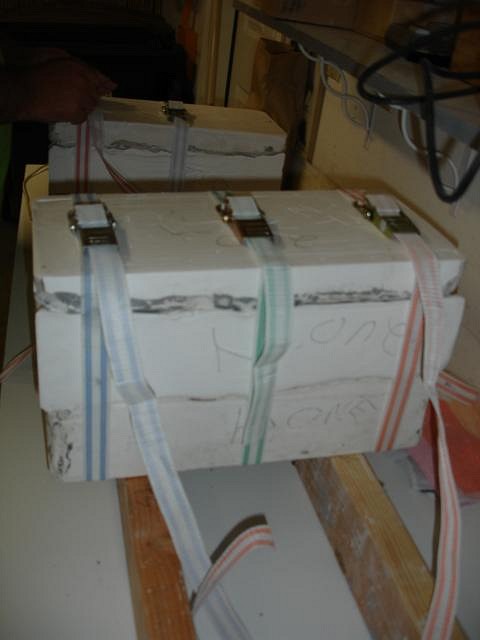
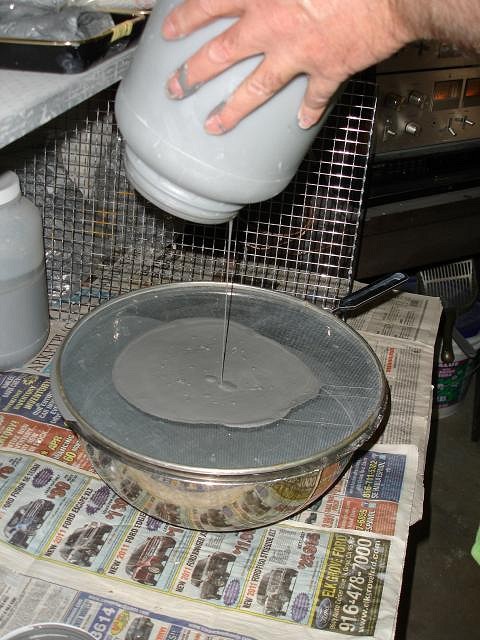
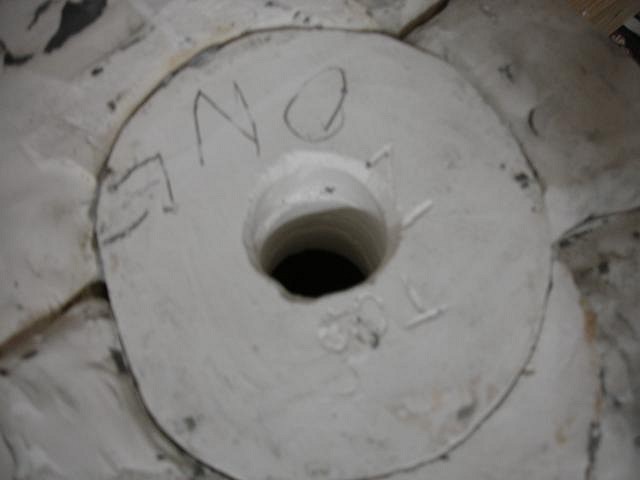
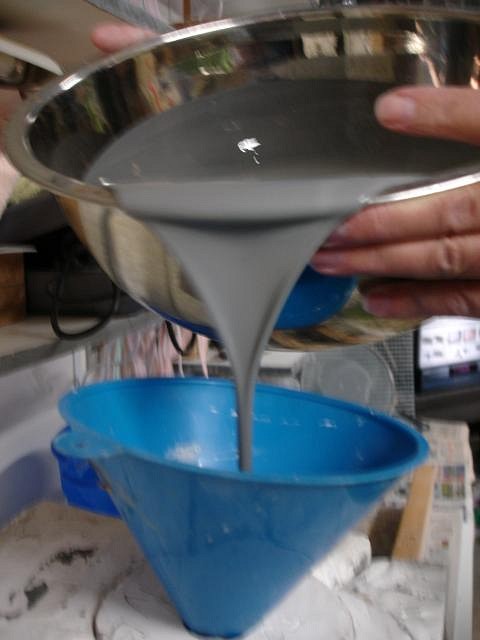
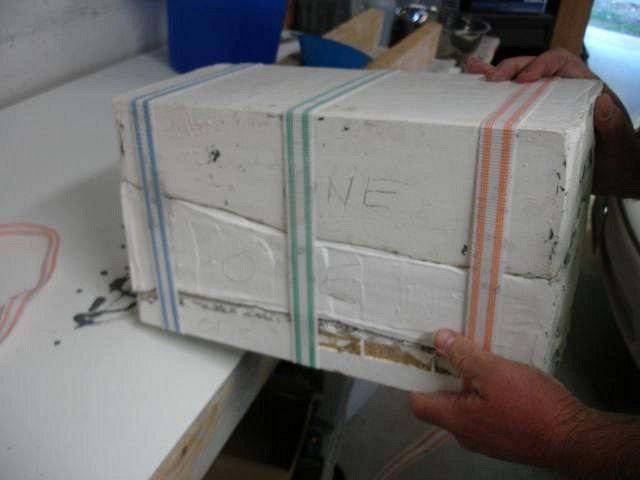
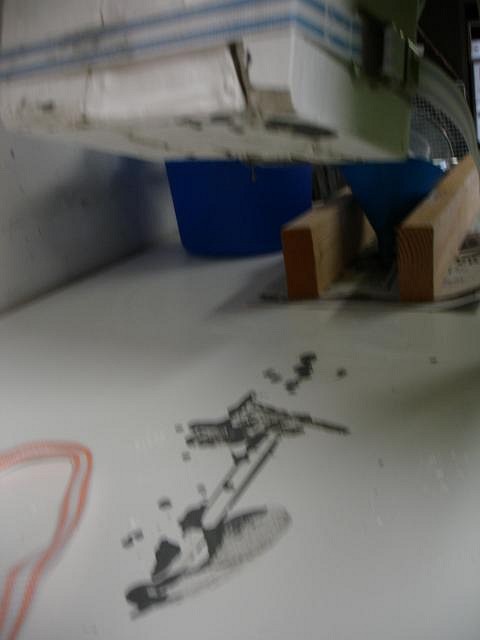
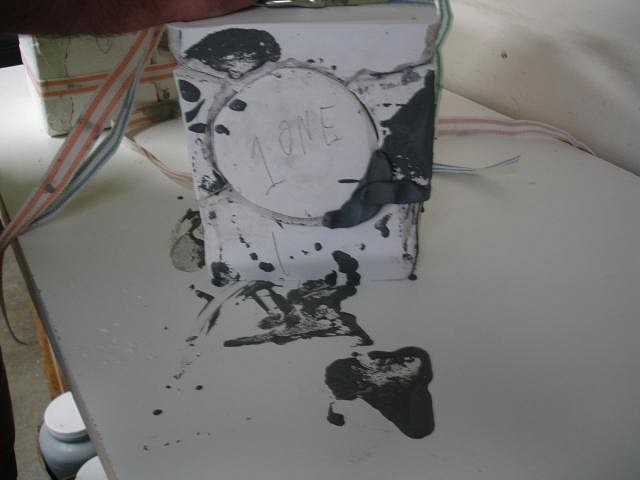
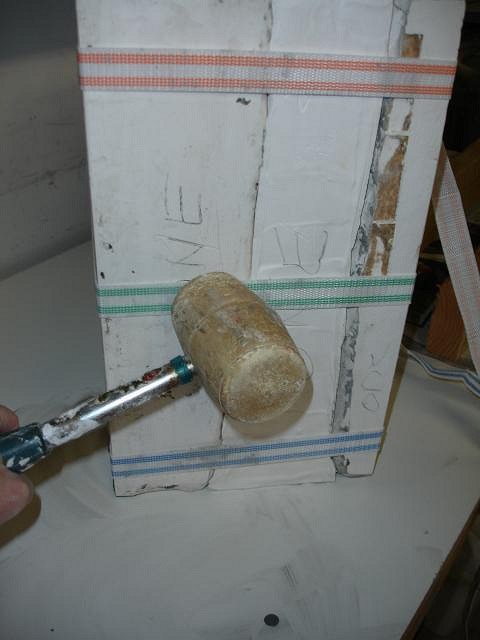
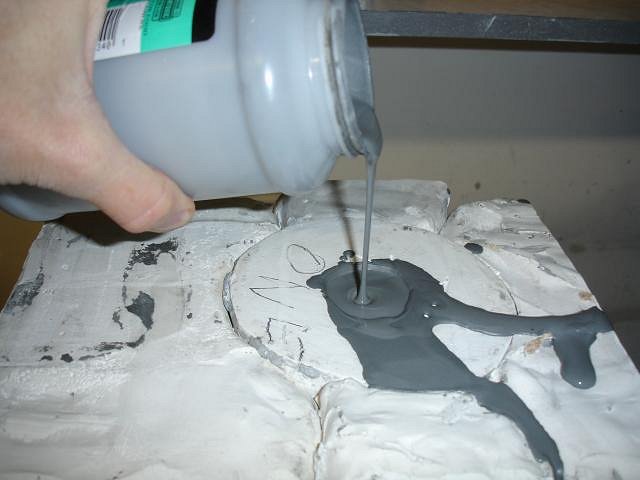
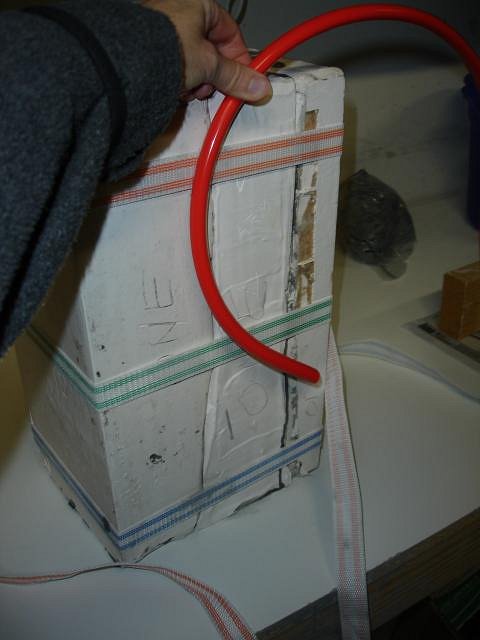
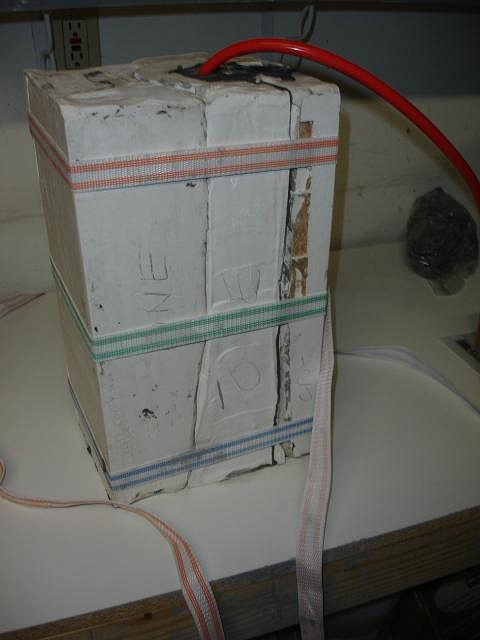
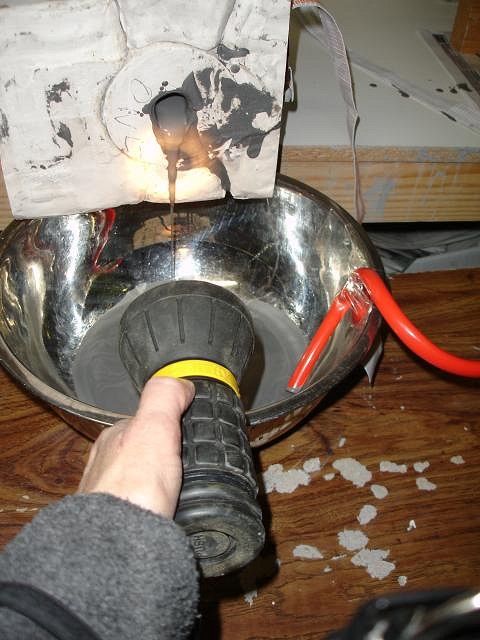
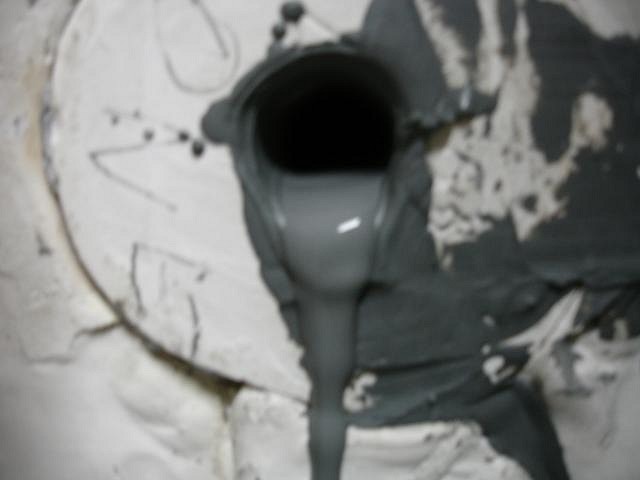
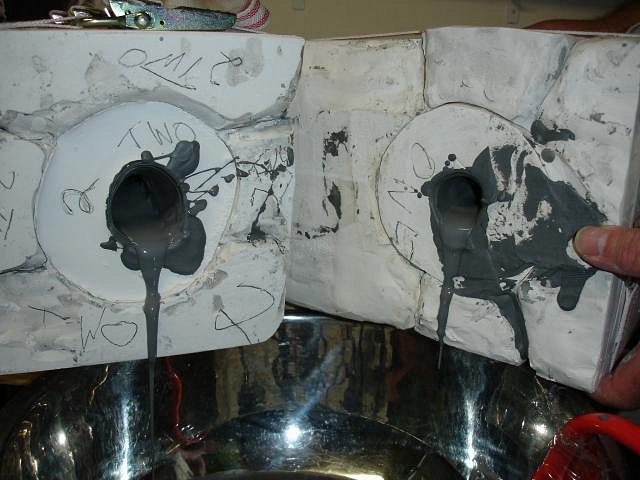
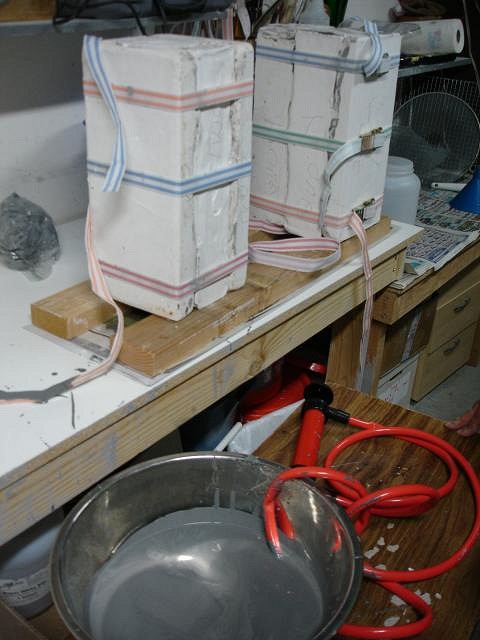
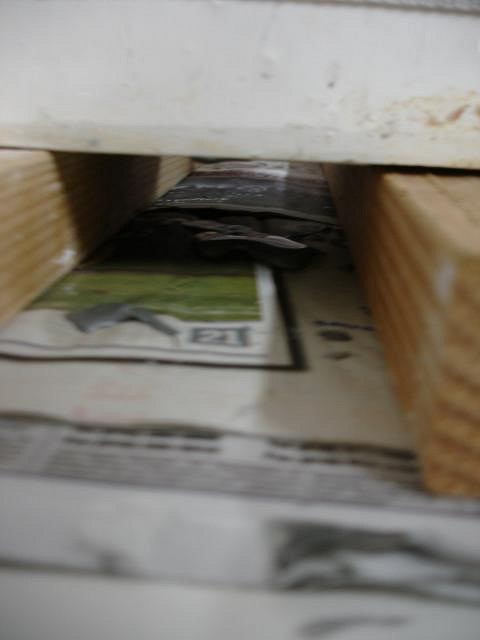
bavtech that's how just ask, I've added your name, thank you

The first two mugs have been poured and here are all my step by steps with helpful hints. Tomorrow I should have photos of the outcome.

Sold by ULINE this is the best tape dispenser I've ever found. I've tried those one handed metal versions from Staples and ended up swearing a lot. I just treated myself to one to keep with my mold equipment. I will be using it soon, photos to come.


Finally dry it was time to get started. Then I remembered the most important step. The molds are new and still covered with mold soap. There are also a few defects that can also be removed prior to pouring.

Since the molds dried out completely the plaster is very hard so when I take a tool and run it along all the wood grain crevasses I'm not hurting any of the detail. I'm just loosening up the soap.

I dip a soft sponge in water and wipe the soap away. Rinse, repeat over and over again.

I put the #1 and #2 molds together and placed three super tight straps to hold them together.

Shake and stir the slip because water always comes to the top. To prevent defects we always pour the slip through a screen to remove chunks.

Because the opening is so small we used a funnel to pour the slip. Pour slowly and hit side of mold with a rubber mallet.


We count to 10 and then stop pouring. We have now way to know if these new molds will leak or be fine. You can plug leaks by pouring in a small amount of slip and then lower each side of the mold so that slip will pour into the mold joints and become solid. This is a fast process because you don't want the slip to dry so much that it starts to pull away from the mold. So lower turn lower each side and then quickly pour in the rest of the slip.


During this time watch for leaks. We only found one on the bottom. So I plugged it with clay.

I forgot to show that this should be covered with plastic wrap or it will stick to your table and pull loose later.

Whenever adding slip to the mold even during that first 10 second pour pound the sides with a rubber mallet to keep air bubbles from sticking. Every air bubble will leave a hole to fix later.

I want the top to be as thick as the side so for the next 15 minutes I add slip to the top until it stops lowering fast.

These will be the first casts so I let them sit for 1 hour before removing the excess slip. If these mugs are too thick the next will be left for less time.

Now it is time to remove the slip and the opening is way too small to pour it out. On my last project I figured out that a gas siphon would work well with clay.
First I estimate how much of the tube to feed into the mold. Place it slowly so that you don't scrap the side.


The bowl that will receive the slip has the opposite end of the siphon Taped to the side. Our first time we didn't Tape the end and I got shot by slip, not fun.

We pump out the slip until most is gone but not all. We don't want to have the tube attach to the soft clay bottom. While I watch with a flash light Dan starts to lower the mold toward the bowl.

Watching to make sure the opening never closes up with slip causing the glug glug noise. If you hear this you may have made your mug collapse due to suction.


When the slip is out and only drips are coming put them upside down on support boards. 2 x 4's work really well.

Some will continue to drip out so I have newspaper to collect it.

This is my book for today. Please ignore any gramatical errors its time to go to work. Cheers, Wendy