Hi Everyone,
I'm going to post photos from the very beginning in case there are any other newbies out there.
Thanks Again!
Tiki Tonie
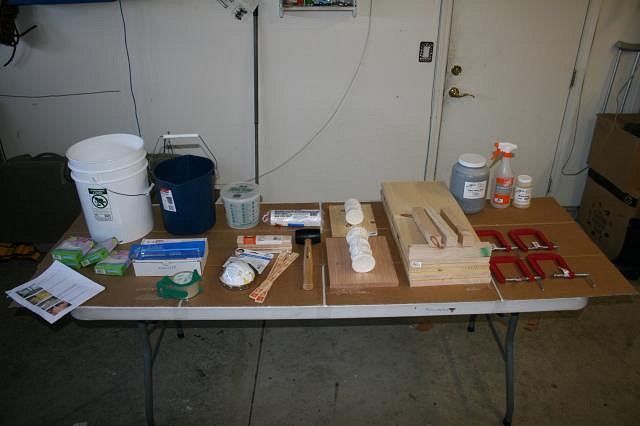
Supplies, this is a modified list I got from KoKoKele. See his post below for a great link to a tutorial. I've added some notes and some other items for folks like me, that have never ever done this before. I hope it's helpful:
Make sure you've built or acquired a mold form of the appropriate size.
In addition to everything below you'll need clear, fresh water.
Remember not to dump plaster down the drain! If you do you'll no longer have a drain!
You'll need:
- Safety equipment! A dust mask for sure, rubber gloves if you're concerned about the effects of plaster on skin!
- Drop cloths as needed
- Paper towels or shop towels as needed
- Clay-Soft, oil-based clay – My ceramics shop did not carry oil based clay regularly, you have to order it ahead of time. I know, right? Who’d a thunk it.
- Filler - you can use wood strips or some other material to act as filler so you don't have to use as much clay
- A variety of tools to help you smooth the clay and get into corners and crevices
- Stir sticks or a cage mixer and drill motor or your hand (that worked for me)
- Pottery plaster (ceramics shop have the perfect type; plaster of paris also works)- Buy a lot. It's cheap.
- A couple of plastic scoops for getting plaster from the bag to the containers.
- A kitchen-type scale for weighing your materials. You can use a fairly cheap one, but make sure you can "tare" it (set it to zero when something is sitting on it).
- Several lightweight plastic containers for holding plaster and water when you measure them. Half-gallon or gallon should be fine. – I had a big 5 Gallon bucket filled with water which made it really easy to clean my hand off quickly so I could pour the plaster. I was also able to clean out my smaller bucket so I can use it again
- A few cheap paint brushes (I use the throw-away types)
- Orange shellac (optional) – I didn’t use this, but what do I know.
- Spray bottle for mold soap (optional)
- Mold soap (found at ceramics shops; I believe you can use other media also) – you spray the mold soap on and wipe it off. A wise lady (Wendy) told me to do this 3 times and I did. Note – during this process I noticed a change I needed to make on my mold and started working on that before I wiped off. Do not do that. What happens is the mold soap starts to take on the consistency of soap scum and can thicken in your crevasses…(I’m not going to say it) so be sure to wipe right off, let it sit, repeat 2 more times.
- A clean, good-sized plastic bucket (one gallon minimum? I use larger, 5 gallon)
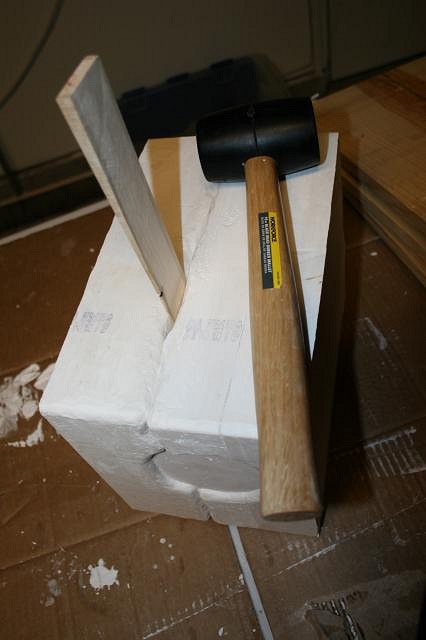
- A wooden wedge to help part your finished mold parts
- A rubber mallet for gently whacking your wooden wedge
- 4 Planks – 10” to 12” x 2’ (I’m using the 12”…That’s what she said, I had to, sorry)
- 4 wood blocks – 1”x1” usually come in 4' long pieces which is perfect for the plank
- 4 clamps – Make sure you get the deeper ones that will clamp towards the middle of the board
- Base board – I got my board from the trash (over by the wood cutting area) at Home Depot, they gave them to me.
- 2” Nails - check that you have them, thought I did, ended up making another store run
- Strap – I’m going to use Bungee Cords
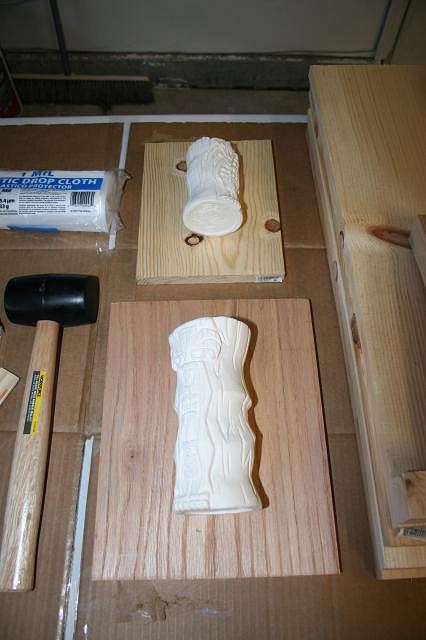
Bottom boards for each mold
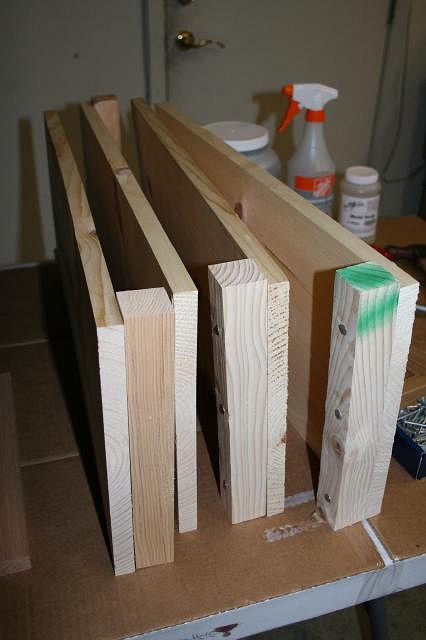
Frame Walls
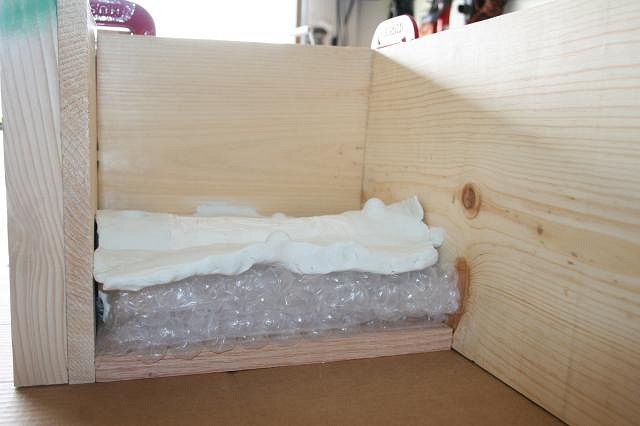
Putting the frame together. Mistake #1 Did not order the Oil based clay so had to use some kids non hardening stuff that was really hard to work with
Mistake #2 Because the clay was hard to work with, didn't level it out very well. I'll pay for this later, you'll see
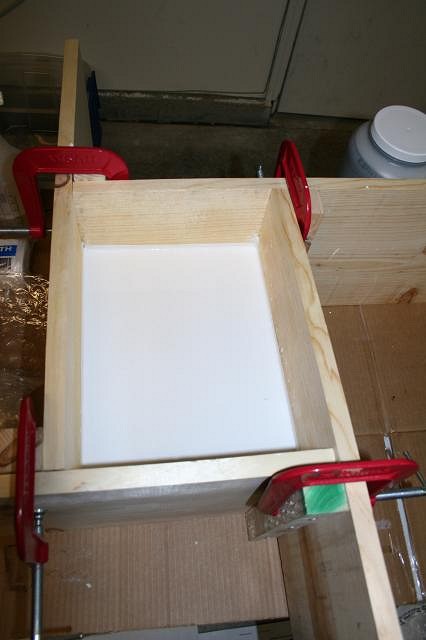
All Framed up. Have to say, pretty proud of myself with buying wood and nailing it together. Speaking of nails, Mistake # 3 Thought for sure we had nails already. No we didn't. You need 2" nails so I had to go back to the store.
Filled in the cracks almost ready to Mold Soap
Mold Soap - Wipe on, Whip off, Wipe on, Wipe off Wipe on, Wipe off or do it 3 time including the walls

Wipe off
What's this you say, well it Mistake #4 Made the pour hole over the lip of the Mug. Had to fix the top and Mold Soap 3 times on the new spot
Ok, I think we're ready for plaster, but before we pour I have a Mistake #5 Used the blue bucket to mix my plaster, but didn't follow KoKoKele's advice and measure it all out so I filled the bucket about 3/4ths the way and of course as I was adding the plaster, it was getting ready to overflow. I has to take out some of the water, what a mess. Note to self: Do the Math!
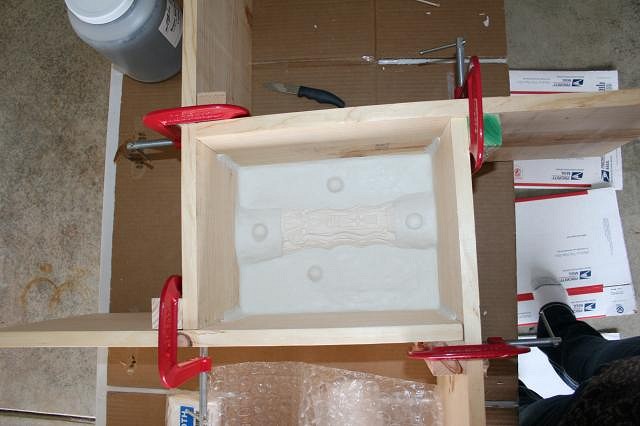
Yay! No leaks!
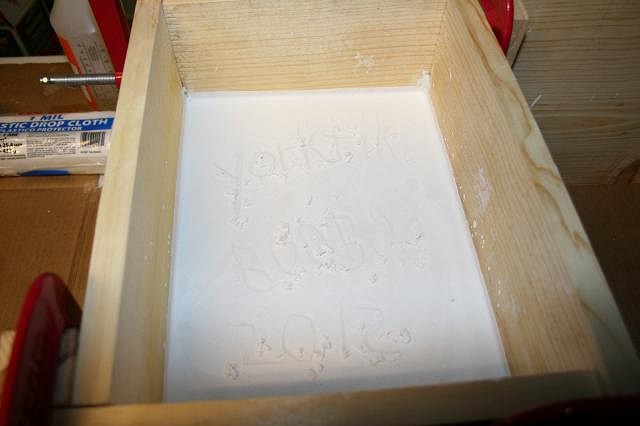
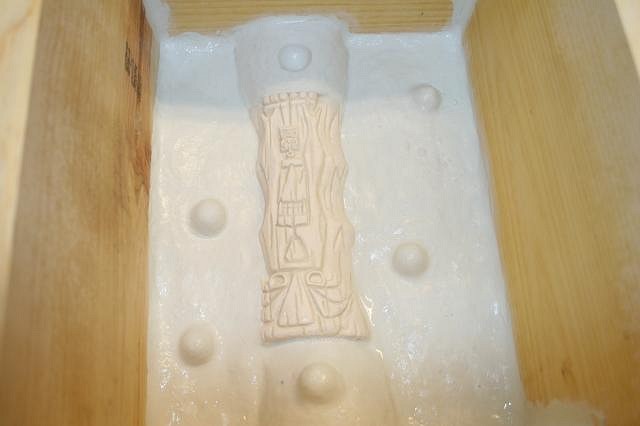
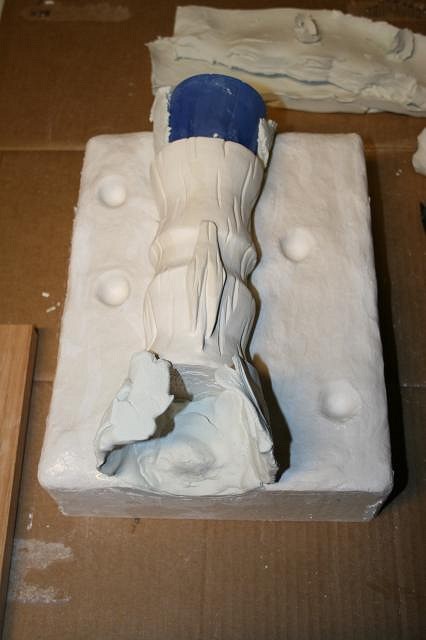
And I remembered to carve in the name of the mold before it got too hard
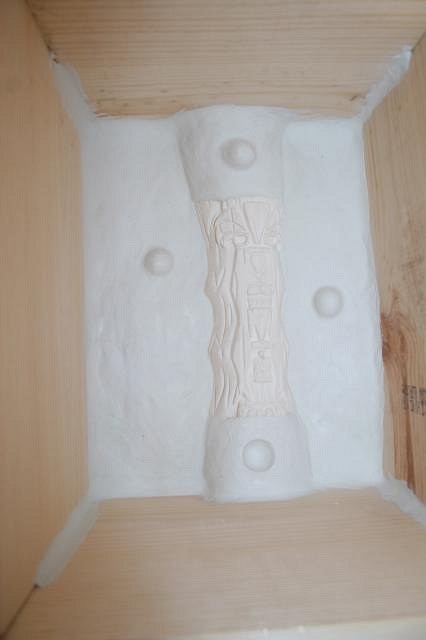
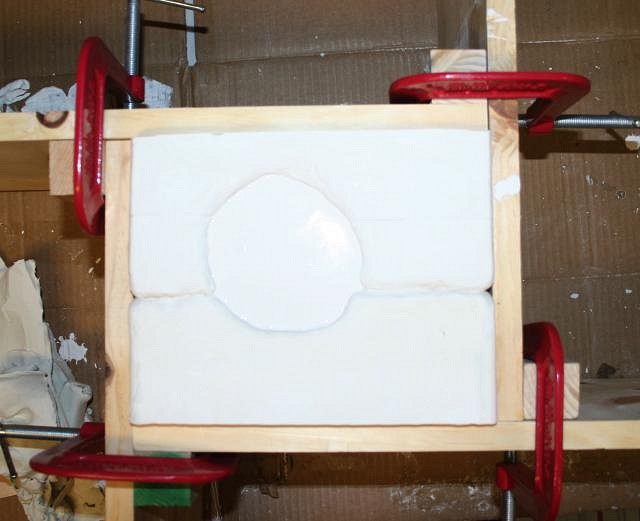
Looks like a mold so far
Oopsey, Mistake # 6 I had to carve this section down because it was raised over the under section there. I have a feeling this is going to give me problems later. Also, it looks like this is going to be a 5 piece mold because of the under cutting
All ready for tomorrow. Hopefully I'll finish and will post the rest of the story.
Update 02//27/12***************************************************
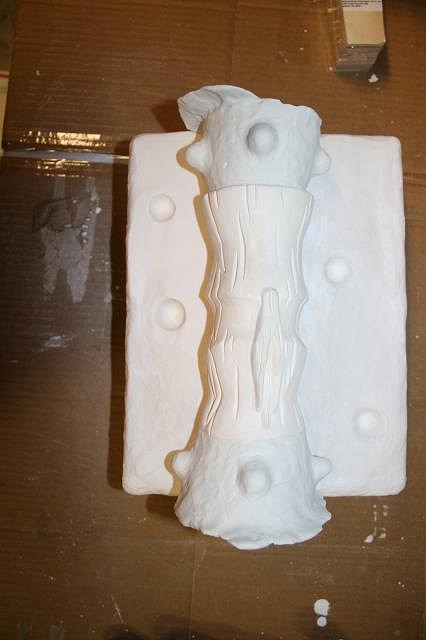
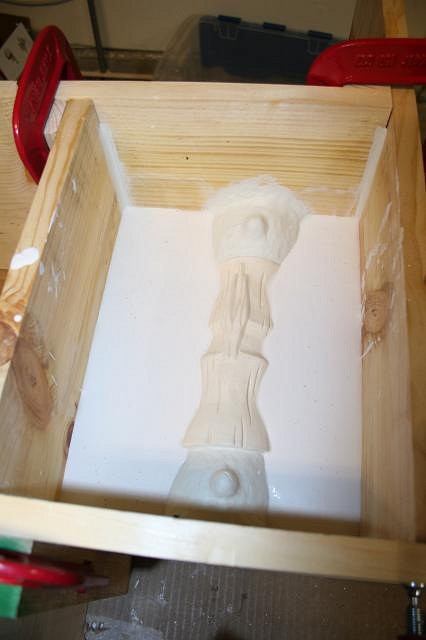
I did a lot better on the back than the front. I have that undercutting dilemma so I decided I'd better make side sections too.
I really wasn't sure how to make the side sections so I thought i would just fill each side, but then how would I make locks?
!!!!!!! PLEASE SEE WENDY'S INSTRUCTIONS ON MAKIN THE SIDE SECTIONS, MUCH MORE EFFICIENT!!!!!!****
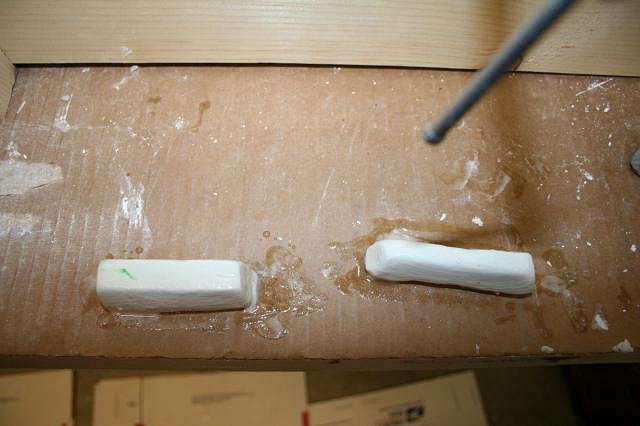
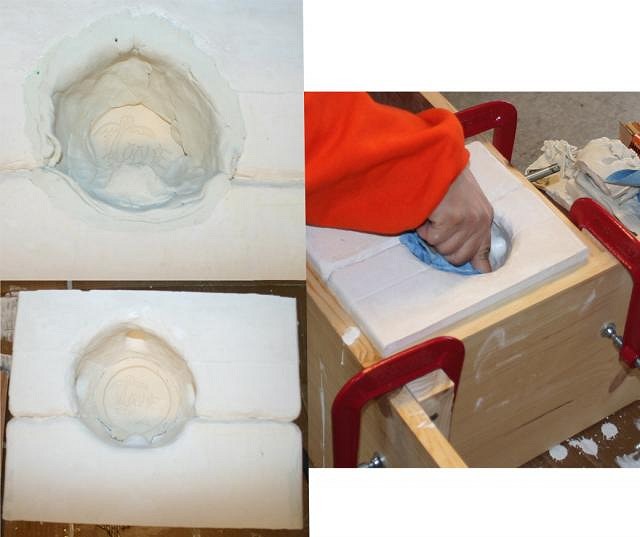
I came up with a plan to let the plaster set just long enough to insert these clay locks on top. I mold soaped them 3 times and hoped for the best
I'm sure there is a much easier way to do this, but I very carefully used a cup to gently pour the plaster in each side of the mug. There's got to be a more efficient way. So far so good though
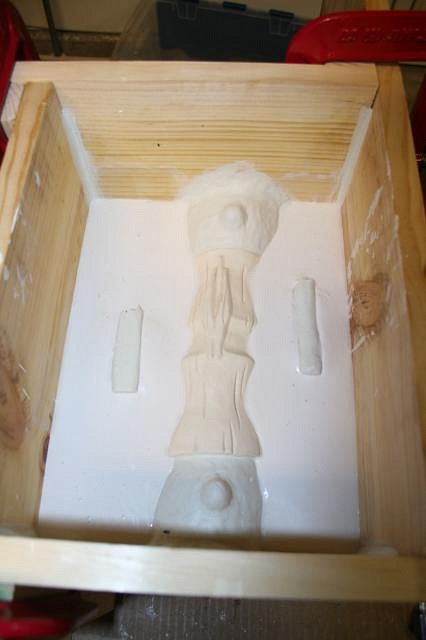
I gently inserted my clay lock pieces.
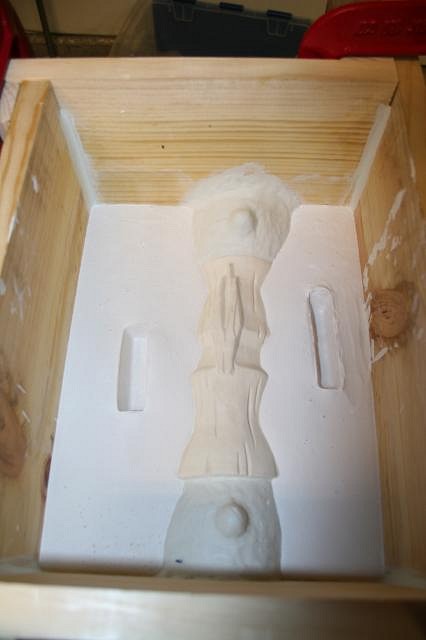
I can't believe it worked!!!!!
Stay tuned, Making the last 2 pieces tomorrow.
UPDATE 02/29/12*****************
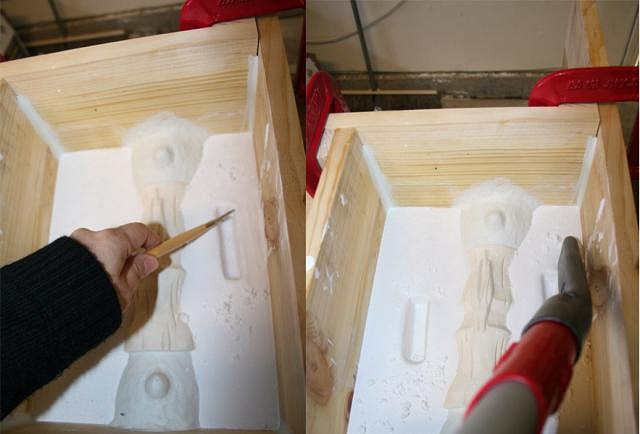
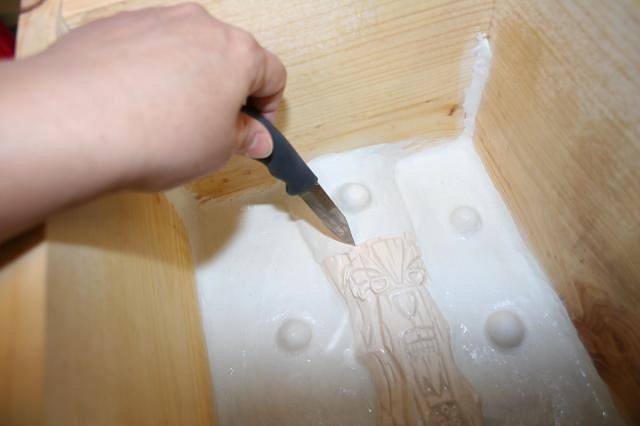
Needed to clean up the locks a little. Used a vacuum to get the dust and pieces out.
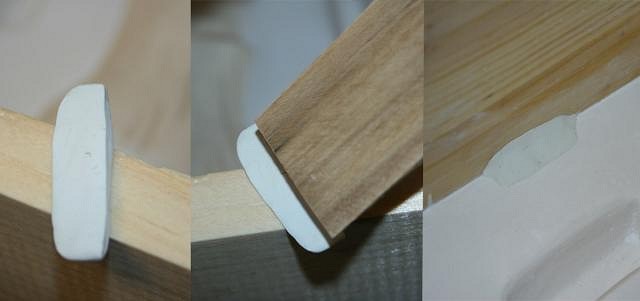
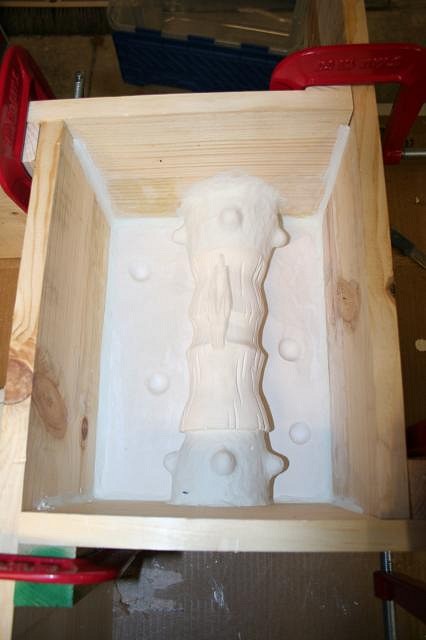
I forgot to mention that you need to make little openings on the outside of your mold between pieces where you can insert your shim (that's what...never-mind).
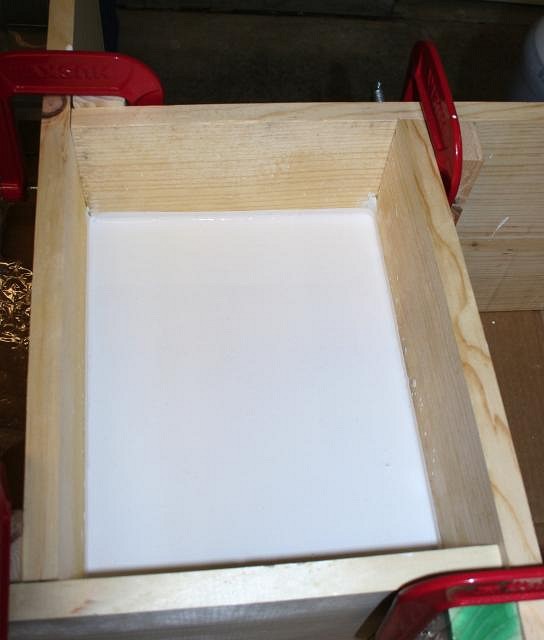
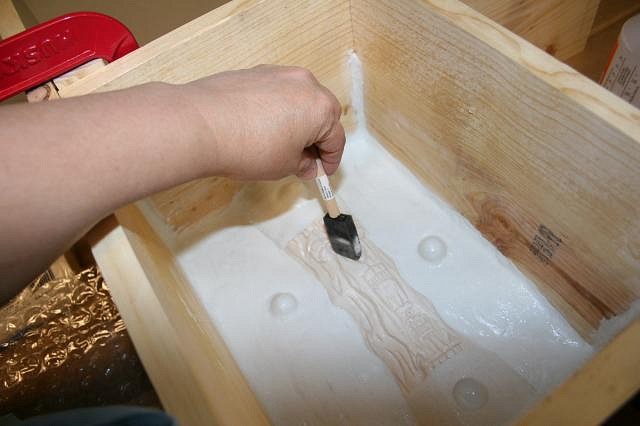
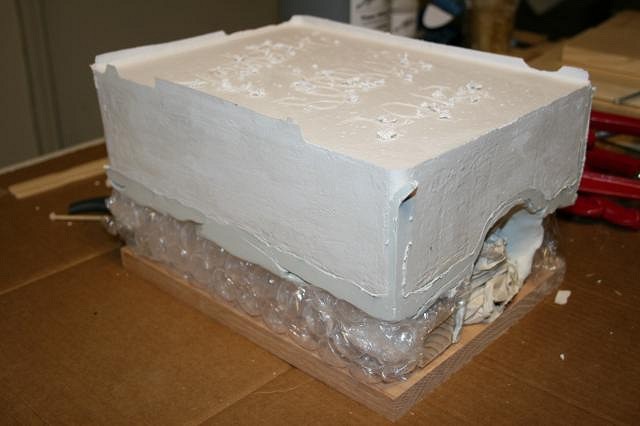
You know the drill, mold soap 3 times and pour the back side. OK, I forgot to take a picture of the back after I poured , but it looks just like this except filled higher in the frame.
Ok, one last piece to make!
Now you have to make the bottom piece. I don't think I mentioned that you need to make it separately because of the undercut.
Don't forget to Mold Soap!
The nice thing about watching plaster dry is it doesn't' take very long
And the moment of truth...
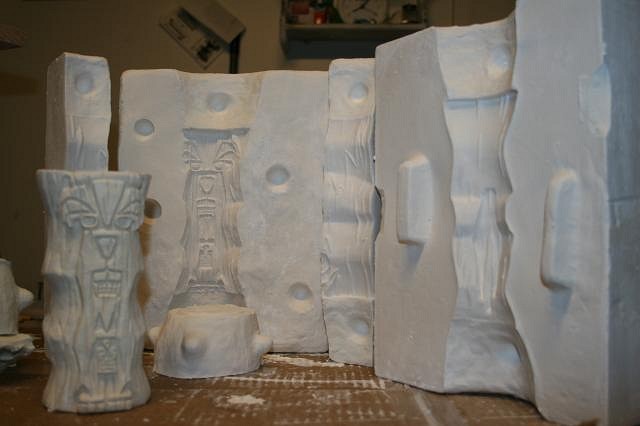
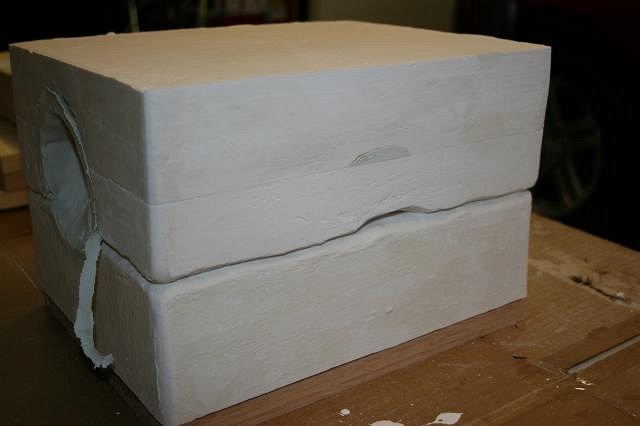
"Voila" I have a mold! And Boo Boo survived too! That undercut I was worried about, well it broke off, but Wendy says you can re-sculpt that when you make the mug so I think it will be ok.
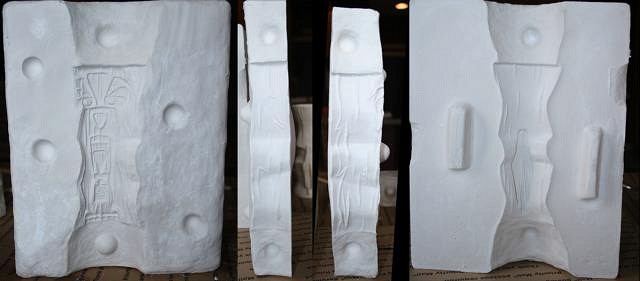
Just another shot of the sections of the mold
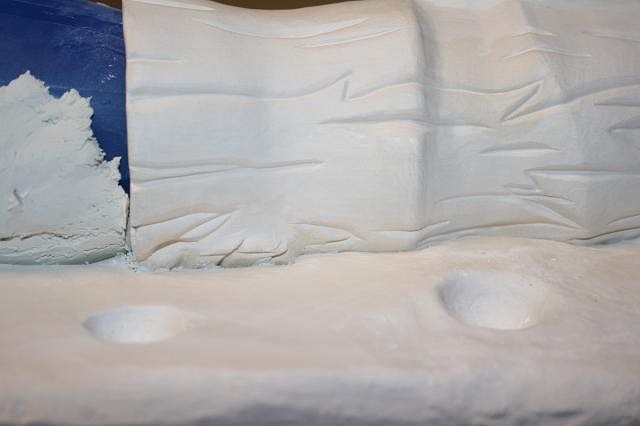
I was actually very disappointed with how the front came out. If I have any advice to give, it's make a practice mold first. From the first pour to the last pour, I learned so much and got a little better each time. You'll see a drastic difference in the close up below.
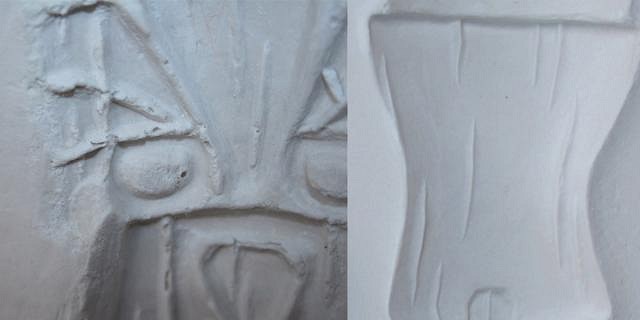
The first section, I was not letting the mold soap dry long enough between applications. I also didn't wipe it off well enough either. You can see the soap residue still on the plaster. When you mold soap something it bubbles up, which is good for getting into the small details, but if you have to wipe that stuff off so it's smooth. On the back side I waited between applications, wiped well and got my nail (indirectly through the towel) in the cracks to get the excess soap out. Big difference.
So I was kind of sad, thinking I would have to have a do-over. That is until...
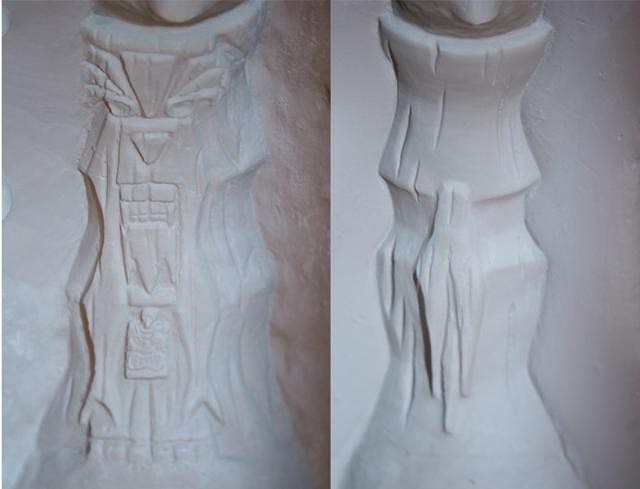
I was taking some close up shots and thought my camera was broken. I would take a picture and look and it was just the last pic I took of the original mug. Tried several more times, then took a picture of the back and found that an optical illusion was happening! The pics above are actually close ups of the molds. Because you can't see the frame, it creates the illusion that it a convex image when it's actually concave! The awesome news is, I can see how the mug will come out using the mold without actually pouring the slip. And it looks pretty good! A little rough, but I can fix that with a little elbow grease.
I'm going to go back and watch my plaster dry out enough to pour the slip now. What do you think, 3-4 days?
Again, any advice is good advice!
[ Edited by: Tiki Tonie 2012-02-27 01:05 ]
[ Edited by: Tiki Tonie 2012-02-27 09:29 ]
[ Edited by: Tiki Tonie 2012-02-27 09:54 ]
[ Edited by: Tiki Tonie 2012-02-27 23:01 ]
[ Edited by: Tiki Tonie 2012-02-29 12:46 ]
