Tiki Central / Other Crafts / BeezleBug Mugs (Pg. 14: Paintings)
Post #646222 by BeezleBug on Mon, Jul 30, 2012 6:29 PM
|
B

BeezleBug
Posted
posted
on
Mon, Jul 30, 2012 6:29 PM
The Topknot build continues... I assembled the mold, tightened it with a couple of cargo straps, and poured in cone 06 white slip sold by Aardvark Clay. I let it sit for 2 hours, then poured out the excess. I let the remainder sit in the mold for 24 hours.
In the meantime, I fired a test tile with my new glazes. I overlap the glazes in a grid to see what combinations look like. An old test tile with Stroke And Coat glazes sits on the left while the new test is on the right.
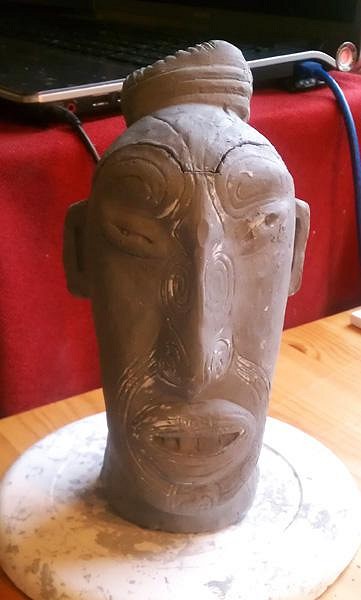
After a day, I cracked open the mold. For a 2-piece mold, it's a very tight fit, so I had to wiggle out the mug very slowly. You can see the pour tube at the mug bottom.
Now, for clean-up. The mug top was cut along a predetermined seam to create the lid. The cut is at a down-angle so the finished lid can't fall off. A straw-hole was cut into the back of the hair. The pour tube was cut off, flattened, cut into a disc, and inserted in the resulting hole at the bottom of the mug with fresh slip as glue. The bottom was flatted by twisting the mug on a wet, flat surface. Extra slip was poured inside to thicken the bottom. The mug is 8-inches tall at this point. Now, time to let 'er dry...
|