Tiki Central / Other Crafts / Painting and Sculpting Tiki on the iPad and other crazy stuff
Post #680517 by Gene S Morgan on Sun, Jun 2, 2013 7:47 PM
|
GSM
Gene S Morgan
Posted
posted
on
Sun, Jun 2, 2013 7:47 PM
I'm taking a little break from the Ipad here. This may not seem to connect with what I have done so far in this thread, but I thought some folks might be interested. The question is: “What do you do with all those cool tikis you make by painting on the Ipad?” I have over the last few years experimented with different ways to use digital images once they are made. This image is of an older design I made on a PC a couple of years ago. If you have seen my past threads you know that I first used a digital sculpting program called Sculptris to produce these earlier tikis of mine. This one I ended up making a 9/12 print of.
Here is the same image used as a pendant. Now I know it is not carved out of wood or cast ceramic, but it is still a tiki around your neck. There are several ways to make a graphic into a pendant. I have embedded tikis and other art in polymer clay. That is kinda fun but is a complicated process. I have also made wooden domino pendants by decoupaging printouts on them. That is fun too, but I was never sure if they were durable enough. There is a magic product that many of us played with as kids. Folks call it shrink plastic. (OK, I'm talking about Shrinky Dinks) There is now a shrink plastic you can put into your computer printer. Any image can become a plastic pendant.
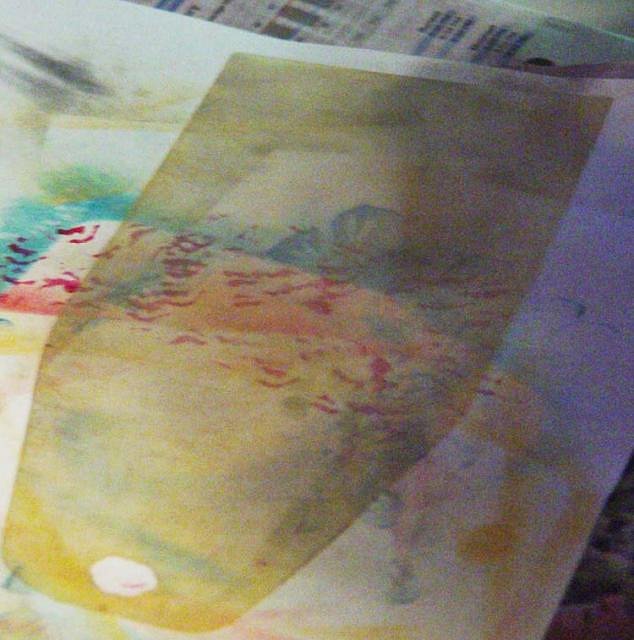
Now, printing is easy. But first you need a background to attach your image to. This can be a fun part too. As you can see the plastic looks like a sheet of vinyl for covering your book report. That is pretty much what it feels like. You can get in white, black, clear, and semi-clear which has a rough surface that is the best for painting and other surface treatments. I cut this piece to a shape I wanted. You cut it with scissors about twice the size you want the final pendant to be. (Sorry, not a great photo)
This is gonna sound pretty weird, but I do the base coloring with chalk. After the magic shrinking, the chalk will be embed into the plastic and become darker and stronger. I rub the chalk on with a paper towel.
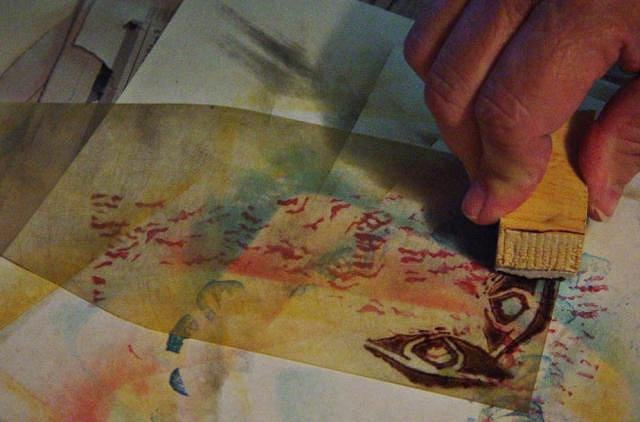
I make my own rubber stamps. I used a permanent ink and stamped a design around the edge.
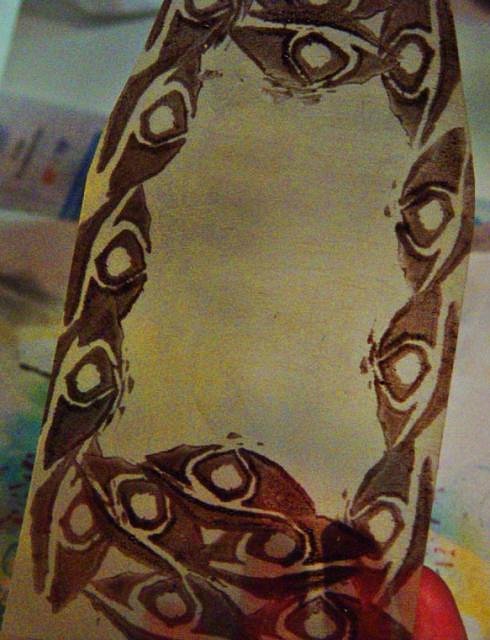
It looks a little rough but after it shrinks that will not be noticed. This is the big version of a pendant.
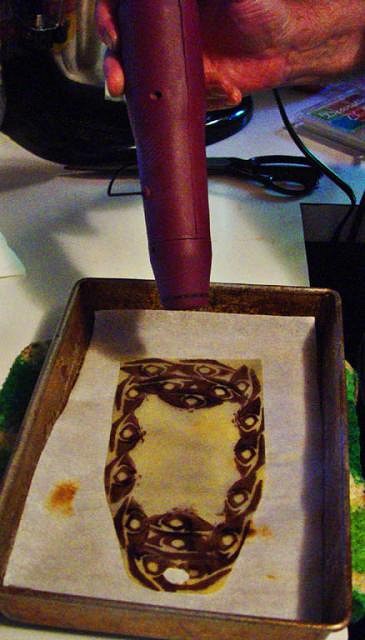
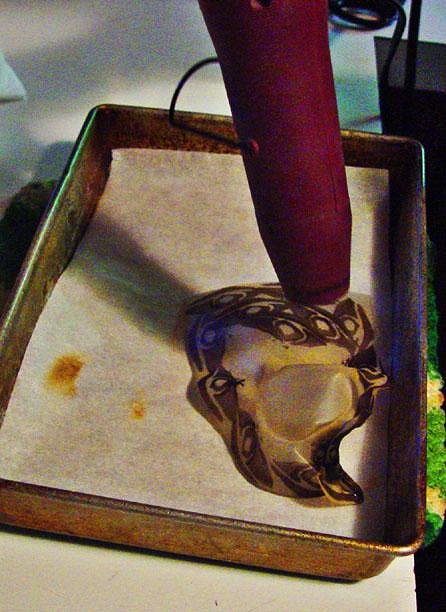
If you have never done this before it may seem a little crazy. You take a heat gun to the plastic. You can do it in the oven, but you don't have much control that way and I found I had more stuff to throw away after an oven trip. You may understand better with the next photo.
Yes folks it curls all up when you apply the heat. It is a scary sight to see, and it is best to keep the heat gun moving so you get a even heat. Sometimes it does stick to itself.
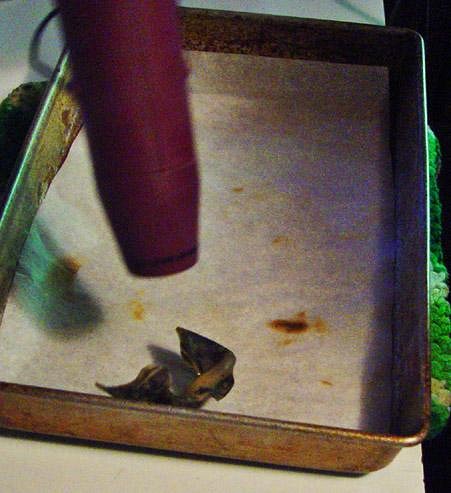
It shrinks to a little ball. It looks like junk at this point.
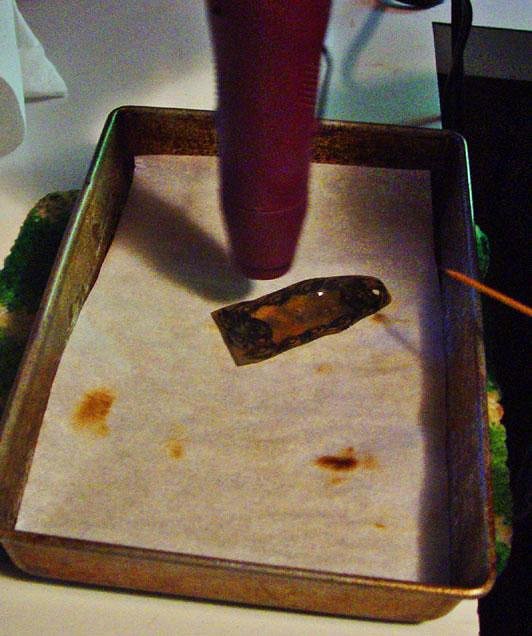
It flattens itself out into a thick little pendant base. It is magic. (the stick you see at the right is a chop stick I use to pull back a stubborn edge that tries to stick to itself)
I usually use a spatula while it is still hot to make sure it is flat. Usually it all works pretty well, but the process is fun and easy, so messing a few up before you get it right is pretty easy to live with. The bad news is I don't have a photo of the final product. I forgot to take the picture and the pendant is long gone now. The next post will show a quick look at an actual pendant process and final product.
|


