Tiki Central / Other Crafts / Painting and Sculpting Tiki on the iPad and other crazy stuff
Post #685891 by Gene S Morgan on Sun, Jul 14, 2013 6:31 PM
|
GSM
Gene S Morgan
Posted
posted
on
Sun, Jul 14, 2013 6:31 PM
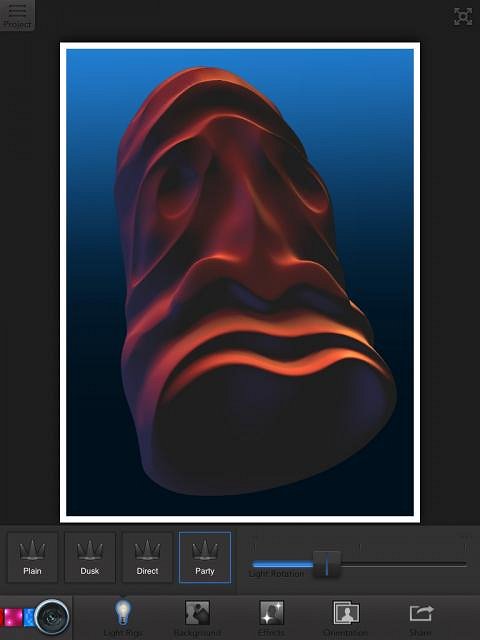
Time to talk about rendering. At the bottom left on the interface you see some colored boxes and a camera lens. That lets you know you are in the render room. Here you can change some of the color and lighting of the image. This is how you prep for saving the image as an image file.
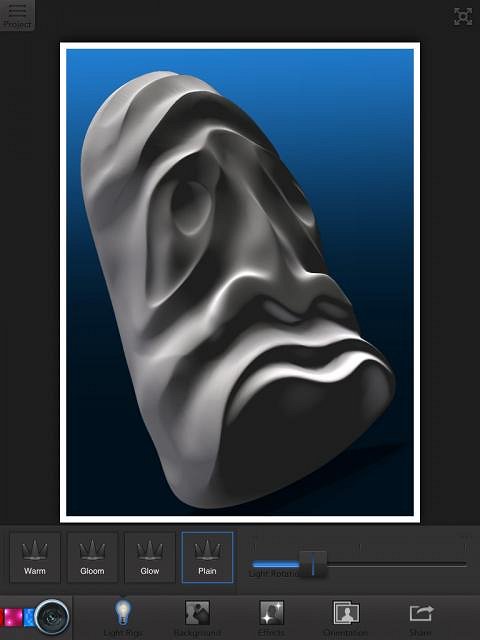
By using strong directional lighting you can see how the depth of your carving really looks from different angles. It is another way of deciding if you think the tiki needs more carving.
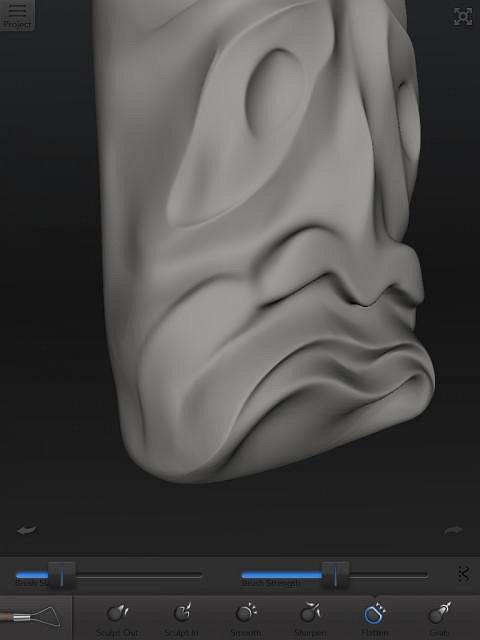
I studied this one for awhile and decided I did not like how the cheek fit against the nose.
I went back to the carving window and flattened the cheek a bit.
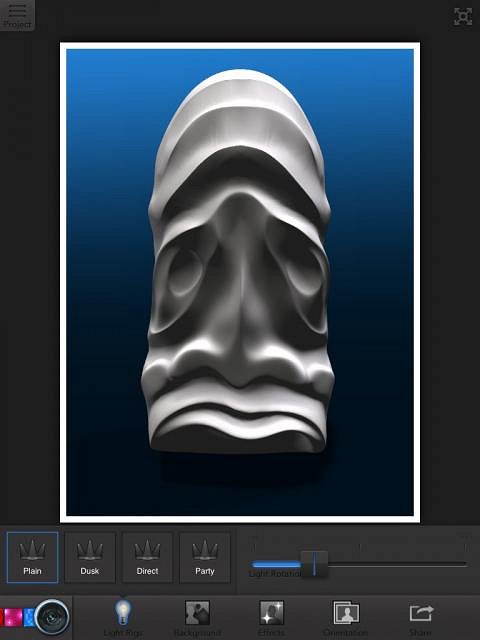
Back in the render screen checked it out again with some harsh shadows. I liked it better.
|


