Tiki Central / Other Crafts / Painting and Sculpting Tiki on the iPad and other crazy stuff
Post #687267 by Gene S Morgan on Wed, Jul 24, 2013 8:04 PM
|
GSM

Gene S Morgan
Posted
posted
on
Wed, Jul 24, 2013 8:04 PM
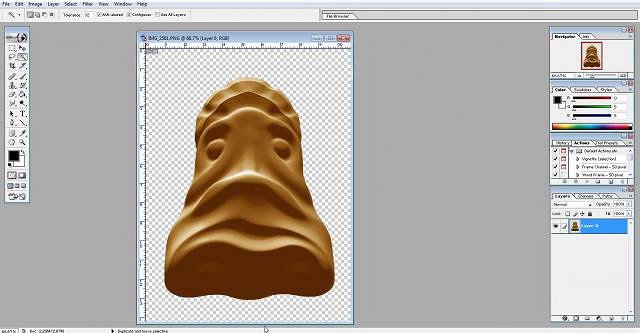
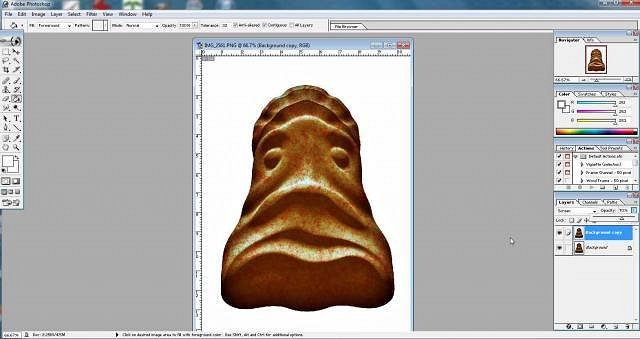
This is what the Photoshop program looks like. It's an Ipad sculpted tiki ready for a little computer work. If I haven't mentioned it before, when you see that checkerboard pattern it means that there is no background in the image. I saved it that way on purpose so I could concentrate on the tiki alone. It will be easy to add a background later.
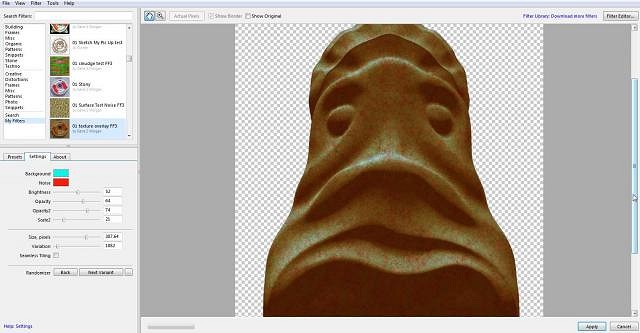
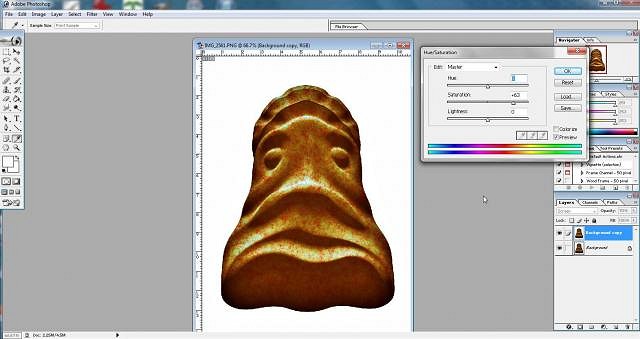
I decided to do a ceramic glaze look on this tiki. I have mentioned FilterForge several times. It is a program that runs inside Photoshop that gives you tools to design your own filters and create original effects. Ceramic glazes are best when they break up on the clay surface producing pattern and texture. Well OK, those are my favorites anyway. I thought I would make a simple filter for adding colored texture to the surface of my tiki.
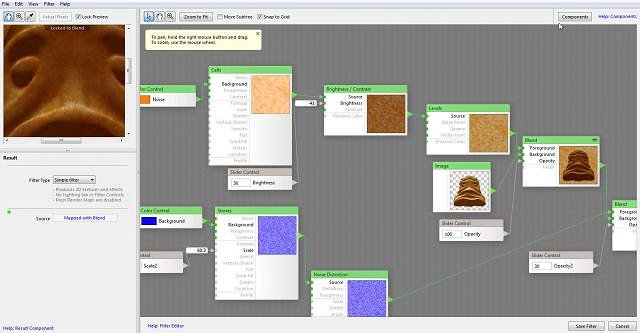
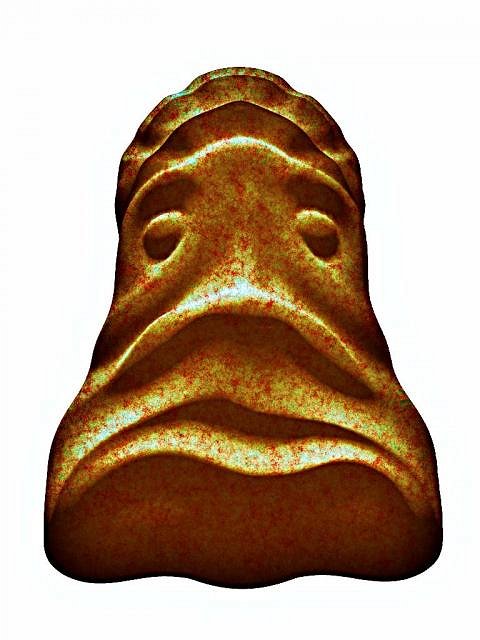
This is what Filterforge looks like inside. There are many nodes or components available that you can hook together in various ways to get something done. There are only a few nodes in this simple filter, but you can have hundreds that can be combined many ways to create effects. In this filter there are two different noise modules that are processed in different ways and blended together and layered over the tiki image. You end up with multicolored patterns applied to the tiki.
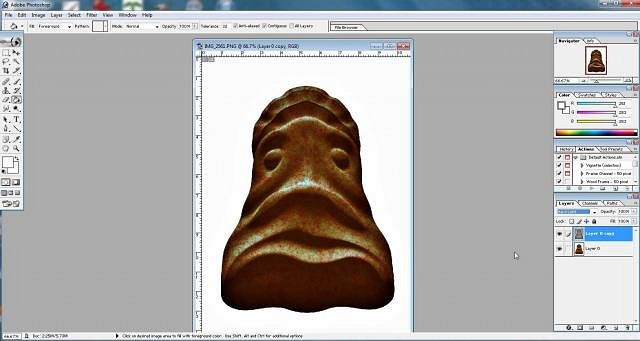
Like I explained before in the Sketchclub app, layers can be a powerful tool in digital graphics. In this case in Photoshop I made a copy of the tiki image and combined it back together using one of the layer modes. I will not go into too much detail because it becomes kinda technical, but layer modes is a great and simple trick to do great stuff. What I was doing here is what was once called (back in the KPT days, but that is a long long story) color contrast. Normal contrast just affect the black and white aspects of and image. This method changes the contrast of all colors and seems to sharpen the image in the process. In the end my applied texture become stronger and that is what I'm looking for.
I did another layer trick to lighten the colors. Graphic processing programs and apps have a “lighten” or “brighten” effect. The only problem with doing that is that those effects mostly work by adding white to the colors. The colors easily become washed out that way. By using a screen mode in layers you change the tone of each color producing a lighter image and keeping the color from being washed out.
The saturation control makes all the colors stronger. I use it a lot. If you intend to print your images they always look better with more saturated colors.
I ended up sharpening the image a bit. From the beginning I intended the tiki to looked like glazed ceramic. My favorite glazes have always been glazes that break up and have patterned surfaces. In the real world there are certain materials that are added to glazes to get that effect. (rutile, ash, crystals,etc) In the digital world all you need is some Photoshop magic. (or one of the other image processing programs and apps that do digital magic)
|