Tiki Central / Other Crafts / Wendy Cevola - Doing a major repair of a Tiki Diablo bowl.
Post #701123 by danlovestikis on Tue, Dec 3, 2013 10:58 PM
|
D

danlovestikis
Posted
posted
on
Tue, Dec 3, 2013 10:58 PM
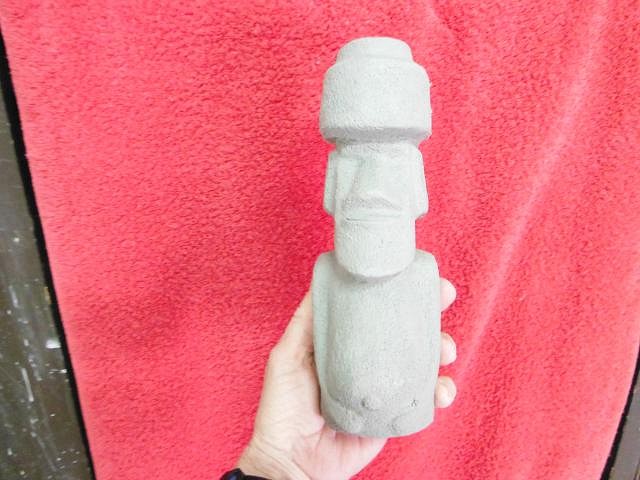
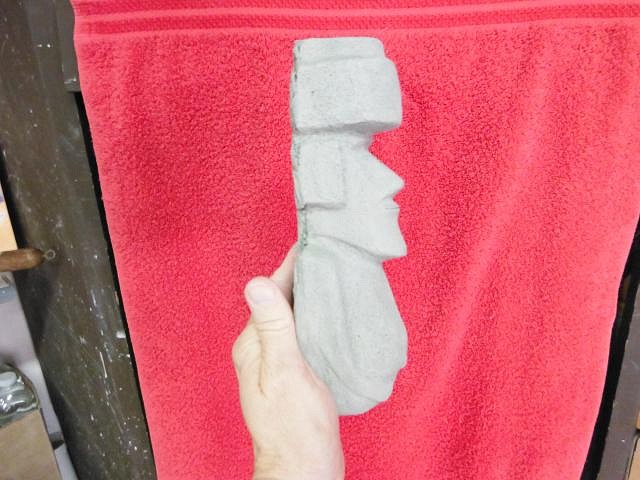
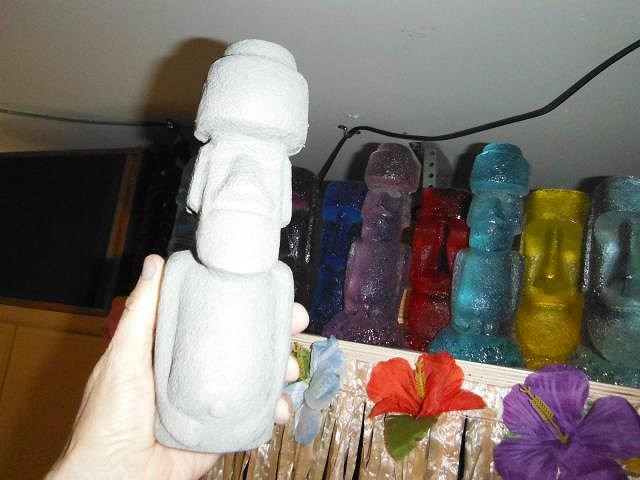
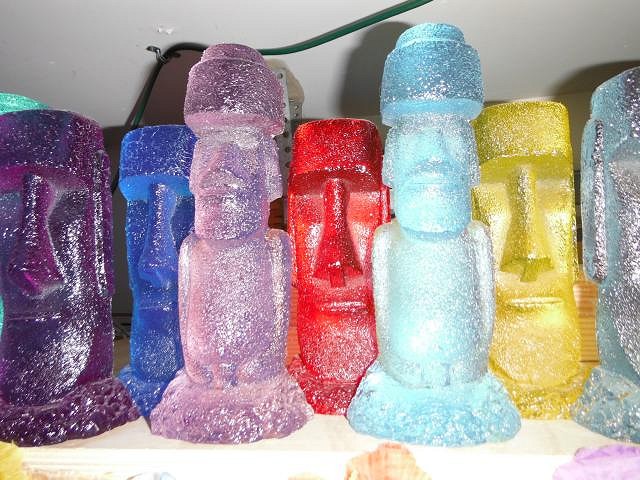
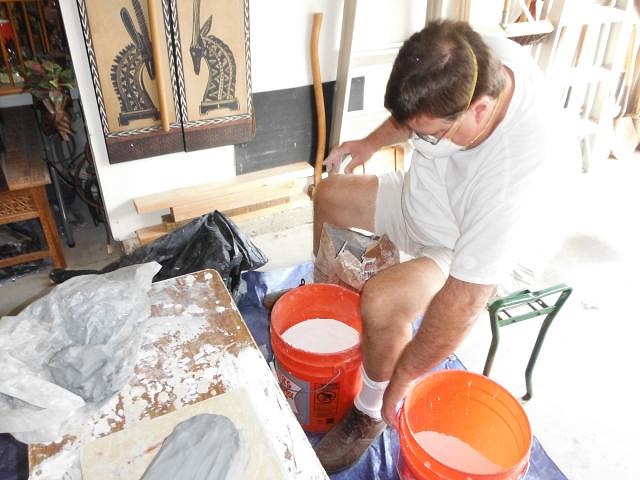
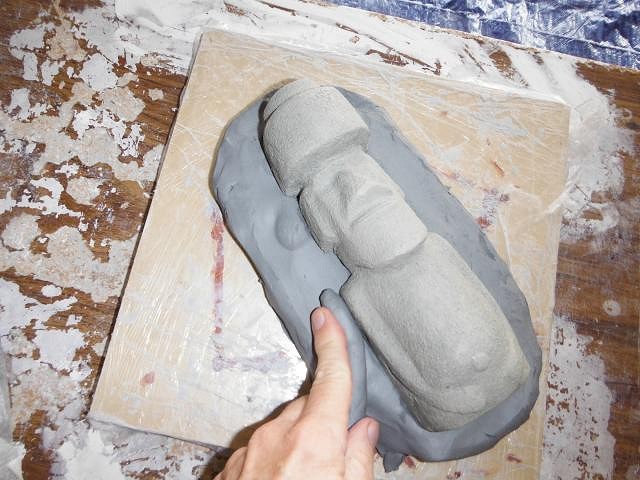
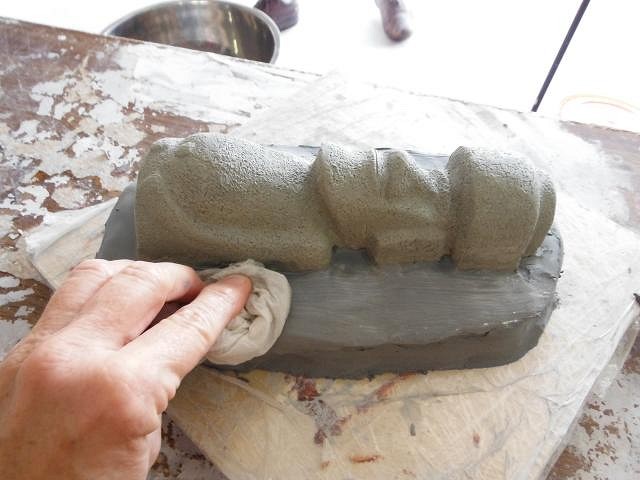
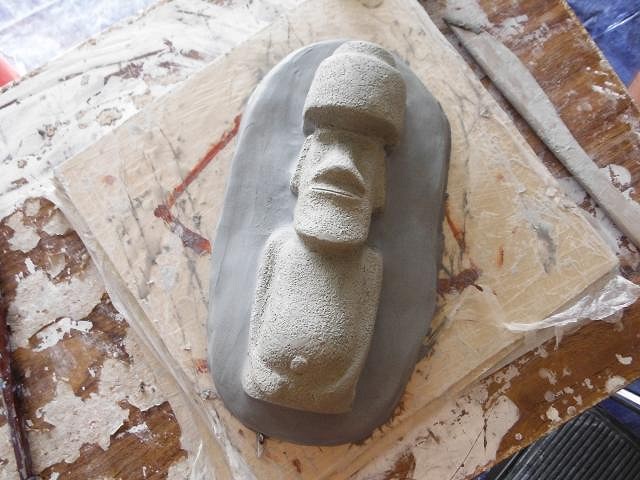
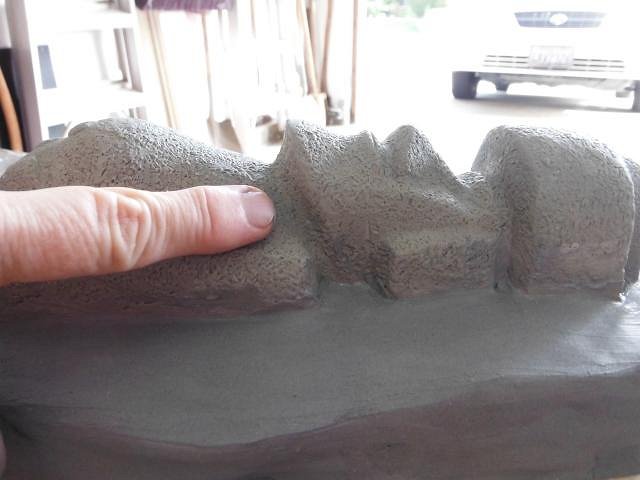
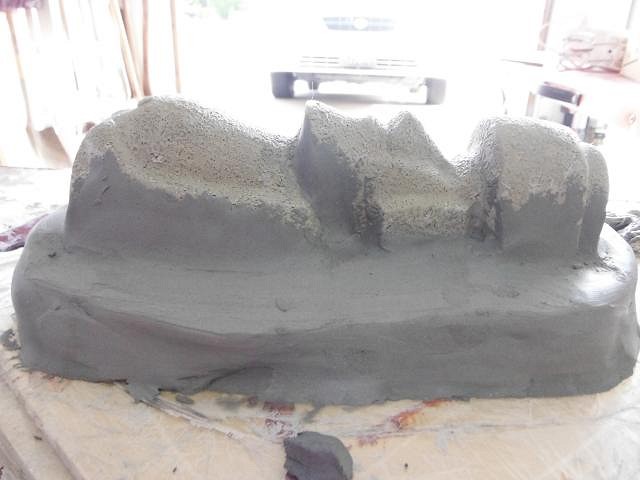
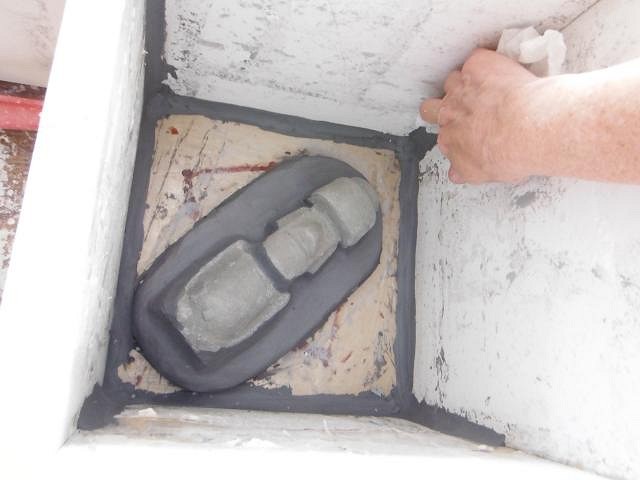
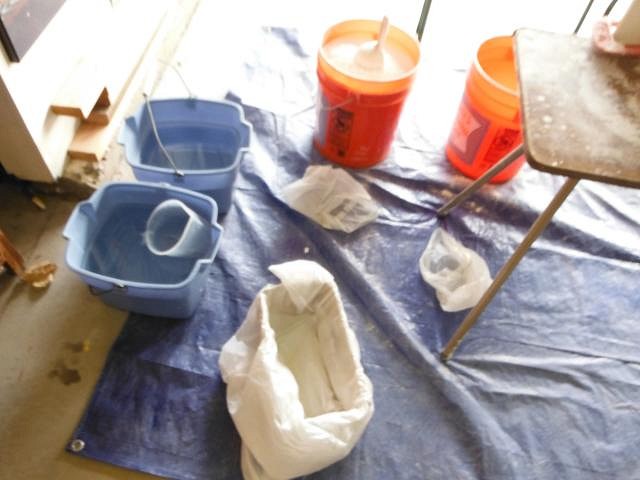
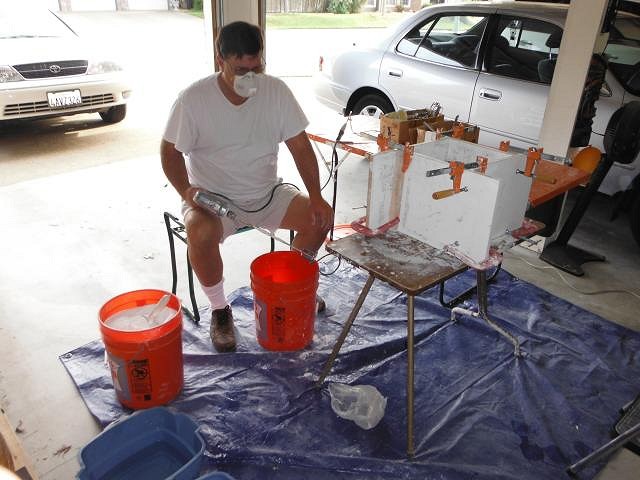
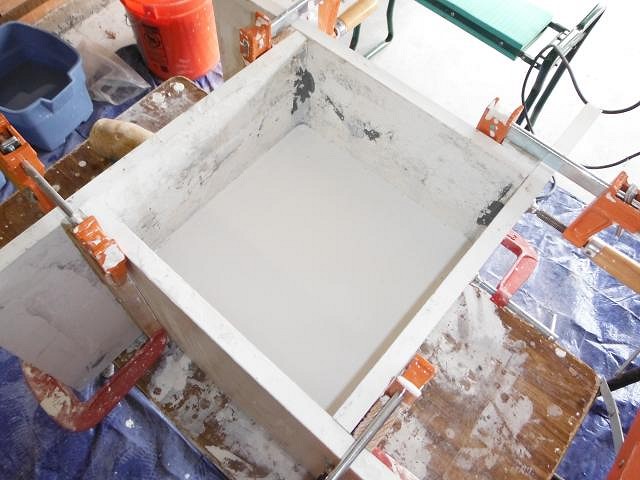
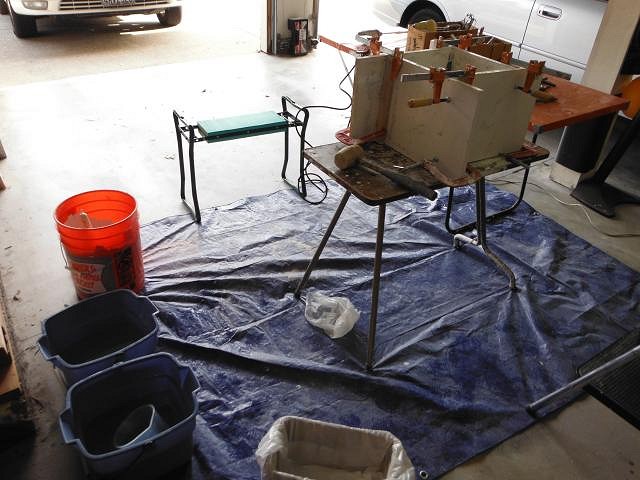
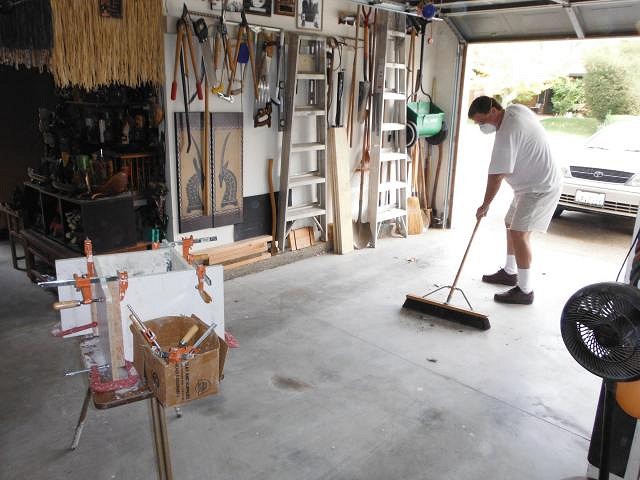
lunavideogames no photo yet. Maybe someone will photoshop one. It was 50 views away when I posted the contest. If I hadn't been busy with cleaning tikis I would have waited and tried to get the photo myself. I love numbers, my dad did too. For fun he wrote his weight down every morning and kept the numbers in a roll like the old adding machines. Oh well there is always 888,888 coming up next year if I'm lucky enough to have viewers. hang10tiki I'm pouring and cleaning tikis for the Wish List every day. Once that's done I'll be on a mission to acquire all the information to make each project just right. The time has come for a one piece mold. Remember this sculpt I did for Roge for his Chunk Lamps and statues? I wanted to mold it for making bowls etc.. So I added a layer of sculptors' clay to the back so that I would have something to use to secure the tiki when the plaster is poured in and also a part to grab to pull it out of the plaster. Here it is with Roge's statues. Mahalo Tiki sells these if you want one or more. To start I got the right size board for the bottom of the mold. Then I made an oval of clay. Dan set up for mixing the plaster. I pressed the tiki into the clay and then pressed clay around the tiki so that it was totally secured. Once the tiki was surrounded I used a wet paper towel to seal and smooth the clay. All done? Nope. Once this set was finished I looked at the tiki so see where there were undercuts. These are indented areas where the plaster would go and lock the tiki into the mold. There was one under the chin and one under the arm. So I filled them with clay. Yes this changed the shape of the tiki but when each one is poured and removed these areas can be carved right back with little difficulty. Next the mold box was placed and the "snakes" run into all the joints. I also smooth them with a wet paper towel to prevent loosening which will allow leaks to form. When we set up we also line a box with a plastic bag. If you make too much plaster you need someplace to pore it to be discarded later. Look out he's armed and dangerous. The one piece mold is poured. The mess must now be cleaned up. It's been awhile since you saw Dan at work. Please always wear a mask to save your lungs from clay and plaster dust. Have a great night. Cheers, Wendy |