Tiki Central / Other Crafts / update: faux bamboo rain gutters now with installed photo
Post #709900 by muskrat on Sun, Mar 2, 2014 7:58 PM
|
M

muskrat
Posted
posted
on
Sun, Mar 2, 2014 7:58 PM
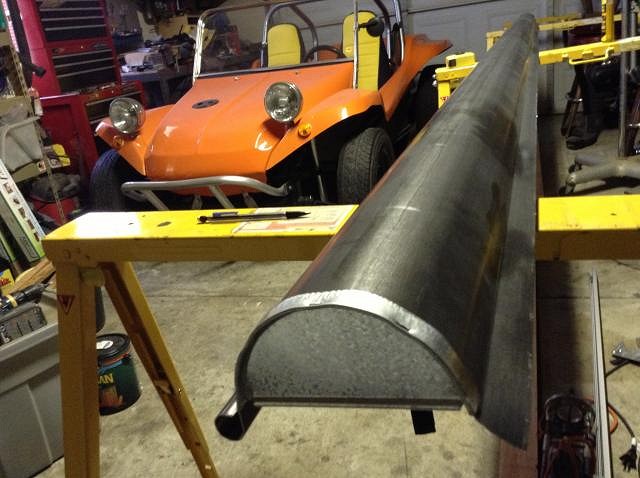
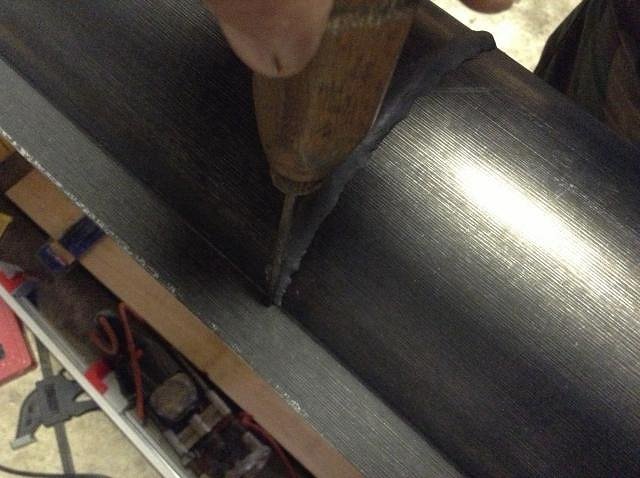
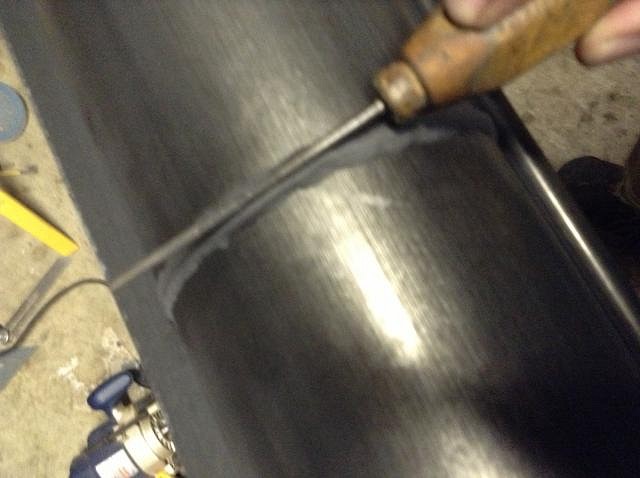
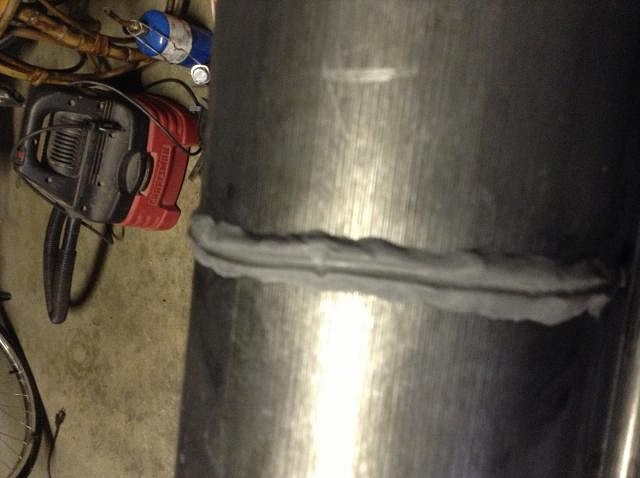
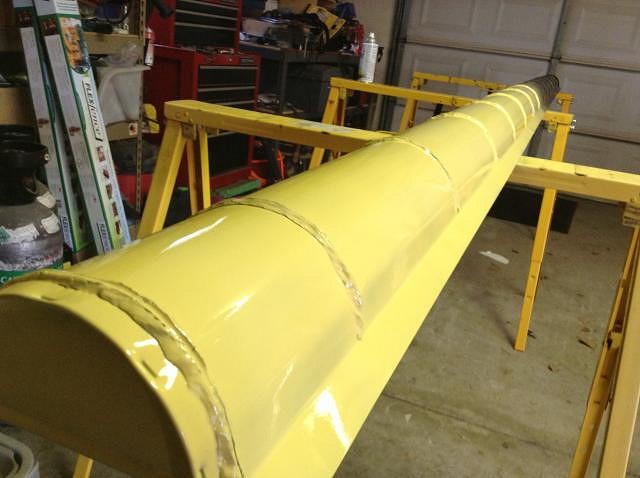
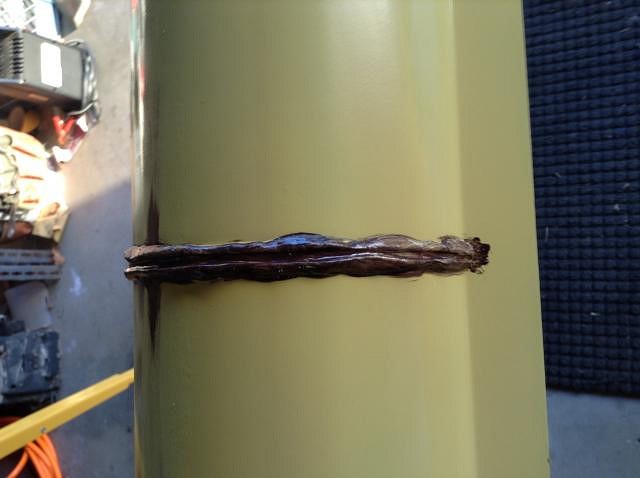
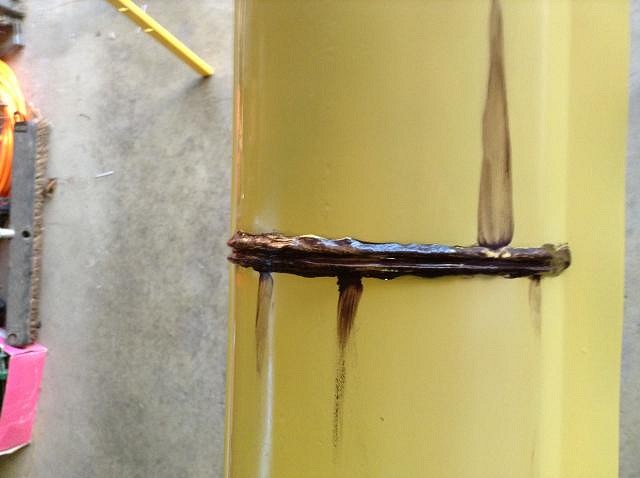
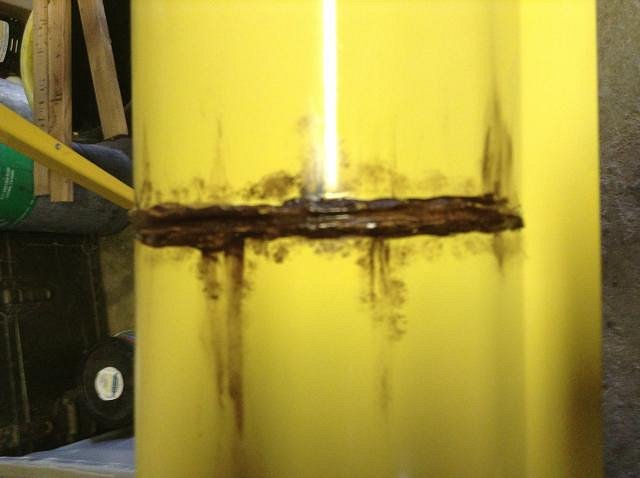
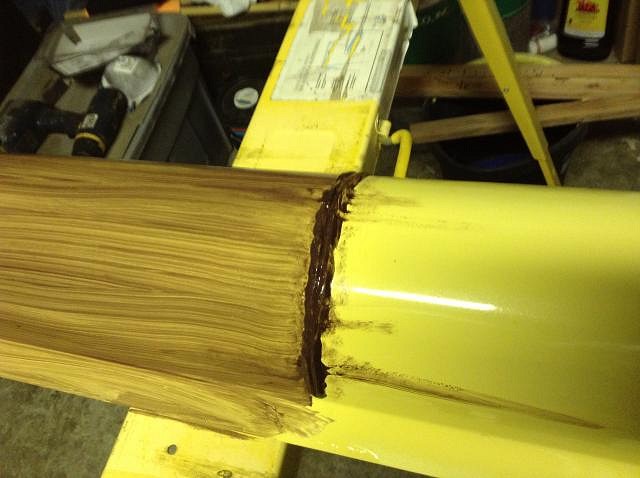
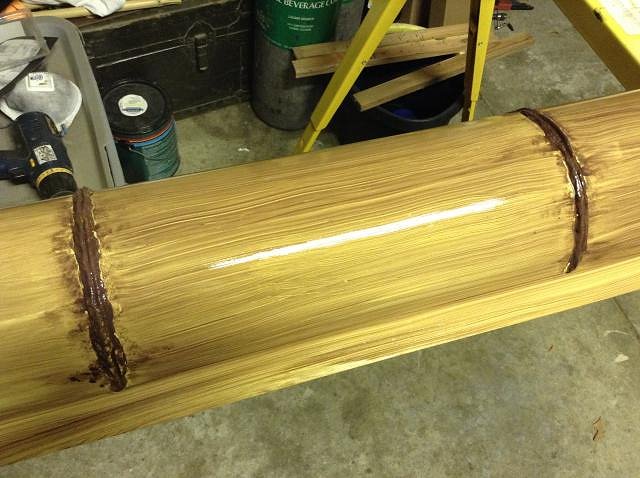
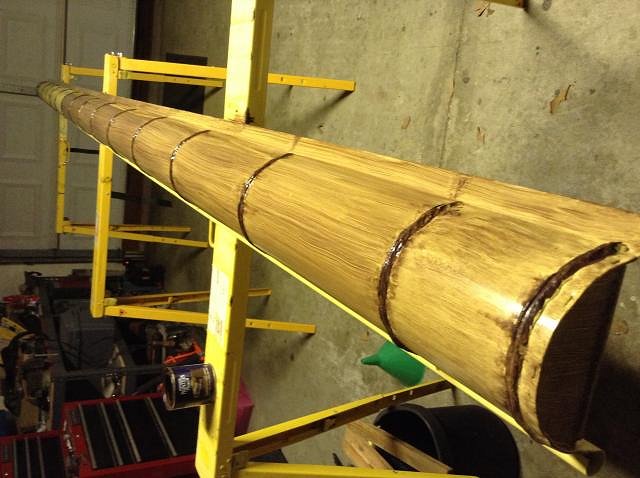
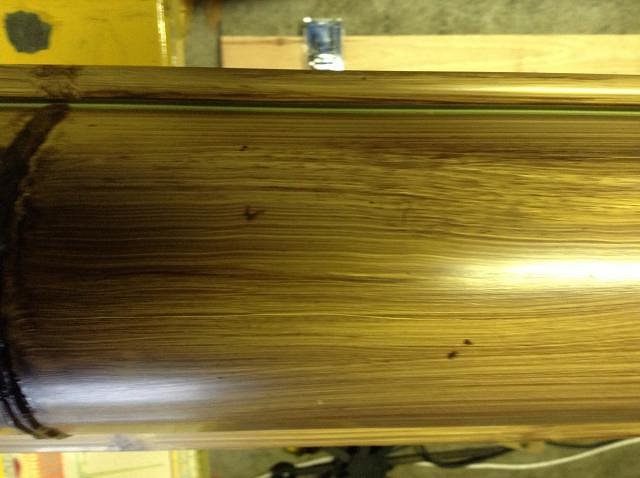
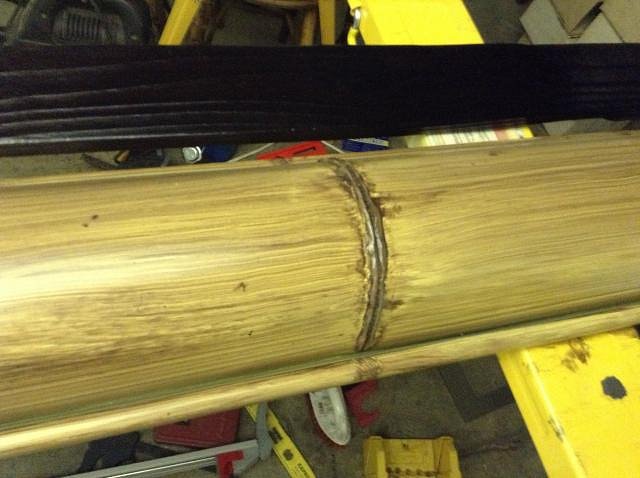
howdy. i started with a 5" half round sheet metal gutter.
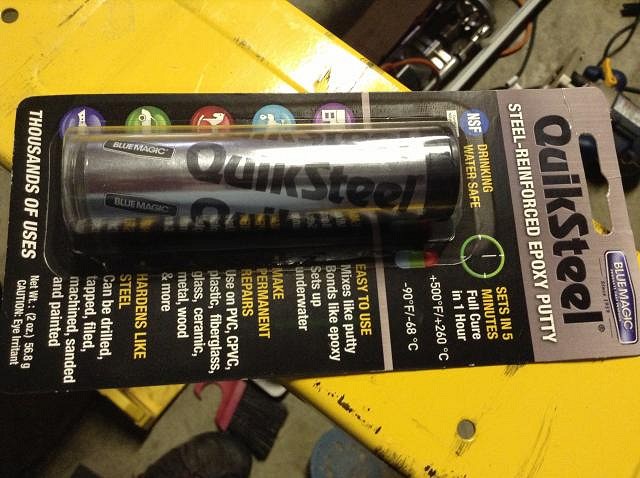
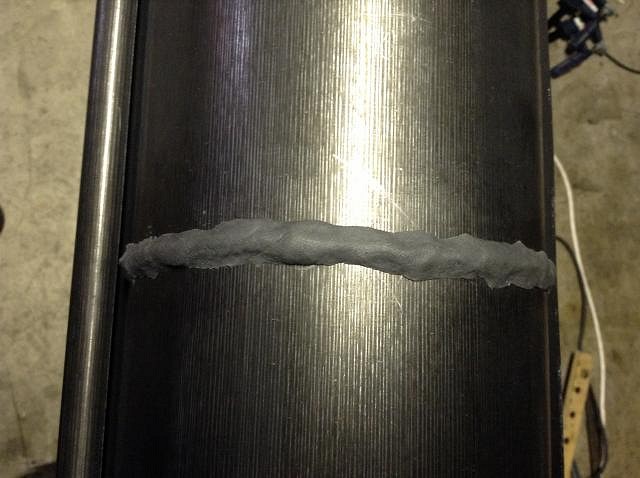
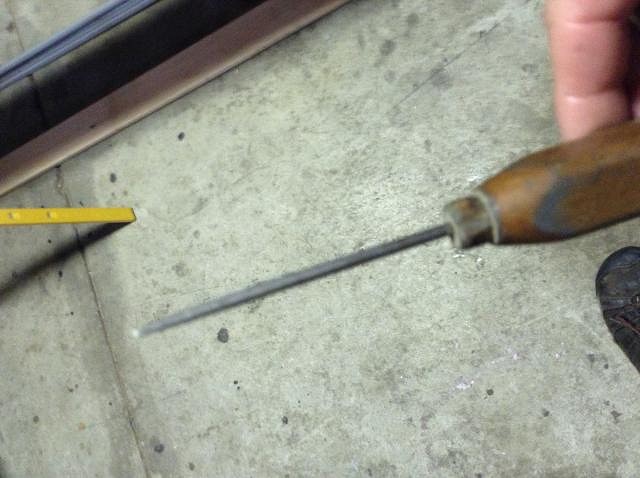
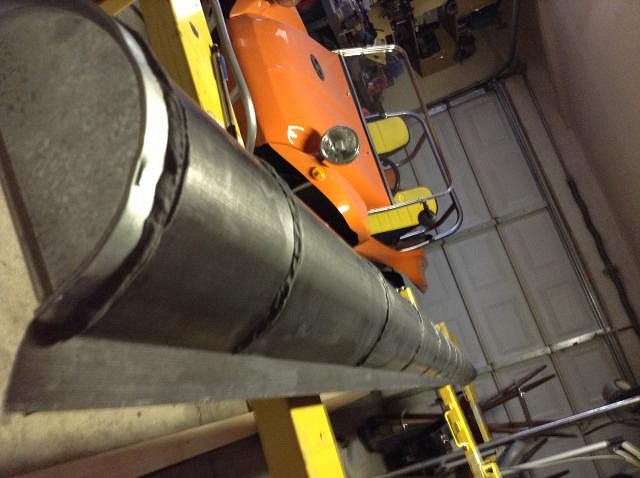
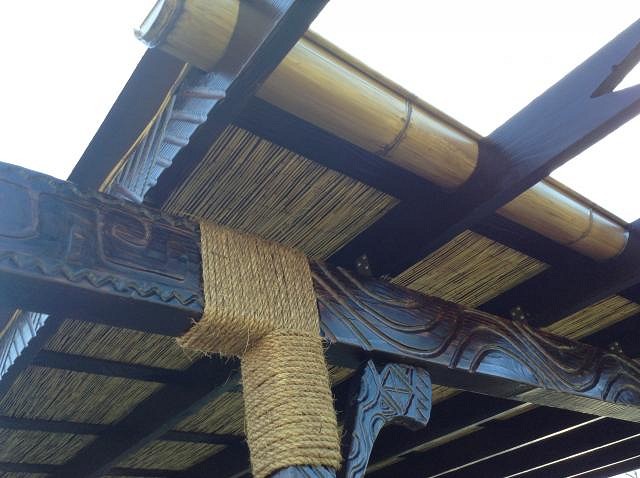
i cleaned it with some acetone then took some metal epoxy putty after pressing the putty down i took a scrawl, dipped it in water and rolled it down the middle of the putty. this leaves a groove and completes the shape of the node. do that a buncha times and you end up with this. next comes the base coat. next is where the real experimentation begins. once you get them painted, experiment with taking a small brush or your fingertip and pull some of the paint away from the node. add a little stippling and you're ready to make it look like bamboo. i had a mix of 50/50 rustoleum espresso with bear faux glaze from another project, so that's what i used for the next step. once you get it looking the way you like, move on to the next segment. repeat til the gutter is done. once you're happy with the way that looks, get a tooth brush and get some of the dark paint on it and flick some spots around randomly. you can also add more stippling and random bits here and there. once i was finished i decided the nodes were too dark so i stippled them with a lighter brown. once you're happy with it, give it a clear coat and you're ready to go. i'll post a picture of it once i get it put up. update: here it is installed, just needs a rain chain.
enjoy [ Edited by: muskrat 2014-03-02 20:06 ] [ Edited by: muskrat 2014-03-07 16:18 ] |