Tiki Central / Other Crafts / Wendy Cevola - Doing a major repair of a Tiki Diablo bowl.
Post #734049 by danlovestikis on Wed, Dec 31, 2014 3:53 PM
|
D

danlovestikis
Posted
posted
on
Wed, Dec 31, 2014 3:53 PM
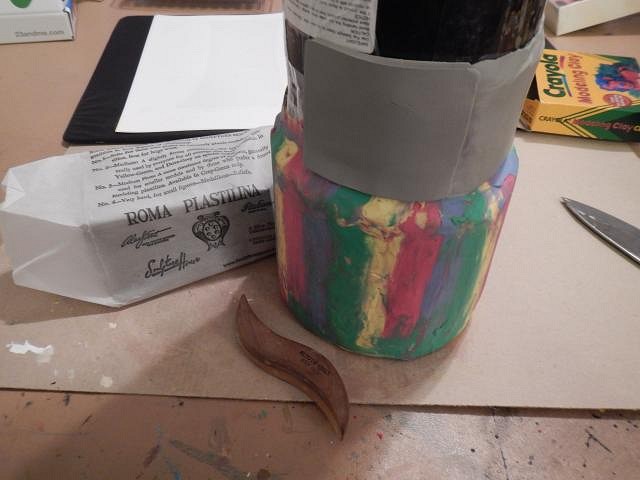
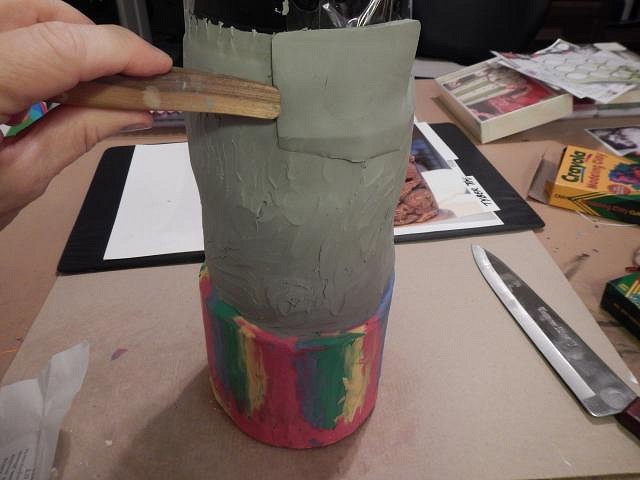
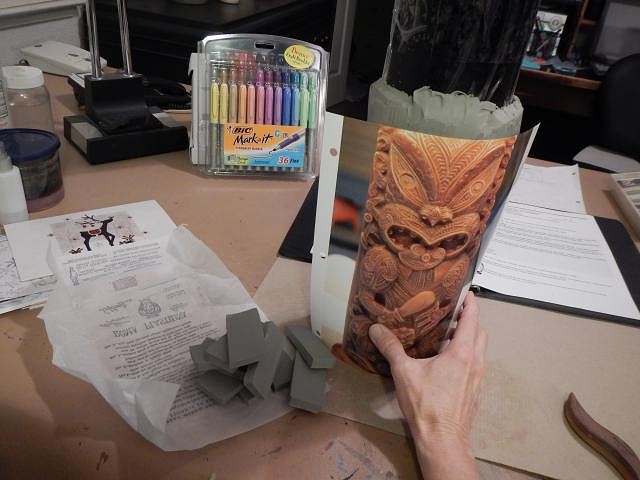
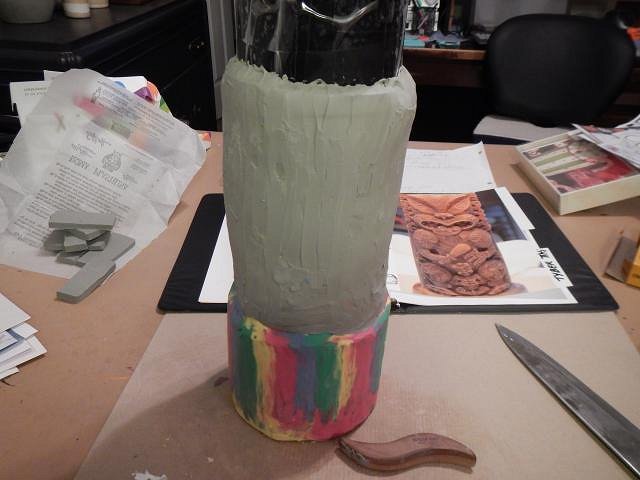
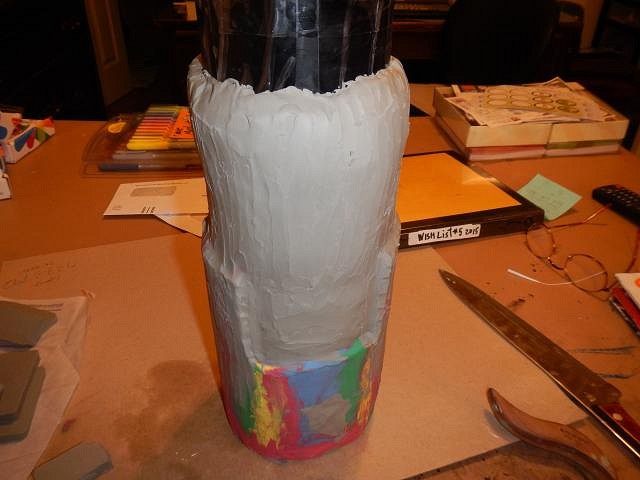
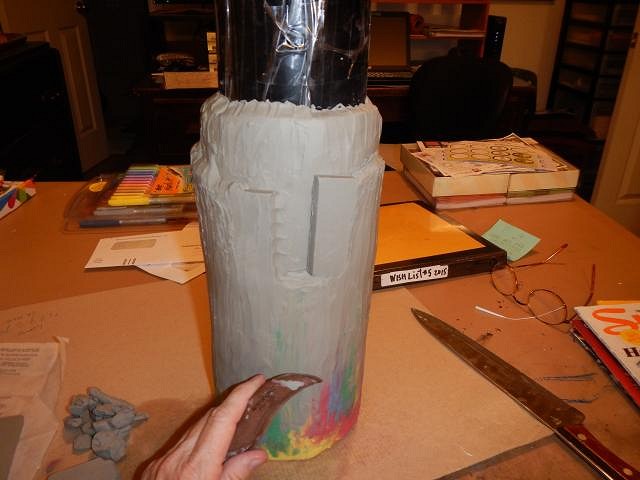
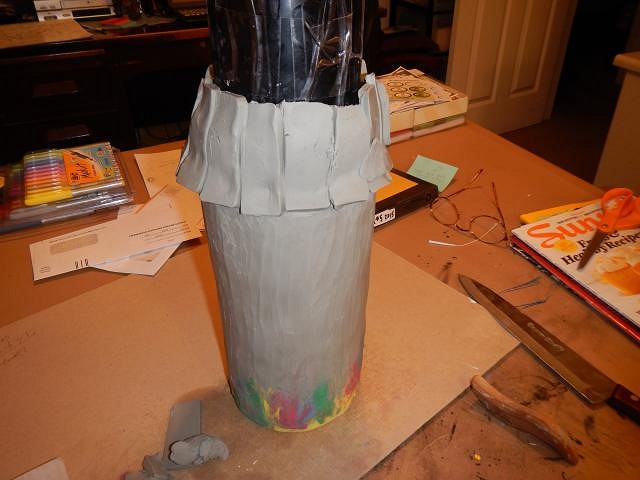
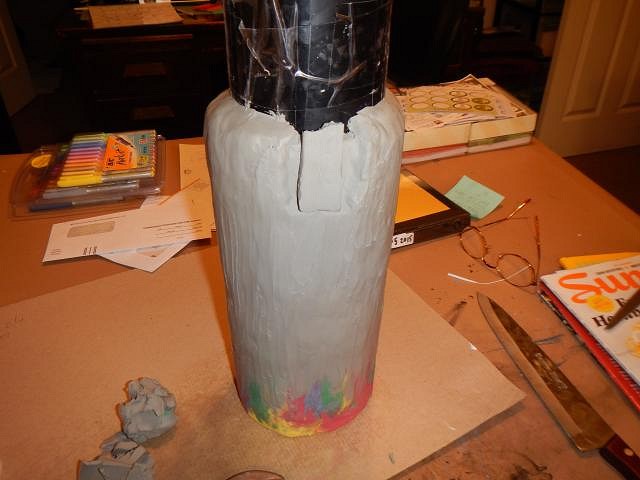
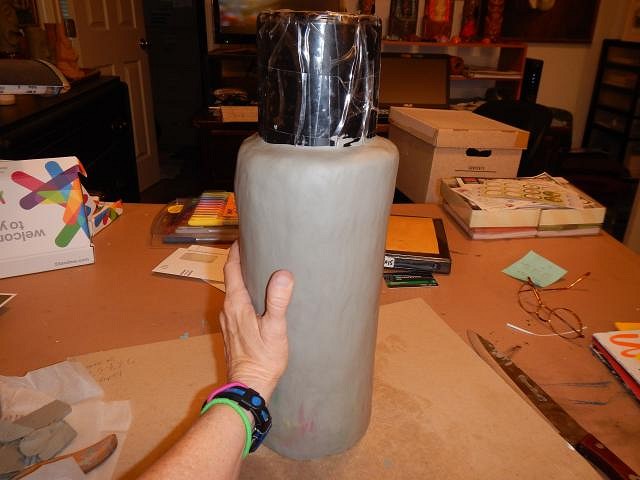
TikiAno here's a secret. My sister went to New Zealand. For $80 US dollars she could have gotten a 4 inch cast in plaster tiki. She said it was the cheapest one she saw. If you watch Collecting Tikis Buzzy seems to find them all the time here in CA and I'll bet you he could get a stack for $80 because on and off we have too. You were lucky to have a trip there. The lamp is my biggest challenge since Homer Simpson. I'll do my best to make it work. Thank you likewise. Tiki Ari is sooooooooooo cute. Keep posting so we can watch him grow up. Happy New Year. Tyber Tiki here's the start of your Wish List project. I was happy to get it started before the new year began. There are times that Dan wishes that he had a smaller collection. We let our get out of hand. At least it's all displayed nicely. Dan does all that, I don't touch his tikis. hang10tiki where your morning walk photos? Any snow to share? ============================================= Wish List #5 Progress Report for Tyber Tiki's HUGE lamp/mug. When I was asked to do this project I thought it through and decided that no one would want to pay me for the hours it would take to make just one of these. So I talked to Tyber Tiki and it was decided that I would sculpt it and then make a mold. He would get number one from the mold and then I would continue to make more of them as they are ordered. Hopefully that will work out. So now the work begins!!! First I decided how big to make this based on two things. One was when I printed a photo of the lamp on 9 x 11 paper it looked just right and two I needed to be able to carve in a lot of detailed designs. To start I found some old 70mm film cans from back when I worked in diagnostic imaging. I stacked them and taped them together into a log. I planned to use Romo sculpters clay but at a garage sale I had bought some fun clay and it would work as a start. I use that wooden tool to save my thumbs. I would stick it in place and then spread it with the tool. It was just enough to go around the bottom. Now I'm starting a layer of the Romo Clay #1. It is really similar to the bright clay in texture. It's being made in the USA now so it's cheaper than it used to be. You can't tell by the photos but I spent weeks doing this. It was tiring on my hands and arms. I keep building layer upon layer. Now I whipped out the photo to see it I was getting it to the right height. One layer. Two layers on the way up. Getting there day after day. Hurray to tippy top. Filling in the last pieces at the top. Now for the bottom. I nice thick layer. I cut off the extra after it was all in place. Dan said this mug will take two hands to lift. Well remember it will shrink 10 percent. So about an inch in height and 1/2 inch in diameter. Here's a good comparison photo! Oh My Gosh tonight will be a good time to turn in early and rest up for another clay day!!! Cheers, Wendy |