Tiki Central / Other Crafts / Wendy Cevola - Doing a major repair of a Tiki Diablo bowl.
Post #735294 by danlovestikis on Thu, Jan 15, 2015 4:44 PM
|
D

danlovestikis
Posted
posted
on
Thu, Jan 15, 2015 4:44 PM
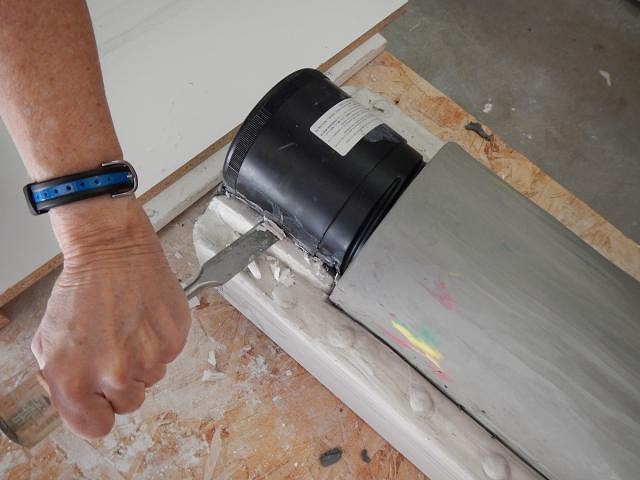
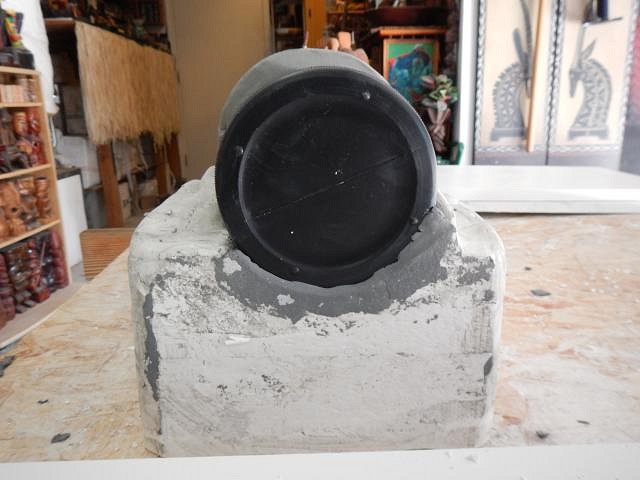
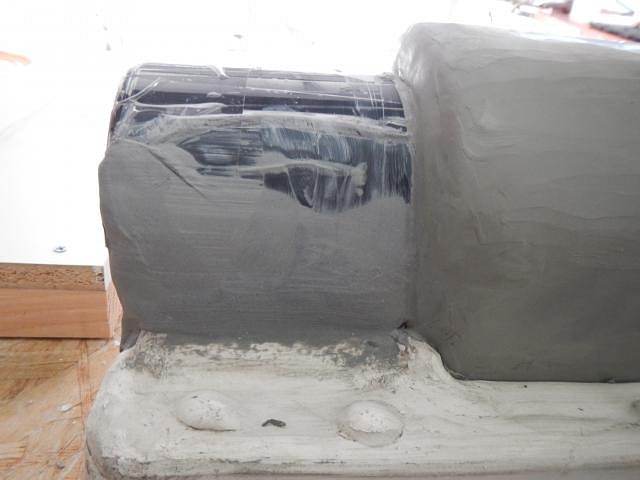
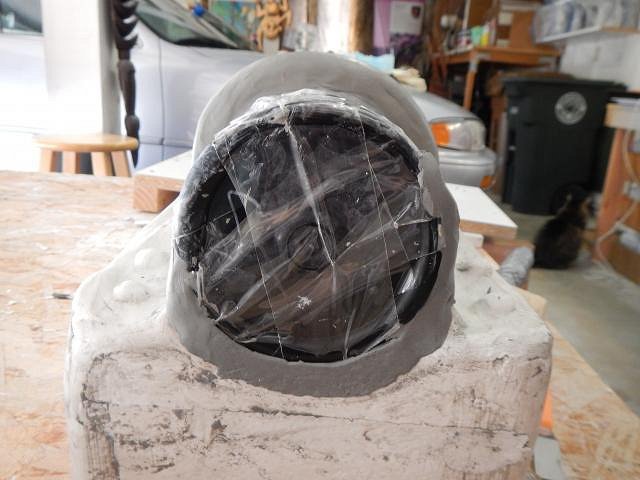
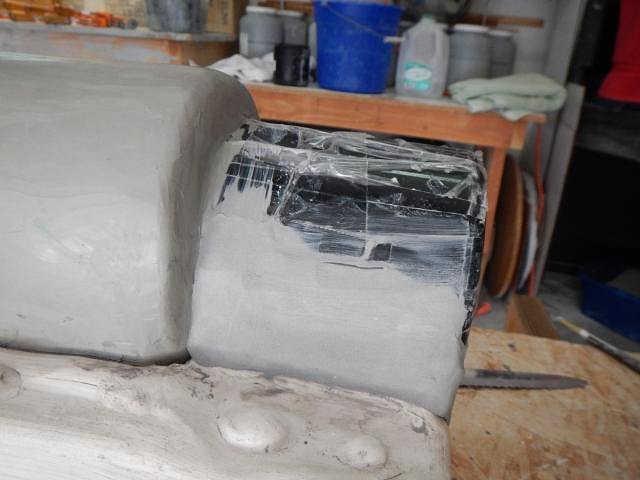
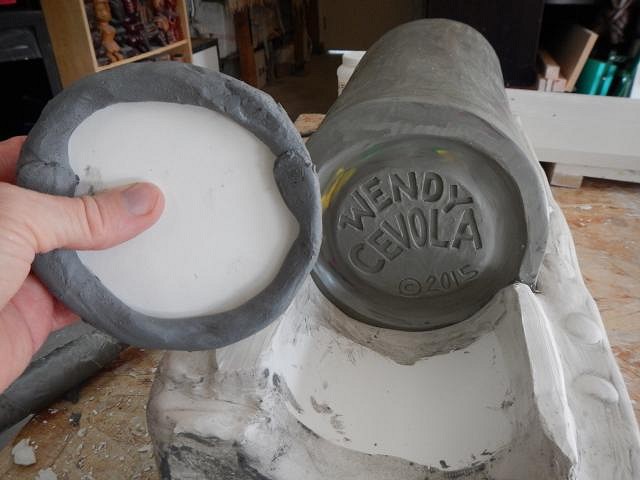
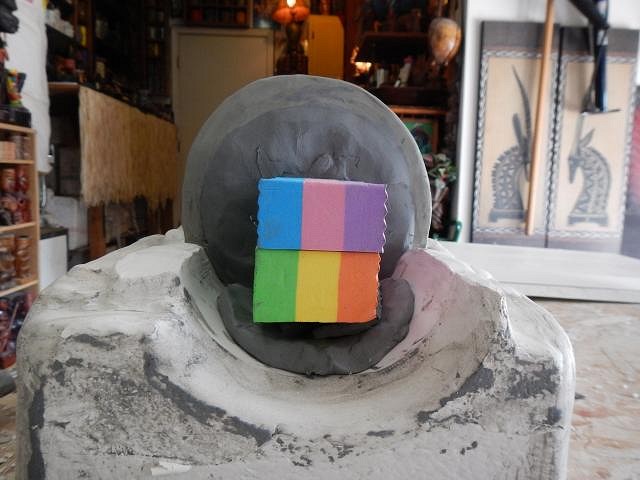
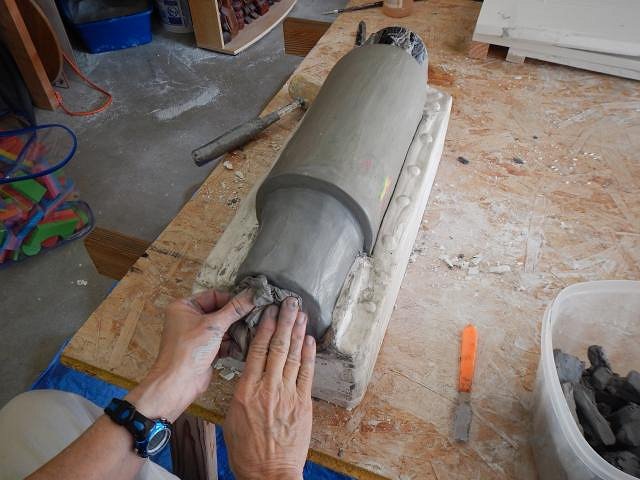
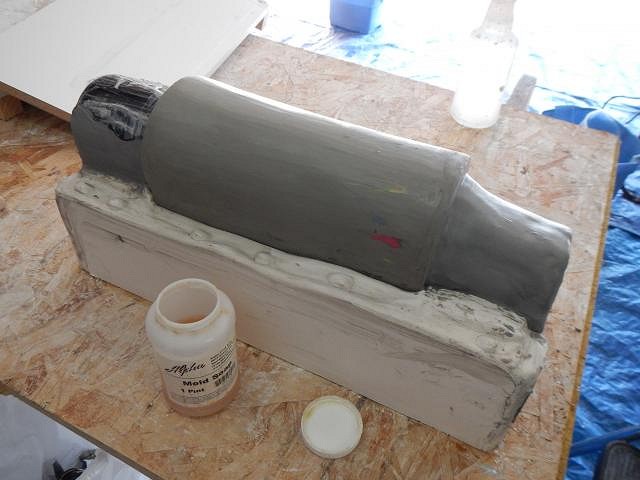
I'mmmmmmmmmm back! First off, Thank You hang10tiki for the Hanauma Bay post card. It was so fun to receive and the photo brought back long past memories. You and Janelle are sweethearts. Part IV of mold making. I was so lucky that I figured out that I was going to have a problem if I didn't fix something. But first...when you make your first mold piece you can see if there are any areas where the plaster is not tight against the mug and fix it by doing a bit of careful chiseling. This will keep the next mold piece from filling in a very narrow area and then if it breaks off you have an area that will leak. Next I looked at the end to see if my first mold piece came up to the center of the round end. If it doesn't as shown here the next piece poured will not lift off because it undercuts the round end. Neither of these sides reached the center of the end. The good news is the this didn't matter for the actual mug because it is not a circle is it shaped in half a circle. So I just added clay to this end piece so that after the plaster is poured I'll still be able to remove the sculpture. I did the same with the opposite end and then I had an Ah Ha moment. It dawned on me that after I pour the next big slab I wasn't going to be able to remove this plastic end piece without opening the mold. I didn't want to do that. So even though I'd gone to the work of removing the undercuts from the sides, I removed the piece which exposed the bottom of the mug/lamp. Now I would need to build the same shape in clay. But to start I wanted to protect my name carved on the bottom. I cut out a piece of cardboard and started covering it with clay. I put it in place and used clay to finish the seal. Now to speed up the making of the end piece I added a block. I kept adding clay until it was built and ready to proceed with the next piece of the mold. When you make a mold you need to always think of all the steps ahead. That's what saved me from having to open the mold before pouring the last end piece. You'll understand this part as the photos are posted. Thank you all for the visit, Wendy |