Tiki Central / Other Crafts / Wendy Cevola - Doing a major repair of a Tiki Diablo bowl.
Post #735455 by danlovestikis on Sun, Jan 18, 2015 9:32 AM
|
D

danlovestikis
Posted
posted
on
Sun, Jan 18, 2015 9:32 AM
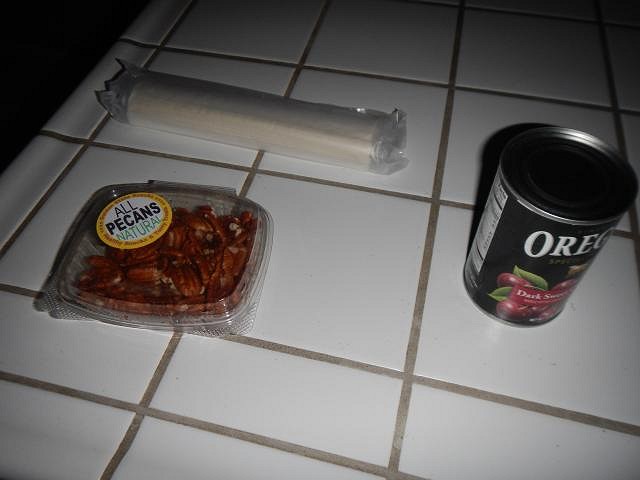
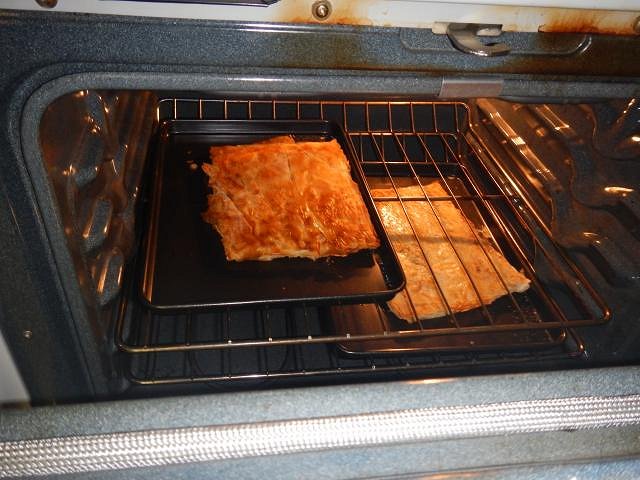
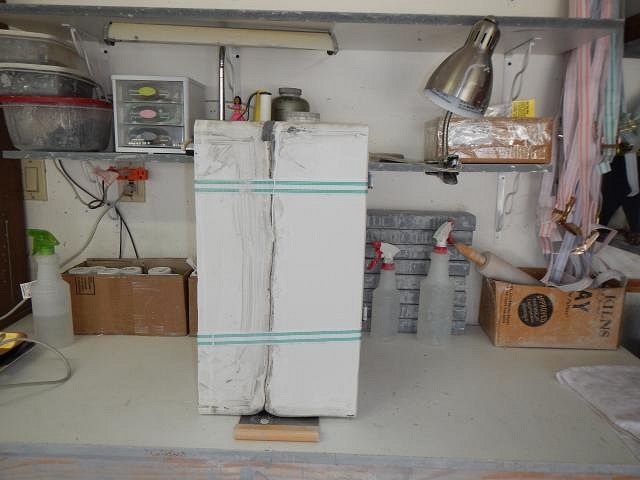
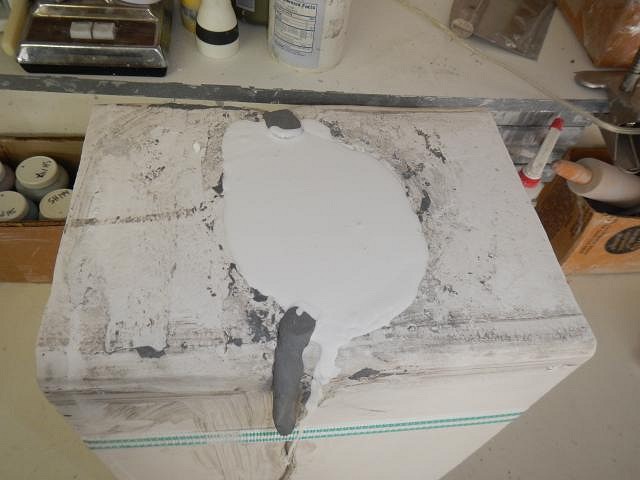
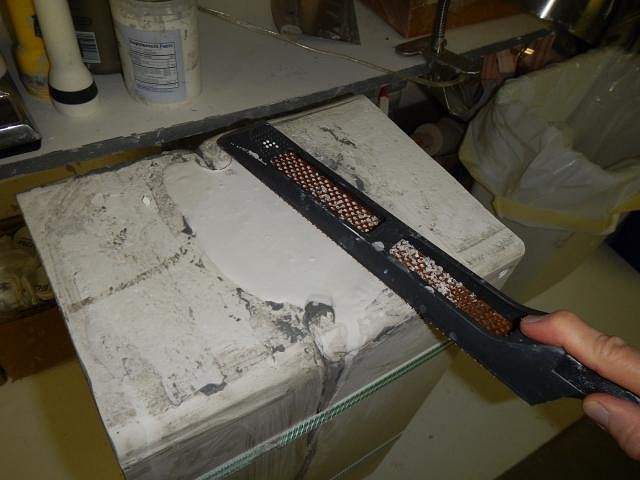
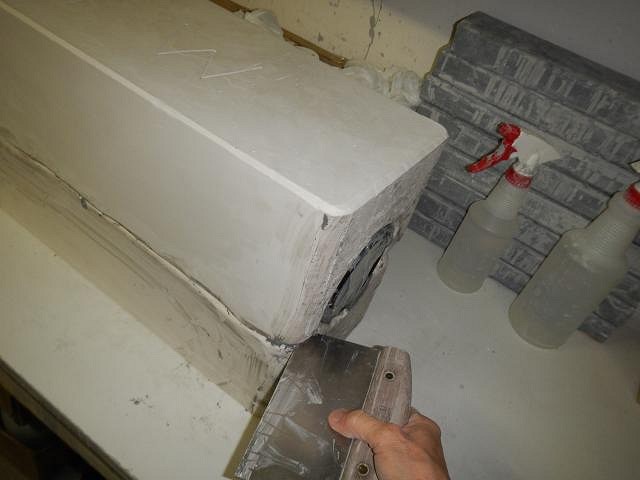
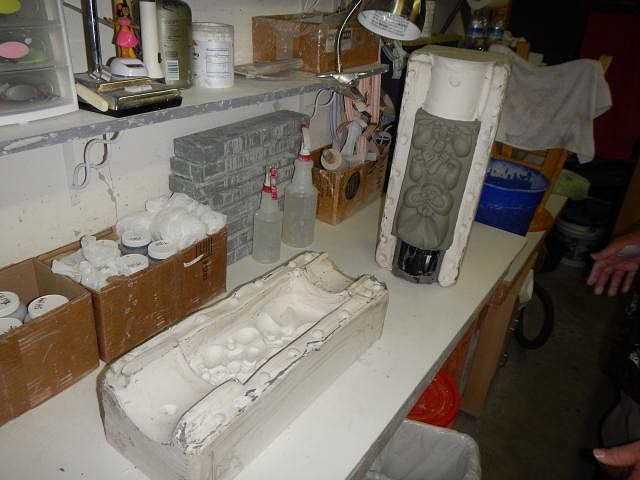
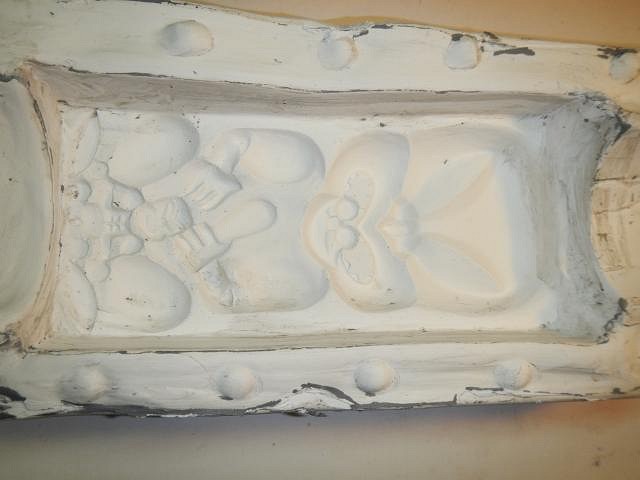
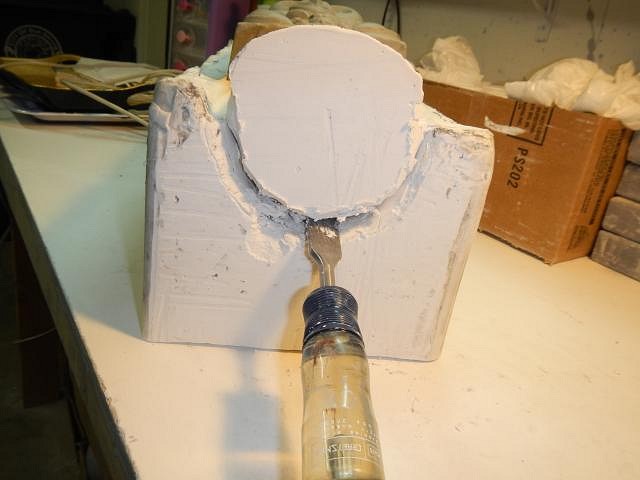
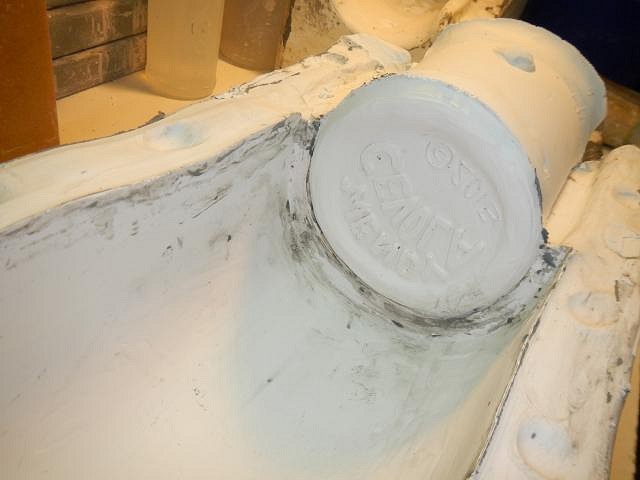
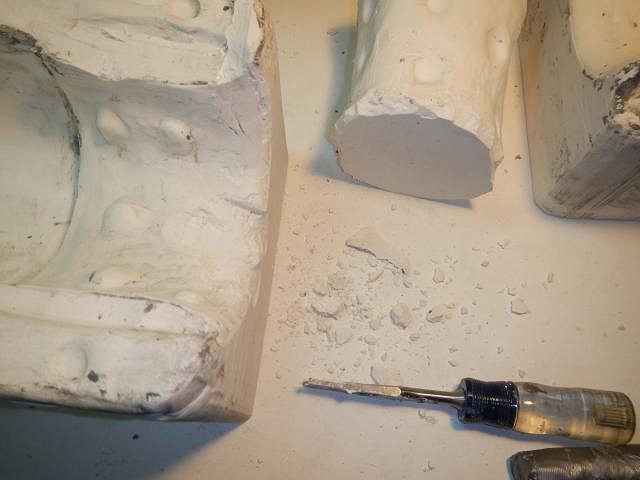
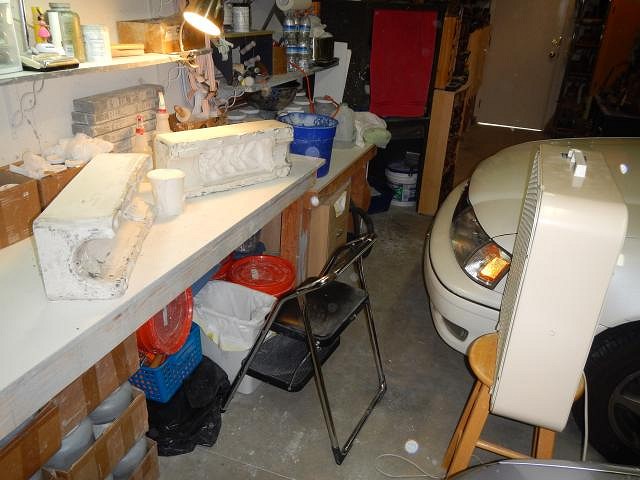
LoriLovesTiki if you try one just have some sort of list of steps. I did a picture board that we used the first few times. It helped me remember to use the mold soap. It would be fun to see you mold your own mug. Tiki Ano if planning to do just that. hang10tiki I cooked a desert last night. I made it up so it didn't go too well but it was fun. I had never used phyllo dough before so I wanted to make cherry tarts. I made the egg white, olive oil, water mix that you spread on each sheet then sprinkle with sugar and cinnamon. I was lazy and did every third sheet. I found out that was a no no. I boiled the cherries and pecans but it didn't thicken up. I guess I should have used corn starch. So in the end I made big crackers because there wasn't enough sugar on them and we dipped it in the runny cherry juice. I think going to the bakery is a better idea and I'll stick to artwork. Thank you for the drink photo in front of my art. I love those photos that you take that way. =================================================== Tyber Tiki's HUGE Maori mug/lamp Wish mold is ready to open. Firt I had to step back and look at the largest mold we have ever made. Will it work? Fingers crossed. The last piece was ready to fine tune. These little clay dams were removed so that I could rasp the bottom flat. Making all the mold pieces on the bottom the same gives you an option for how you re-assemble the mold each time. I carved around this piece so that it would come loose easier. To start the process of taking the pieces apart I use my vegetable chopper and the rubber mallet. lift it off. Good thing I have Dan! He set aside the piece with the sculpt inside and we gazed upon the important piece of the mold. It not only looked good there were no pulled off pieces of clay. Now it was time to screw up. I tried to "lift" the round end piece with a chisel. I thought, "Oh no it's stuck". That was so dumb. So we removed the sculpt and then I lifted out the end piece. Since I had made it so deep the chiseled out plaster will have no effect and will not leak. No we placed the pieces facing a fan and put it on low to run 24/7. Each day we rotated the side facing the fan. The mold must dry 100% so that it "sets". Then the mold will be good for a long time. If you do not wait and try to pour too soon the mold will degrade very fast and loose detail. So you have to be patient. ==================================================== I wonder what I will be posting tomorrow. Hmmmmmmmmmm. Cheers, Wendy |