Tiki Central / Other Crafts / Wendy Cevola - Doing a major repair of a Tiki Diablo bowl.
Post #735580 by danlovestikis on Tue, Jan 20, 2015 10:29 AM
|
D

danlovestikis
Posted
posted
on
Tue, Jan 20, 2015 10:29 AM
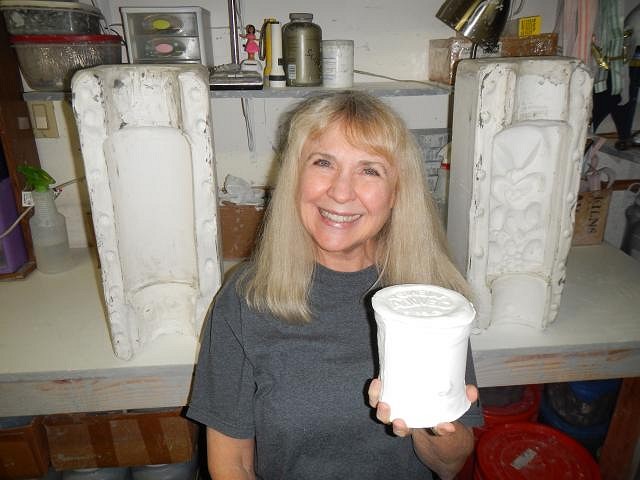
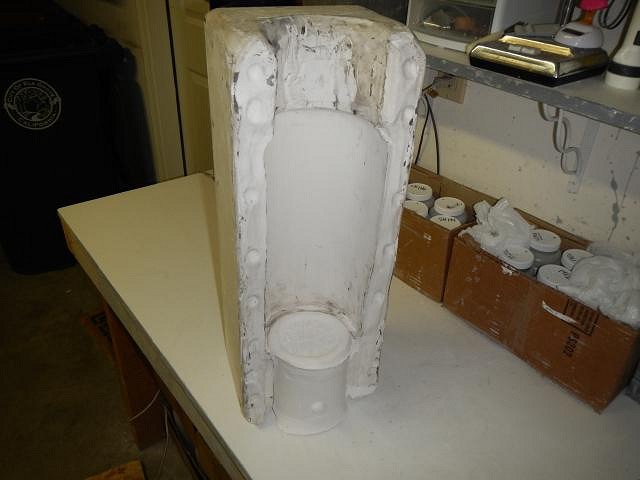
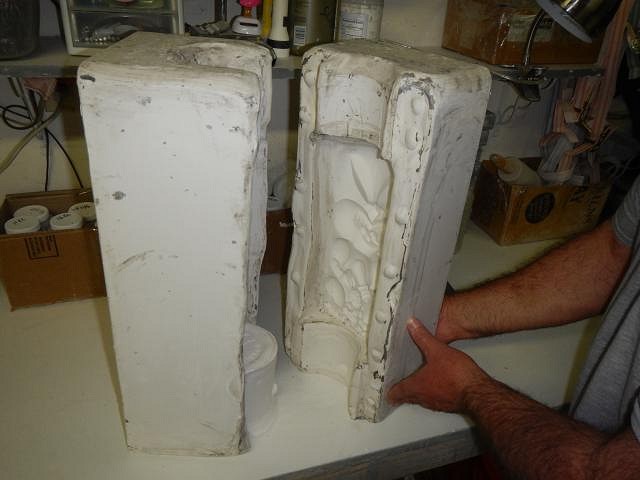
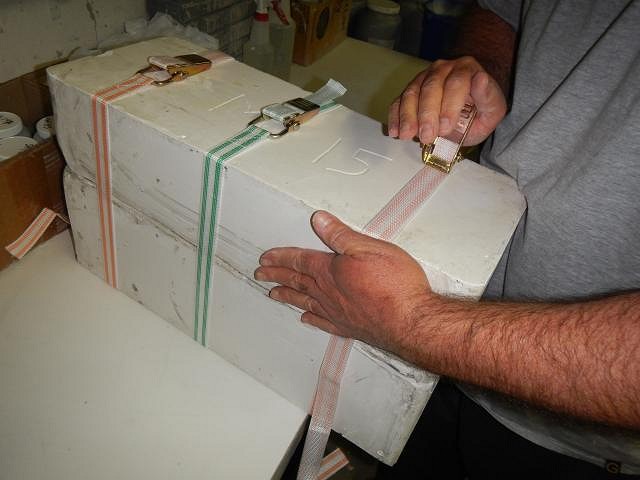
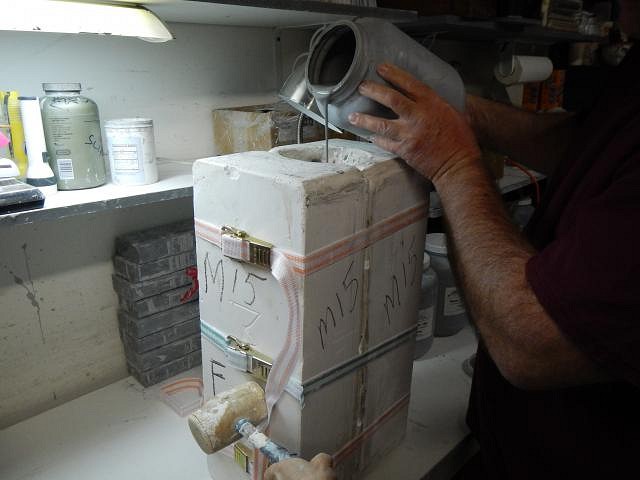
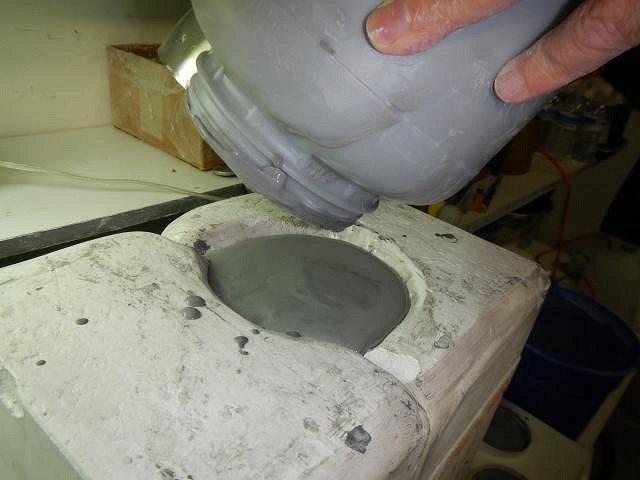
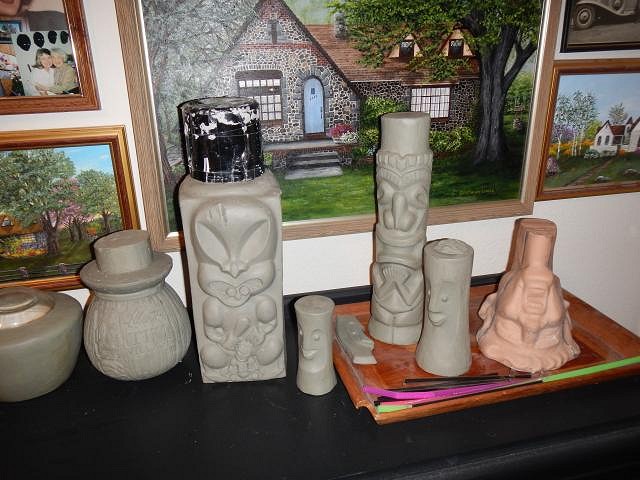
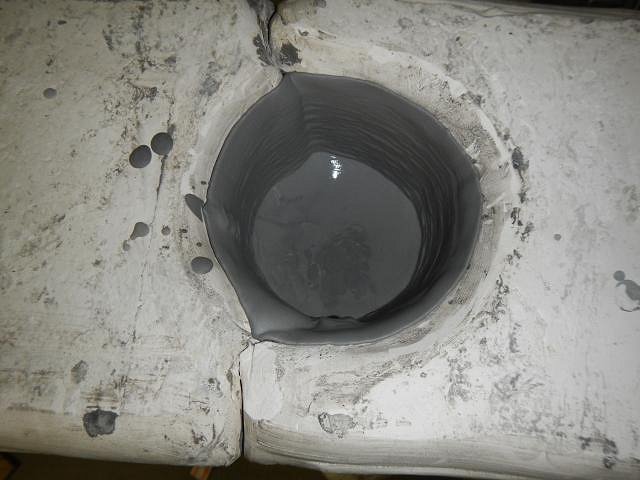
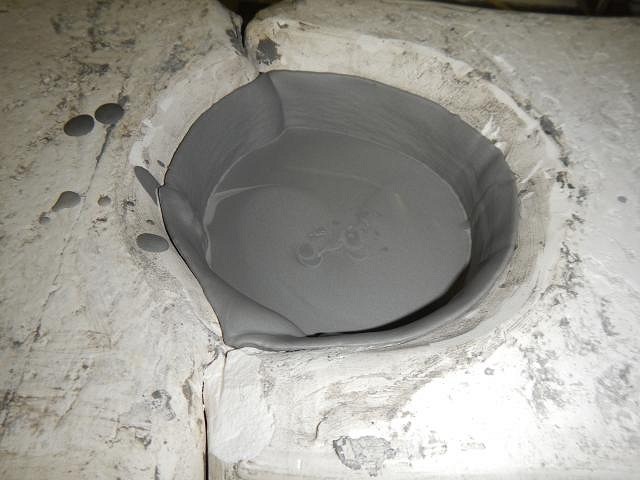
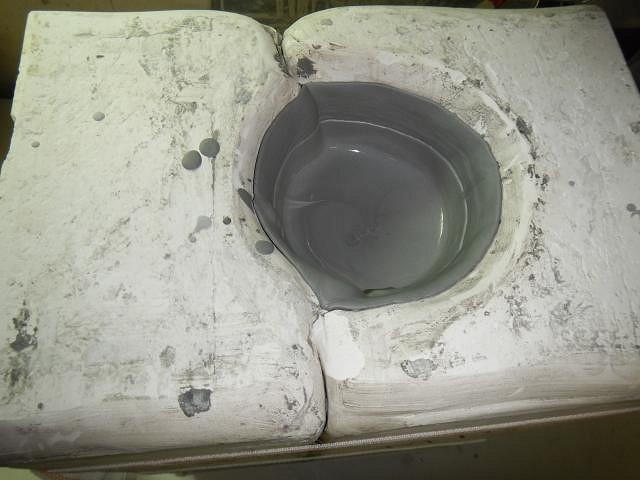
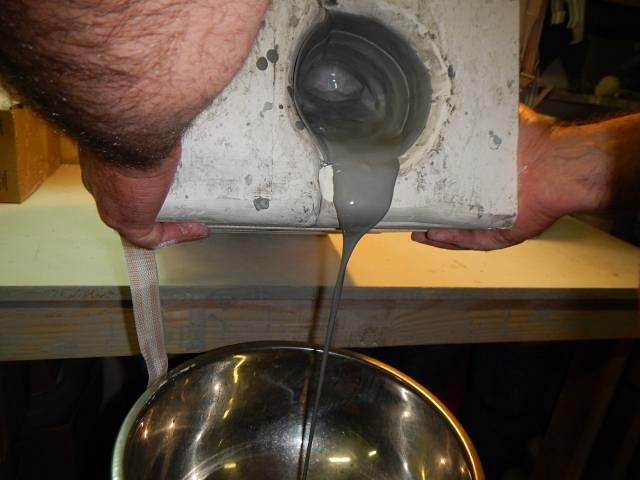
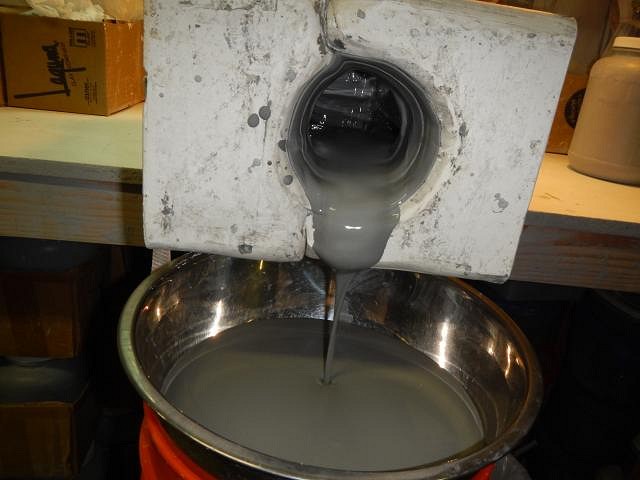
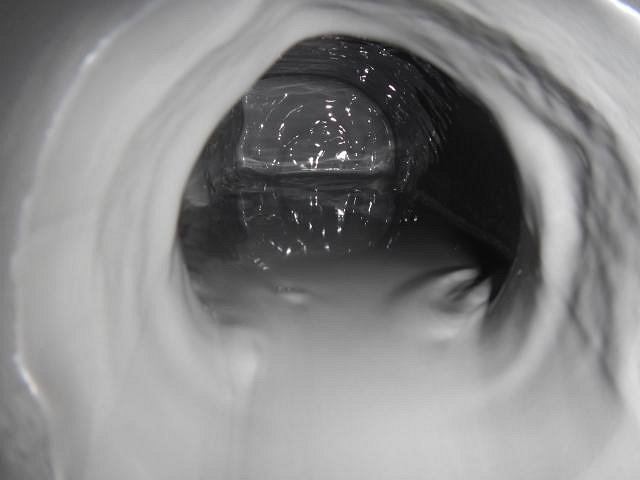
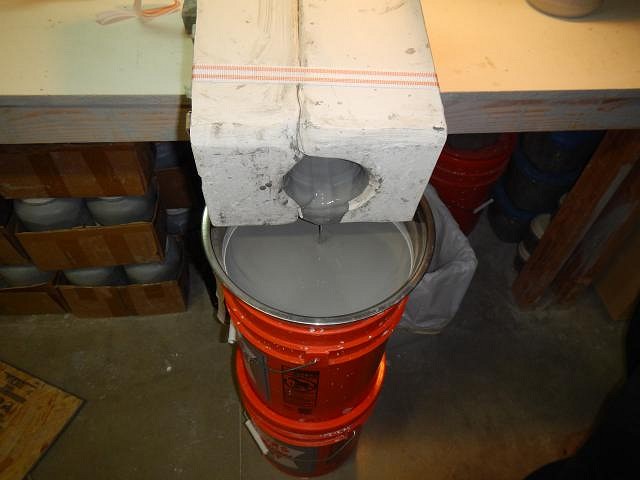
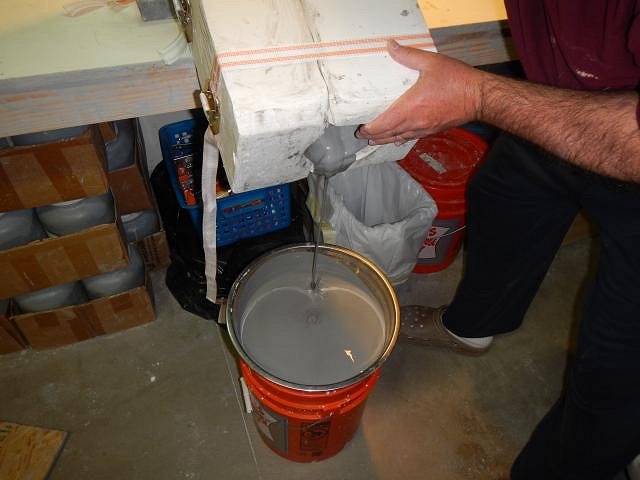
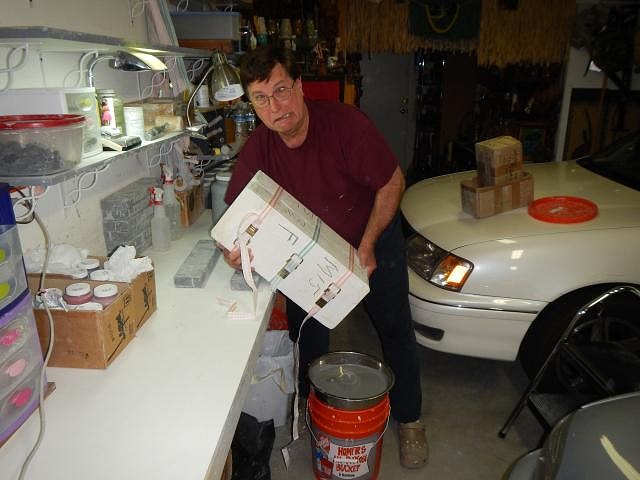
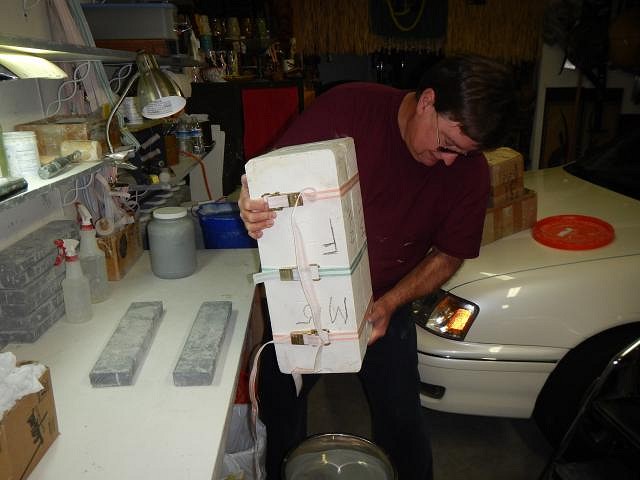
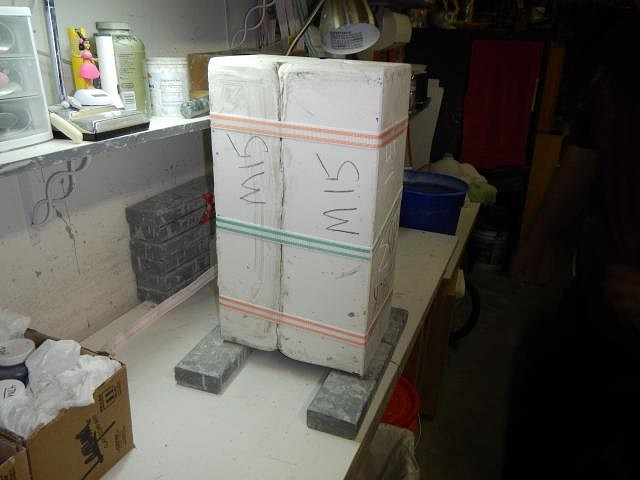
Back to Wish List #5 and Tyber Tiki HUGE Maori mug/lamp project. More than a week has past since making the Maori mold. 24/7 the fan has blown air on each side until it felt dry. I decided to pose with the mold since Dan gets in most of the photos. Look how large the small bottom piece is in my hand. The photo shows that the sculpt was in the middle of the mold and the pouring area at the top is deep and the piece at the bottom, which I am holding is tall. Since I rasped the bottom of all the pieces when they were together I can assemble the mold while it's upright. It doesn't really matter for assembling but sometime it matters when you take it apart. Here goes the last piece into place. We put the first two straps on then lowered it onto it's side and put on the last strap. We could have put it on while the mold was upright but when you put them on really tight it's better if the mold is on its side. To start with pouring we go very slowly while I bang the side with a rubber hammer. This gets the bubbles of air to rise to the surface and pop. This also helps fill in all the detail with the clay slip. Filled to the top. Now I took a break. There's the Maori Sculpt with a couple of bangs to his forehead. I keep my sculpts and only break them down as I need to reuse the clay. Romo Clay can be used over and over again. After 1 hour I went to check on the mold. The fact that the level of slip had lowered this much told me the mold was indeed dry enough to pour. I added some more slip and let the mold sit another hour. The slip again lowered. After 2 hours I hoped that the cast will thick enough to support its HUGE size. Now we start to pour out the left over slip. We do it slowly to prevent the glug glug sound which will collapse the sides. I look inside with a flash light to see if it is emptying clear to the bottom. I can see the bottom, the flat front and the rounded backside. We empty the side into a big bowl supported by two plastic containers with dry plaster in them. Dan couldn't tip the mold until I removed one container. My poor husband lifting this super heavy mold. He drained the last bit and put the mold which is upside down on these 2 x 4's to continue draining overnight. Well Tyber Tiki there's more to come, that's for sure. ========================= Cheers, Wendy |