Tiki Central / Other Crafts / MadDog Mike's Platterful of Pupule - Pupu Pufferfish
Post #740625 by MadDogMike on Thu, Apr 2, 2015 9:08 PM
|
M

MadDogMike
Posted
posted
on
Thu, Apr 2, 2015 9:08 PM
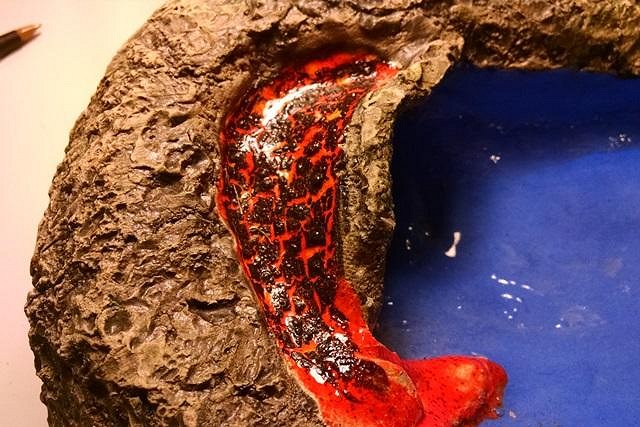
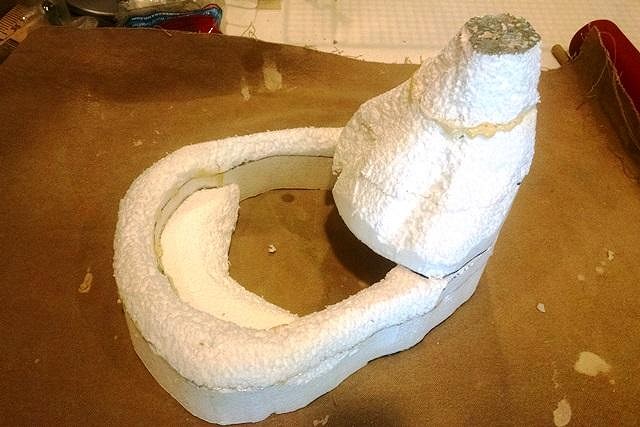
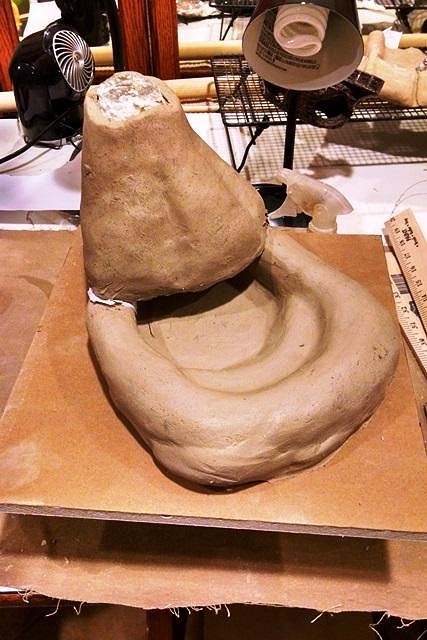
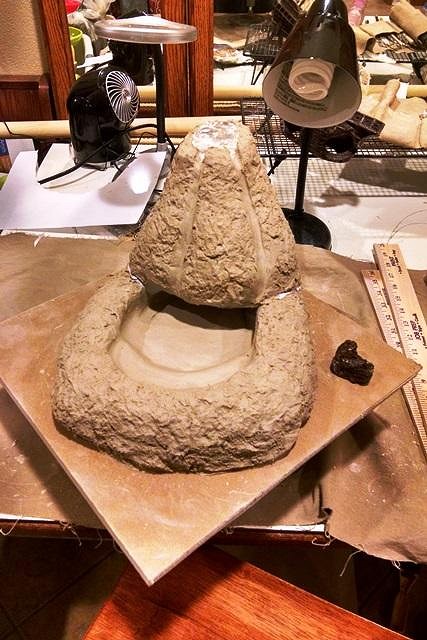
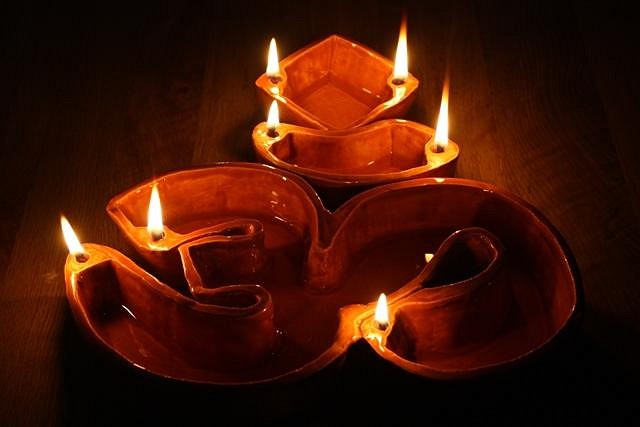
I made a new type of volcano bowl, more low and flat than the traditional volcano bowl. It is actually a water dish for our new iguana enclosure :wink: Tried something new for the "lava", Amaco black Arroyo glaze over Mayco Wildfire Jungle Gems glaze. Looks like the lava has partialy cooled and formed a crust over the top but you can still see the glowing orange in the cracks. Also has a cool texture. CLAY OVER STYROFOAM TUTORIAL I aways use paperclay for this technique, it shrinks less than regular clay as it dries and is less likely to crack against the foam core. Roll the paperclay into a slab the desired thickness and cover the foam core. Trim excess and add pieces to cover foam as needed. Press the clay against the foam but be careful not to press too much as it will thin the clay. After the clay has dried and firmed up a bit, texture the clay as desired. I tried something new for a rock texture this time. I usually take a piece of lava rock and "pounce" it into the clay. But you have to keep turning the rock or the texture starts to look too much the same. This time I took a roundish lava rock and rolled it around on the clay in several different directions, made a more believeable rock texture. OPTIONAL STEP - With or witout dissolving the foam, it is ready to fire once the clay is completely. Hopefully your kiln is outside because it is going to stink and release some possibly toxic fumes. The foam will burn up leaving nothing but ashes. One caveat is that the inside of the piece (that was against the foam) will have a rough texture. Depending on your design, you might be able to smooth the inside some if you disolve the foam out? Now the piece is bisque fired and can be treated in the normal fashion. Have fun! Here are some other pieces I have made using this technique. |