Tiki Central / Other Crafts / rvictor's tiki lab
Post #749618 by RVICTOR on Sun, Aug 23, 2015 4:58 PM
|
R
RVICTOR
Posted
posted
on
Sun, Aug 23, 2015 4:58 PM
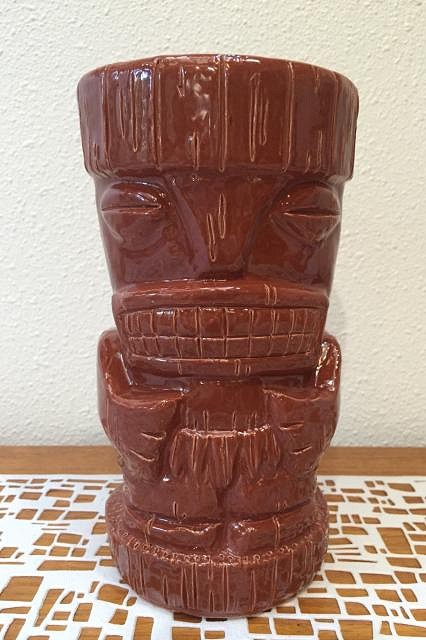
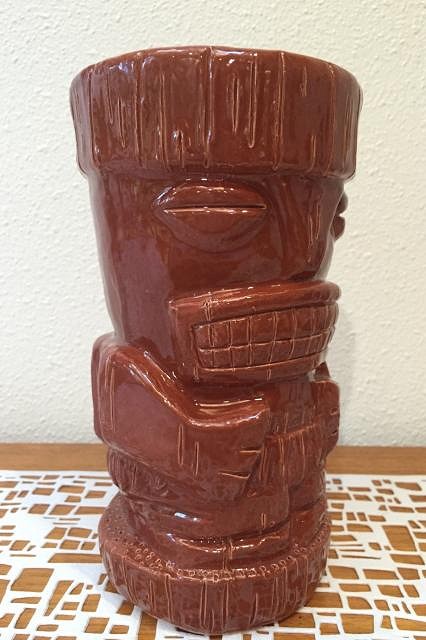
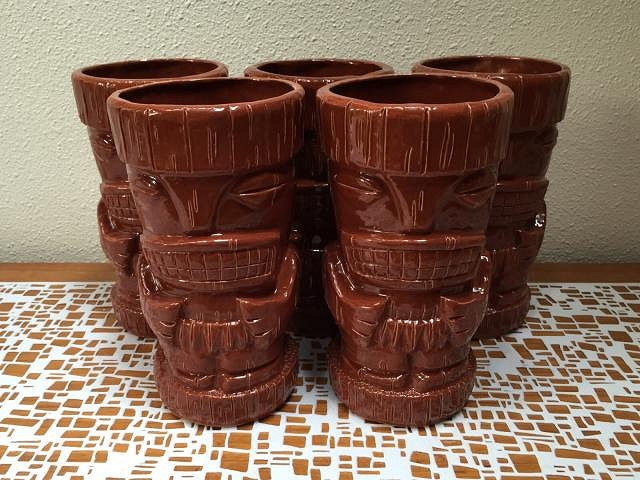
Aloha again, Hang10 - Looking forward to Vegas...Were going to have to plan a night out...not sure if we can do the Frankies / Golden Tiki tour in one night or not...It would be cool to see them both but if I had to pick just one...I think Frankies would be the obvious choice. Well have to plan a night out when it gets closer. Been going steady with the tiki projects since the last post...but in a few different directions. I guess I will start with the status of my 10 mug order of "Taki Tiki's" for the local bar...I ended up making three artist proof mugs with three different brown glazes. Of the three, I brought the owner two of the artist proofs to choose the color he wanted. The following pictures are the color he chose...I think the glazing turned out pretty good after two rounds of air brushing.
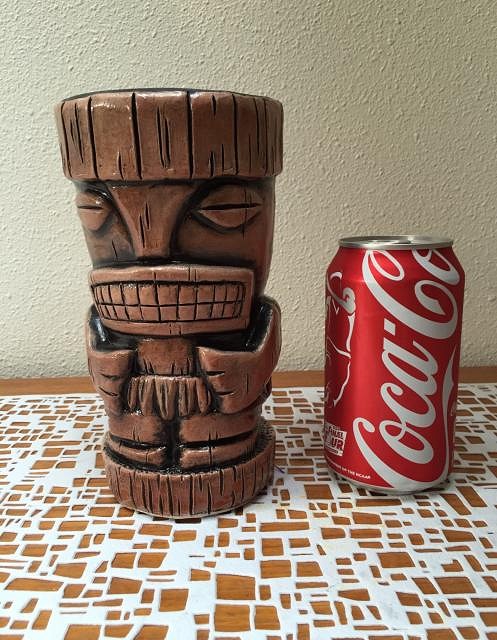
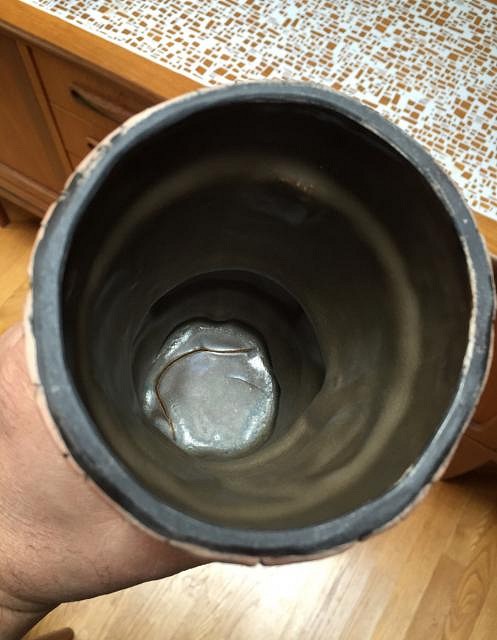
I initially did three coats, which was far too little glaze...Since you have to mix glaze and water at approximately a 50/50 ratio to spray it, I found that I had to double the number of coats to get the glaze where it was supposed to be. However, the glazing is really, really even after spraying it. Vantiki was right on with that advice. Right now I have 5 that are done and 6 more in for firing. The following is a picture of a glazing experiment on one of the Taki Tiki's...I also put a coke can in the photo for scale This one was a glazing experiment because I made a mistake when I poured this one...I didn't drain it long enough. Actually, I did two this way...poured it out and then just turned it back over..."what could do wrong?", I thought. It will just be thicker on the bottom right?.... Wrong. |

