Tiki Central / Other Crafts / Wendy Cevola - January 1st, 2026 Another Wish List Black Velvet in progress. Posting often.
Post #763759 by danlovestikis on Fri, May 13, 2016 9:28 AM
|
D
danlovestikis
Posted
posted
on
Fri, May 13, 2016 9:28 AM
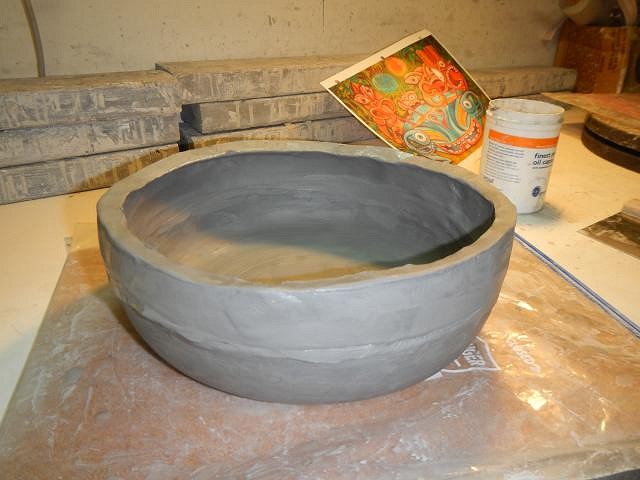
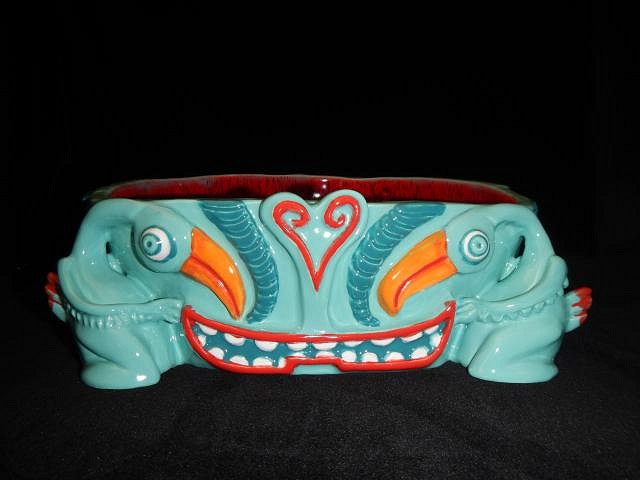
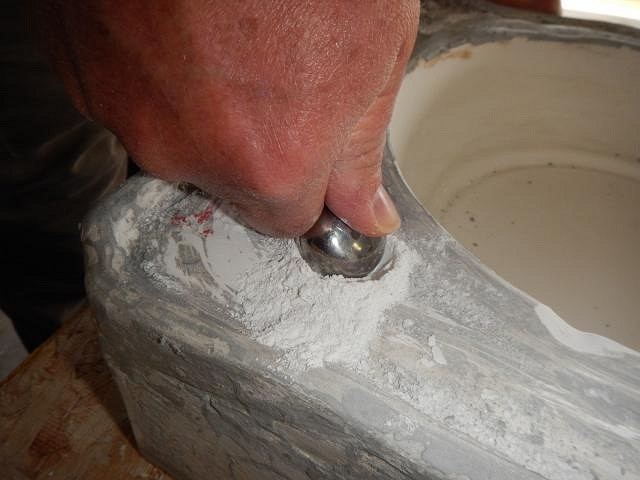
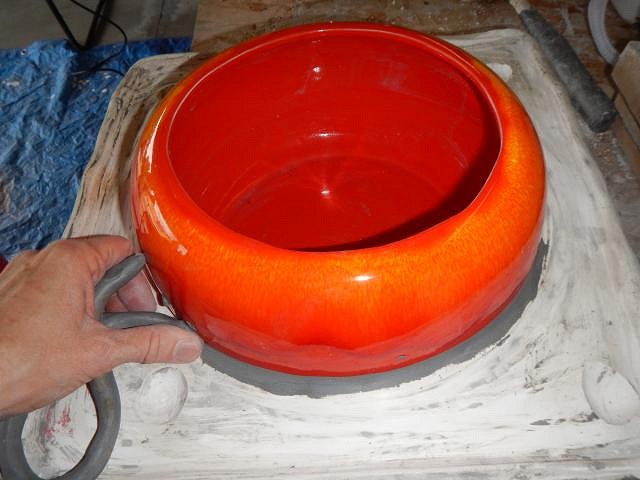
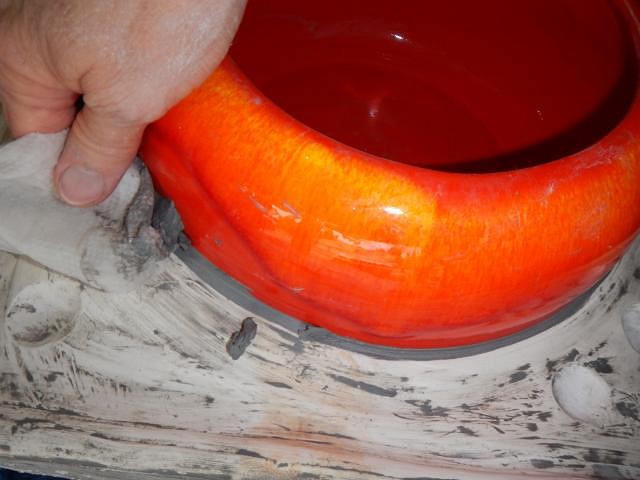
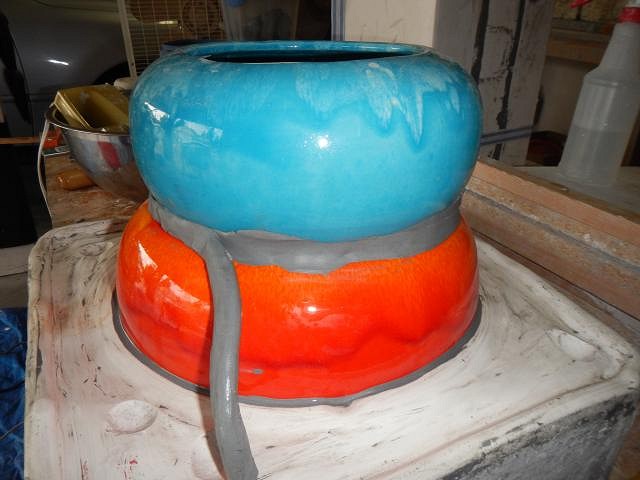
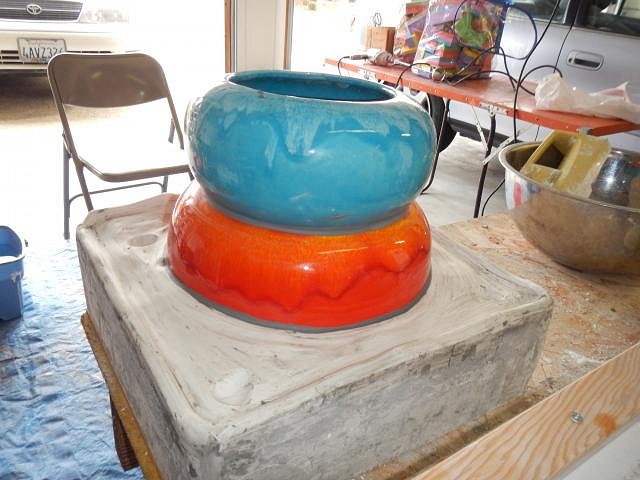
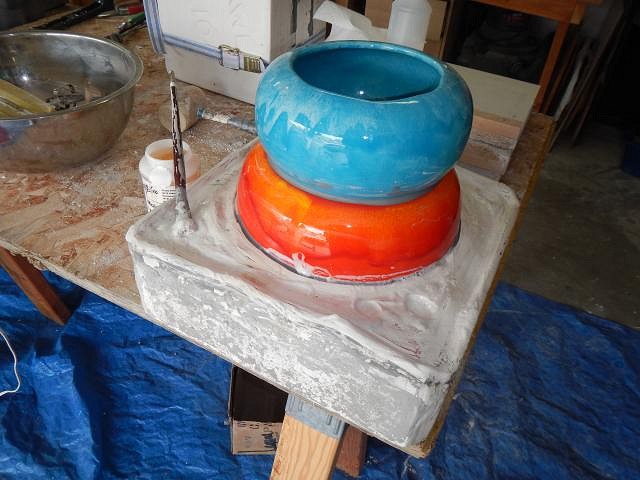
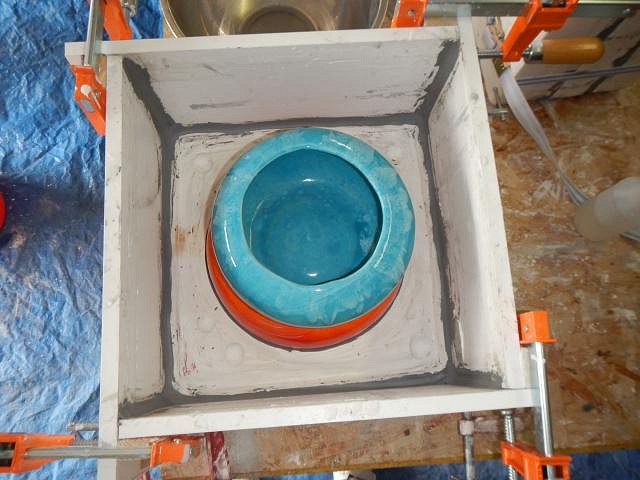
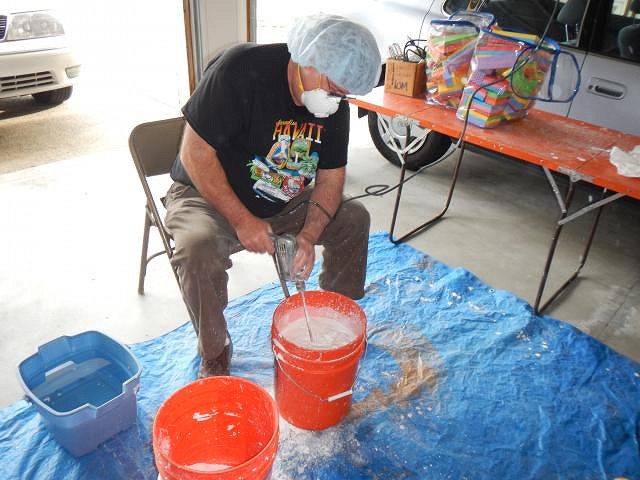
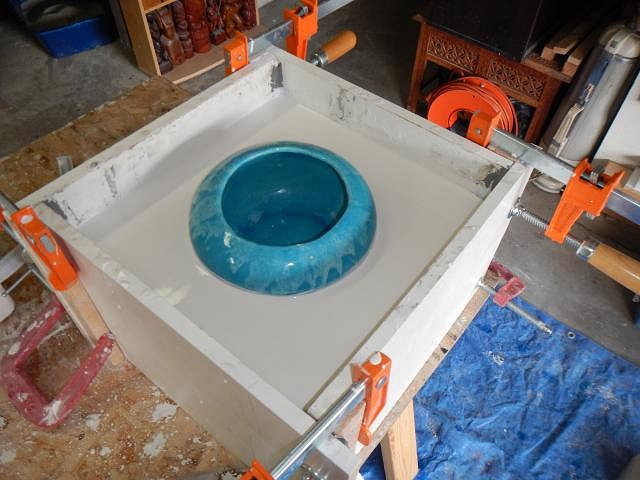
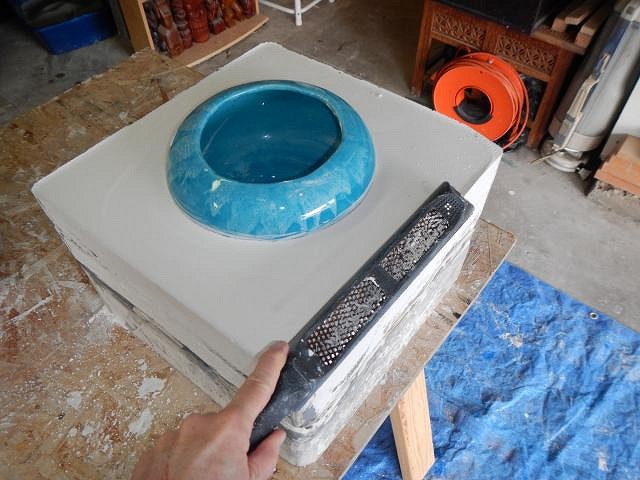
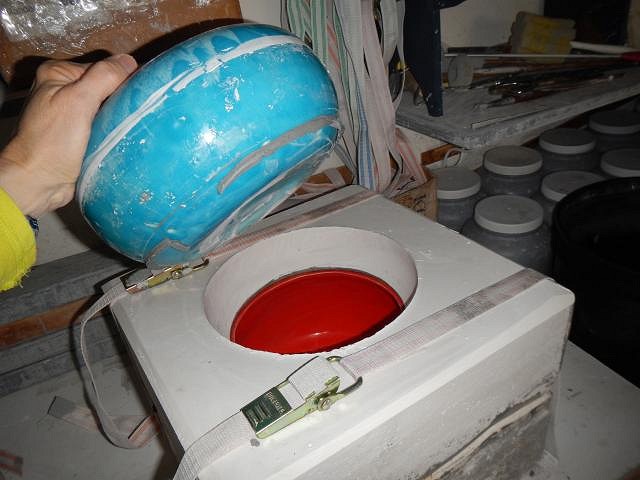
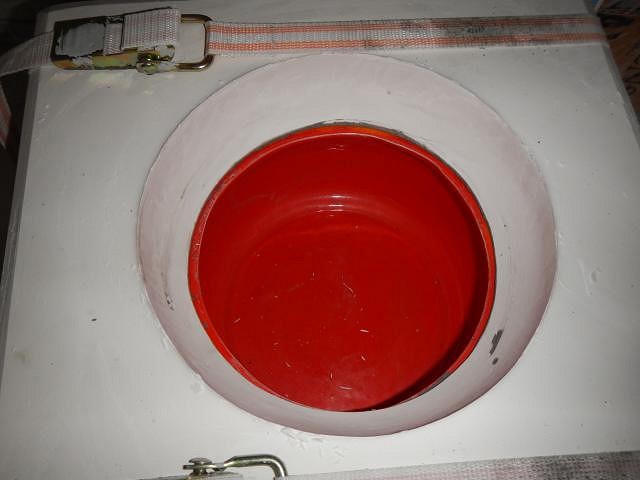
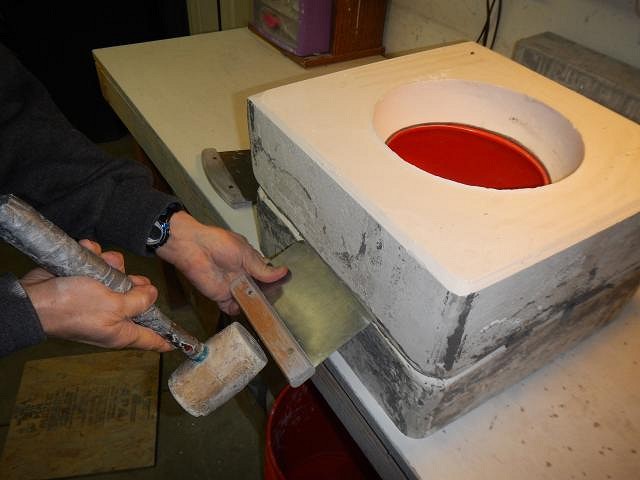
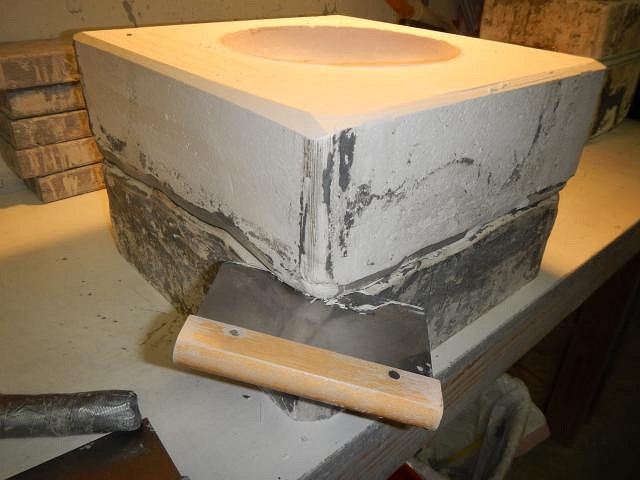
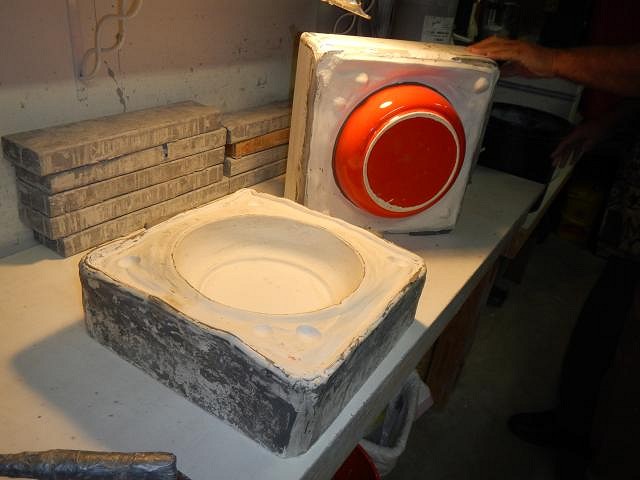
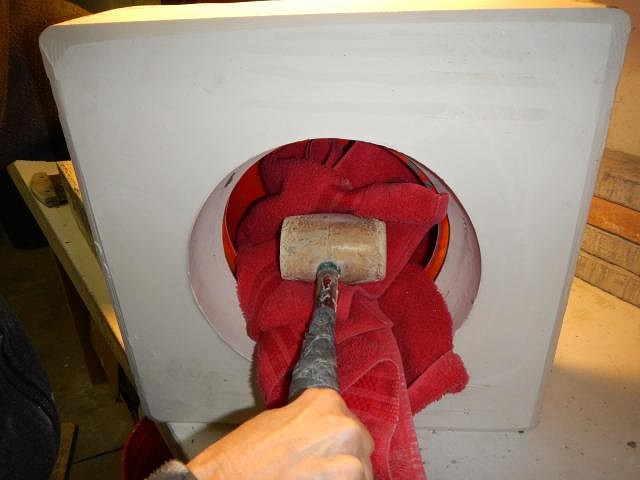
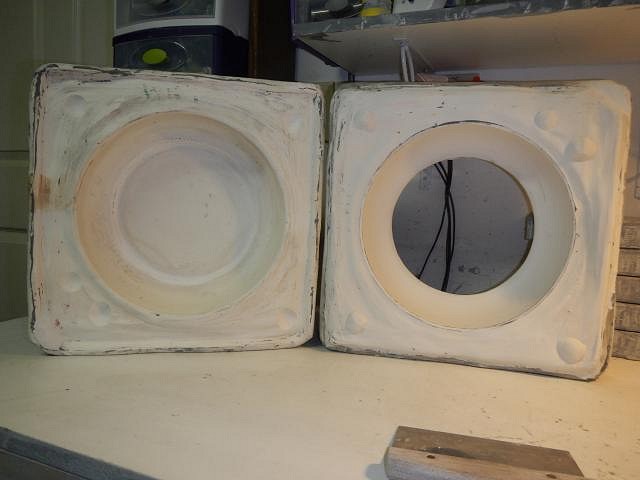
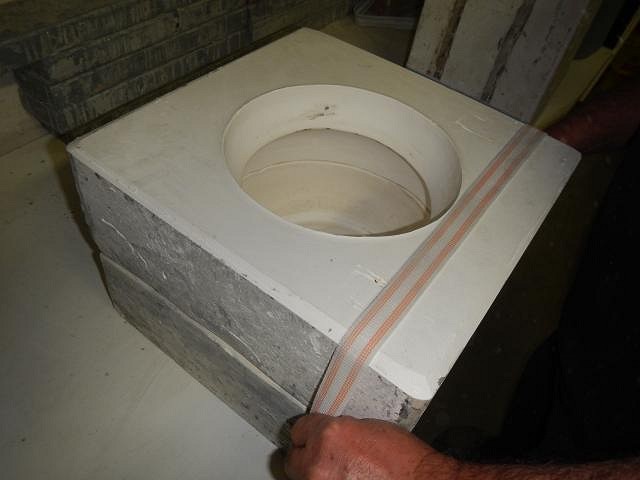
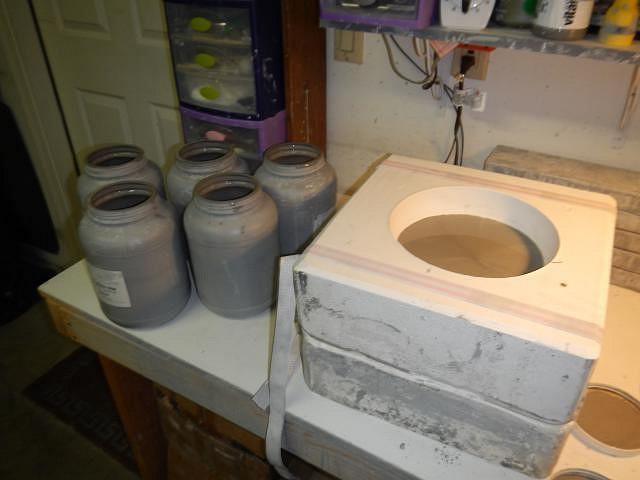
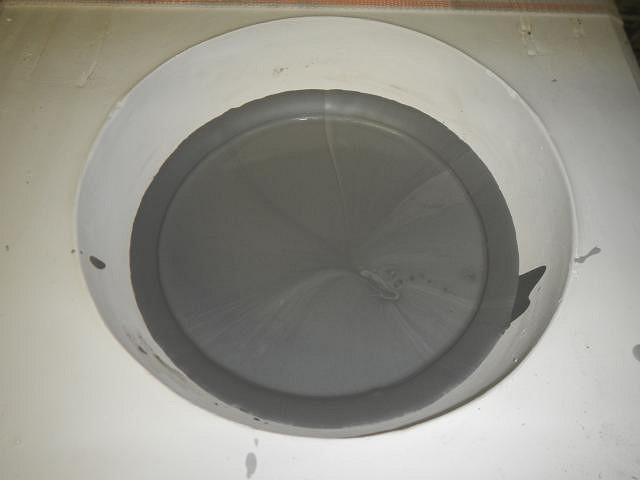
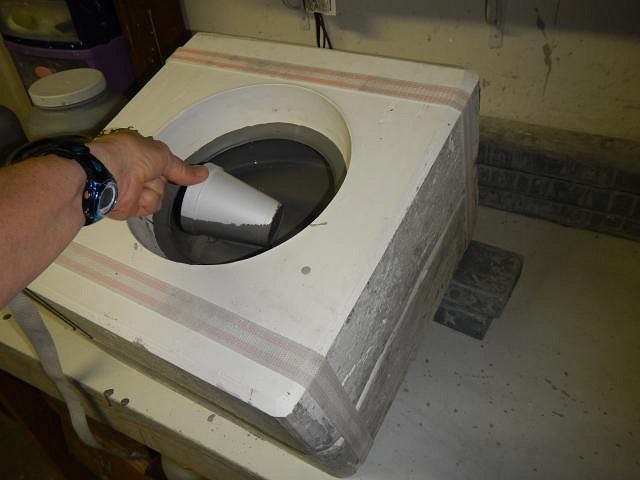
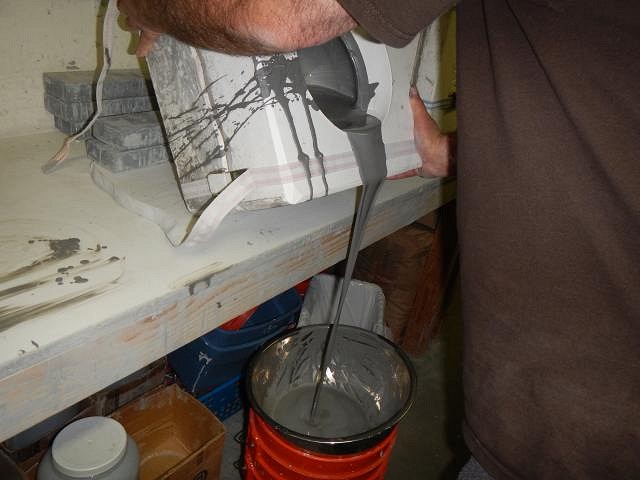
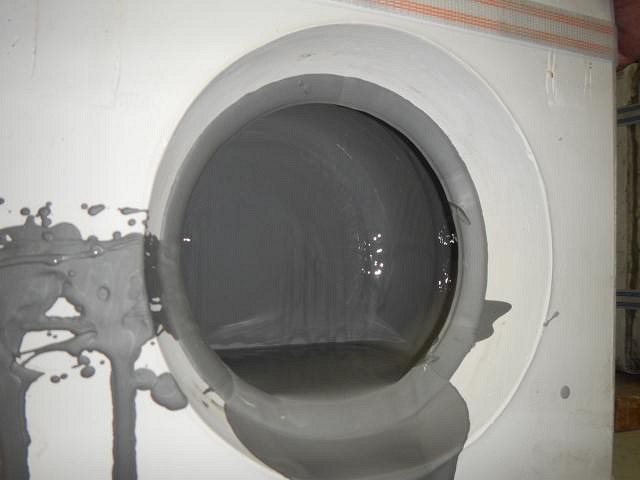
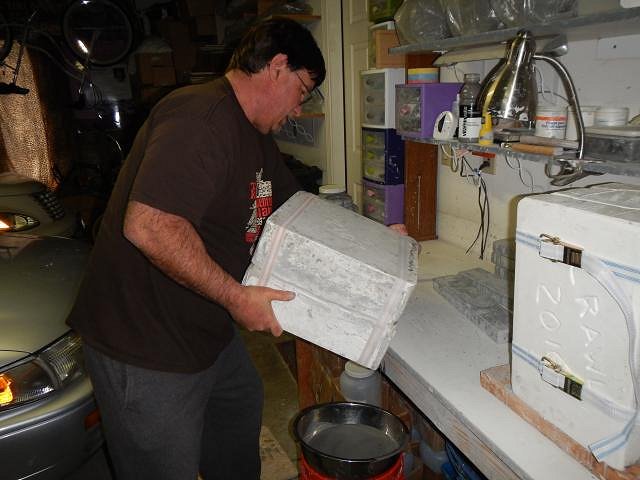
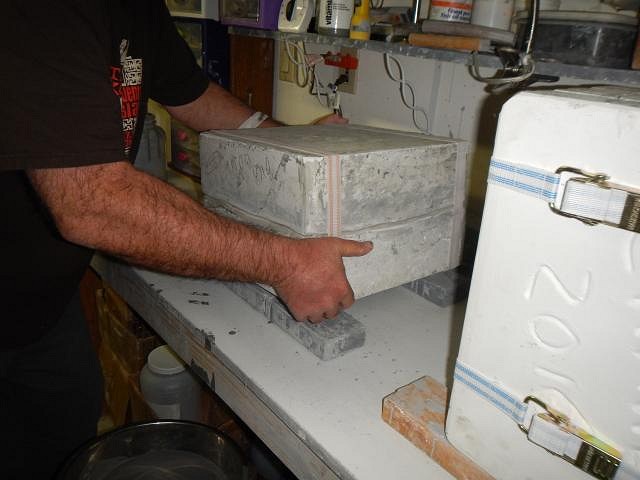
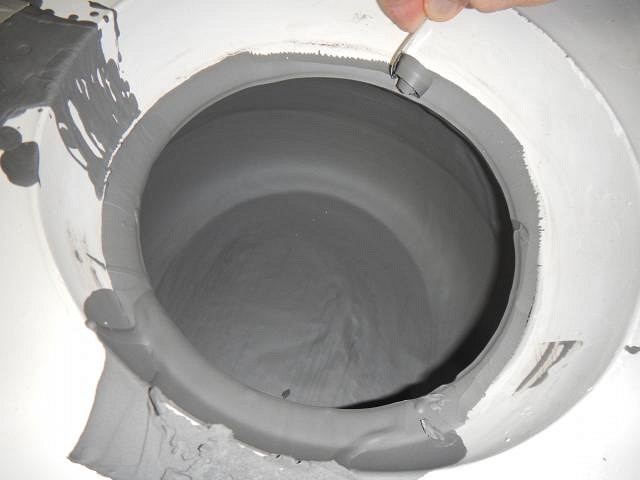
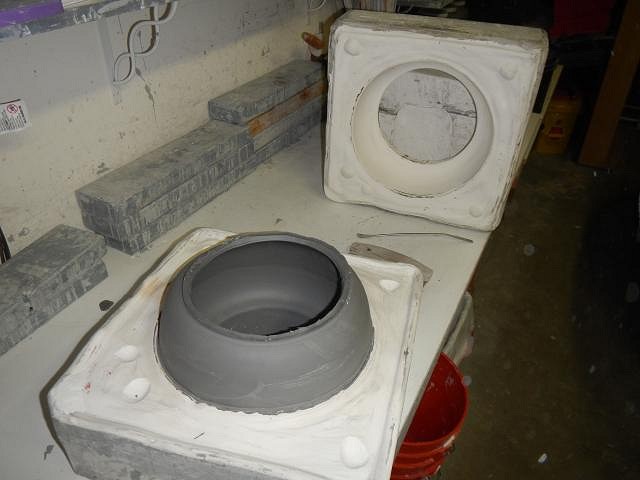
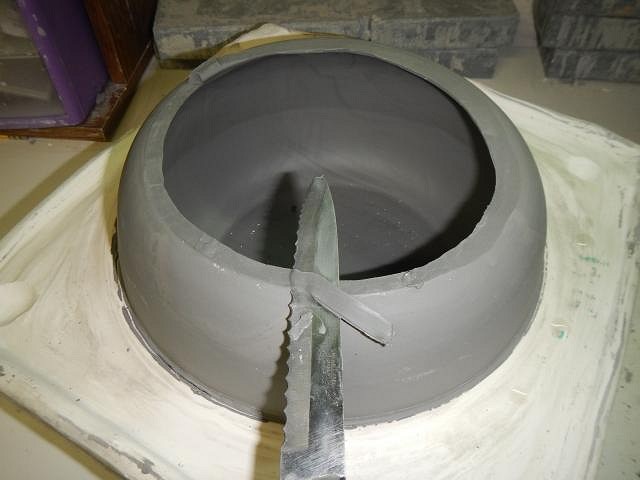
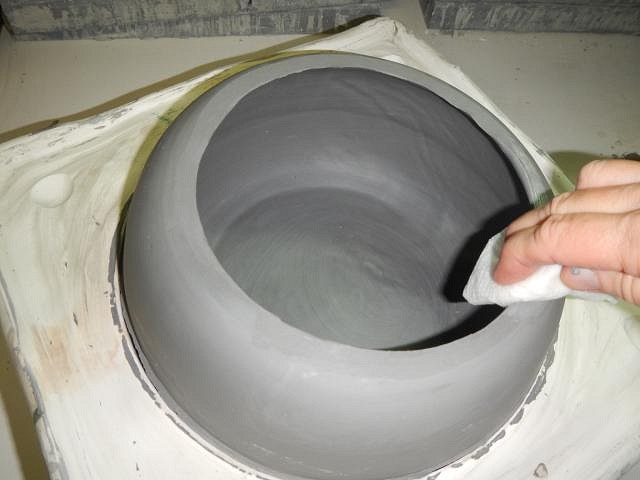
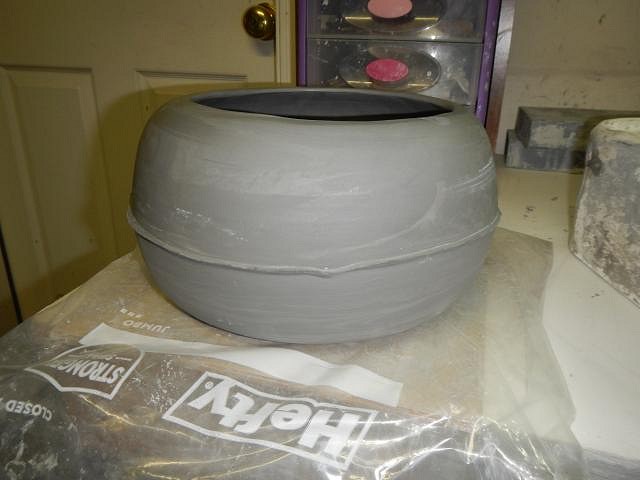
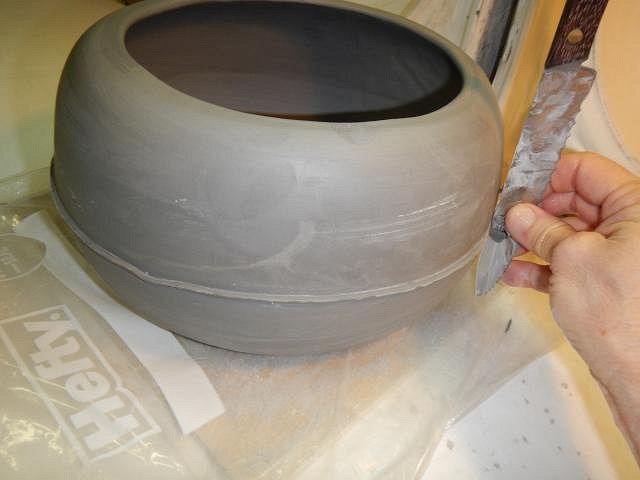
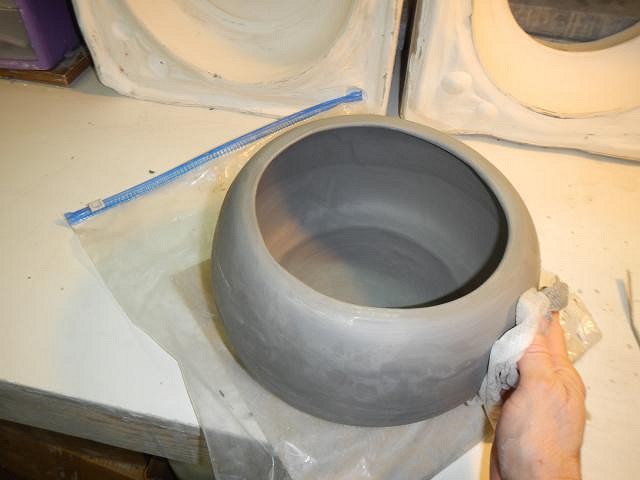
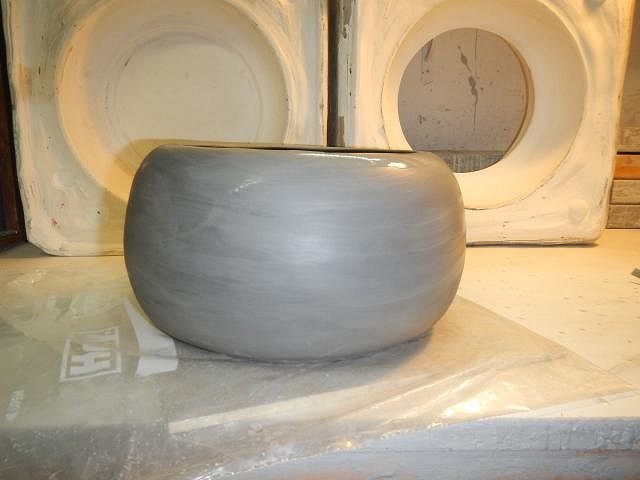
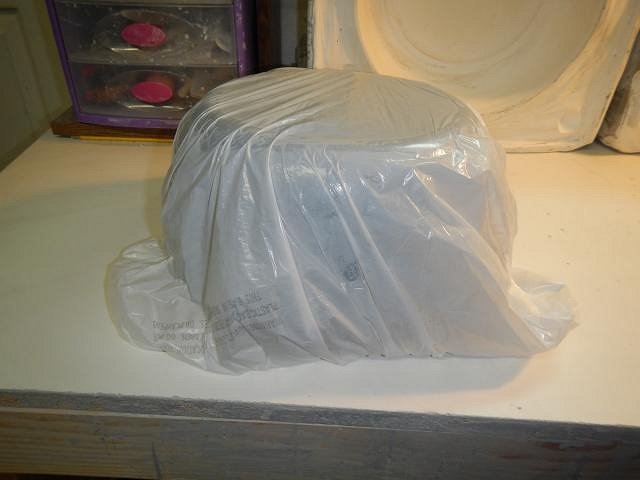
hang10tiki my heart aches to be there. Thank you for the photos and please keep them coming. I could see CY's unique tiki art. Say hi to him for us, please. ============================== It's FRIDAY THE 13TH. I think this is an extra fun day. Someday I'll make a mug for this day. I'm still sharing a few projects before I start showing the Sacramento Crawl mug. On the last Wish List I had to increase the depth of a bowl so I could make Jen Tiki' Wish come true. I took two tries before I succeeded. After a couple of weeks I got it done. Then I thought what if someone else wants a big bowl. I better get prepared. So here's what I did. I took the mold that I had made in the past and cut dips into it all the way around. These will lock in the new piece I am about to make. I had previously molded a vintage bowl I got at an antique sale. I put that bowl back in place. I didn't want any plaster to seep down the side of the bowl which would mess up the first mold piece so I put clay around the seam. Then using a wet paper towel I removed the excess. This also makes the seal better between the plaster and original bowl. Since I want to mold the entire bowl I needed a top to prevent the plaster from running over. So I added another vintage bowl to the top and ran clay around it. Then again I used a wet paper towel to remove the excess and to improve the seal. Next I did four coats of mold soap so that the two pieces wouldn't stick together. I paint it on, wait, then wipe it off. Then again, again and again. I put the box around the first mold piece. Then I sealed all of the cracks. That would be wherever any plaster could seep through. Both of us wore face masks to save our lungs. Plaster dust will turn into cement in your lungs if you don't wear a mask. Once the plaster was like buttermilk in consistency we poured it into the mold. An hour later the plaster was set up. I removed the box and rasped the edges smooth. Next I tugged on the top bowl and out it came. Plaster doesn't stick to super smooth surfaces that have been glazed. I put straps on and left the mold like this overnight. We were tired. The next day I took off the straps and used a salad chopper (one of my favorite workshop tools) to loosen the top mold piece. Oh Oh it didn't want to come apart. So I moved to the thicker corner. This time it worked. I separated the two pieces and then found that the red bowl was stuck. I got a towel and protected the bowl from my rubber mallet. Then with Dan there to catch I gave it a whack. Out it came. Now the two pieces are ready to dry for a couple of weeks with a fan blowing on them. Whenever we go into the garage we rotate the pieces. The days have passed and it is time to make a bowl. I strap the two pieces together and we filled it up. I let it sit for 2 hours. This was going to be a lot of slip to pour back out so I removed some with a soft Styrofoam cup. Dan does the heavy lifting. So he tilted it to pour out the rest. Even upside down. Then it was placed on two wood blocks and left upside down overnight. The next morning we turned it over. It was then that I realized that the clay at the top had to be removed so the mold piece could be taken off. Once that was down I took off the straps and then took off the top mold piece. I trimmed the top with a wet knife. Then I smoothed it with a wet paper towel. Next up I need to clean off this mold line. I used the back of the knife to scrap it off. Then I smoothed it with a wet paper towel. I new have a bowl that can be altered any way I want. It can be cut shorter for one Wish or left as is for another. I wrapped it in a bag until it is time to use it. It sure is nice when something works out. If only I'd had it in time for JenTiki's bowl. Cheers, Wendy |

