Tiki Central / Other Crafts / Wendy Cevola - Doing a major repair of a Tiki Diablo bowl.
Post #764273 by danlovestikis on Thu, May 26, 2016 8:15 PM
|
D

danlovestikis
Posted
posted
on
Thu, May 26, 2016 8:15 PM
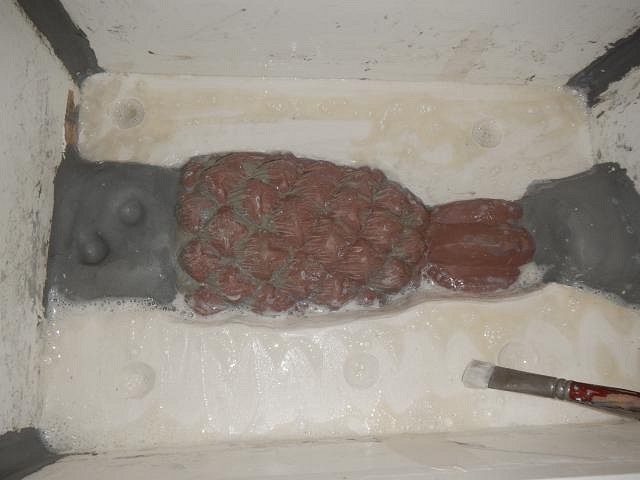
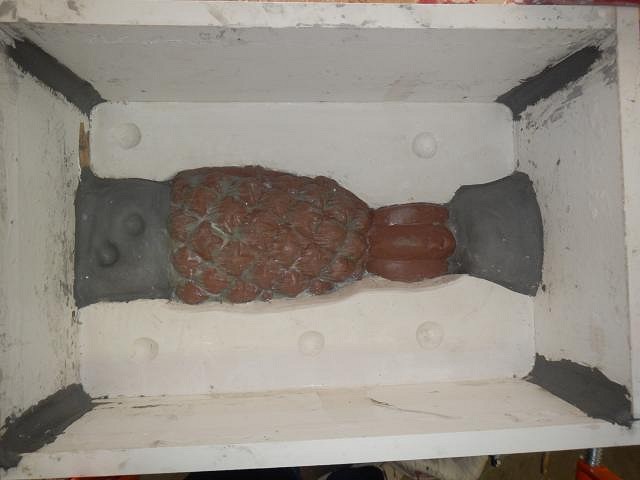
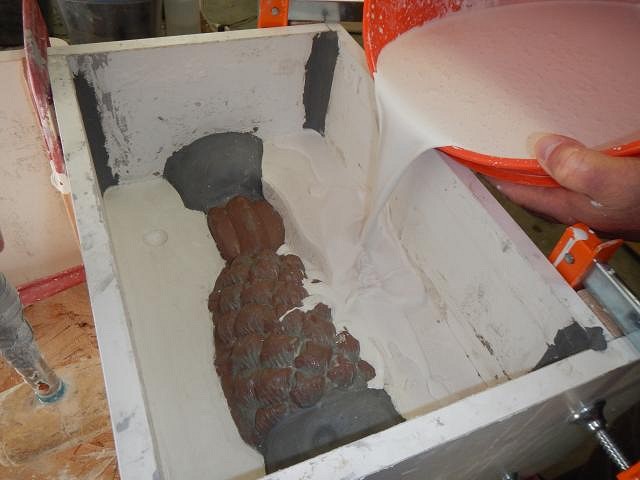
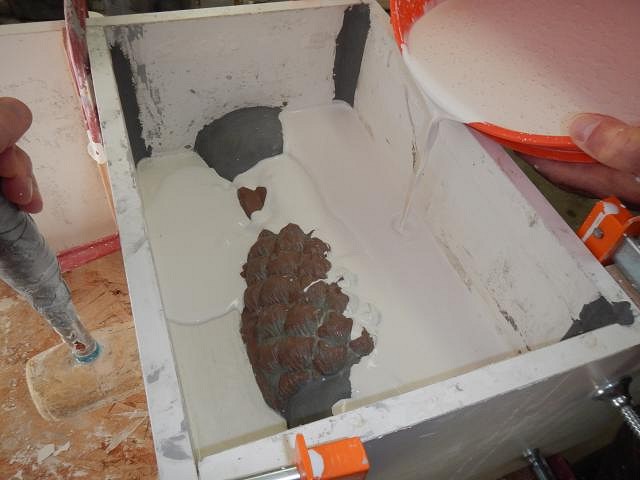
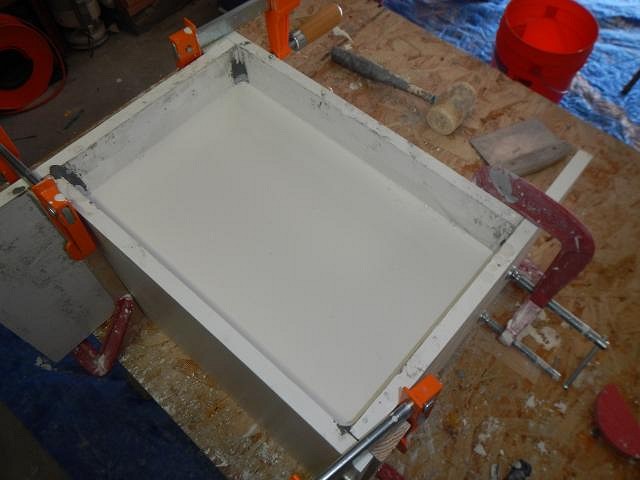
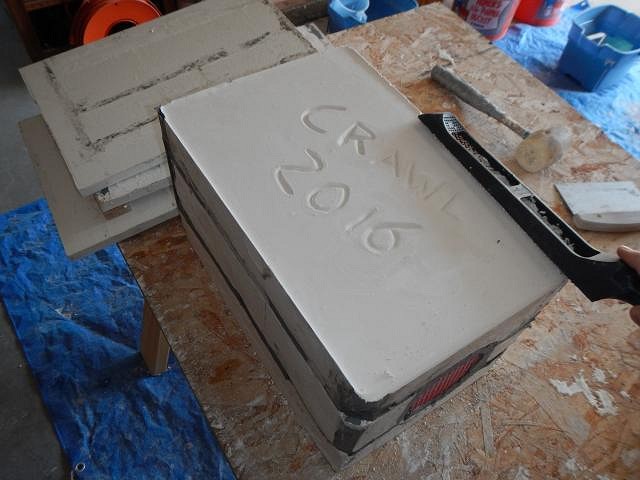
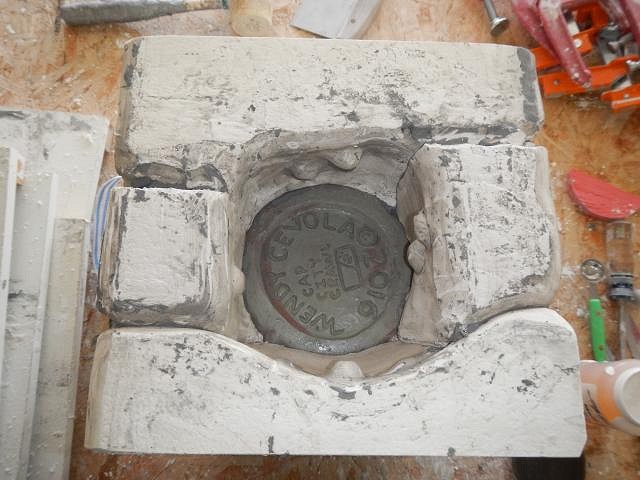
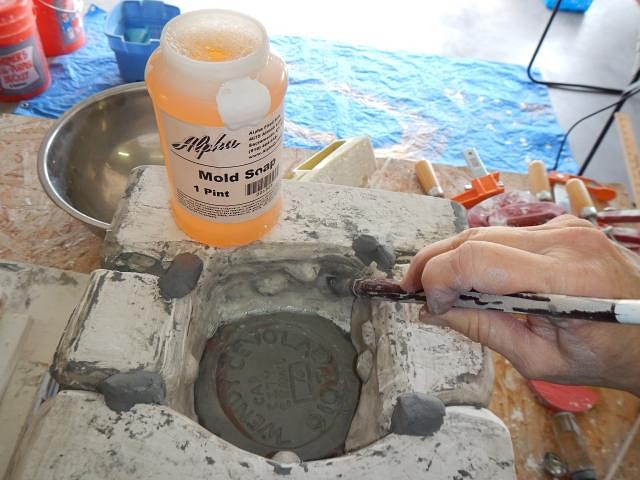
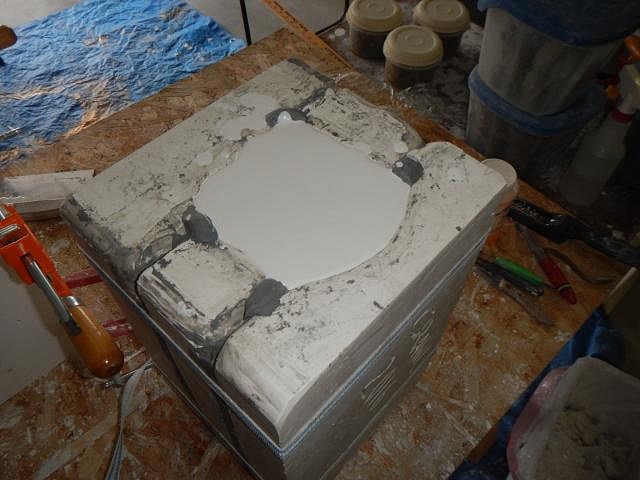
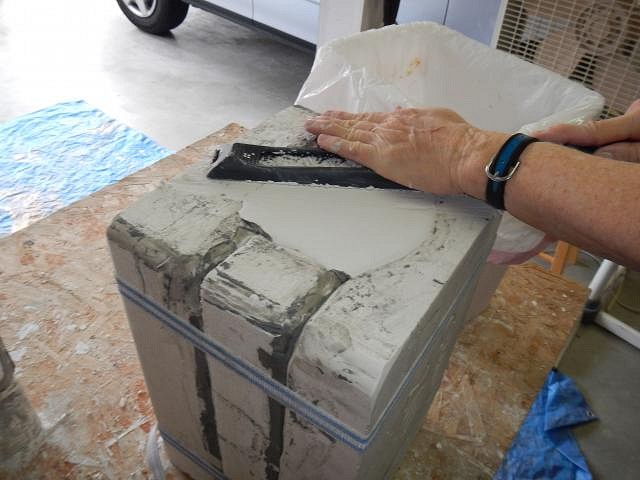
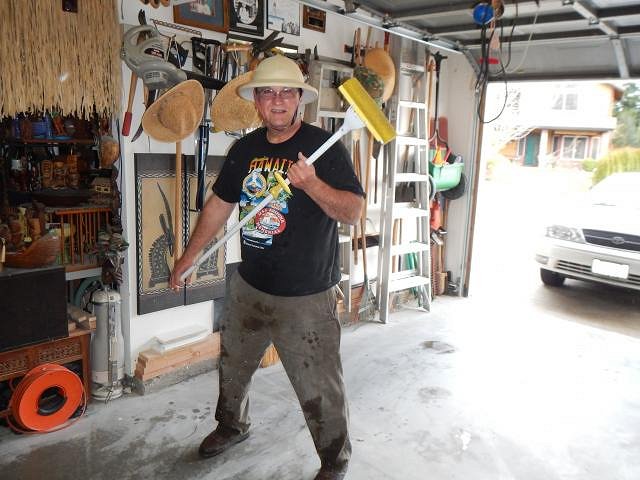
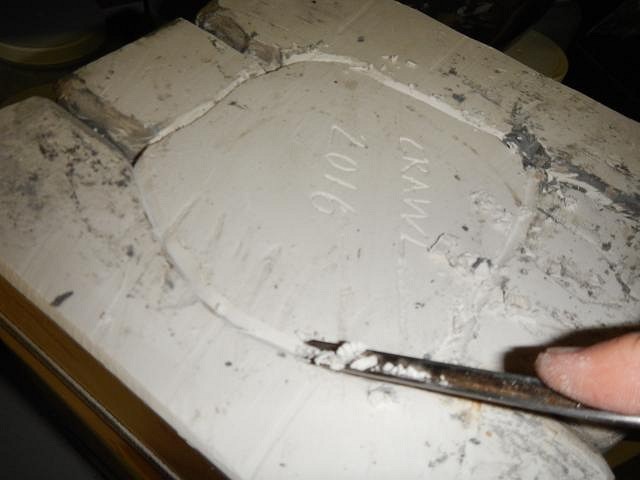
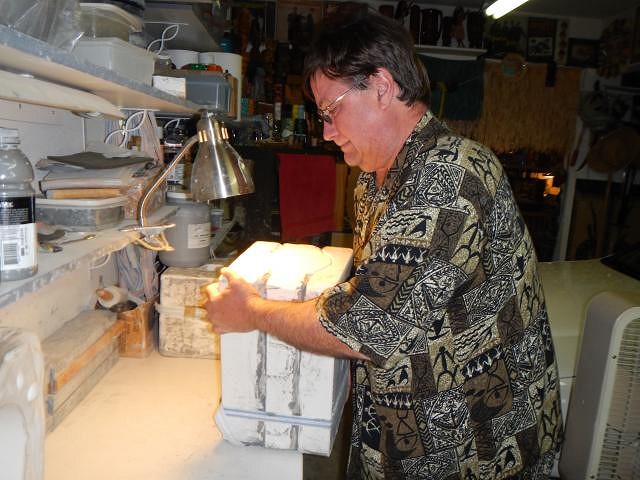
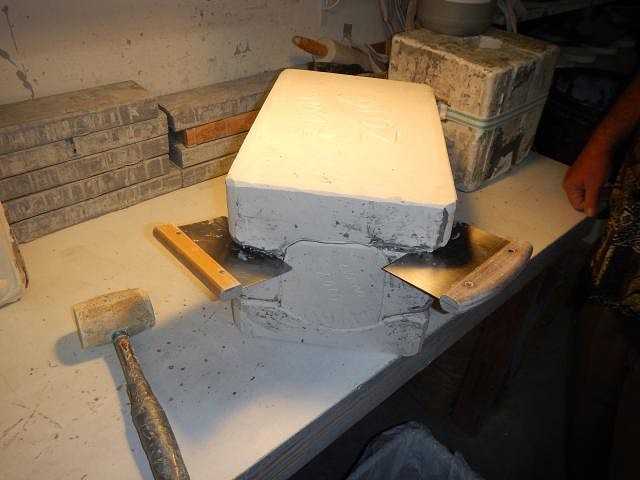
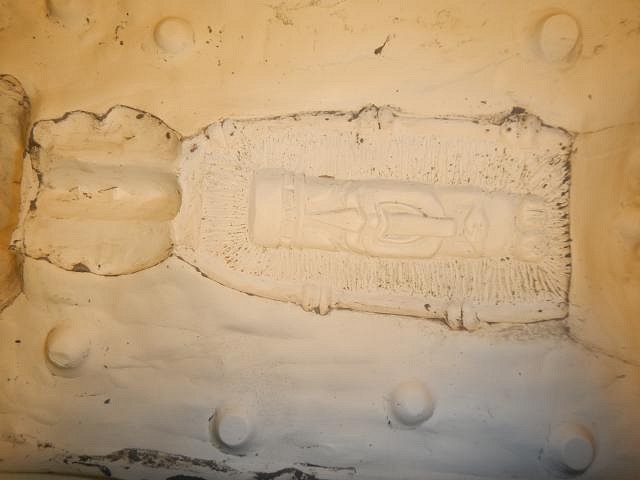
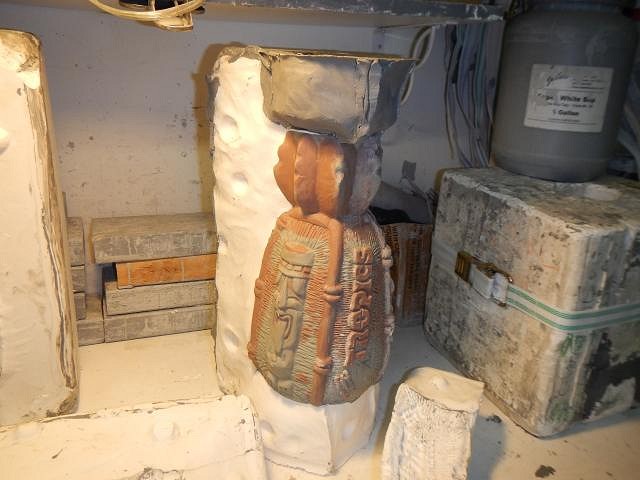
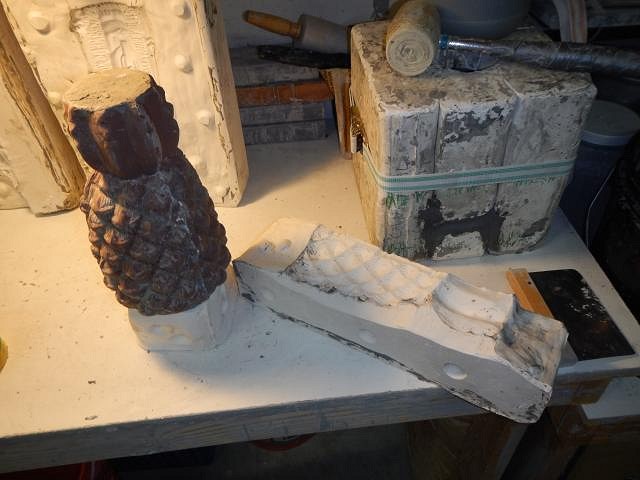
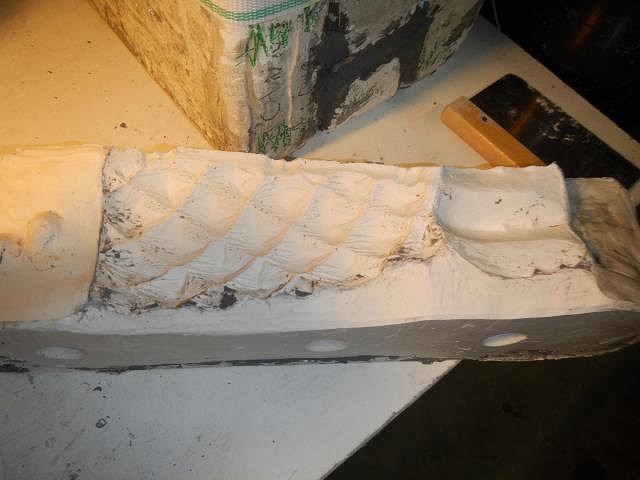
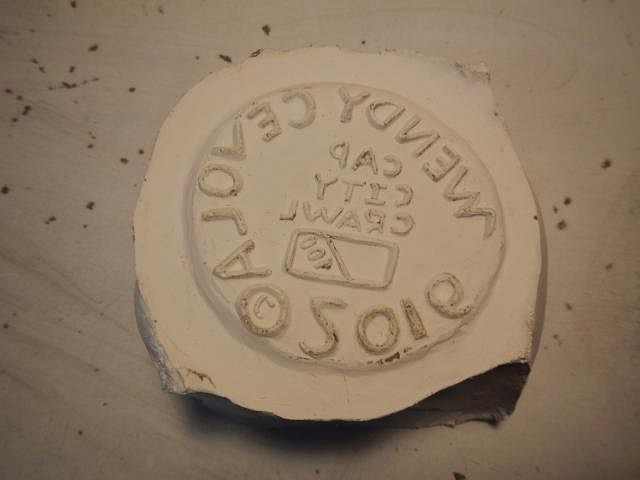
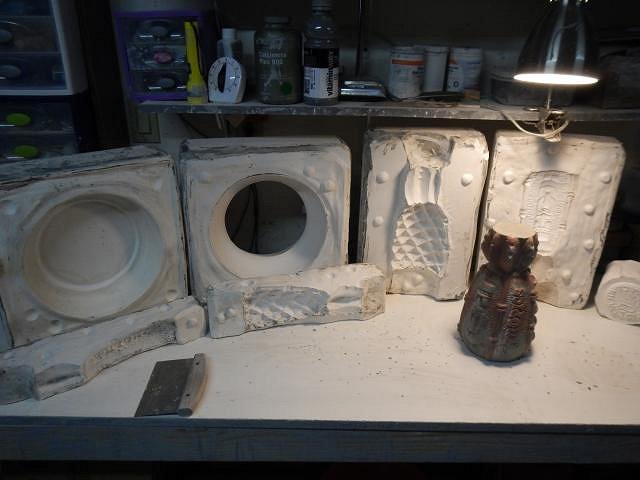
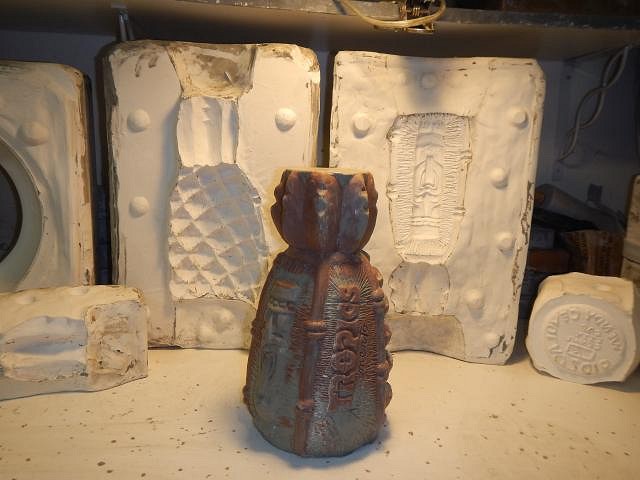
SACRAMENTO CRAWL MUG the last two mold pieces are made. Step by step. To make the next mold piece I again do 4 layers of mold soap keeping it off of my skin and continuing to wear my mask. One thing about masks is that you can wear them a few times before discarding. However you need to take them into a clean environment and let them dry out before putting them in a protective plastic bag. If you don't dry them first they will grow mold. Each layer of mold soap is blotted dry. Now I ready to mix the plaster and then to pour it into the box. I noted were the level of the plaster should rise to in order to give me a 2 inch mold piece. You can make the pieces thinner to save money however if your mold leaks it's more work to deal with and I prefer not to have to worry about that, the slip will dry before it reaches the outside when you have seams that are 2 inches wide. It sits for about 45 minutes before you can take the box off and smooth the edges. Next I put straps around the mold and turn it on end so the bottom is exposed. This is the last piece to complete the mold. 4 layers of mold soap and blotting. I also made little dams to prevent the plaster from running along these crevasses which would make them stick together. Now the plaster is poured in until it almost runs over the dams. Once it is solid I remove the clay dams and rasp the entire bottom so that all pieces will sit on the counter top. This makes putting it together or taking it apart easy. My hero/husband Dan cleans up the mess after we finish making a mold. You should sweep or vacuum because of the dust hazard so while wearing a mask he mops the garage. I had him take off the mask so I could show off his smile. Before I take the mold apart I chisel around the bottom piece. I've found this prevents chunks from breaking off. I make heavy molds. Dan turns it on the side so I can use my vegetable choppers to knock the pieces apart. One by one the pieces are taken apart. I didn't have any problems. No undercuts so I didn't lose any of the plaster.
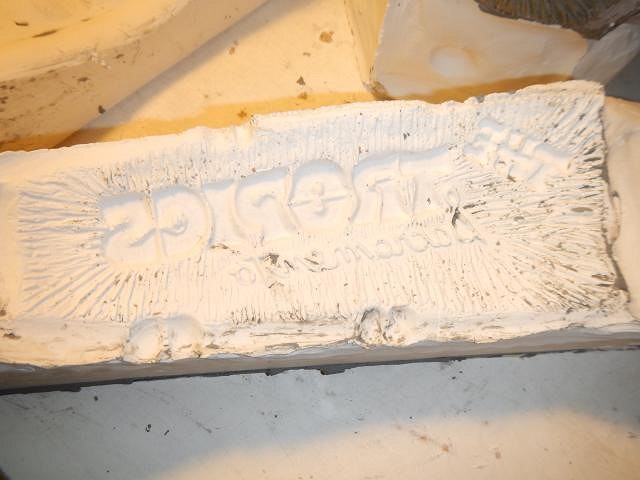
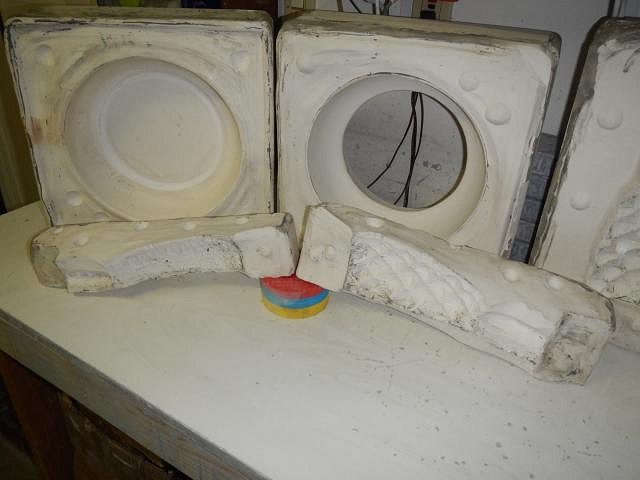
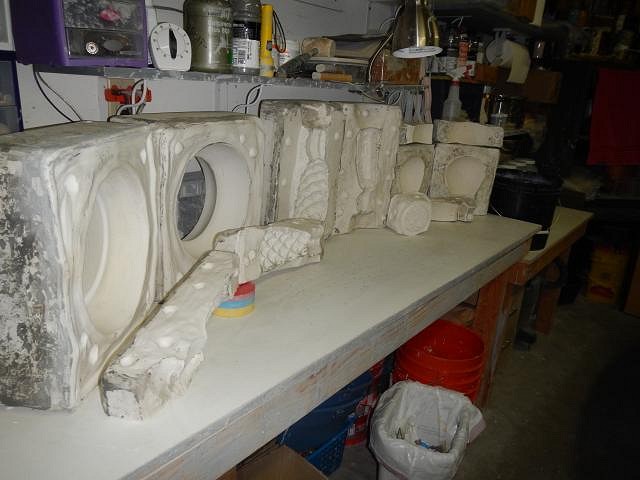
It was during this time that I also dried out the Big Bowl mold.
I used a block to lift the pieces off the table to help them dry. All the other pieces are rotated every day. It took 2 fans running 24/7 for two weeks to completely dry out this mold. The plaster must "set" to become a mold that will allow you to cast 100 plus items. To set the plaster you must DRY it Completely. So there you have it from start to finish. If I didn't explain something well enough please just ask me the questions you have and I'll do my best to help you out. Cheers, Wendy |