Tiki Central / Other Crafts / Wendy Cevola - Doing a major repair of a Tiki Diablo bowl.
Post #764585 by danlovestikis on Fri, Jun 3, 2016 8:42 AM
|
D

danlovestikis
Posted
posted
on
Fri, Jun 3, 2016 8:42 AM
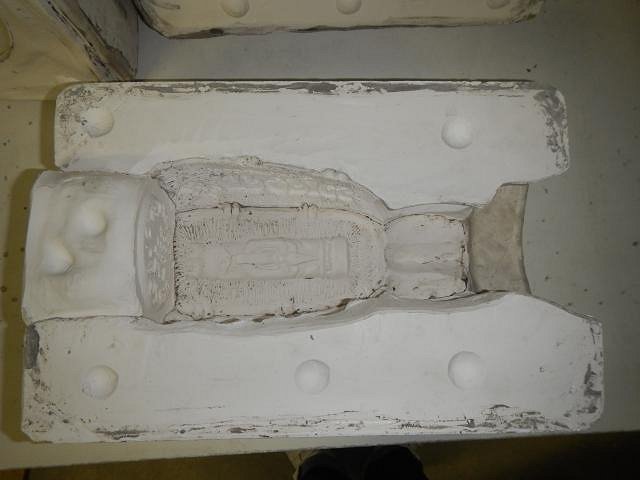
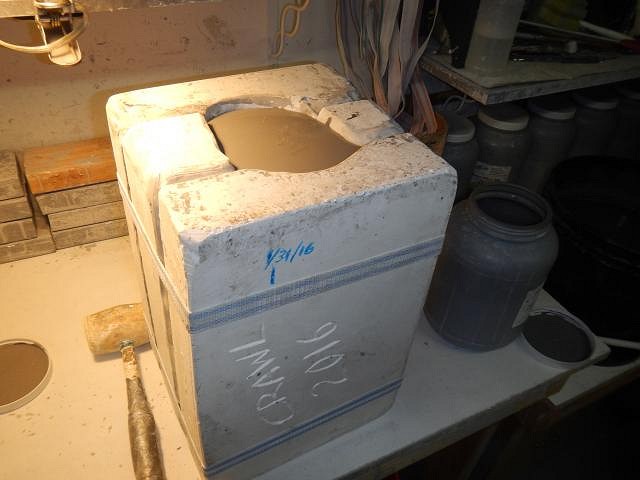
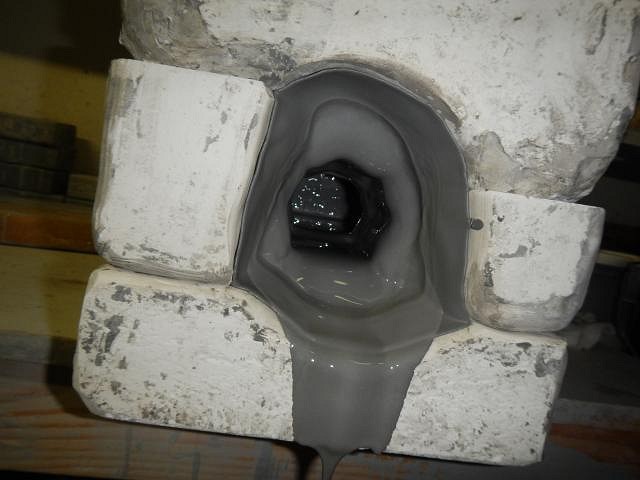
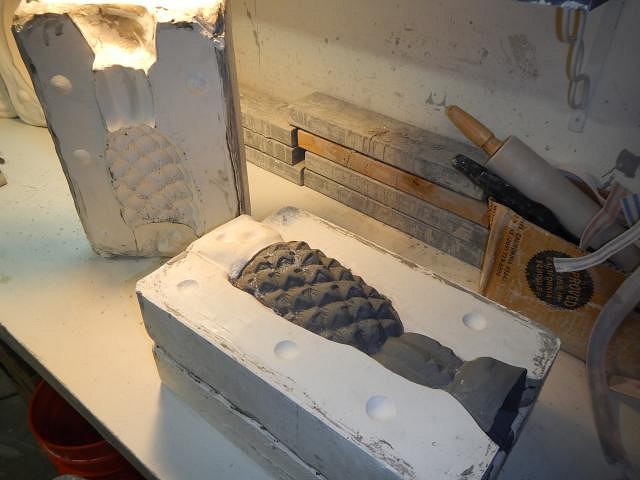
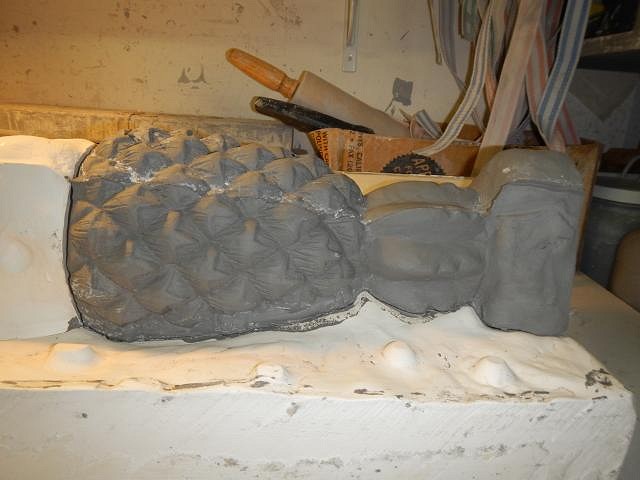
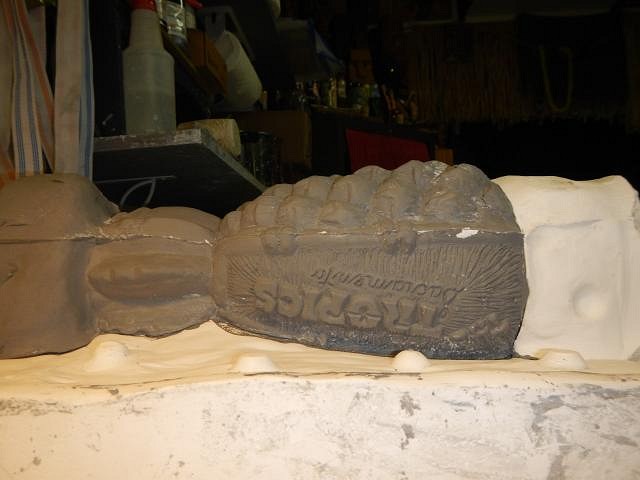
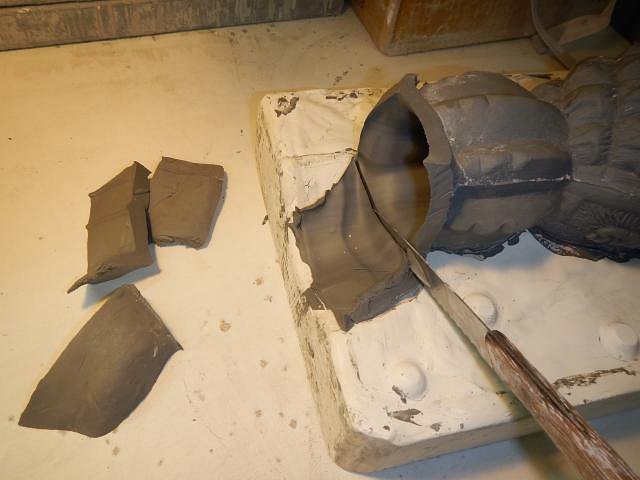
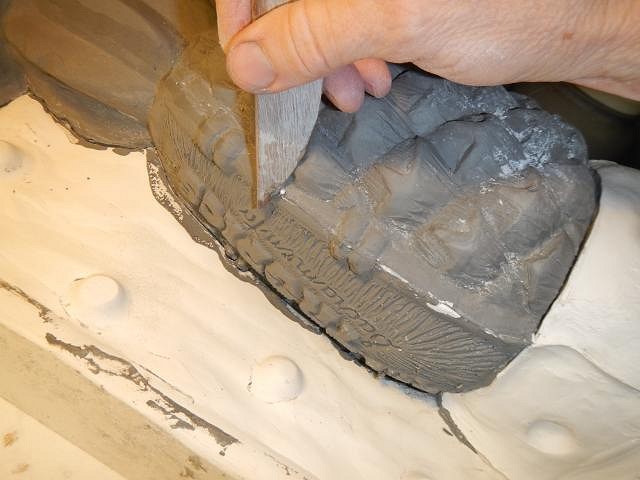
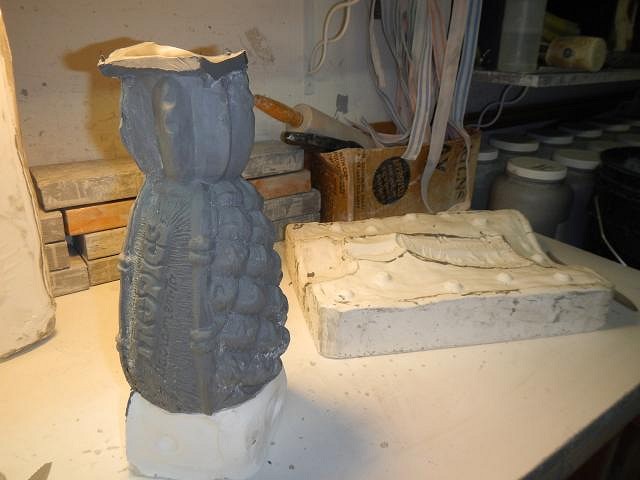
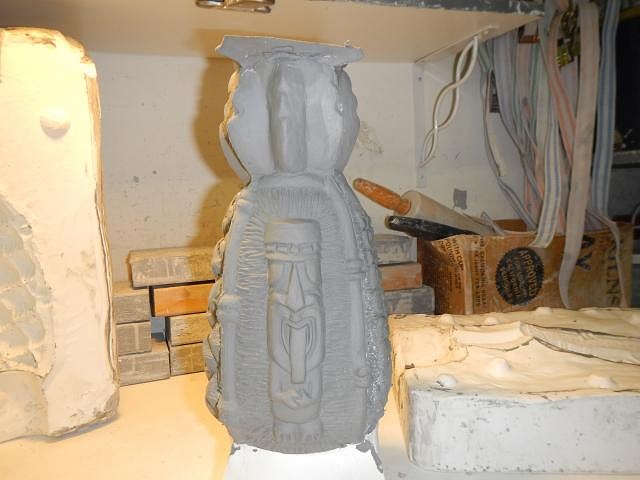
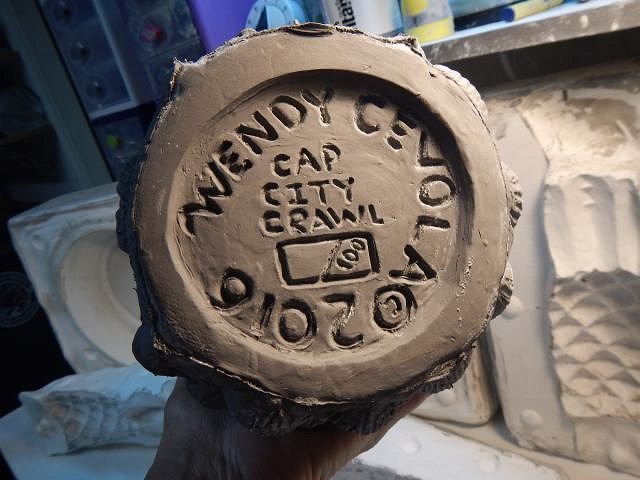
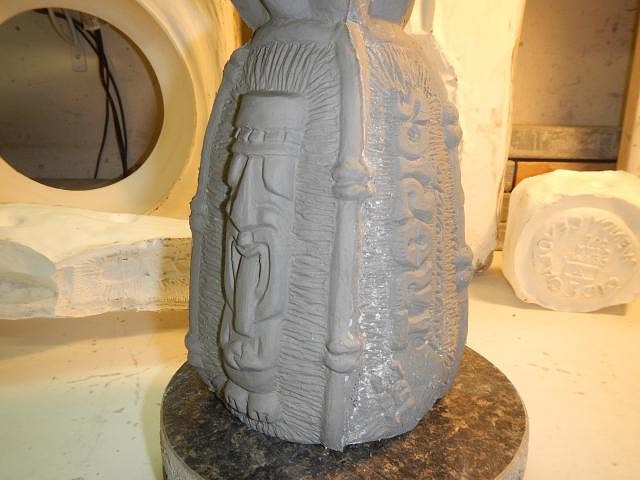
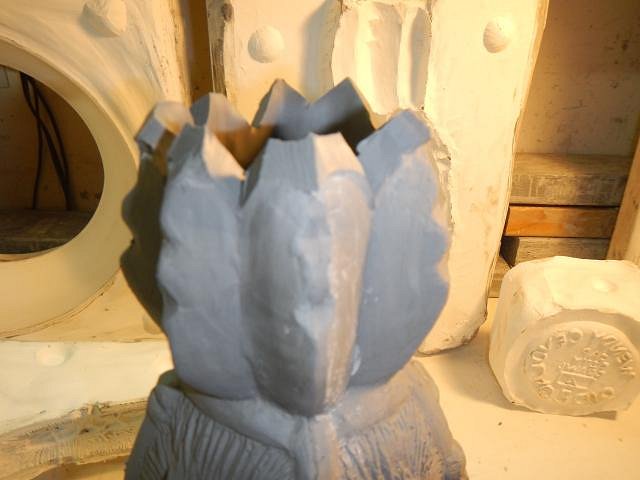
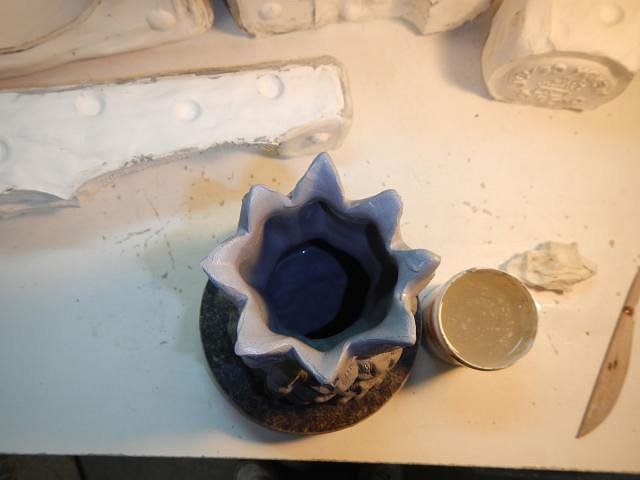
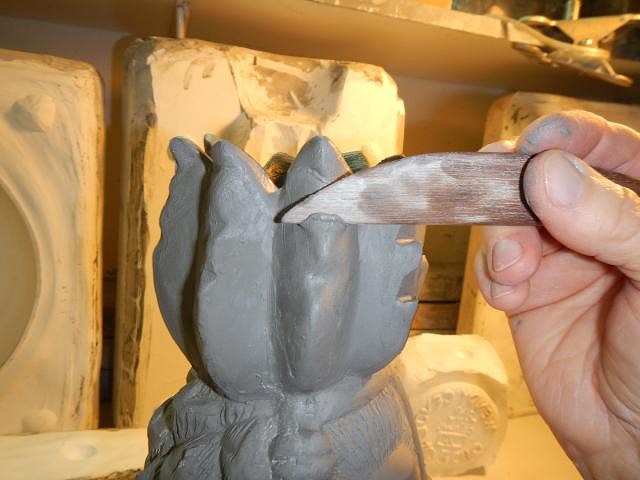
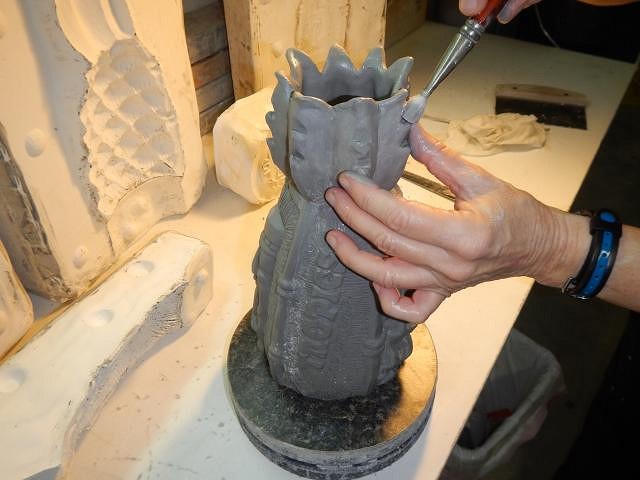
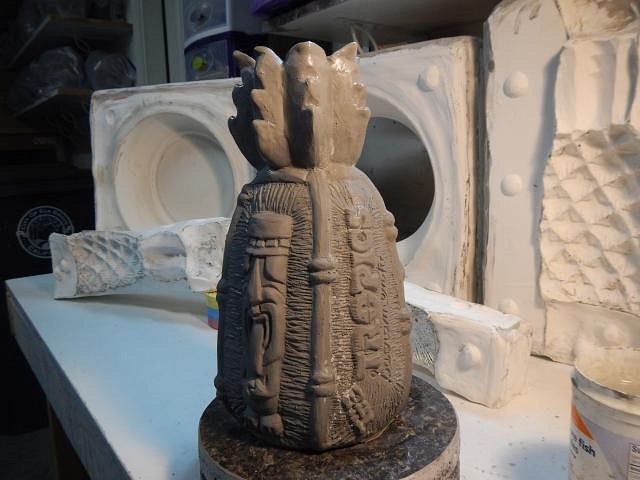
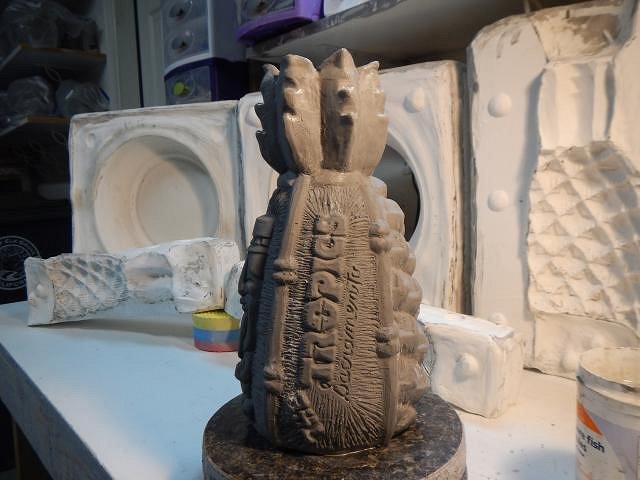
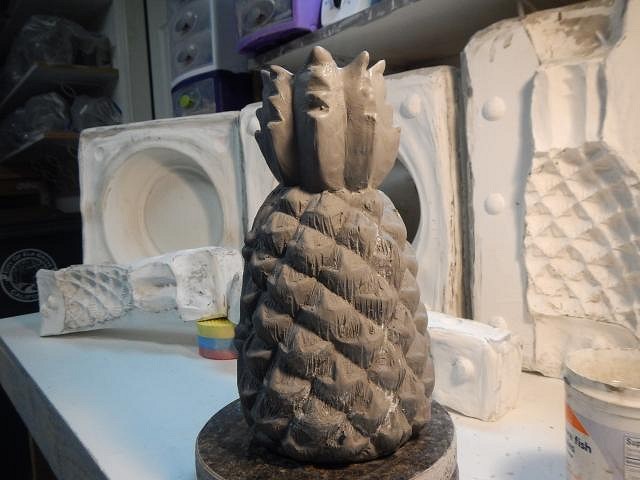
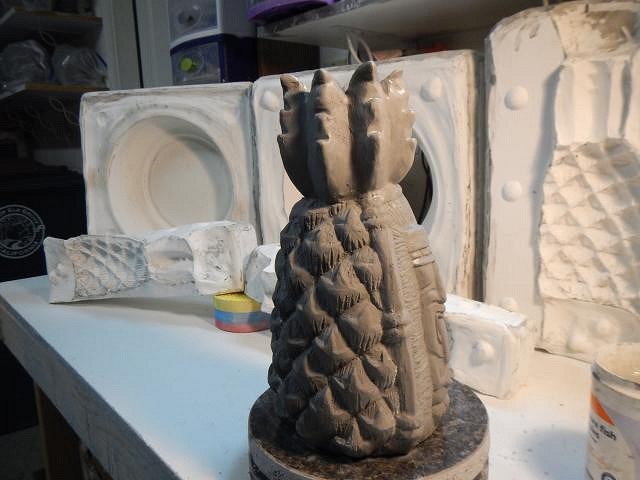
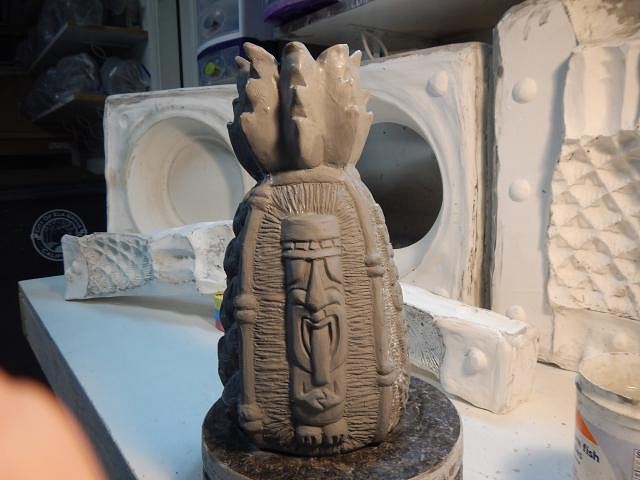
SACRAMENTO CRAWL MUG THE VERY FIREST ONE OUT OF THE MOLD. First let me say that what I show here as my "cleaning method" will change. The TOP will change. So I will be using the first mugs for my glaze tests and then the run of mugs for the crawl will all have the new top and the extra pineapple skin carving. Future photos will explain what I have written today. I put the mold together. Five pieces. We only made ONE mold so it will take 70 days to pour the 70 mugs I want to get done this summer. I will use the mold 100 times before I break it into pieces. We filled up the mold to the top. Another reason I make thick mold is that we don't have to baby sit the mold. Once it is poured it can sit until it is time to pour it out. Note how I use a crayon to mark 1 on the side of the mold. I keep track of how many times the mold has been used. Hit 100 and it will be broken. As the water is removed from the slip by the mold it lowers the top level. If my mold wasn't didn't have a couple of inches before it gets to the mug I would have to return to keep "topping" it off. My little hula girl molds have to be topped off every 10 minutes for one hour to get a good cast. At the end of 2 hours we poured out the rest of the slip. I now have a hollow mug. The mold is left upside down over night and then the next morning I can open it. I quickly learned that this mold should be opened upright not lying on its side like these photos. It was too much weight to lift it out this way. The mold came apart easily and I didn't find any undercuts. One of my best molds to date. I then trimmed the top. I did a rough clean up of the mold lines. I checked this side and then the other side. Looking successful so far. Still checking. The bottom came out well also. Now it was time to work on the top. Remember it will be different in the end. Top view of the mug. I can see that a regular straw will not work. It will fall in and disappear. I am doing a stylized top to my pineapple. This is not the final version. Did I say that before??? I sand with a wet brush of different sizes. Number One is done and this will eventually become one of the glaze test batch.
One more thing I will do to this mug is to hand carve more detail into the pineapple skin of every mug.
|