Tiki Central / Other Crafts / Wendy Cevola - Doing a major repair of a Tiki Diablo bowl.
Post #765846 by danlovestikis on Tue, Jul 5, 2016 3:20 PM
|
D

danlovestikis
Posted
posted
on
Tue, Jul 5, 2016 3:20 PM
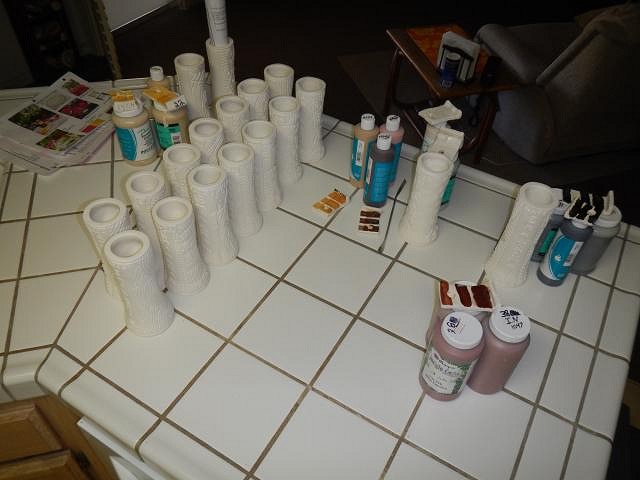
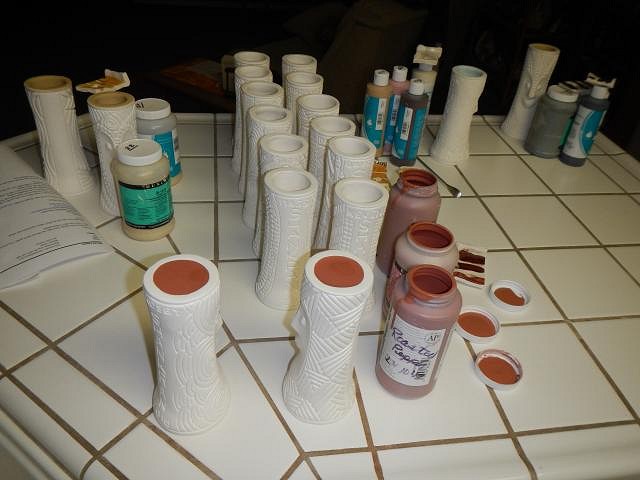
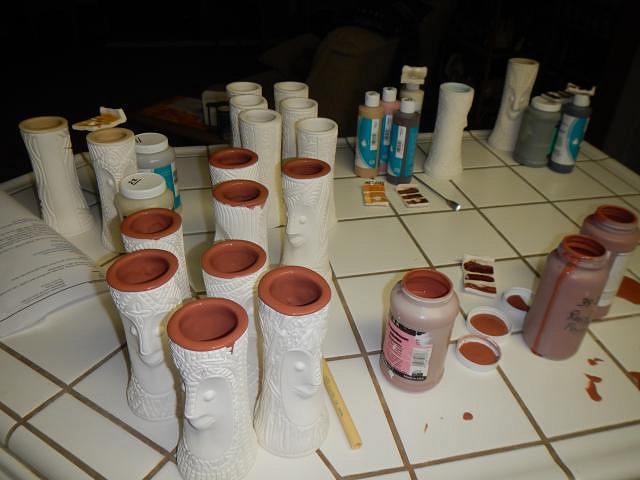
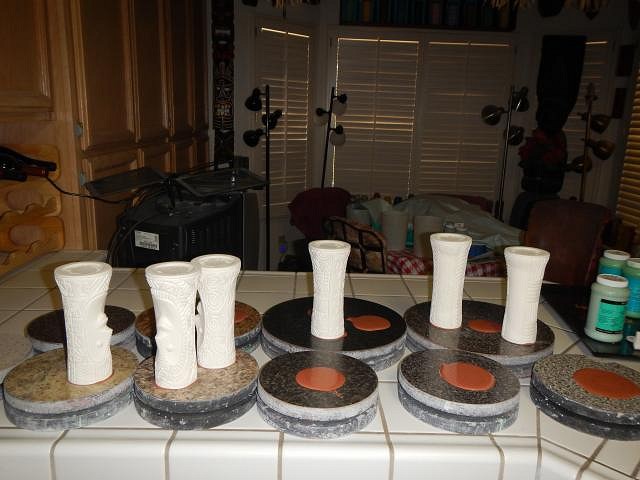
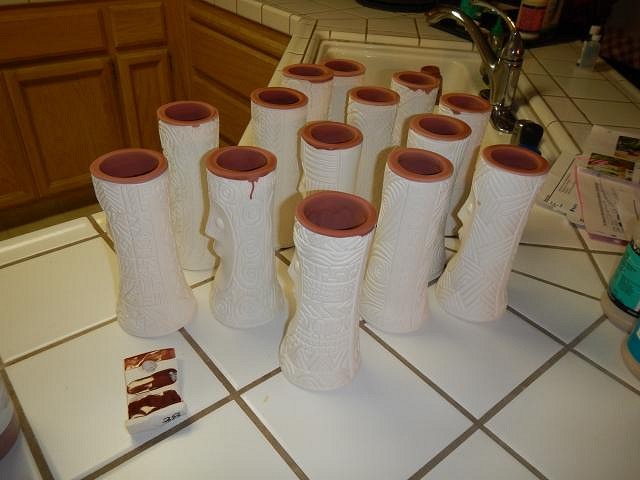
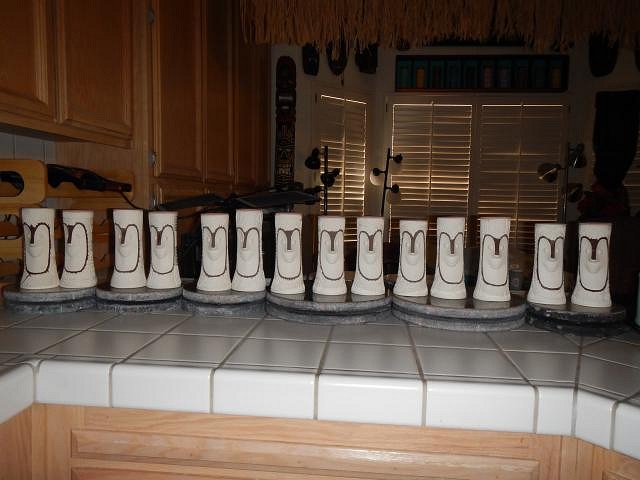
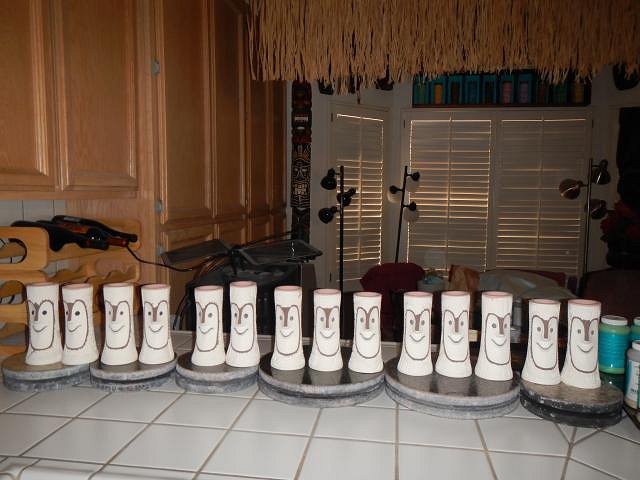
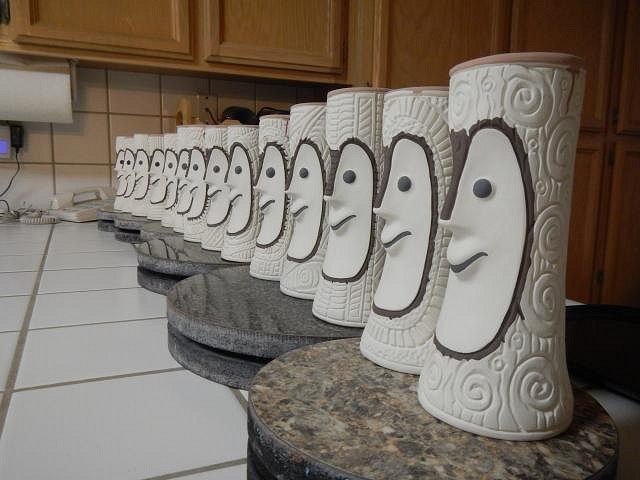
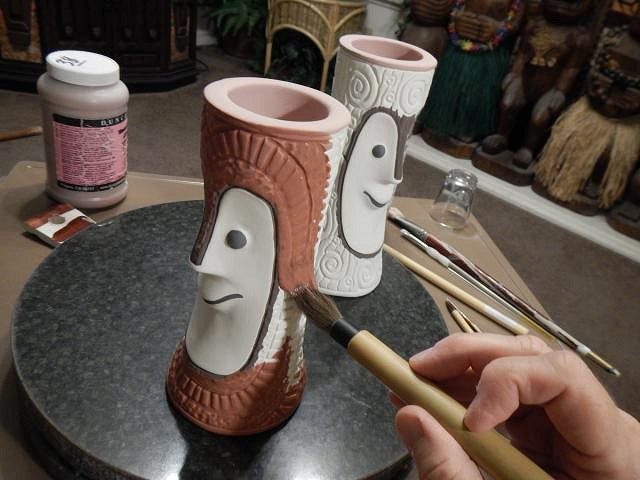
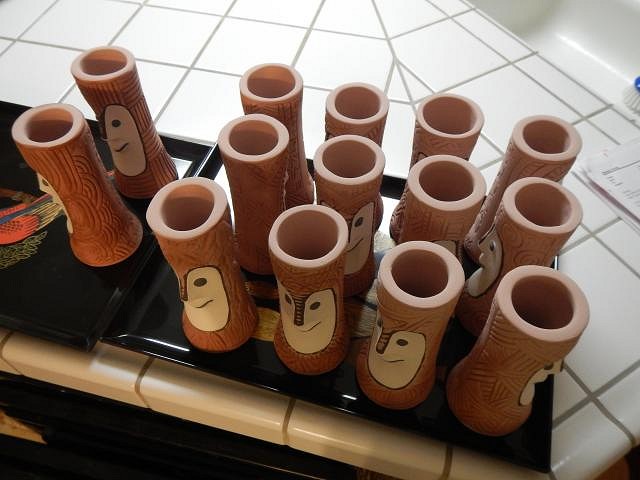
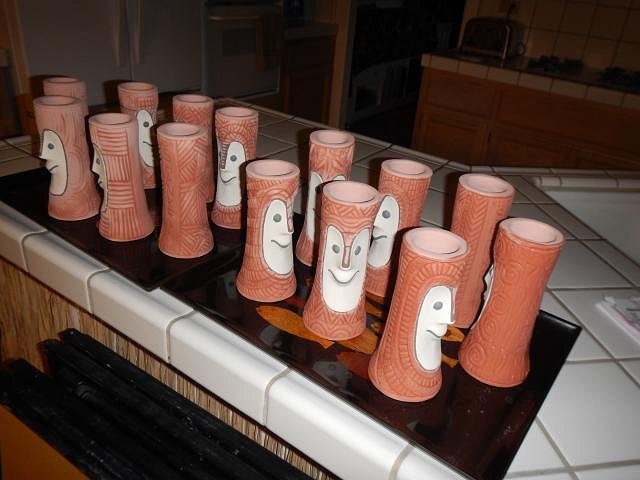
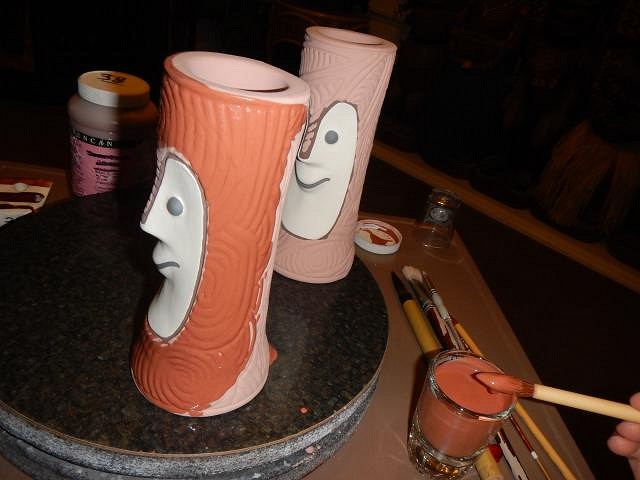
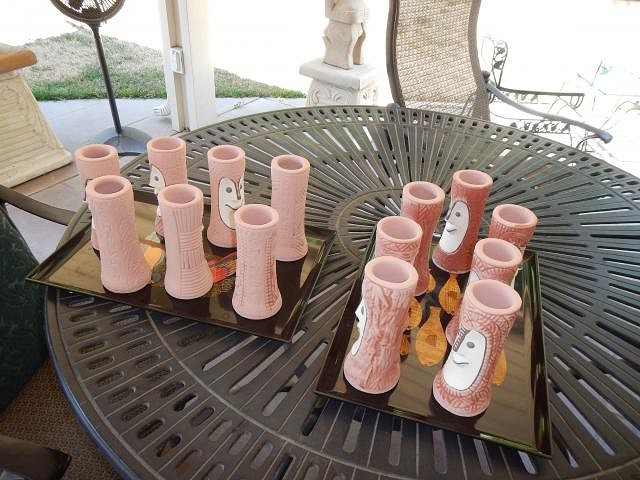
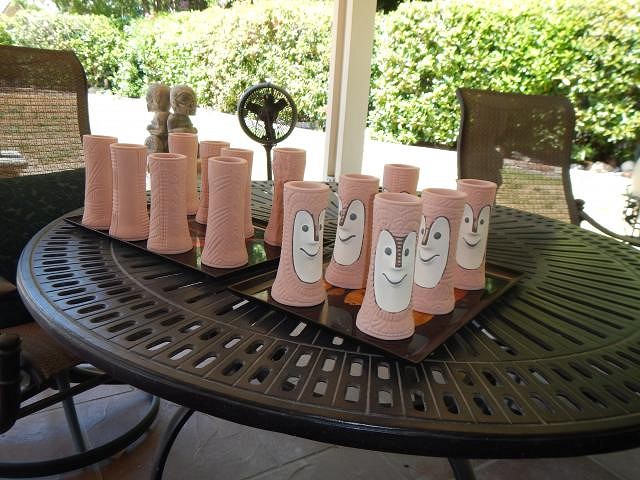
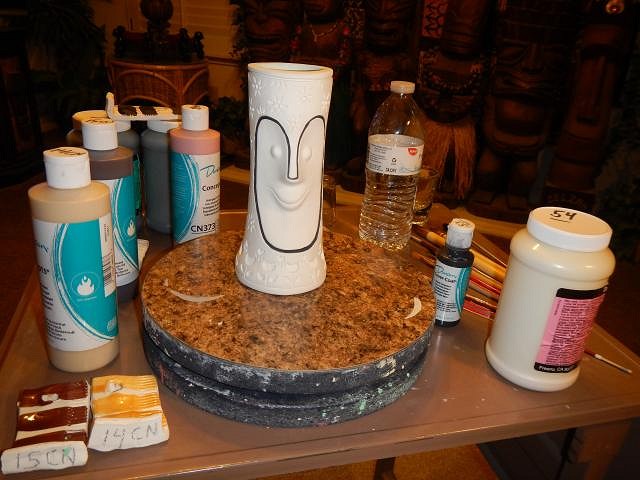
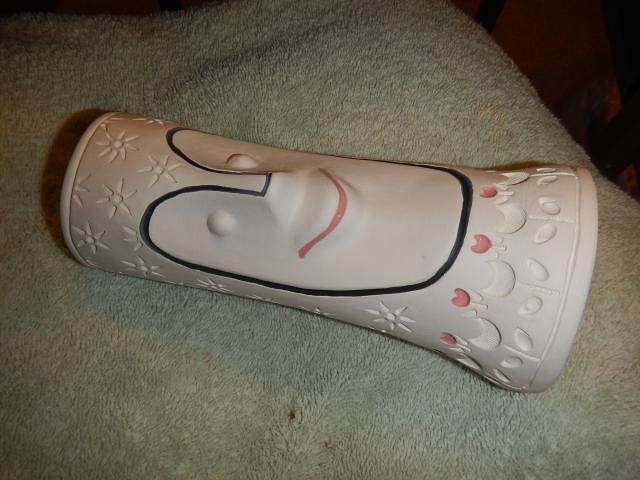
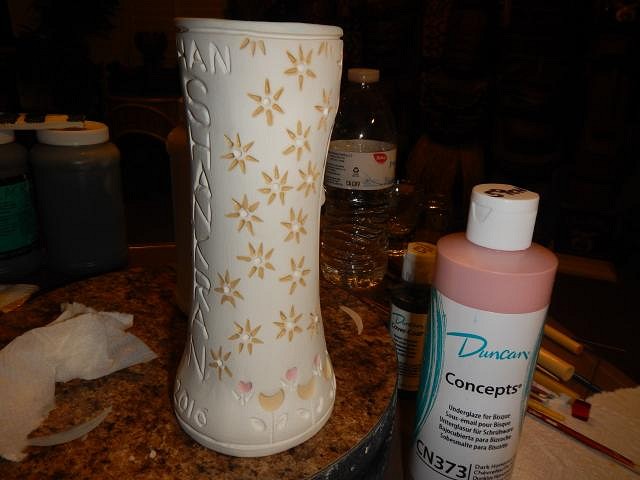
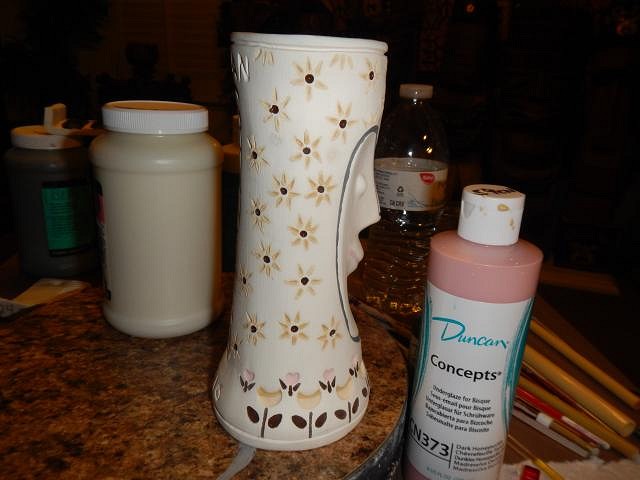
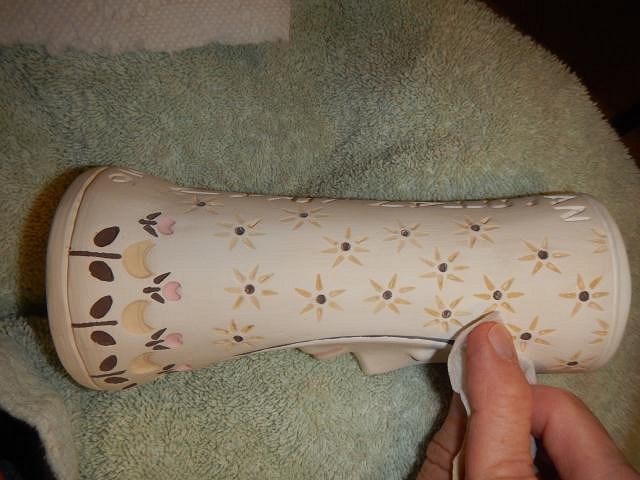
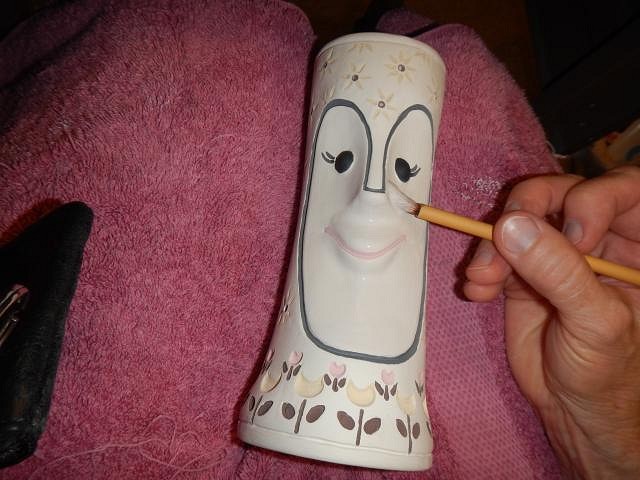
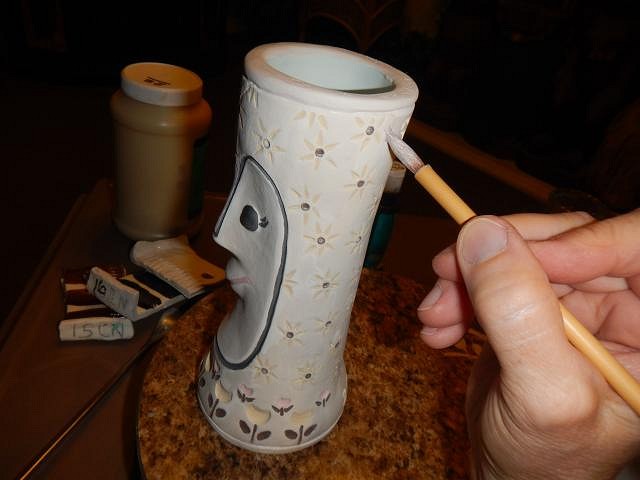
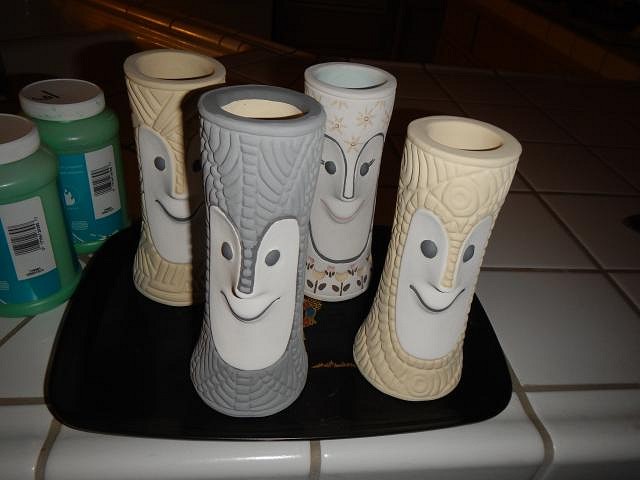
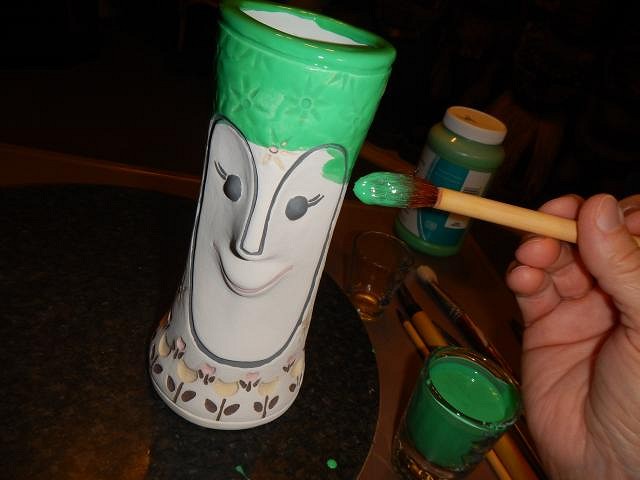
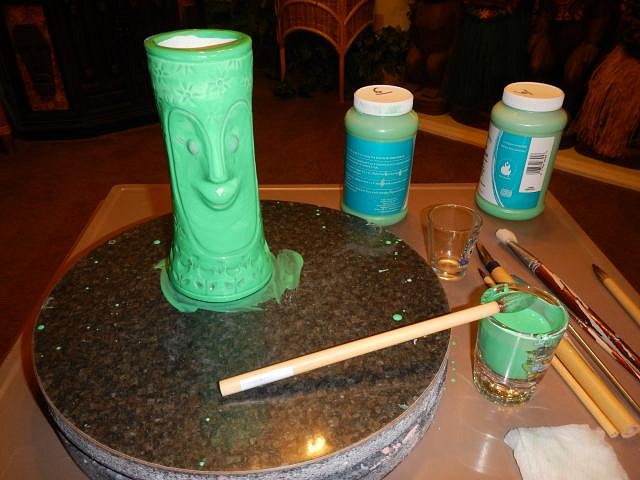
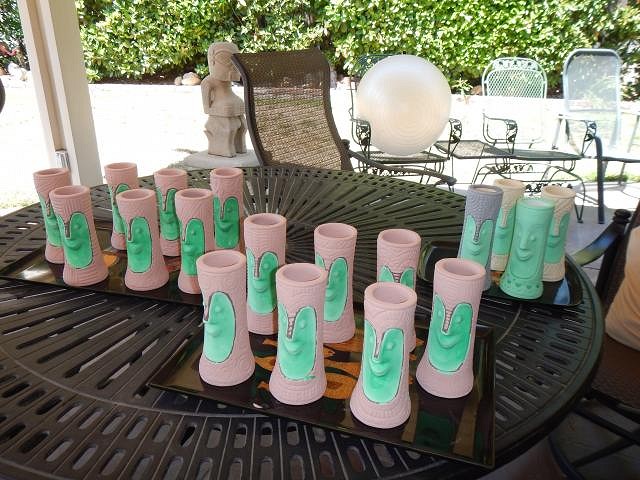
hang10tiki we tried to relax last night but the noise and illegal fireworks kept us up until 11 PM. Then I used earplugs and got some sleep. ======================= Here are the best photos of finishing the glazing of the wedding mugs for Nate and Shannon. To do the wedding mugs I put them with their glazes.
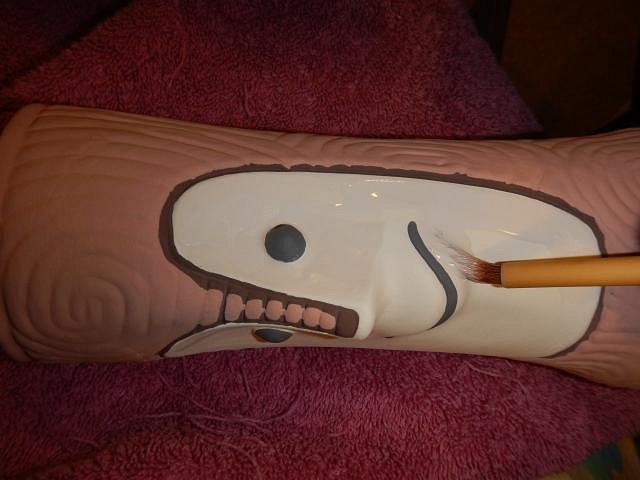
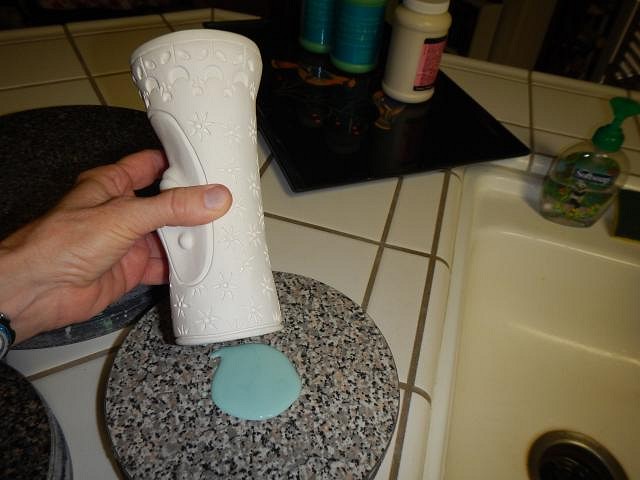
Then I started by doing the insides of the brown mugs. That way they could dry overnight while I worked on the other colors. The inside color is the same as the outside color for these mugs. It sure makes a mess. I got them done. Next was the clean up. I used a CN brown that matched the IN glaze. CN glazes do not move but they do not enhance detail. But I didn't want a runny nose. Next came the Cover Coat black lips and eyes. Just a pretty picture of Tiki Bob. First layer of brown glaze. Drying. Second layer of brown Drying between layers is important. There's a lot of walking from point A to point B to point C when glazing. Point C is the clean up. Third layer of brown. Out to dry. Back in the house for two layers of white cover coat under-glaze and then the 3 layers of clear. Outside to dry. There is no easy way to do a mug like this one. The carving was the easy part the glazing took days. I started by glazing the inside of the mug. Next the black outline of the face. I glazed each flower using a toothpick. A tiny amount of glaze over and over again until one by one the flower indentations were filled up with glaze. I did several colors to match the wedding but the Raspberry color didn't have a glaze to match. I may use enamel after these fire. The next day after the flowers had dried I used a wet paper towel to wipe off any glaze that was out of the indentations. I used the white cover coat to do the face and the black cover coat for the eyes and pink for the lips. The very hardest part was glazing all of the mug with the white under-glaze. I had to be careful not to get any on the flower petals. This took many hours because I had to do it twice. Now it sat overnight to let the white completely dry. Now the four mugs need the clear glaze. I use Duncan's Clear Brilliance because it doesn't make the black under-glaze run. Three coats of clear. I used the outdoor heat to dry them completely before they would go into the kiln for firing. |