Tiki Central / Other Crafts / Wendy Cevola - Doing a major repair of a Tiki Diablo bowl.
Post #771252 by danlovestikis on Sat, Dec 17, 2016 3:25 PM
|
D

danlovestikis
Posted
posted
on
Sat, Dec 17, 2016 3:25 PM
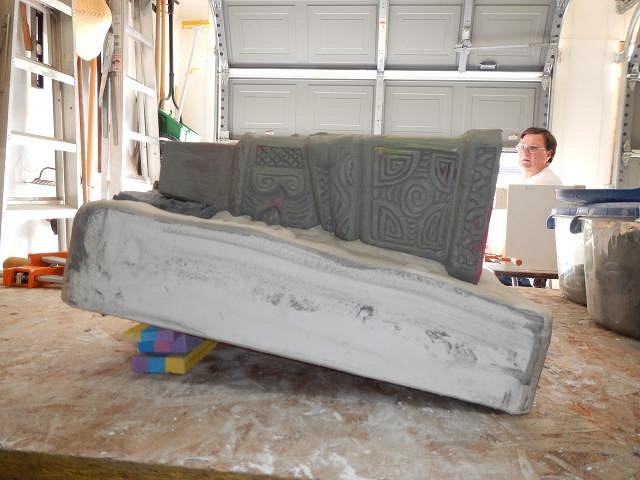
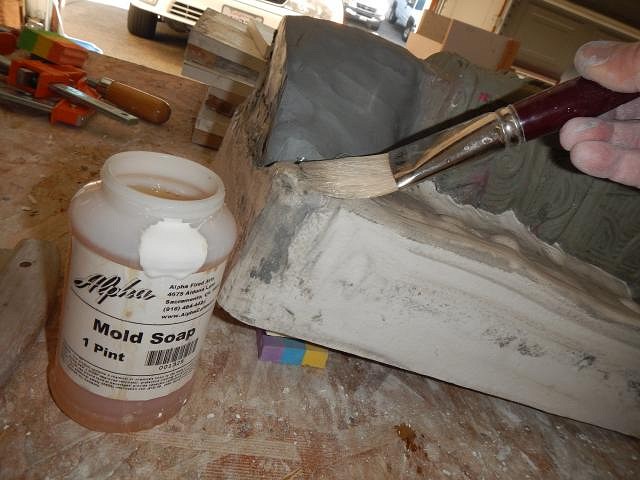
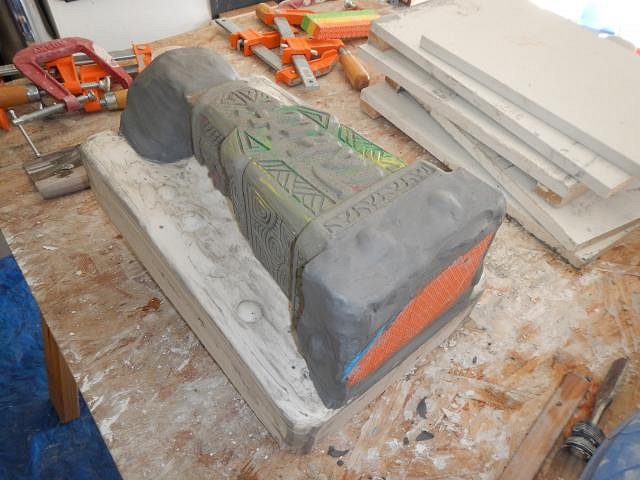
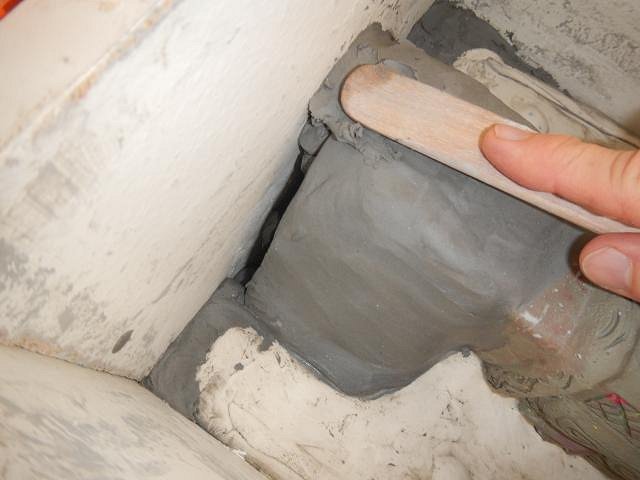
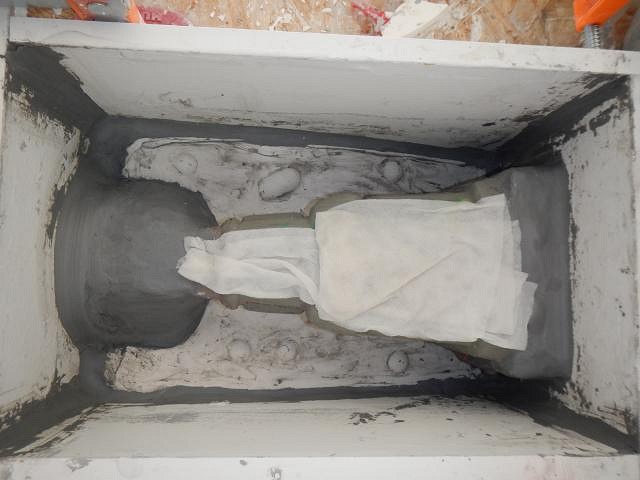
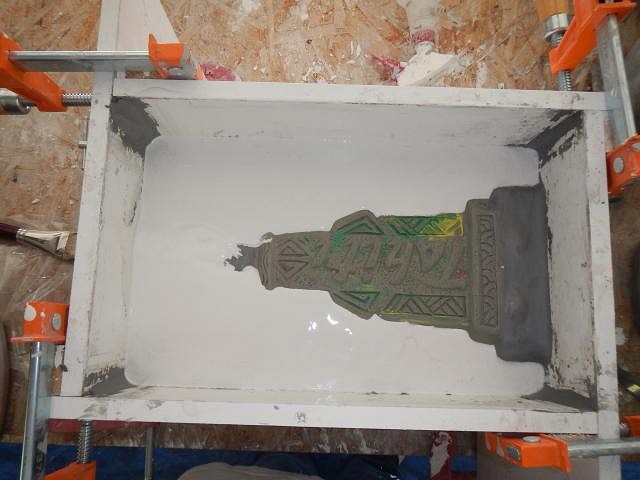
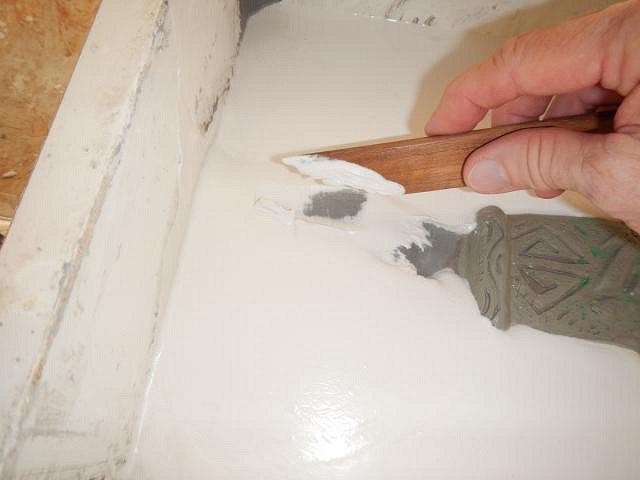
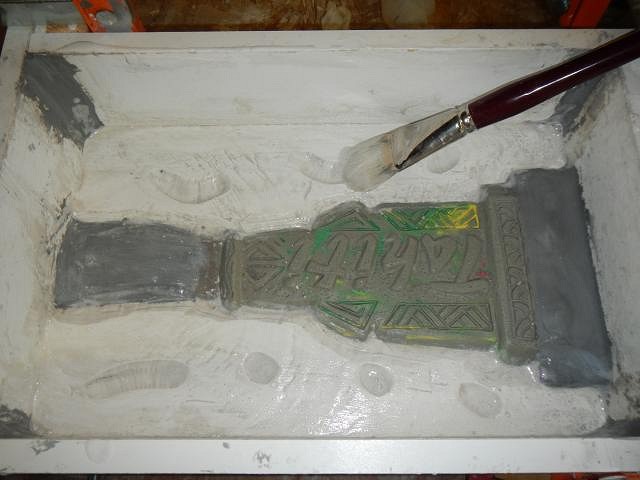
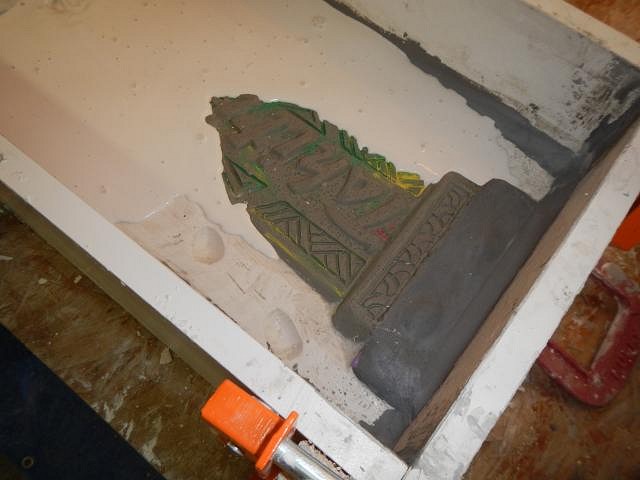
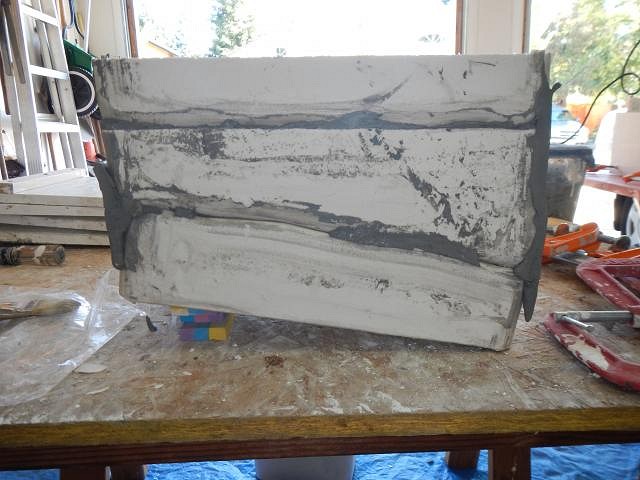
hang10tiki and I love it when you post photos. This one makes me feel so special! ==================================== More steps in making the mold for the Sacramento Crawl mug which is also lunavideogames wish (maybe). I've made one slab that was the front of the mug. Now I am going to make the two side pieces at the same time. Since I want to pour in the liquid plaster I don't want it to come up past the sides. To make that work I put the tiki on the slab at an angle. I added clay to build up the opening at the top where I will eventually use this to pour in the slip. Then I did 4 layers of mold soap so that the new pieces will not stick to the first slab. Now using blocks and clay I built a bottom. This will be removed when I pour the last piece of the five piece mold. I made the box around the tiki, then I had to adjust the clay so that it reached the box. The angle effected everything. Next I added the snakes at each box seam and then I covered the tiki with a wet paper towel so if the plaster splashed it wouldn't mess up the sculpt. Now we mixed the plaster and poured it in until it was up to the place on the sides that I wanted it. The wet plaster also covered the clay at the top. No problem at all. I just scrapped it off as it began to set. After the plaster set I again fine tuned the edges that are up close to the tiki. Then 4 layers of mold soap. Now we poured slab number four. We pour slowly so that all the detail is filled in. 4 out of 5 pieces are now done. One left to go and that is the bottom. It is really easy to work all day every day making tikis. The reason is that there is just so much fun in doing that. Cheers, Wendy |