Tiki Central / Other Crafts / Wendy Cevola - Doing a major repair of a Tiki Diablo bowl.
Post #780874 by danlovestikis on Wed, Oct 25, 2017 2:32 PM
|
D

danlovestikis
Posted
posted
on
Wed, Oct 25, 2017 2:32 PM
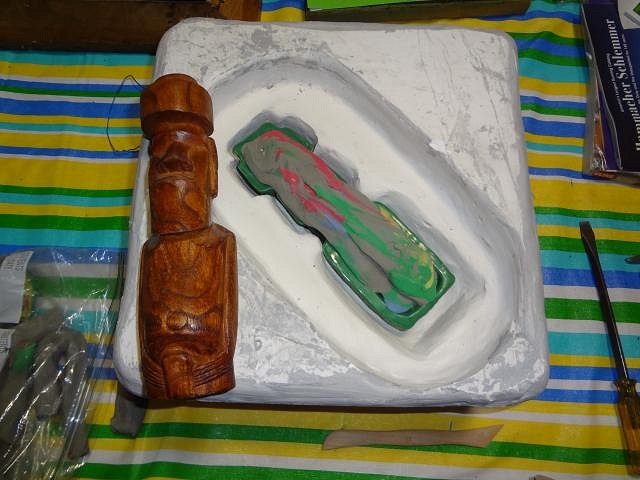
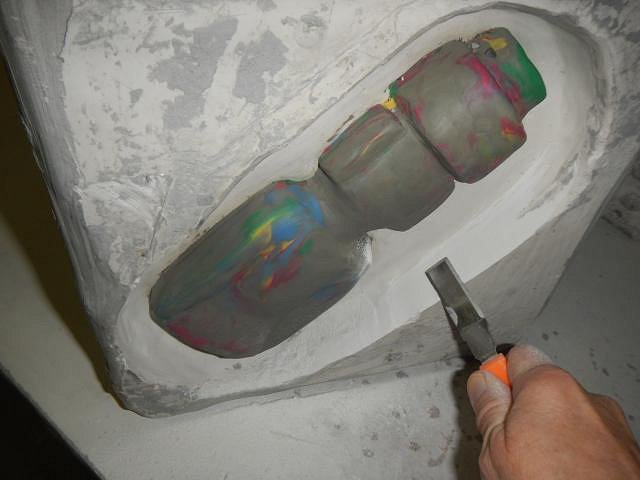
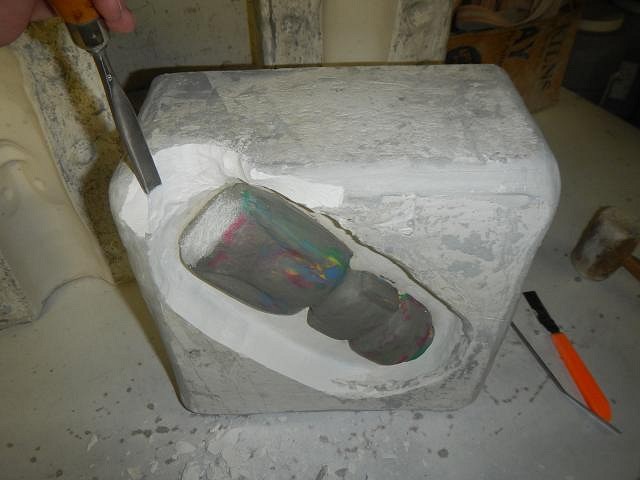
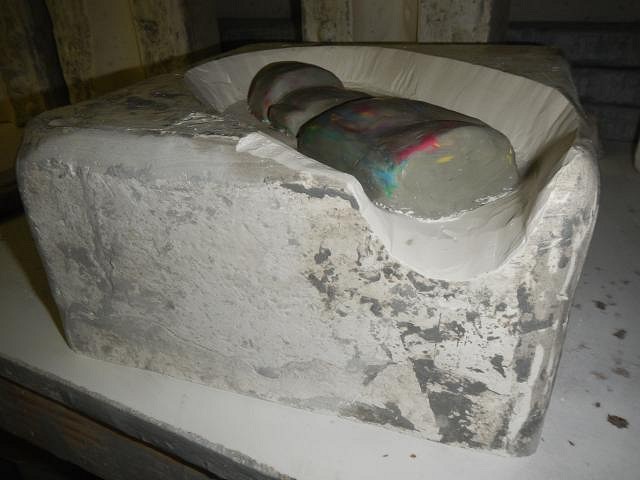
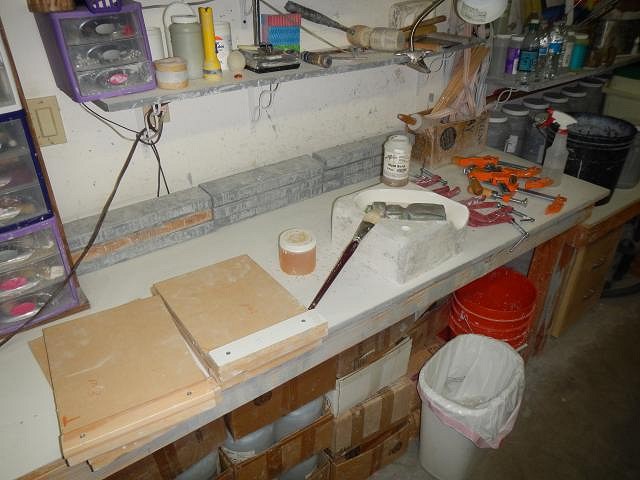
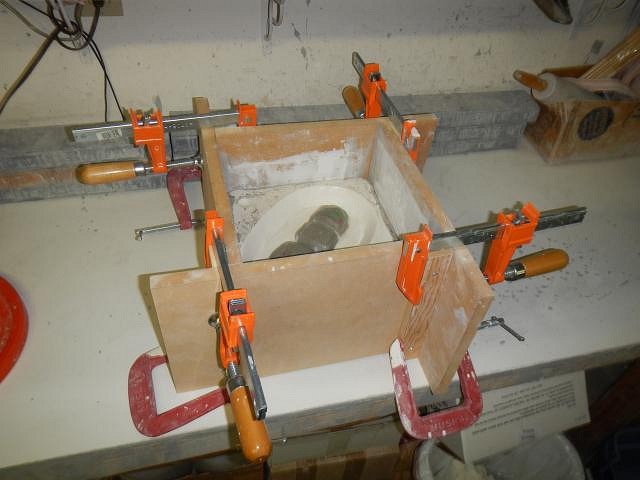
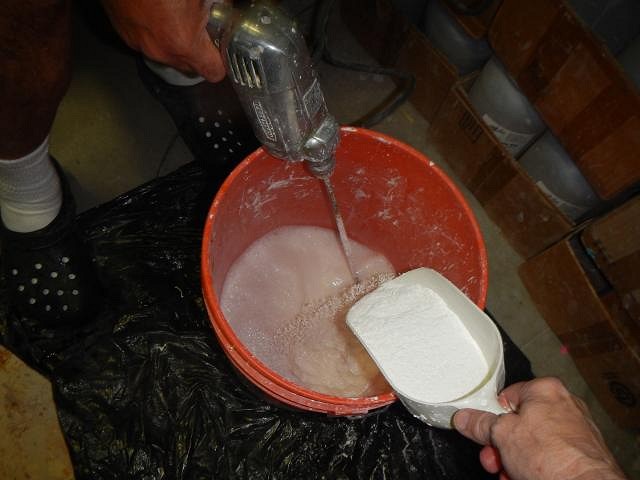
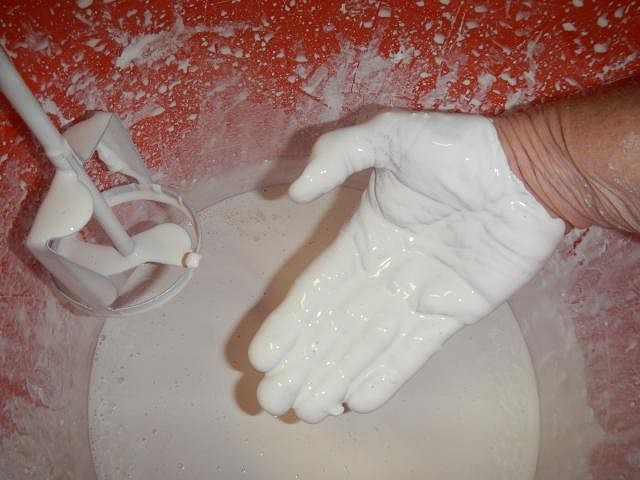
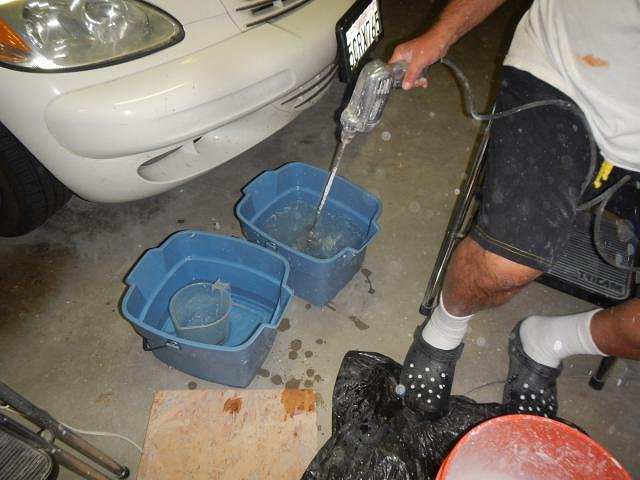
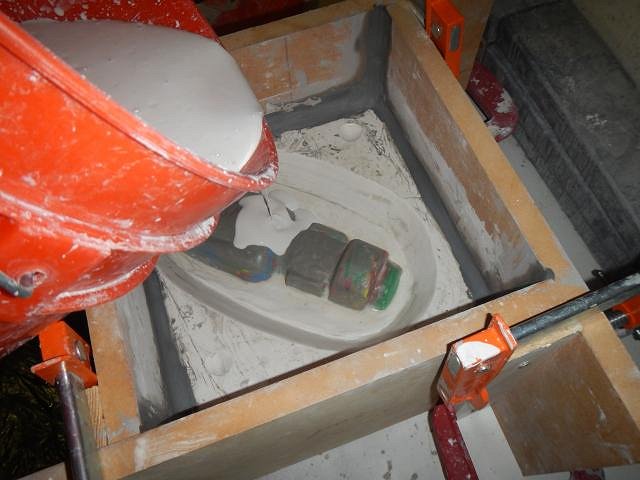
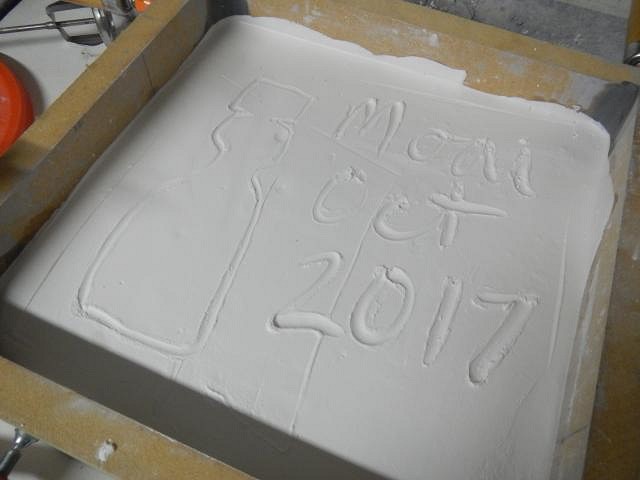
It's time to make a second half of a mold. I made the first half so I could make huge necklaces and wall hanging. Now I want to make the second half of the mold so I can cast whole Moai and make bowls. It is a blank Moai and after casting I would hand carve each one with designs and texture. To make the second half I put one of my casts into the mold. This will keep the oily clay from putting oil into my plaster. This is the tiki that my friend gave me after her trip to Easter Island. It has been my model. All done and ready to mold. I need to prep the sides of the existing slab so that no undercuts exist. I spent a few hours doing this until I was satisfied. I even sanded it. I used my box label scraper to cut the plaster. Then I use a big chisel to remove plaster to make an opening. This will be the half opening for the first slab and I will use clay to keep the plaster away and to form the second half of the opening. See below. I set out everything I would need to make the mold. I do 4 layers of mold soap everywhere the new plaster slab will touch. Otherwise they will fuse together. I put the box together. I seal all the seams with sticky clay and I also build a mound of clay where I want the opening into the mold to be located for the second slab. Together they make a large opening that hopefully is in a place that will reduce the change of air being trapped. I use this method to figure out how much water I will need. Around 5 of these filled to the top. I put the water into a bucket and then while Dan mixes I sprinkle in the plaster. We do this fast. After I have done 2 plaster scoops to each container of water he stops and I stick my hand into the plaster. I should be like buttermilk. This is a bit too thick. However my sculpture has no detail so for us this was OK. Otherwise I would add more water. Clean up fast before the plaster sets on the end of the mixer. The slip was poured into the box. Don't worry if a layer of water forms on the top. As the plaster sets up it becomes hot and re-absorbs the water. When it was firm enough I carved the label in to the slab. I even drew a photo. I opened the mold about 45 minutes later. Success. No undercuts and they parted easily. I removed the clay sculpture. Since it will be sunny in California for the next two weeks I put it outside to dry. Otherwise I would put a fan on it 24/7 and it would dry in about 1 to 2 weeks. [ Edited by: danlovestikis 2017-10-25 14:49 ] |