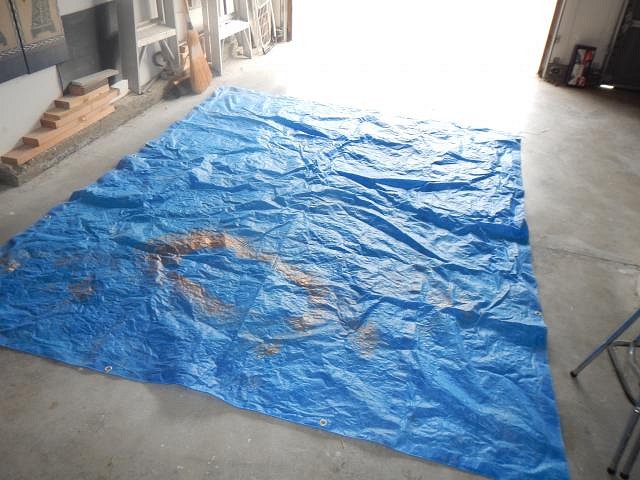
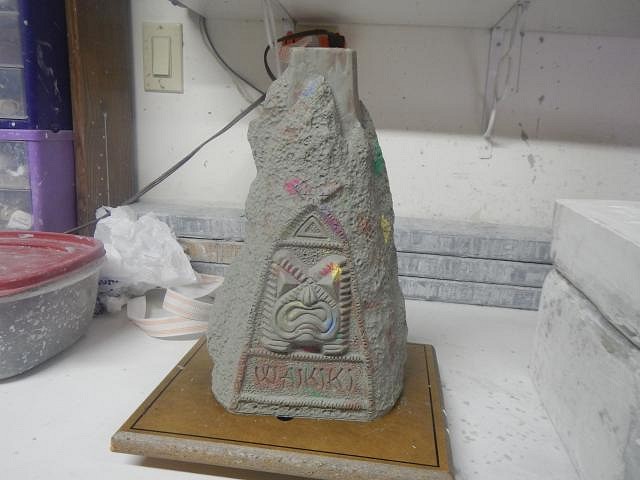
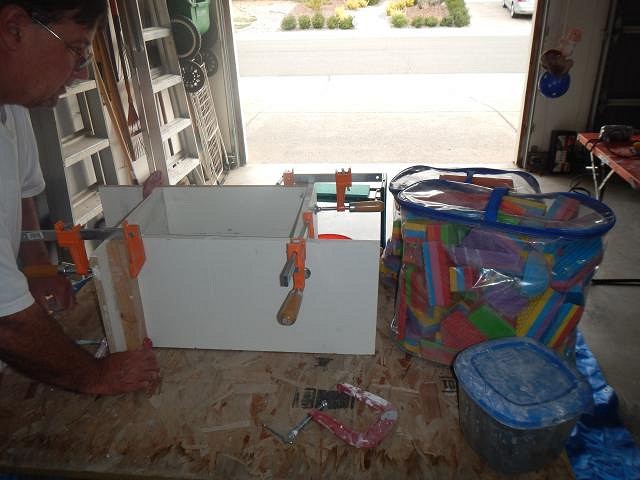
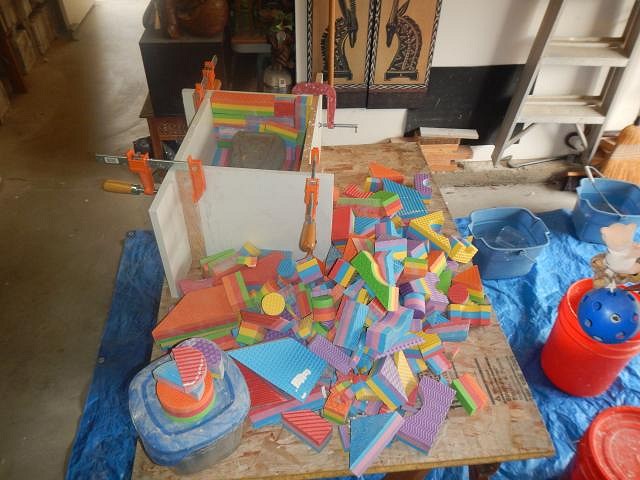
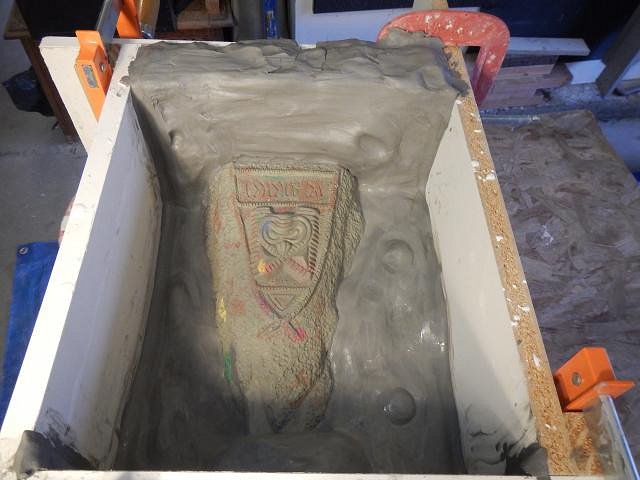
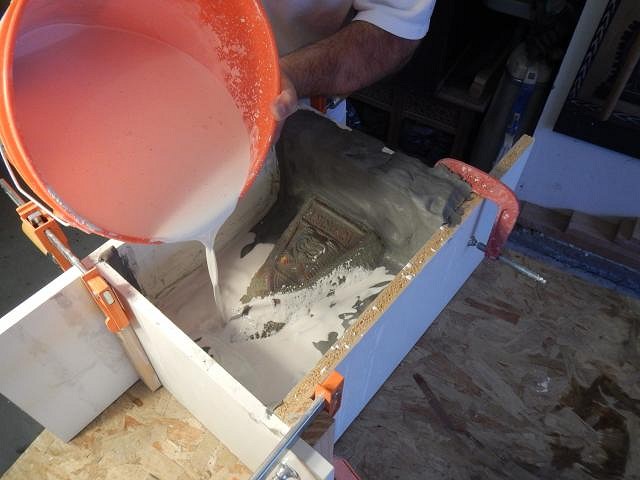
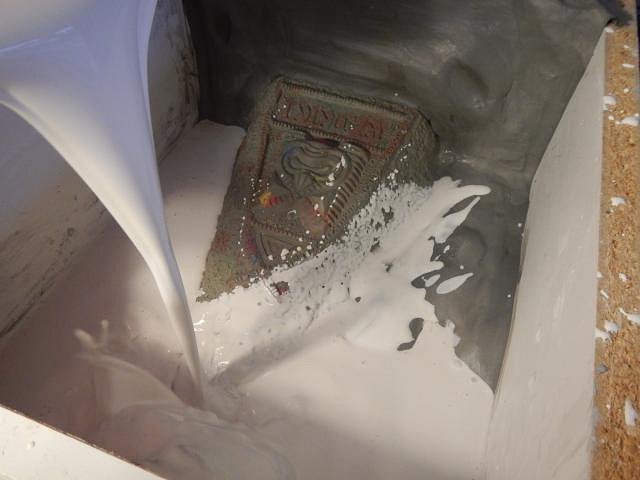
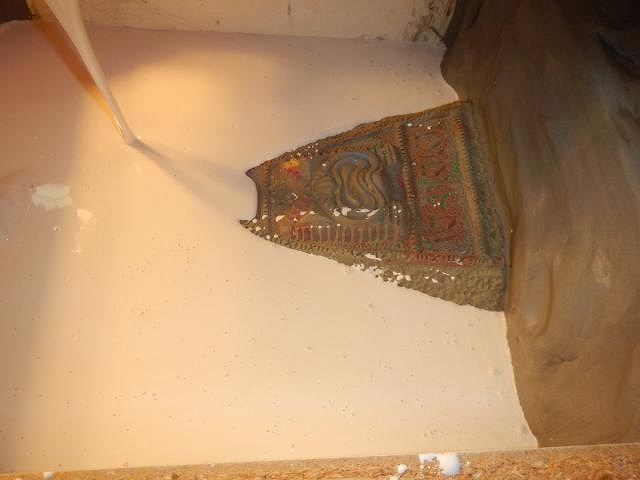
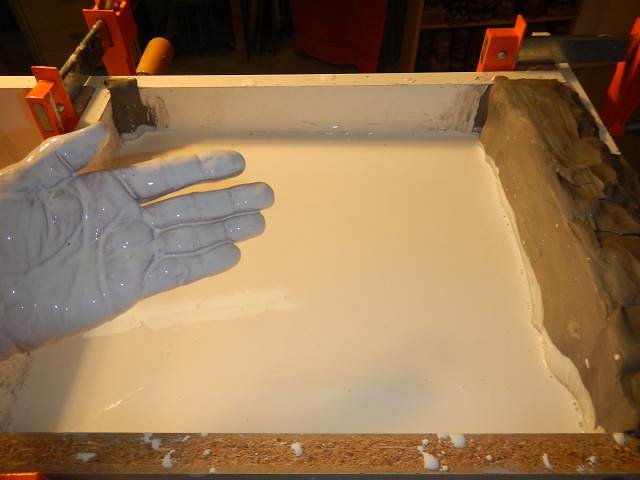
Tiki Central / Other Crafts / Wendy Cevola - NEW: Frankoma Widow Maker for sale.
Post #784075 by danlovestikis on Sun, Feb 18, 2018 9:54 AM
|
D

danlovestikis
Posted
posted
on
Sun, Feb 18, 2018 9:54 AM
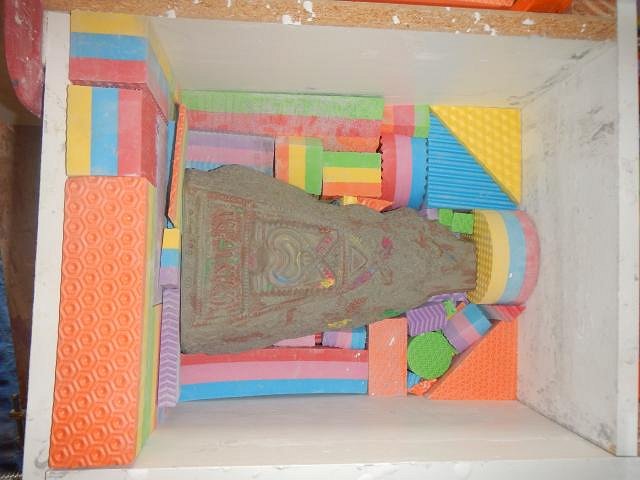
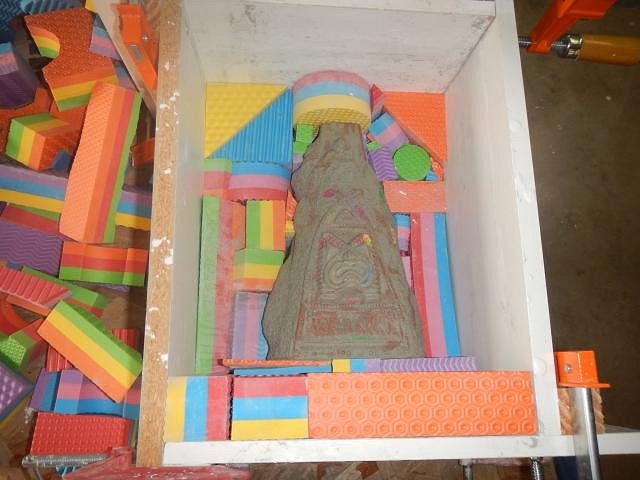
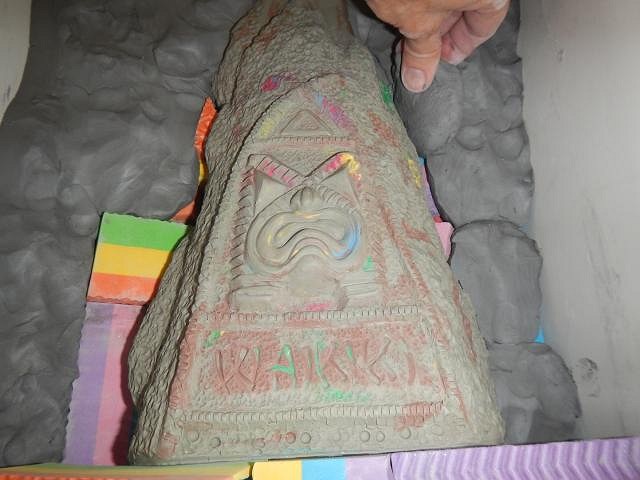
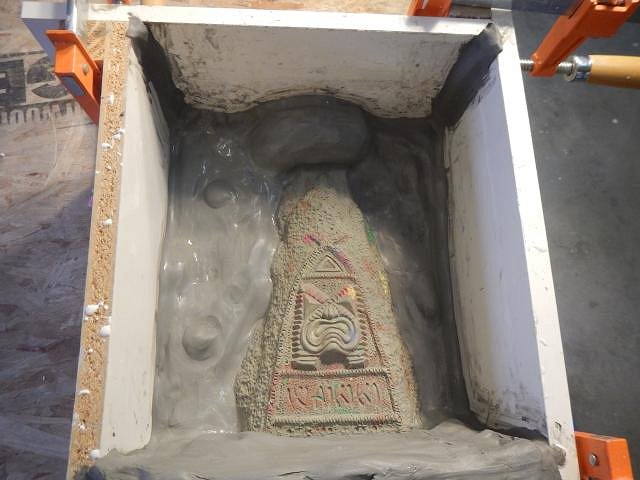
HopeChest it just takes practice. Each time I do one the next one is easier. I'm so happy that I have done enough projects that I can remember how I did the last one. Hamo and almost that heavy. That will change as they dry out. The texture is so shallow that there's no problem as long as I put the mold piece straight off. If I rounded a corner they that would all smear off. =============================================== Here is my favorite part to share, the making of the mold for the Sacramento Crawl mug for 2018. This will take a number of days to post each part. There are so many steps and I want to teach everyone how to do it without making all the mistakes I have made. I've had one lesson in mold making and that's all it took to figure the rest out. That lesson and all the steps are on page one of this thread. Plaster sticks and is hard to remove so we always use a tarp on the floor. I measured the height of the volcano to determine the height and width of the floor of the mold box that I will need. At least two inches on the sides and four at the top. I'll show you that as we proceed. This shows the wooden sides and the c-clamps that we use to make the box. Years ago I found these foam blocks at TRUs. I can cut them with a saw knife as needed. They save me a lot of time. First I put a layer under the volcano. I also raised the top end so that it is level. Then I fill in at the bottom where another mold piece will be made. At the top I am making an opening where the slip will pour into the mold. Here's another view. I cut up a bunch of clay to use next. I press the clay on top of all the blocks. I cover all of the blocks and bring the clay right up to the volcano. I also pressed snakes of clay along all the seams of the box. Once this is done I run a wet paper towel along the seams and any place that the clay touches the box or the volcano. This make the connection less likely to leak. Here is another view. The dents in the clay become locks between pieces of the mold so that they hold in place. AS SOON AS YOU BRING OUT THE BAG OF PLASTER BE SURE TO HAVE YOUR FACE MASK IN PLACE. DO NOT REMOVE IT FOR THE REST OF THE TIME YOU ARE IN THE GARAGE OR WORKING WITH THE PLASTER. IT WILL ENTER YOUR LUNGS AND HARDEN NEVER TO COME BACK OUT AGAIN. COPD IS NOT JUST FROM SMOKING. I love watching the sculpture disappear under the plaster. I am always aware of where the plaster is hitting. You don't want the stream to break loose any connections between soft clay and the sculpture. Almost gone. This top slab should be at least 2 inches thick. I checked the thickness and noticed that I hadn't gotten the mix just right between water and plaster. It should be a tiny bit thicker on my hand. We call it the buttermilk test. But since I'm making the slab so thick it will most likely be just fine. Dan cleans the mixer and all the buckets as fast as each step is completed. Wearing his mask and I am too. It takes around 45 minutes for the plaster to set up in the summer, a little longer in the winter. Once it is set I carve the name of the piece and the date. I do this on each piece. We did this first piece on one day because it is the hardest piece to do and then we went to work very early the next day. So imagine us cleaning up and watching TV for the night. One piece done and four more to go. Wendy [ Edited by: danlovestikis 2018-02-18 10:28 ] |