Tiki Central / California Events / Sac Ohana Tiki Crawl October 4th, 5th and 6th, 2019 . Updated 9/30/19 info on mug page 3 bottom
Post #793479 by danlovestikis on Thu, Feb 28, 2019 7:59 AM
|
D

danlovestikis
Posted
posted
on
Thu, Feb 28, 2019 7:59 AM
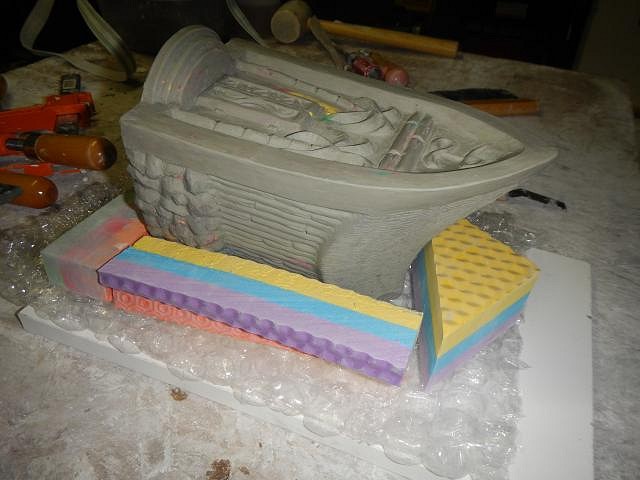
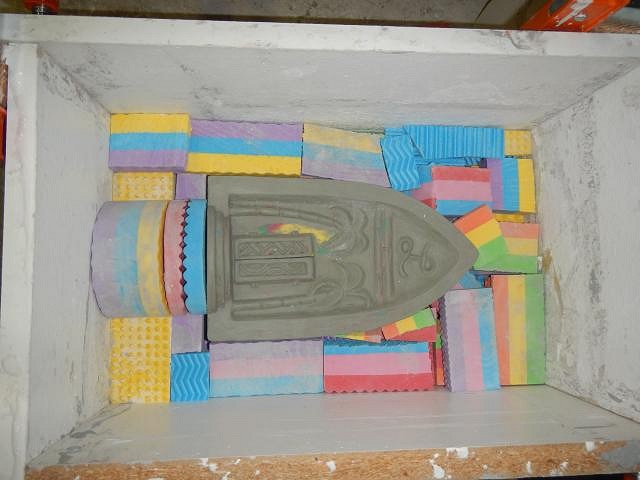
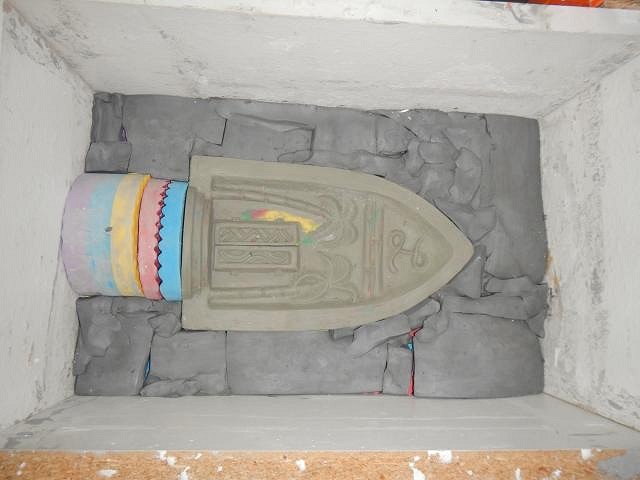
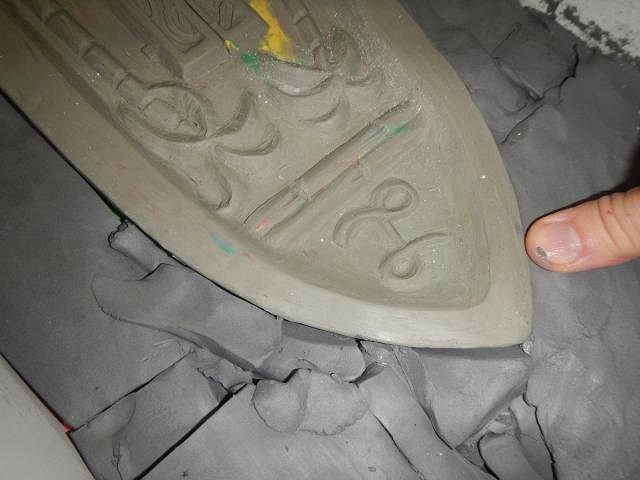
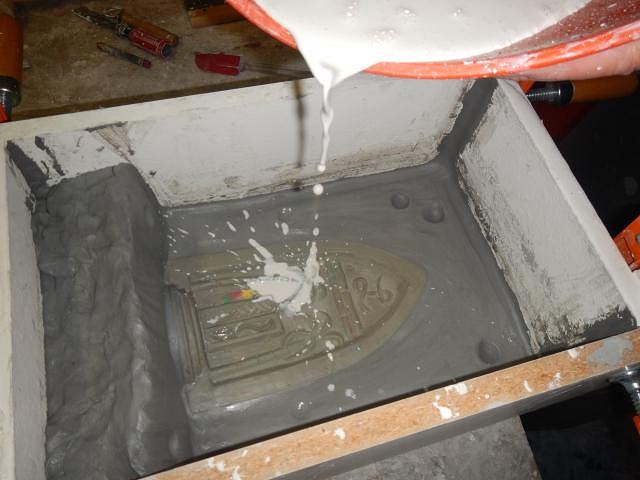
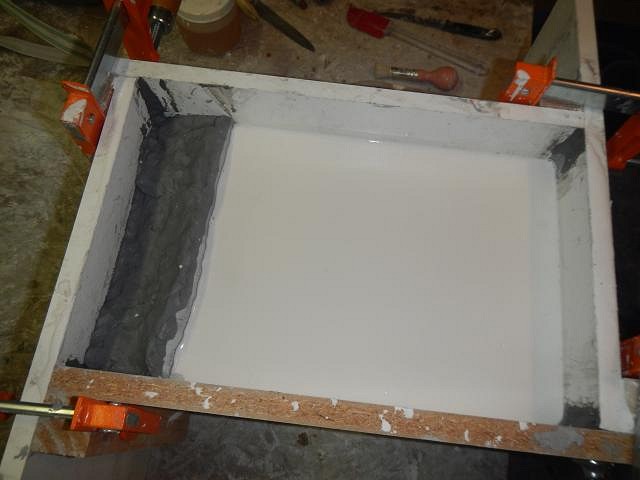
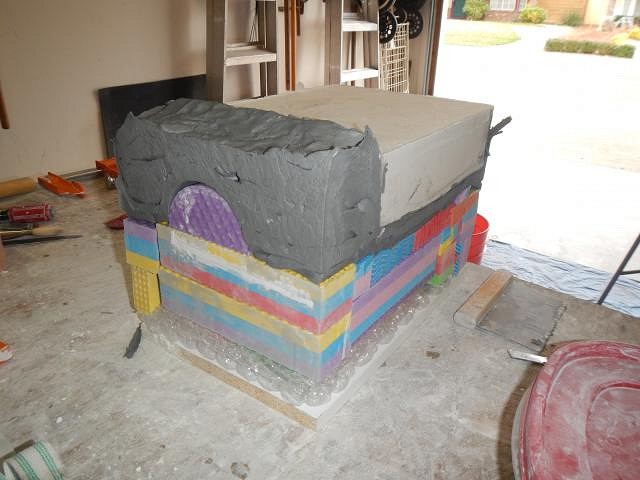
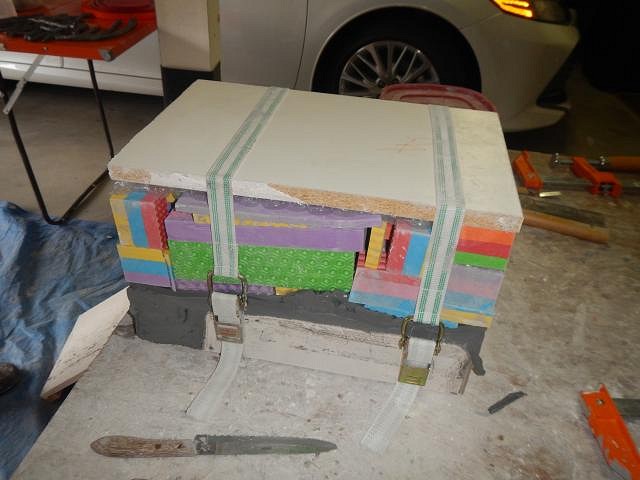
MaukaHale I put you on the list. Thank you. =================================== The horror of finishing a sculpt is that you have to then mold it. I had to look it over, figure out how to get the slip into the high point on the roof. That is when I chose to put the opening at the back end under the roof. Now it was time to execute my plan. Here are the steps for the first mold piece. This first piece will be the bottom of the mold. This is how I ensured that the slip could reach the highest point of the roof. To protect the carving I started with a piece of bubble wrap underneath. I kept adding blocks until they reached the face of the sculpt. I thought about the best way to so the steps and decided to only do the tops and front. That way nothing gets pulled out of a slot in a mold piece. This is clay I have cut off the tops of mugs. I save it in a plastic container to use when doing custom pieces or making molds. I will cover all of the blocks. I will smooth it with a wet paper towel to make a tight seal. I put a few lock dents in place. You really do not need many. I ran snakes of clay up all the seams to prevent leaks. Time to mix the plaster to the consistency of buttermilk and then to pour it in. It sits for around 45 minutes. Now I can take off the box. We put on straps so that we can flip it. It's important that the sculpt doesn't move or come loose from the mold piece just made. One down four more to go. Wendy |