Tiki Central / Other Crafts / Wendy Cevola - Doing a major repair of a Tiki Diablo bowl.
Post #794180 by danlovestikis on Sun, Mar 31, 2019 8:57 AM
|
D

danlovestikis
Posted
posted
on
Sun, Mar 31, 2019 8:57 AM
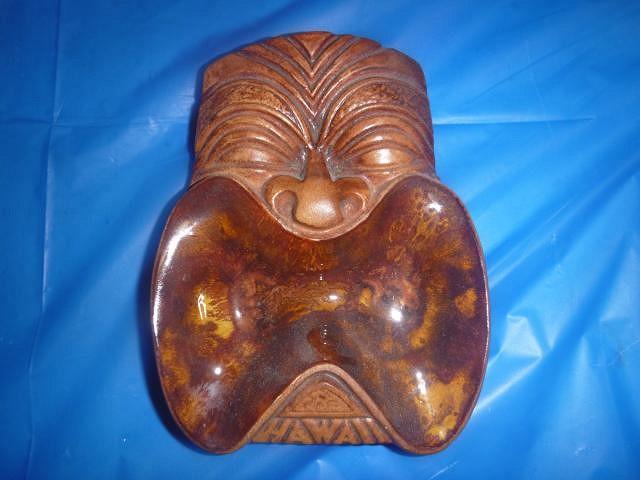
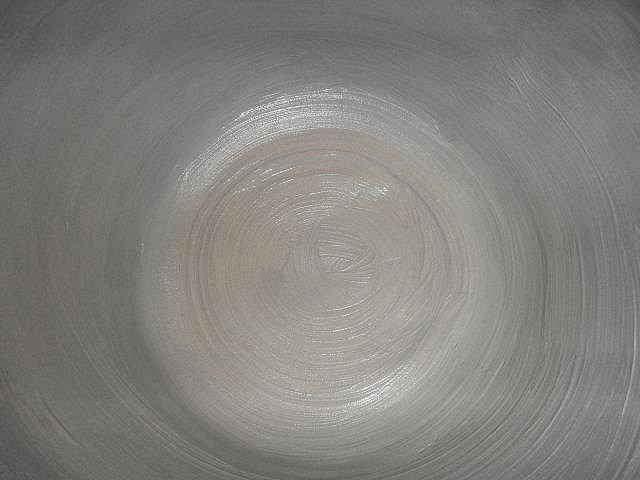
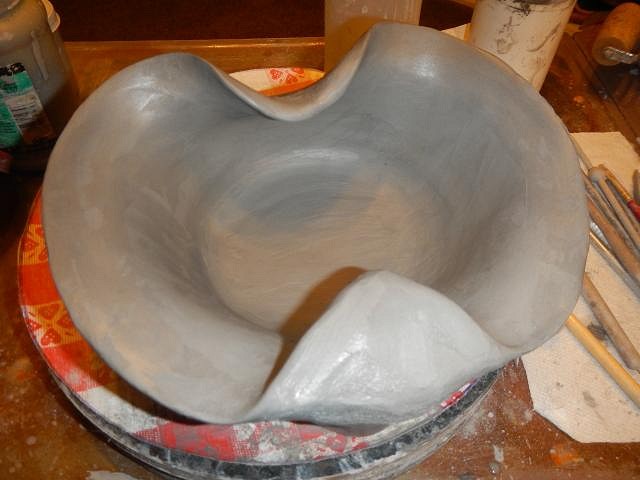
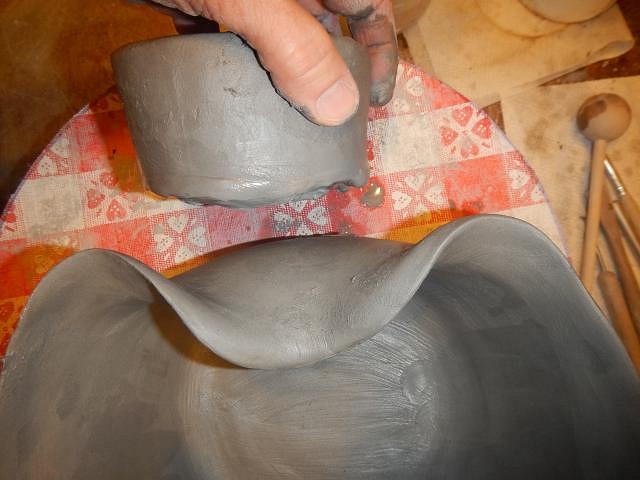
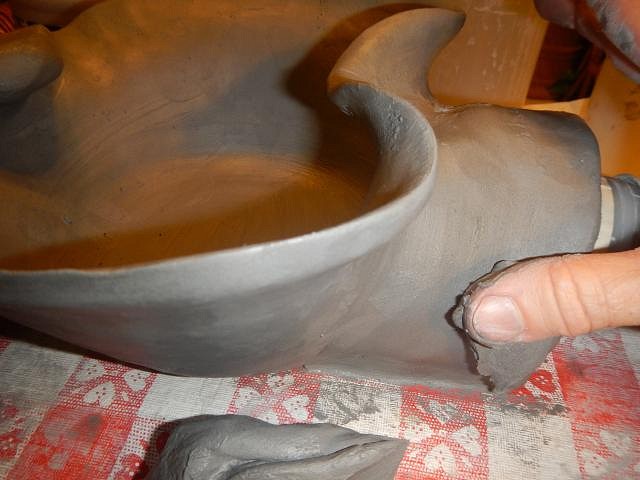
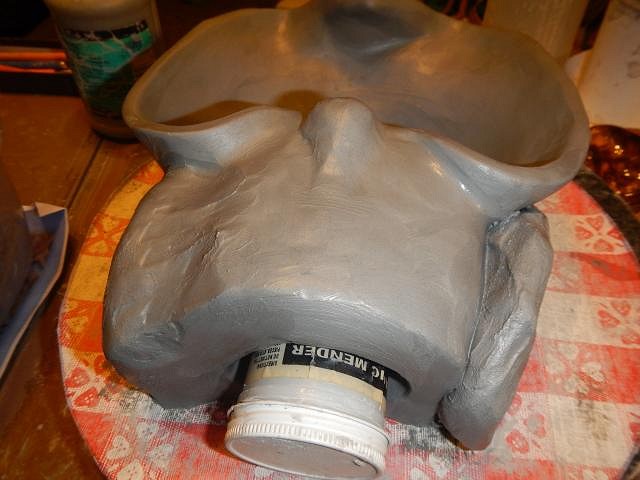
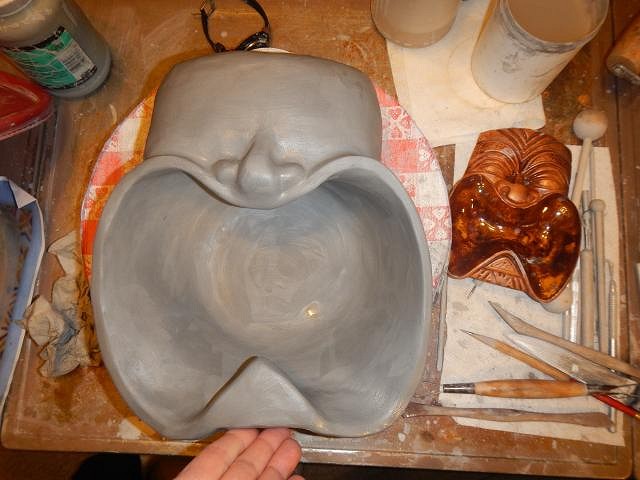
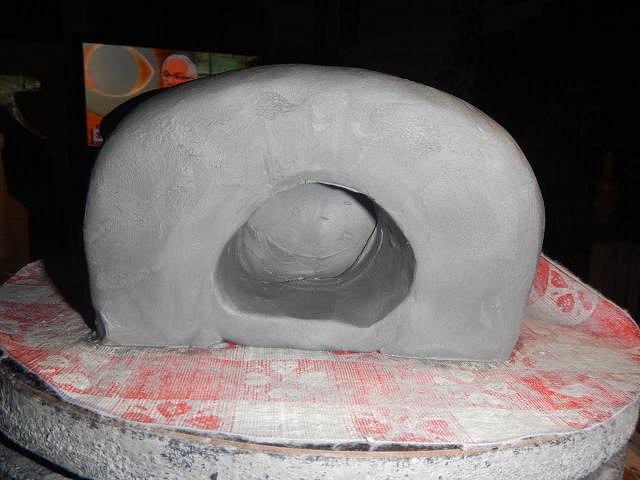
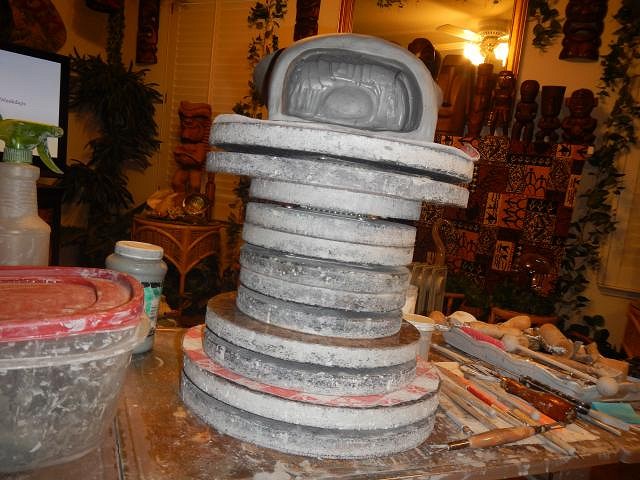
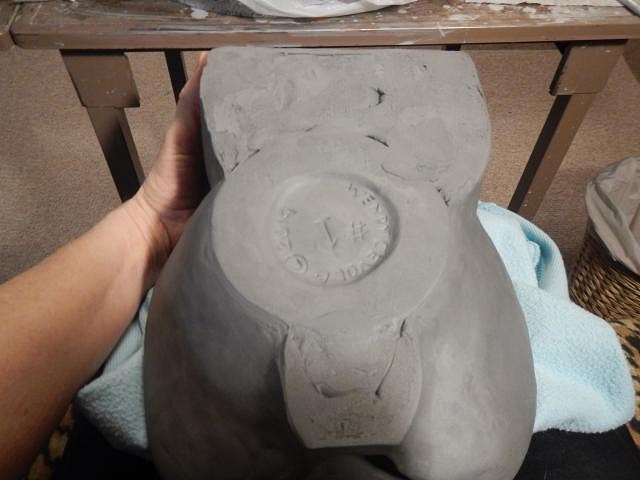
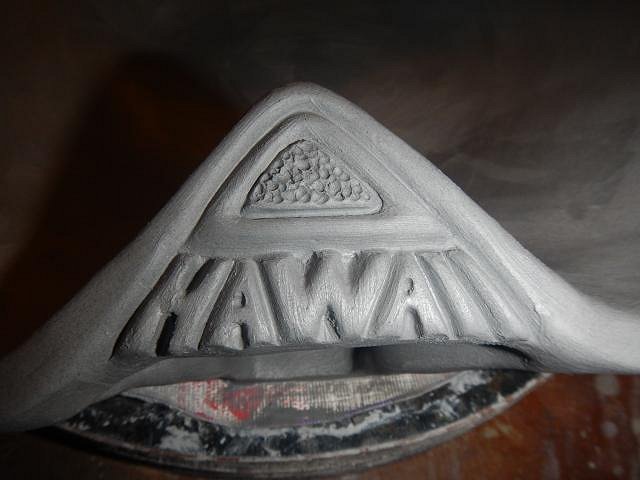
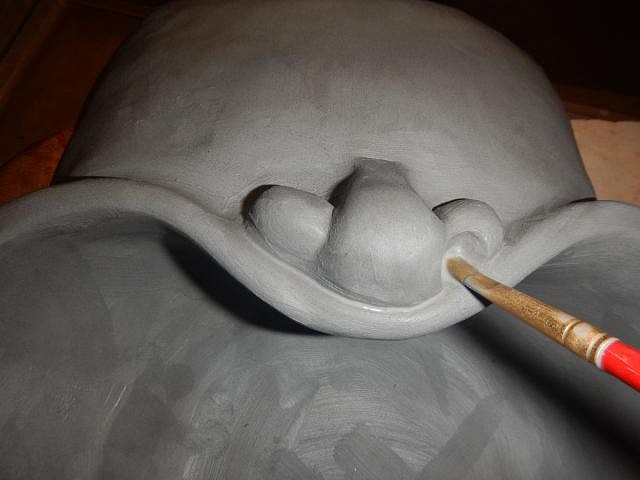
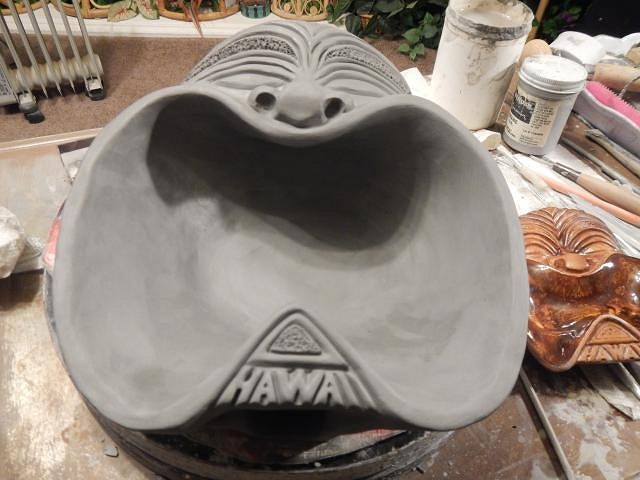
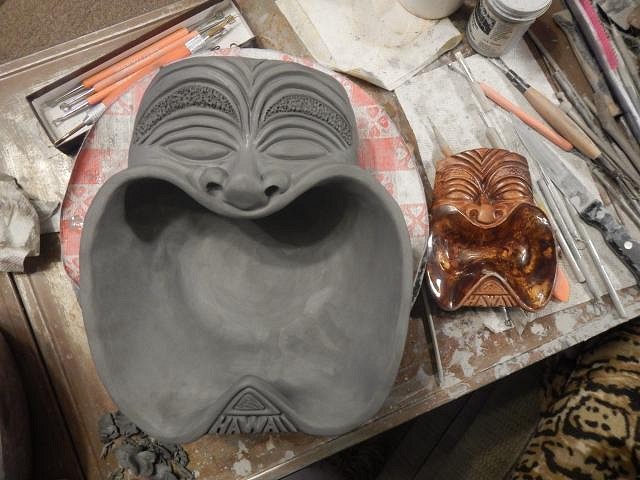
hang10tiki and MaukaHale if they survive firing and glazing I'll be really happy. Thank you for you comments. ================================ Wish List #8 phase four update. I have four projects that are being sculpted. When those are done and set to drying I will continue to sand and bisque fire until all are ready to glaze. Meanwhile we will be putting boxes together for the crawl mugs. The first glazing project will be the crawl mugs. Once they are done and sealed in the boxes I will then tackle glazing all the rest of phase four. This will be a marathon of glazing with over 100 items. I have no idea how many phases it will take to finish Wish List #8. It's almost a list with no end in site. At least I am down to the last two black velvet paintings and one is well underway. ================================= Wish List #8 phase for: this very large project is for Fred Ferrer. This is based on my husbands and my favorite tiki ashtray. I always planned to copy this face in some project and then Fred asked if I could just recreate it into a large bowl. Here are the steps. I started his project on 3/11/19 and finished the sculpture on 3/16/19. It has been drying slowly in and out of plastic since then and it's still not yet dry enough to fire. Not too bad considering I had surgery on the 14th. My post-op instructions were to sit up straight and not lean back and if in bed only to lie on my sides. I'm fine so I was only down for one day and then back to work. Here's an overview of the steps. This is the small ashtray I am turning into a bowl. First I cast and cleaned a bowl and then I added clay to round out the bottom. I smoothed it with a wet paper towel. Next I began to bend the sides into the right shape. I added clay to shape the chin. I kept checking the shape of the bowl against the ashtray. I will aim to get it as close as I can. Right now the sides are not right. The bowl is too limp to work with so I moved on to the head. I made a round piece of clay. I glued it into place and began to smooth it free of air pockets. It was still too small so I began to add more sheets of clay that I formed by hand. I always worry about trapping air. These are different days as I progress so now the bowl is firmer and I brought the sides into the right shape. The clay head is now firm enough to have the excess clay removed. Hint: you can wrap parts of a project with plastic while leaving some parts exposed so they can dry and firm up faster. I did that with the head. I use a cutting tool loop to remove excess clay. Just so you know I am sitting up straight. I also can't lift so Dan did this for me. Again, once I was sure the face would not smash in I had Dan put it in my lap so I could work on the bottom. I added clay carefully, no air being trapped, until all the seams were filled and smoothed. Finishing up I carved the chin and then the nose. On another day I carved all the detail. I'm never sure if I can pull off a wish but I was happy with this outcome. Tomorrow on April Fools day I can let the steri strips start to peel off. On May Day I get to drive again. My instructions were so easy to remember. I have so much to show because I worked even harder post surgery than I do when well. Cheers, Wendy |