Tiki Central / Other Crafts / Wendy Cevola - NEW: Frankoma Widow Maker for sale.
Post #795769 by danlovestikis on Wed, Jun 19, 2019 7:09 AM
|
D

danlovestikis
Posted
posted
on
Wed, Jun 19, 2019 7:09 AM
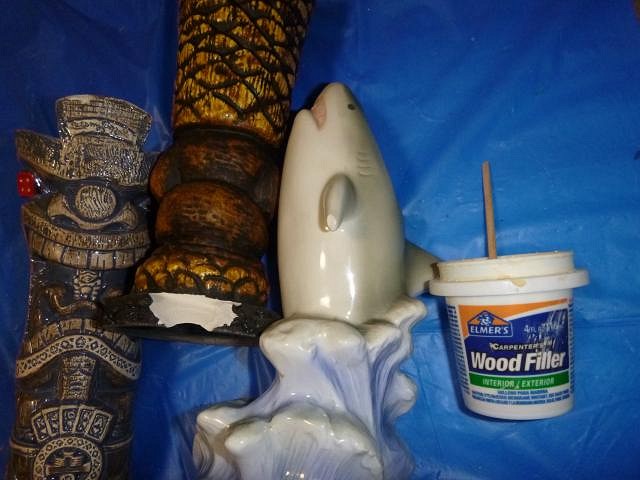
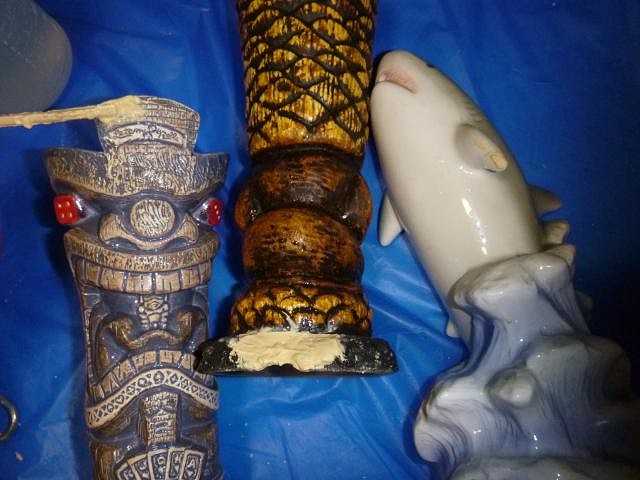
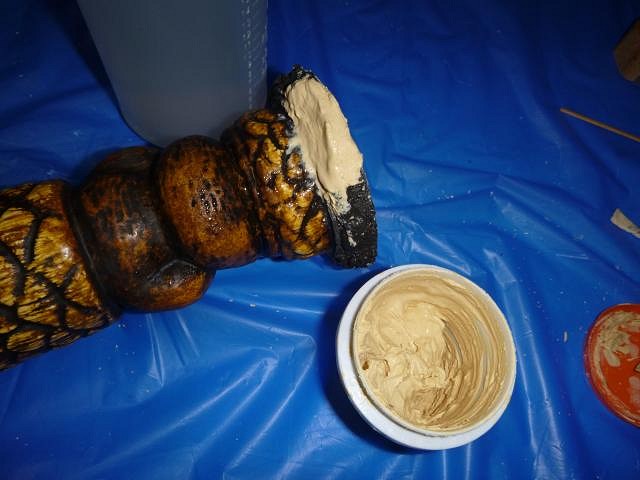
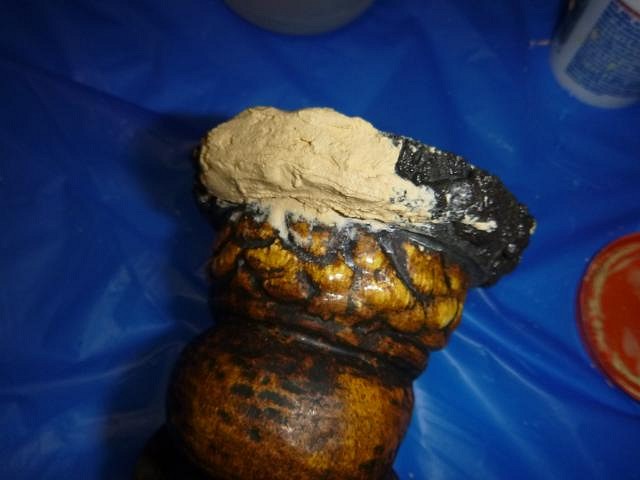
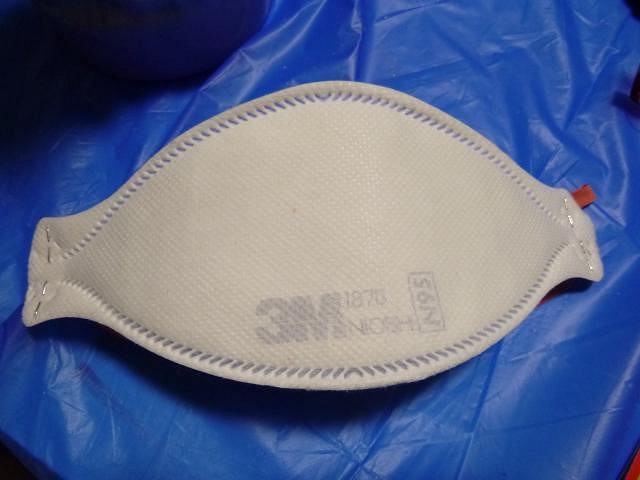
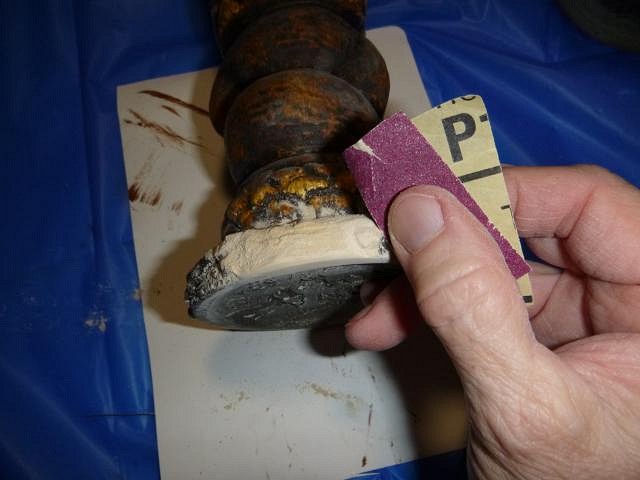
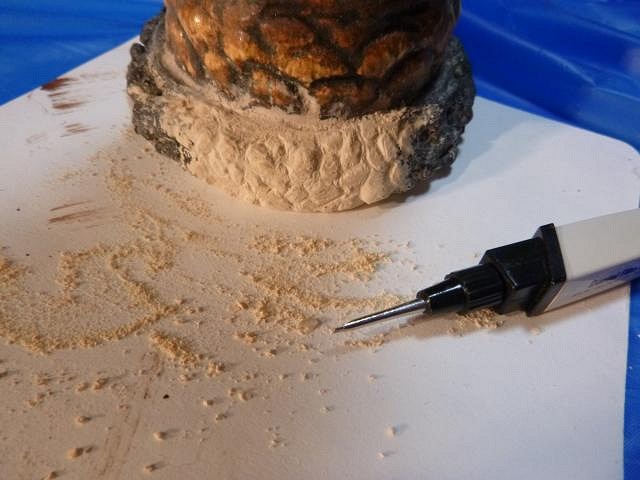
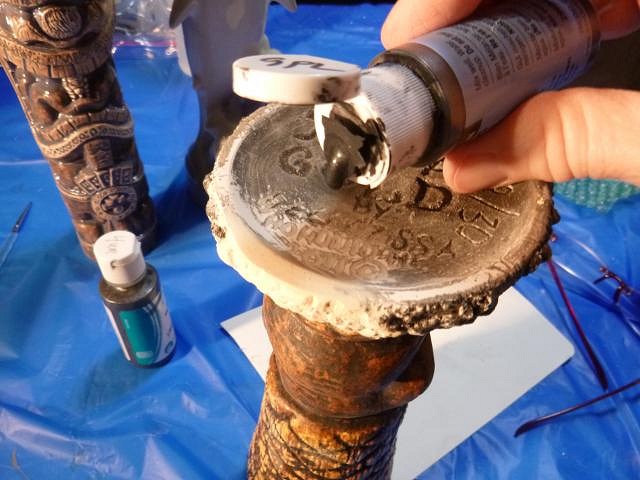
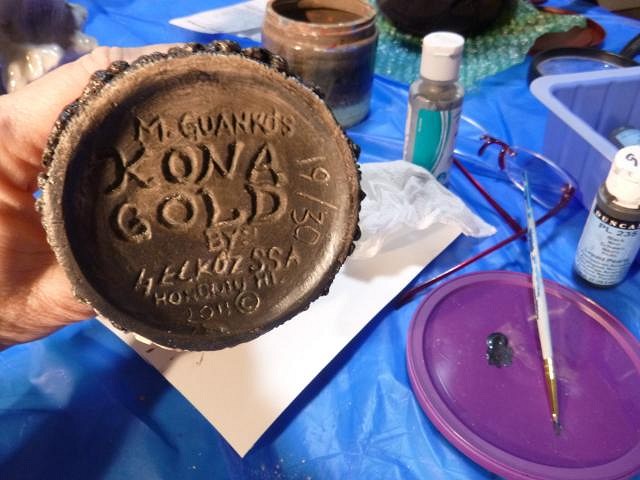
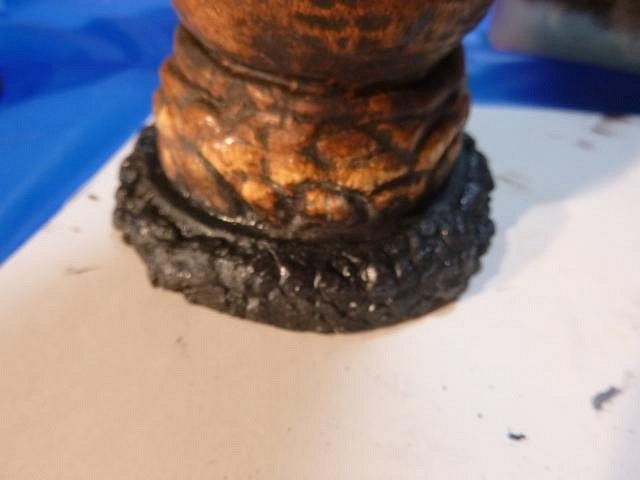
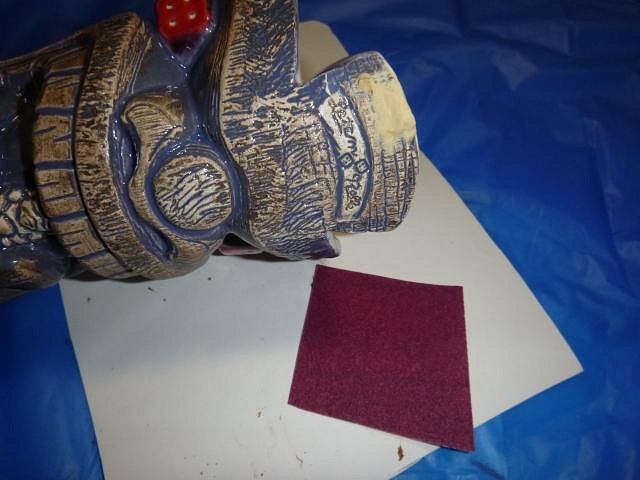
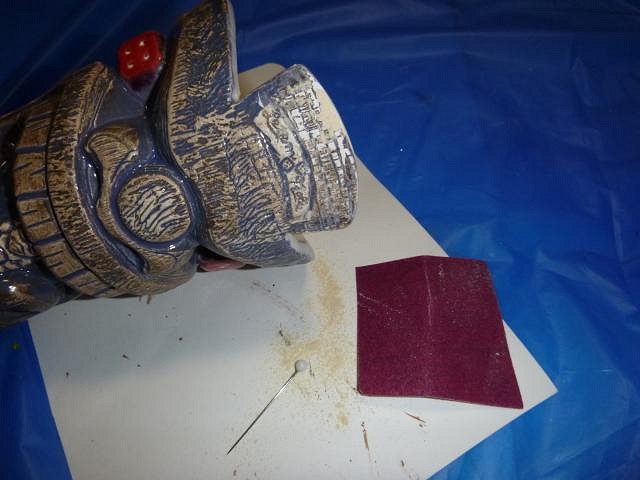
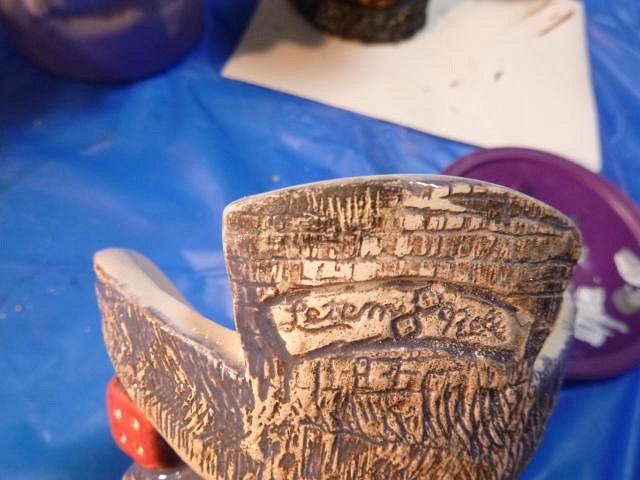
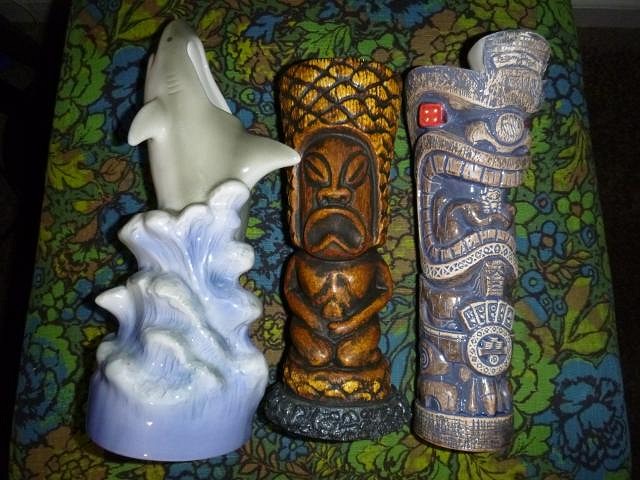
hang10tiki you are so cute. ===================== Moving on from the catch up photos to favors for a friend photos. My life in tiki art began with repairing chipped or broken tiki mugs for Dan. It moved into the shouldhavebeen bowls and then to real ceramics. I have never forgotten my roots in repairs. Neither have many of my friends. My friend Vance Klinke had two accidents. The first while matting the walls of his tiki room he was tripped by matting that caught his foot. He fell forward and knocked three mugs off his shelf. Here's the damage. The first is a mug from Frankie's in Las Vegas and is by Crazy Al. It has a top lip chip. The next is the Gilligan's Island tiki by Gecko and it has the largest chip at the base. The shark is from Mandalay Bay in Las Vegas and is sentimental for him and just had fin chips. This would have been a sad loss. The best repair substance is this Elmer's Wood Filler. I have used it for years. It does tend to dry out so I keep it in a plastic bag. I also add water and stir it each time it's used and then I leave a thin layer of water on top when I'm done. I wet the chip to start the "capillary action". This helps the filler to stick. I will do many layers letting each dry in between. I don't hurry this process. I may take a week or more to build up the area. Another layer days later and then again. On and on. I also check and add it to the bottom. This still needed some at the edge. I finally reached the last layer. I let it dry completely. Even on small repairs you must wear a face mask that is dust proof. Then I start to sand and shape. I even used a tiny screw driver to dig at the filler to form the texture. Duncan makes a lot of ceramic paints and stains. I used pewter and then some acrylic black to make the color as close as I could to Geckoz's. I did the same on the large repaired area. It's left alone to dry. Next I finished filling and drying the Crazy Al repair. It was sanded and I carved texture and then I painted it. These were all easier to blend because of the rough surfaces. I also coated this with clear finger nail polish so that it had the shine at the top lip of the mug. All done and ready to go. The repair that wasn't well hidden was the shark. Smooth and glossy surfaces are fine but making the paint added invisible isn't possible. I will try to return later to show the steps for his next accident. Wendy |