Tiki Central / Other Crafts / Wendy Cevola - Doing a major repair of a Tiki Diablo bowl.
Post #799199 by danlovestikis on Tue, Dec 10, 2019 9:49 AM
|
D

danlovestikis
Posted
posted
on
Tue, Dec 10, 2019 9:49 AM
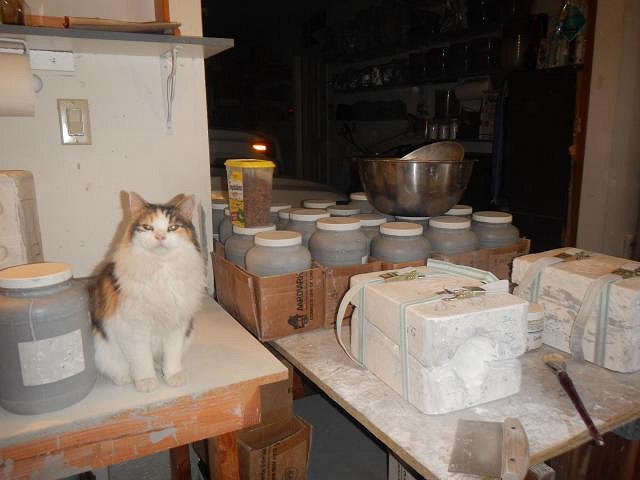
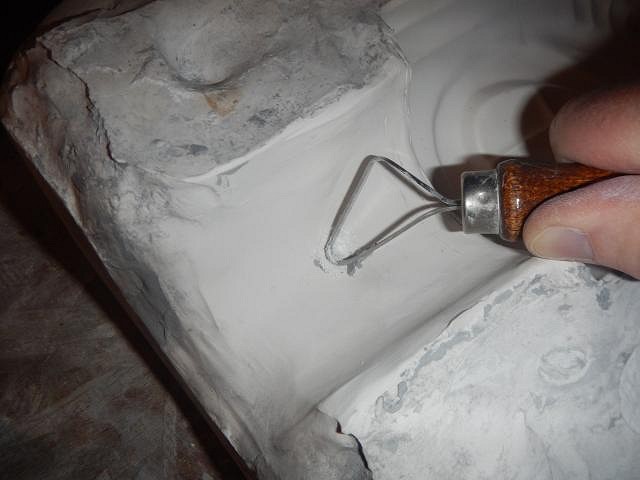
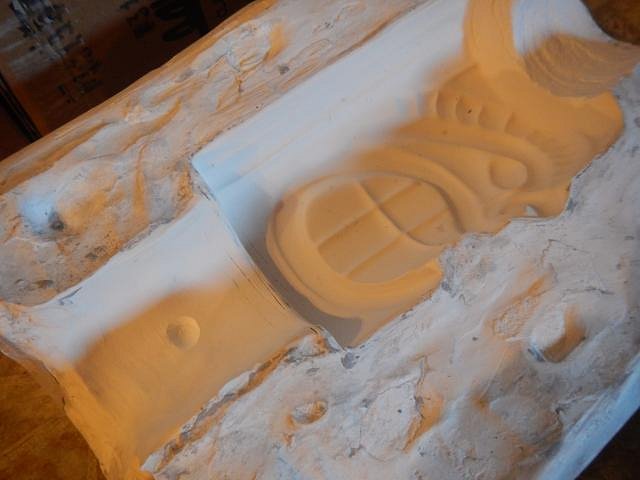
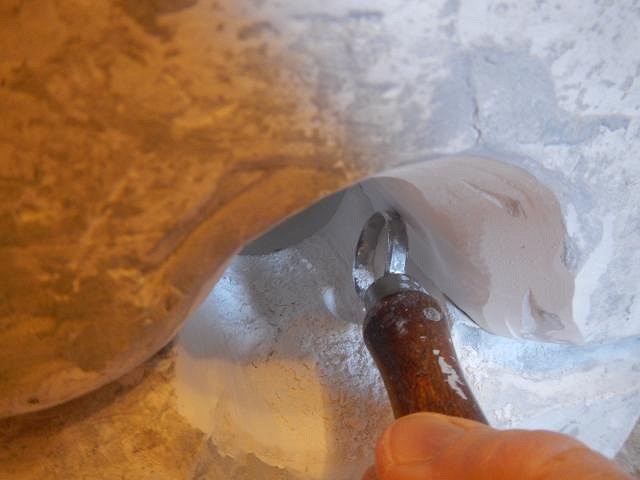
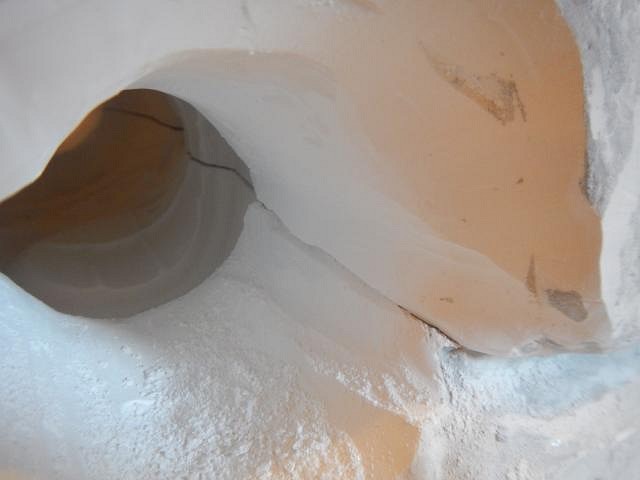
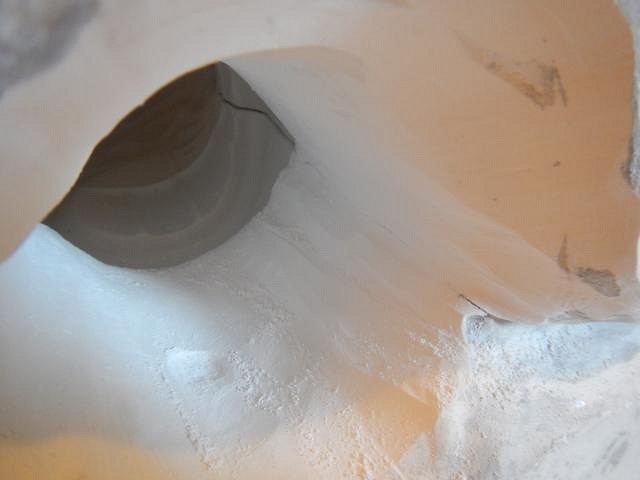
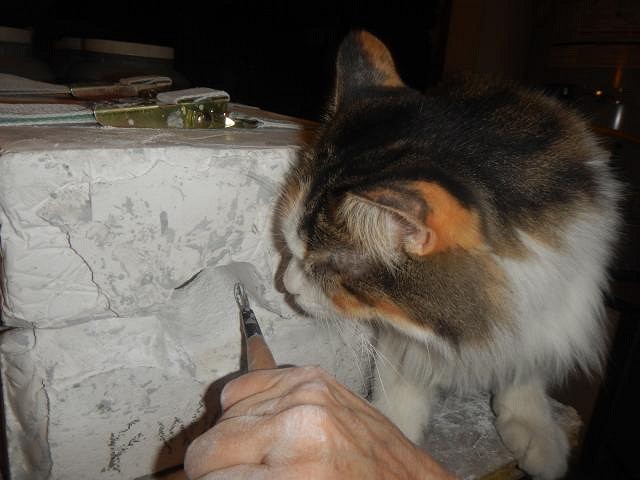
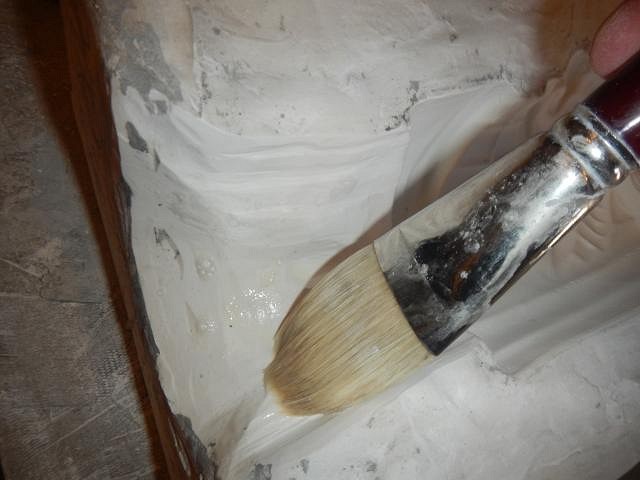
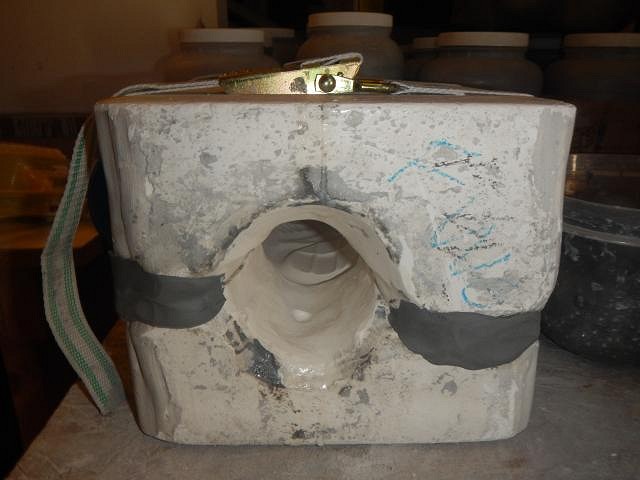
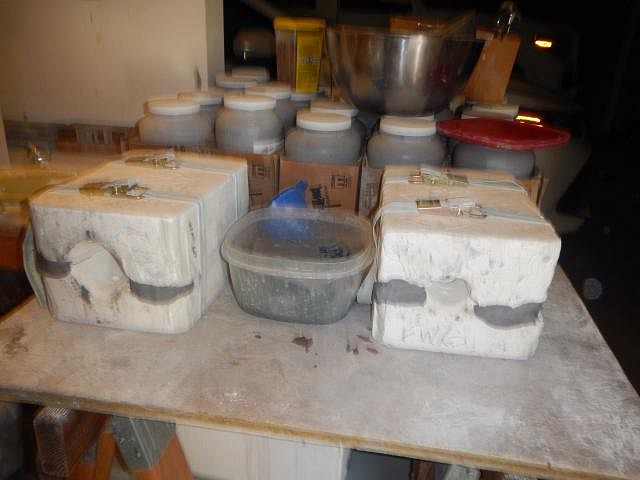
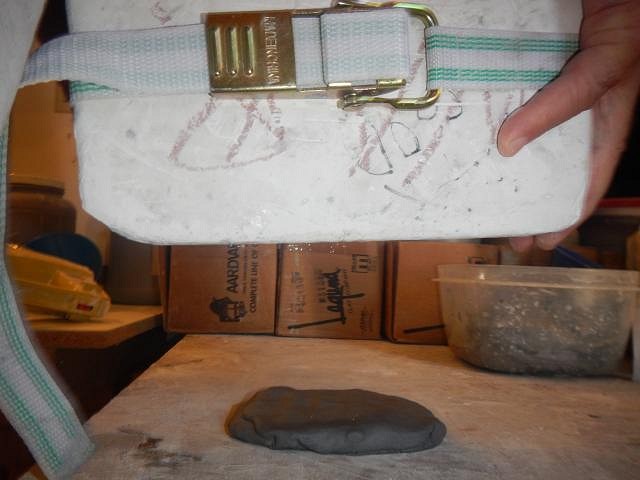
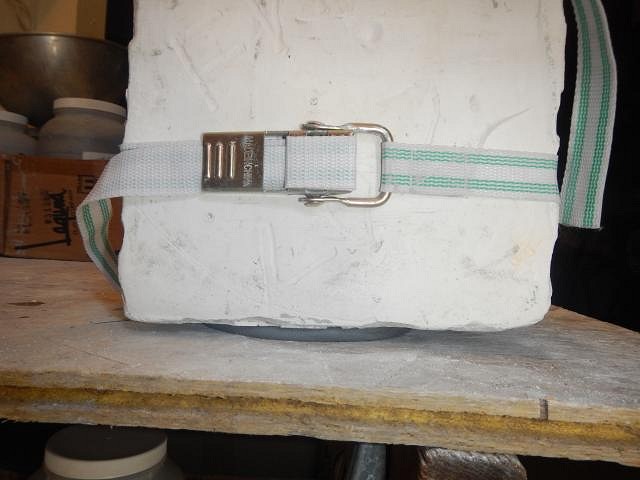
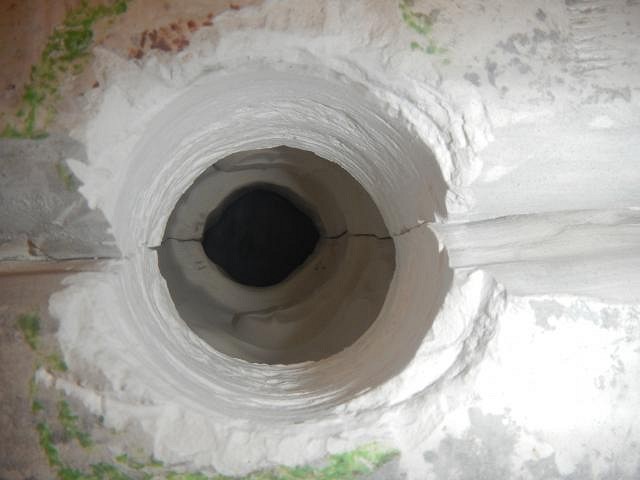
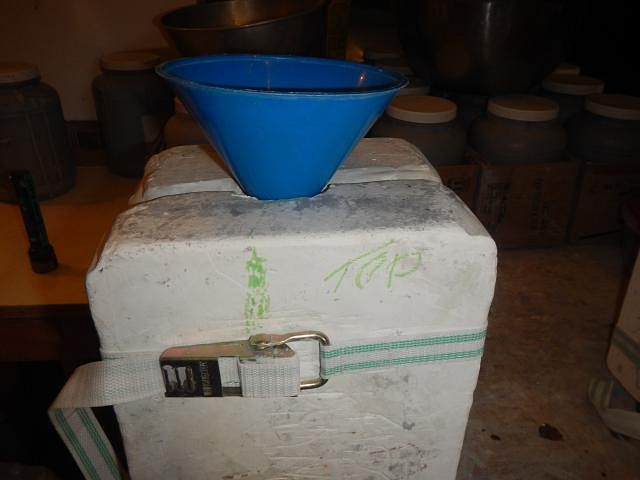
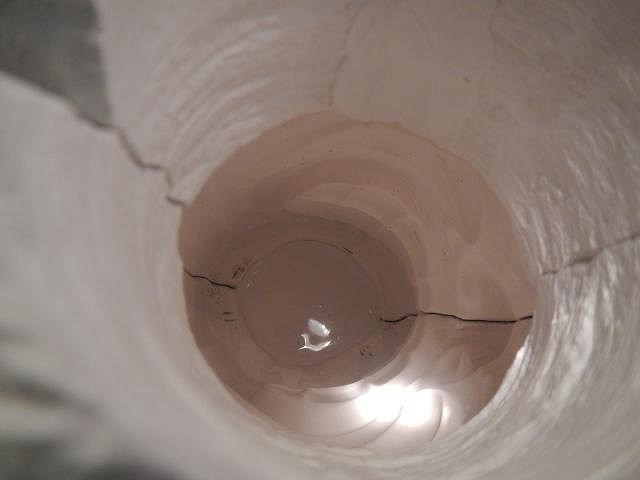
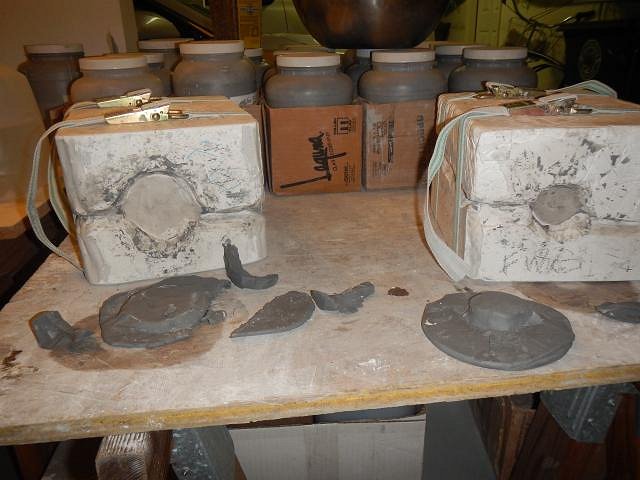
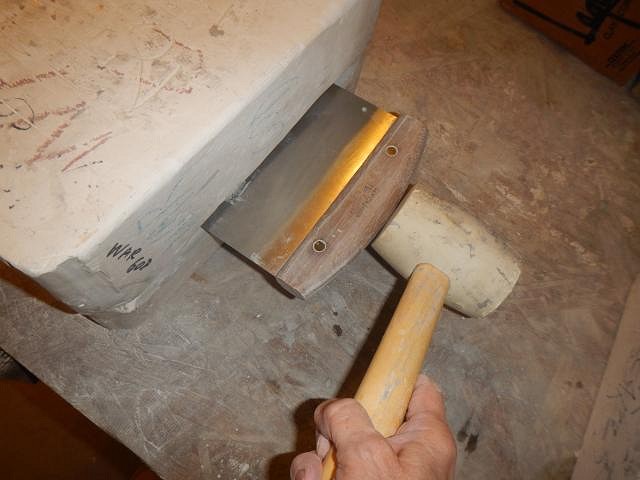
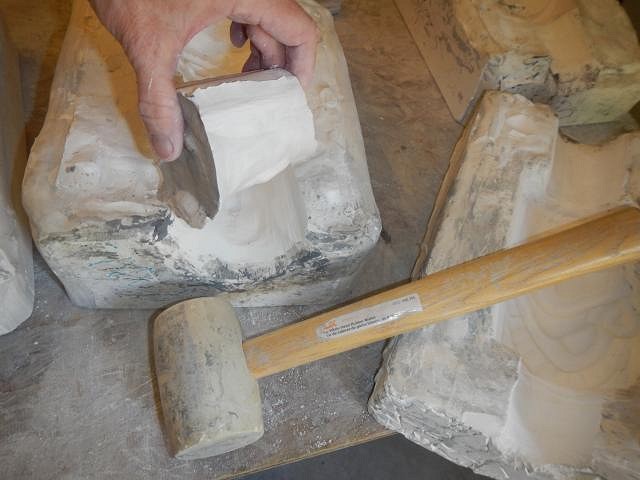
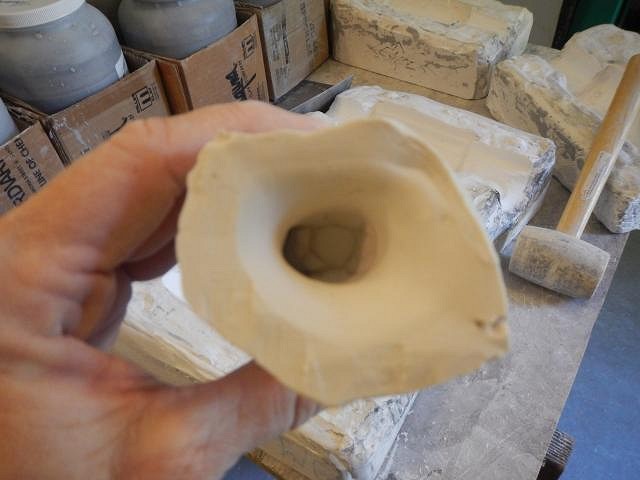
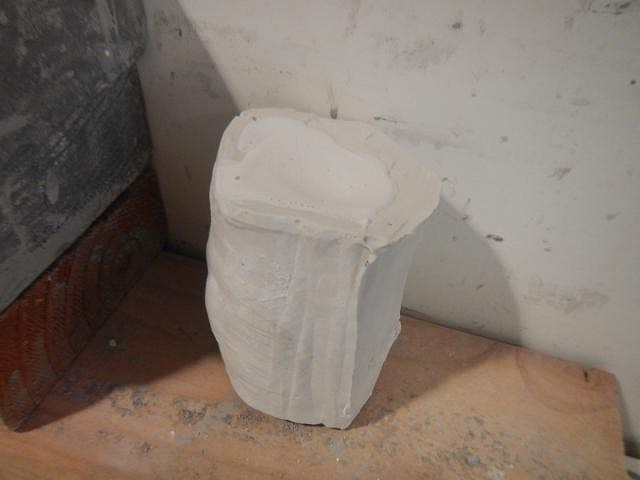
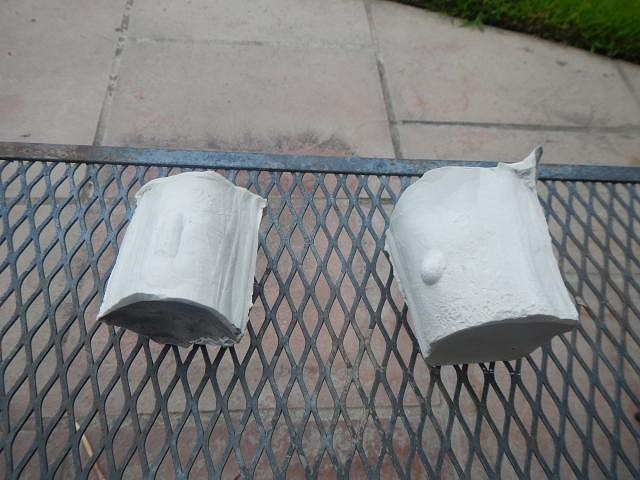
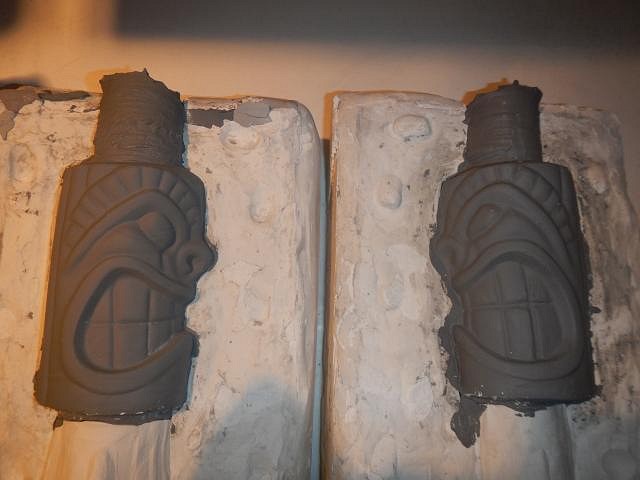
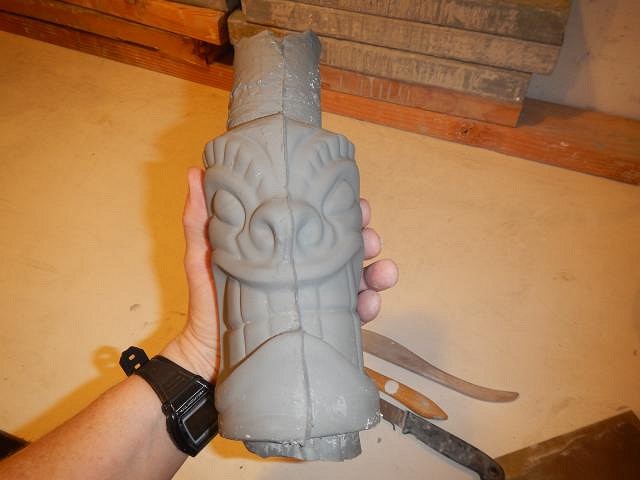
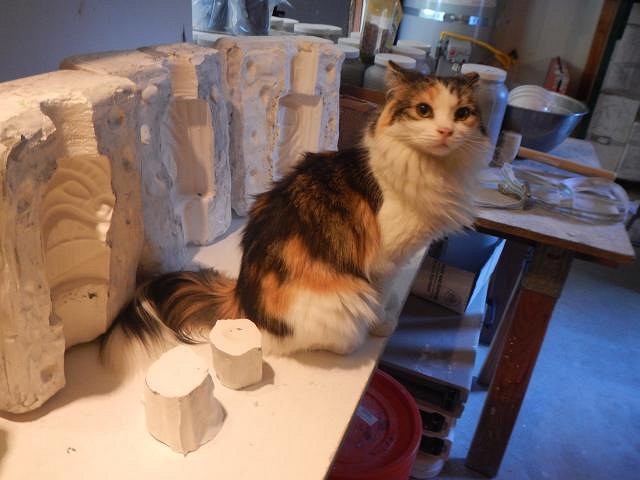
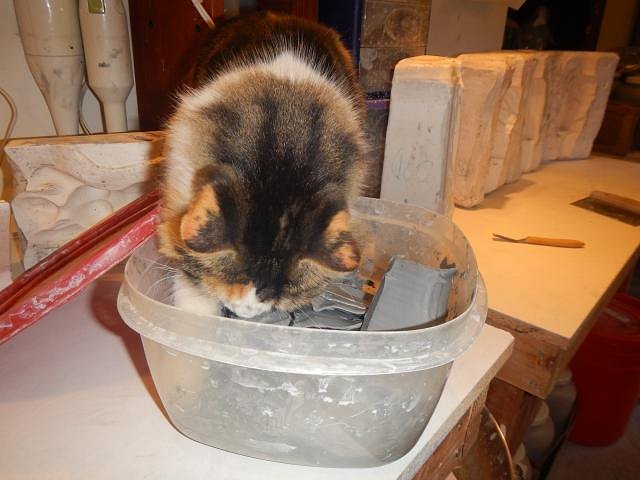
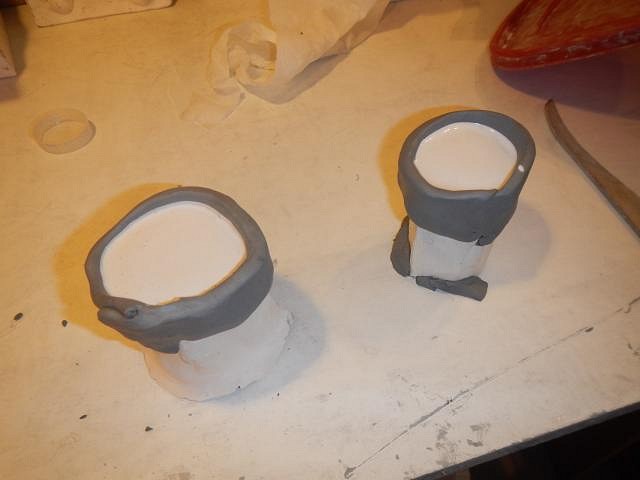
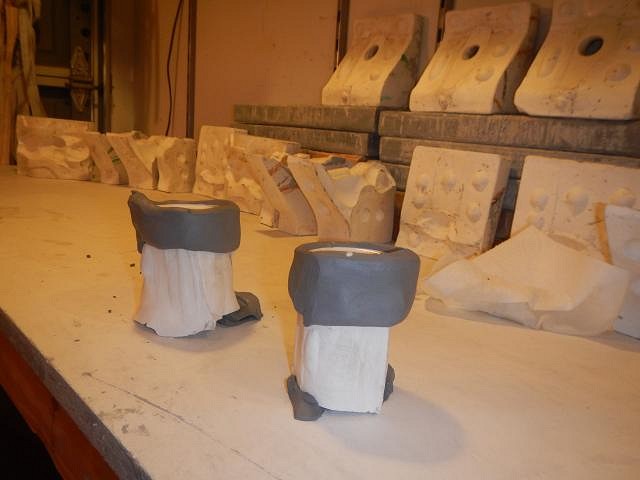
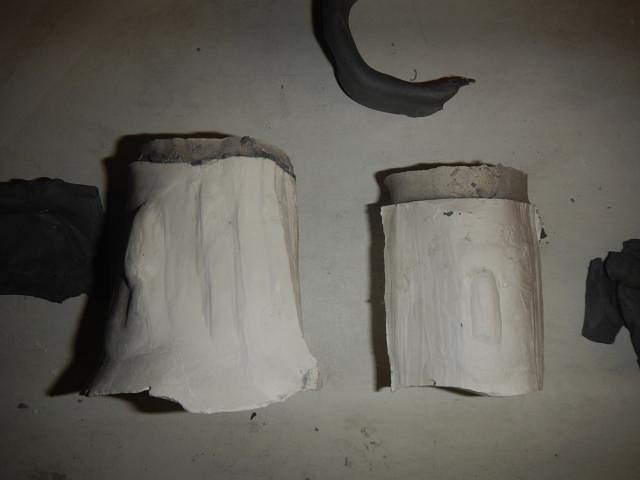
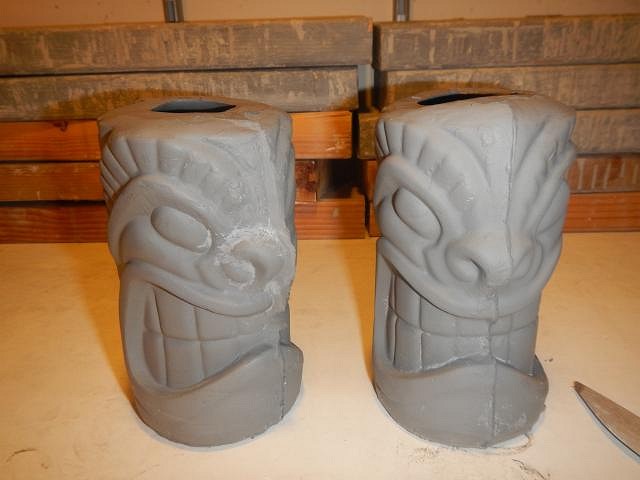
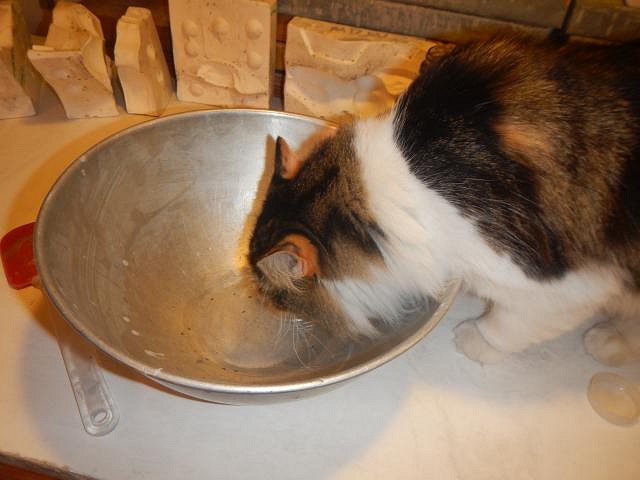
Time to get back to the story of altering a statue mold to a mug mold. It took more steps and effort than I would have thought but in the end it worked out. Here's what I had to do. As soon as the garage door opened my helper for the day arrived. We love Scrabble. When making a mold pieces you want them to stay in place. So you make indentations called locks. I just dug one out. Here you can see it. First off I had to prep the bottom opening for a plaster mold piece. This will be a bottom now rather than the opening. I kept on scrapping the sides so that the seams between mold pieces are tight and not going to make a tunnel for slip to leak out of. Scrabble inspected my work and approved. Pure lube is also called mold soap. It prevents mold pieces from sticking to each other. Three or four layers wiping in between with a paper towel. When it looks sealed you are good to go. When I was done I sealed off the bottom so that the plaster can't leak out sideways when plaster is poured into the bottom. I did this for both molds that I am altering. Then I made a pancake of clay. I sat the mold on top of this pancake. Looking down from the top I can see the pancake is in place for both molds. How will I pour in the plaster without it splashing all over the war god? A funnel will help. I mixed the plaster and poured it in. I was guessing how much and when to stop. When the plaster had set up I pulled off the bottom clay, used my vegetable chopper to pop the pieces apart and took out the new bottom piece I'd just poured. The huge mold pieces sucked out the water from the plaster so fast it made a hole. I mixed more plaster and poured it in. It worked. The two new mold pieces were put out in the sun to dry. I sanded them a tiny amount to round out the edges. When these pieces were 100% dry I poured two mugs. Horrors I have a outty bottom rather than an inny bottom. Just like the difference in belly buttons. Scrabble was very disturbed by my incompetence. I looked at the piece and saw my error. I could see that I could fix it and in the end it would be even better. I got out my workable clay scraps after they were inspected. I wrapped the clay around the top of each mold piece and mixed and poured in new plaster. These will stick together easily. I removed the clay when the plaster had set. Then I checked how they went into the molds. Now it's better because it is going to make an indentation into the bottom of the mug which is preferable. I couldn't have done this without the error. Now I'm very happy. The next mugs poured sit flat and happy. After I washed out the bowl my worker had a stiff drink of water and a few treats and then kicked back for the rest of the day! Me Too, Wendy |