Tiki Central / Home Tiki Bars / MauiRose's Malahini Tiki Room
Post #800319 by MauiRose on Tue, Jan 28, 2020 3:03 PM
|
M
MauiRose
Posted
posted
on
Tue, Jan 28, 2020 3:03 PM
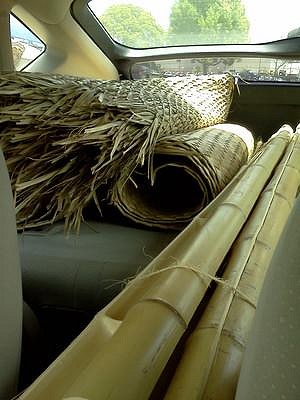
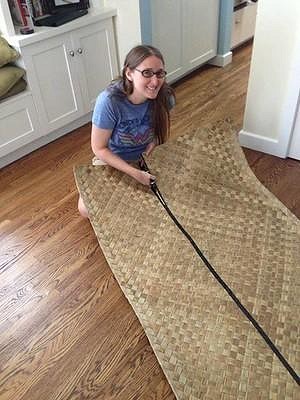
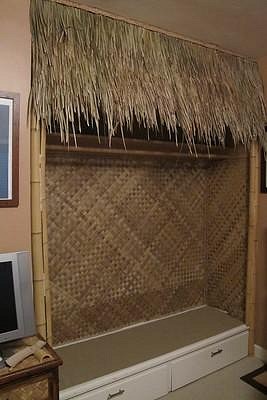
Six years later....finally going to finish this thread.... I started by doing a lot of measuring then took a little road trip to Whittier for supplies at Oceanic Arts. I had called a few days in advance so they cut and split the bamboo pieces and had it ready to pick up. My haul was three sheets of lauhala matting (one 4' by 8' and two 3' by 6'), a few pieces of two-inch split bamboo, one-inch sea grass braid and two lengths of raincape thatch (3' by 4' each).
Very grateful for this Tiki Central thread (below) with advice about putting tape on the back of the matting when you cut it to keep it from fraying. A pair of Husky scissors worked well enough. http://www.tikicentral.com/viewtopic.php?topic=35016&forum=18
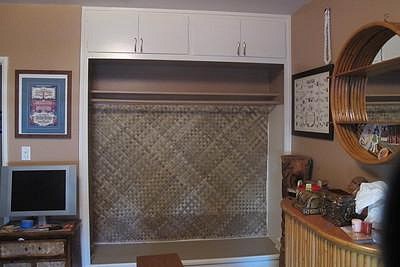
Some people use a staple gun to attach it to the wall but we went with contact cement and it’s held up. The matting didn’t line up totally flush with the edges on the wall, so the segrass braid was perfect for concealing the imperfections. Working with the lauhala matting proved to be pretty labor intensive so we painted the top shelf brown like the rest of the room.
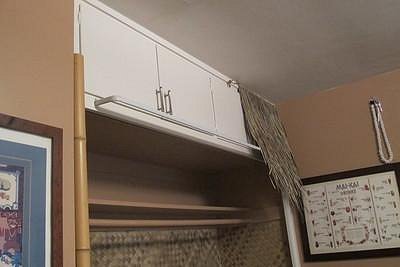
We came up with a way to hang the thatch at an angle — a curtain rod! After trimming the thatch to the desired length and width, I nailed big thumb tacks into the wall every few inches to hang the thatch and then covered up the hardware with more of that seagrass braid.
We fit two pieces of split bamboo on each side of the closet frame and super-glued them in place. As you can see, we then discovered that this particular glue didn’t dry clear! We ran some twine between the gaps of the bamboo to disguise it. (You may also have noticed that the bottom piece of matting on the wall doesn’t quite match the shade of the upper piece, but you can’t tell once we put everything in.)
|

