Tiki Central / Home Tiki Bars / Leroys Lū‘au Lounge
Post #801411 by leevigraham on Thu, Mar 19, 2020 3:43 AM
|
L

leevigraham
Posted
posted
on
Thu, Mar 19, 2020 3:43 AM
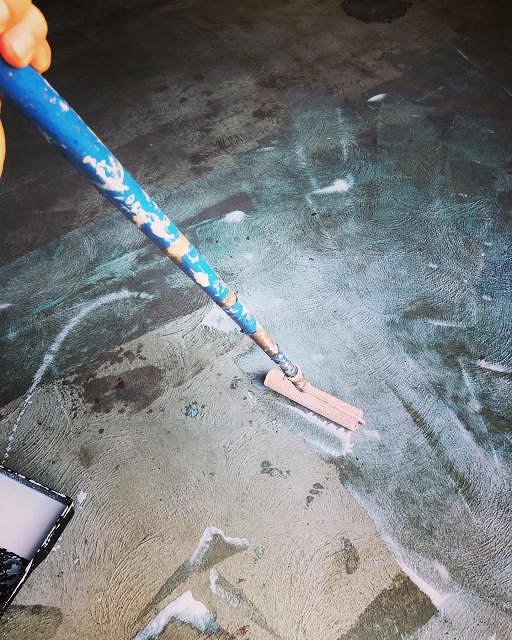
Hi everyone, I've been hard at work on / in Leroys Luau Lounge since the start of the year. My goal was to finish the last large chunk of work before posting any teasers so here it is. If you've seen my previous posts you'll know Leroys Luau Lounge takes up half of my double garage. Given it's a garage the floor was covered in paint, oil and other stains. When the lights are off this is ok but during the day it just didn't feel right. My plan was to simply resurface the concrete with a flat grey colour… and as you all know it's rarely that straight forward in tikibar land. Warning… lot's of pics ahead. More than happy to answer questions about the process :) First step was to clean the shed so everything can be moved around. This alone took a week. I threw out a bunch of stuff and put everything else in tubs. This allowed me to pack everything into half the shed so I had a clean slate to work with. After a pressure wash the floor was ready for priming which I applied with a roller.
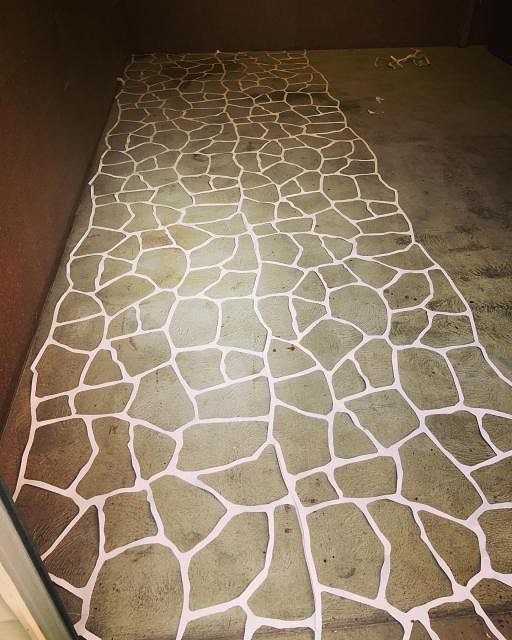
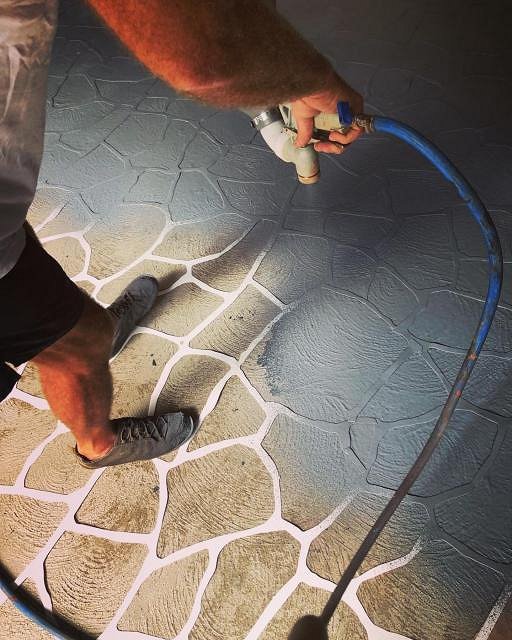
When I was at the concrete supply store I thought it would be a good idea to add a pattern so I bought a roll of "bush rock" pattern. Basically it's a coated light cardboard you put down before you spray.
The roll has a repeating pattern which means you need to line it up side by side:
I wanted to make sure everything was perfect so I used extra amounts of blutac to hold down the pattern. Under every junction there's a small piece of blutac. I then added more blutac to hold down the other grout lines. Setting the pattern took about 3 nights to complete. On the weekend we then masked off the walls with some brown paper and started spraying the concrete mix onto the floor:
In some places I trimmed the pattern to hide larger stains and paint marks:
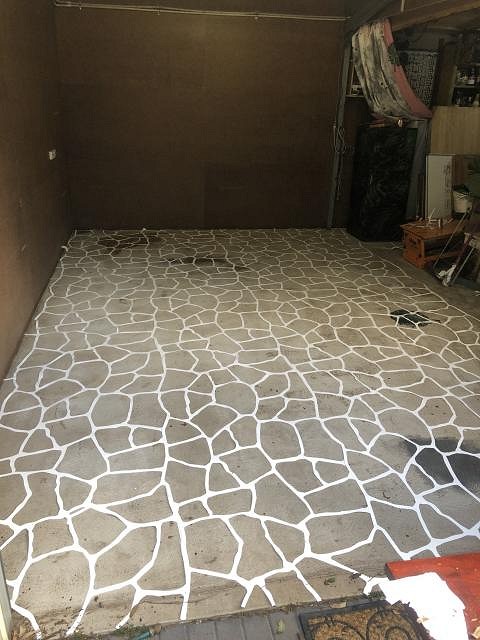
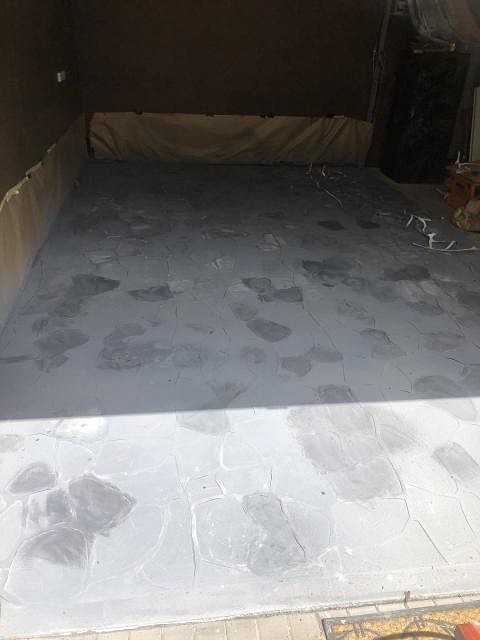
Once the concrete was pretty close to being dry I sponged some darker stain on some of the stones. If I had to do this again I would have waited just a bit longer. In some places the extra water made the top coat a bit flaky.
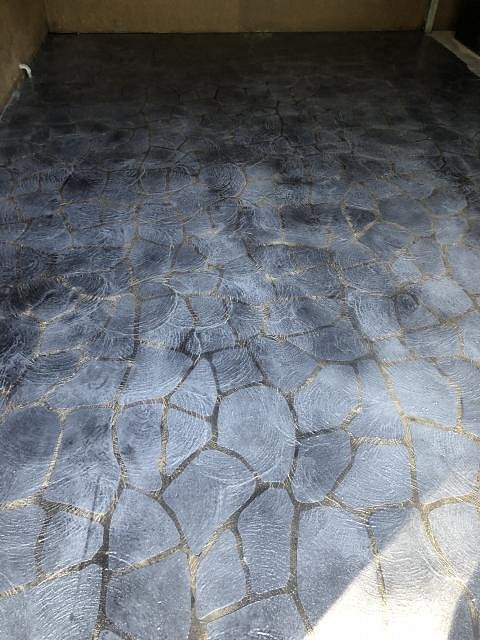
In the pic above you can see where we started to pull up the stencil but the concrete wasn't quite dry enough to walk on. Once the concrete was dry we pulled up the pattern revealing the grout lines below. I was pretty happy with how things turned out but the grout was a bit bright compared to the stones which only had a little bit of texture. The colour was much lighter than in this pic:
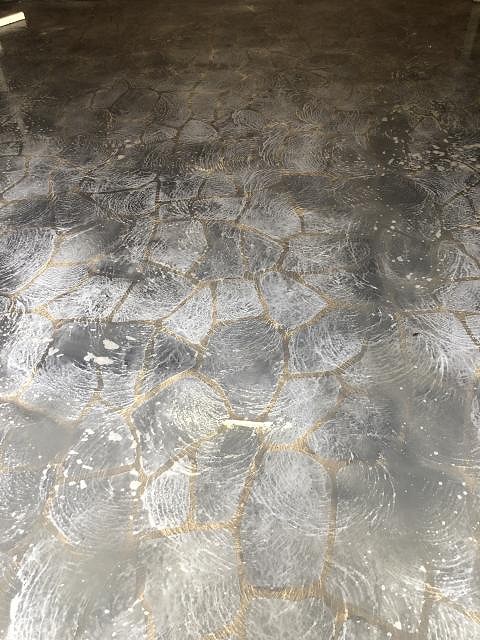
I saw another post in this forum where the author mentioned that he put a wash over the whole floor to bring it all together. So I thought I would try that Basically the wash is water with a very small amount of colouring agent. Again I should have probably let everything dry a bit more before applying.
The result blended everything together nicely.
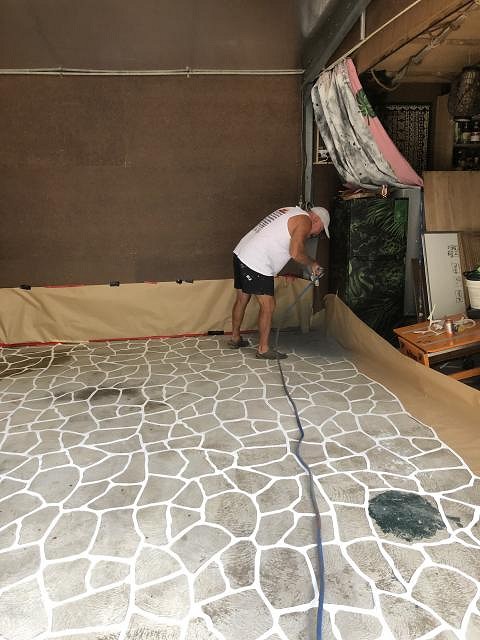
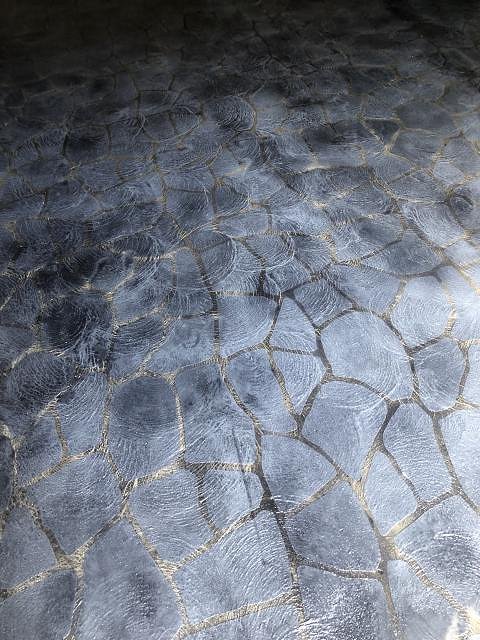
Finally a coat of sealer and let dry. The sealer also darkened everything a bit more. It was pretty bright when I took this photo of one side complete. In the top corner you can see the difference between the two sides.
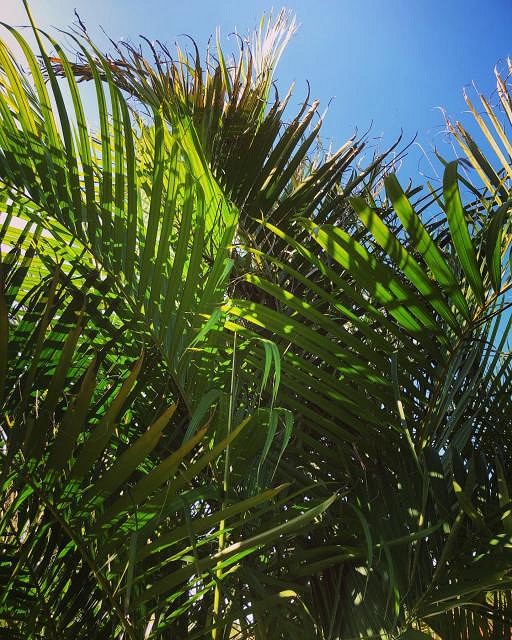
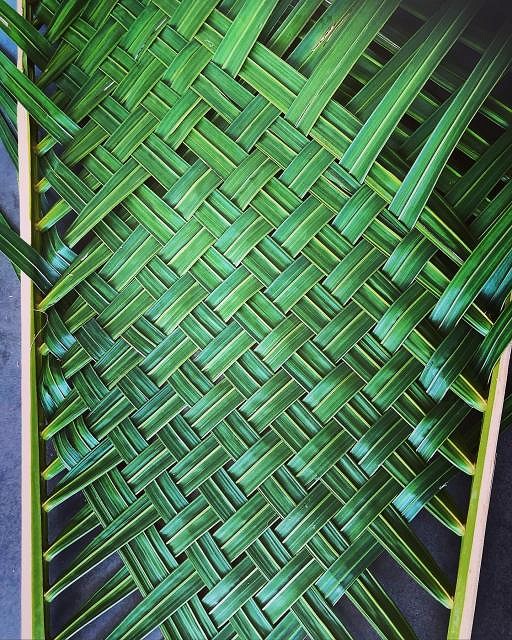
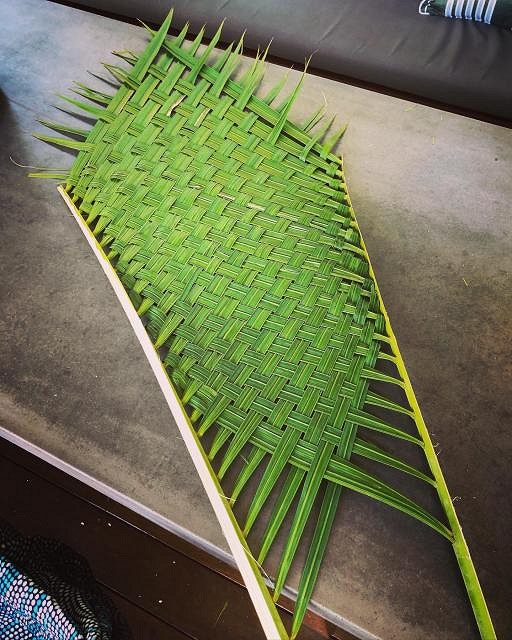
With all the hard work done I visited my mum's house for a swim in her pool. While I was still feeling creative I thought I would give weaving a go. I cut off a fond from one of her golden palms, split it in half and weaved the two together.
Not bad for a first crack at weaving and concrete resurfacing. |