Tiki Central / Home Tiki Bars / Leroys Lū‘au Lounge
Post #801412 by leevigraham on Thu, Mar 19, 2020 4:17 AM
|
L

leevigraham
Posted
posted
on
Thu, Mar 19, 2020 4:17 AM
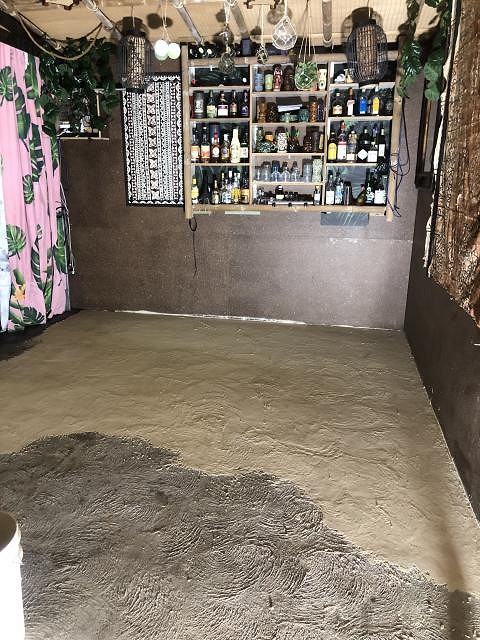
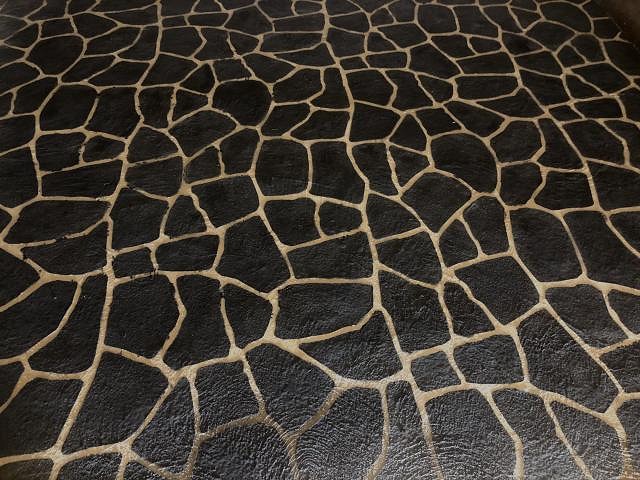
Part 2 - The tiki bar side. I should have said at the start of the previous post the left side of the shed I started on was not the tikibar side of the shed. I used it as a bit of a practice. Once the left side was completely dry and the sealer was set I moved everything back across to the left side to start the whole process again… but this time with a twist! Feeling confident I decided to darken the area under the bar to give the area a bit more interest. To make sure I had a cleaner area to work with I hand troweled a light sand colour as a base coat.
I actually wish I put a layer down over the whole floor first to provide a better base. I then remembered it's just a shed :)
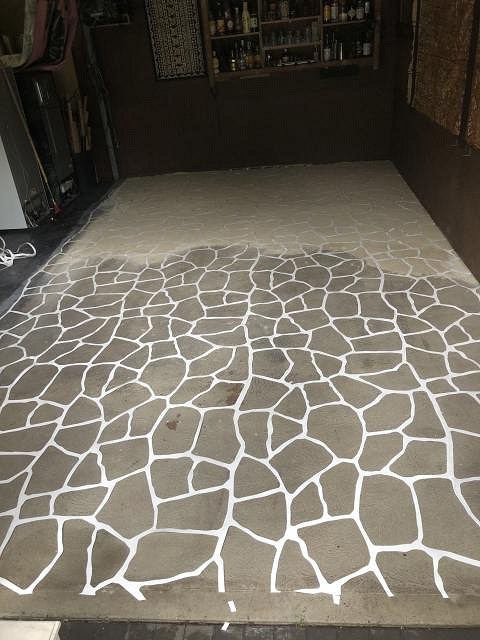
Here's the two colours faded together
Again I hit a few random stones with the sponge
Finally I pulled up pattern and everything looked pretty good.
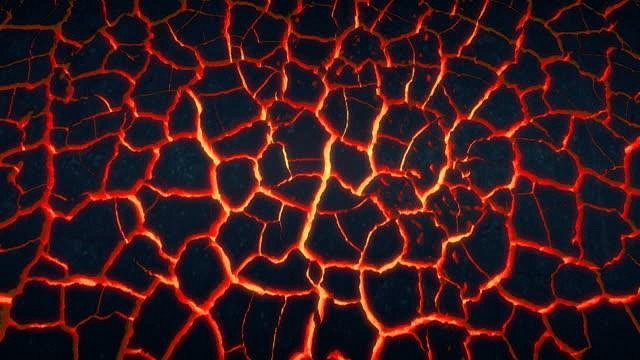
I had previously shared the pics with a few friends and one of them commented "You could make this a pretty cool lava effect". Of course that sent my mind racing and in a few minutes I found this pic on google.
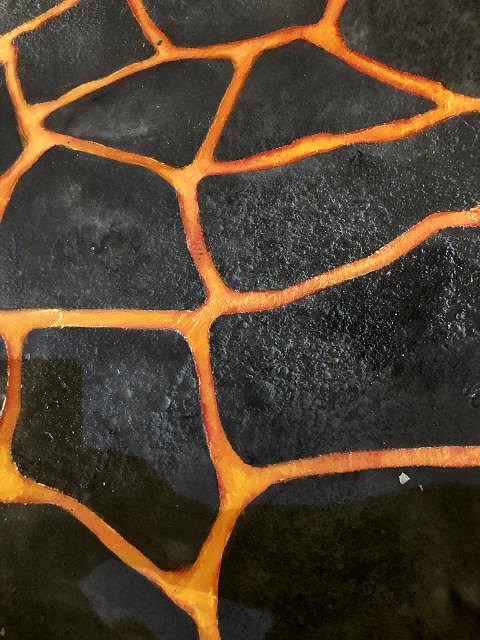
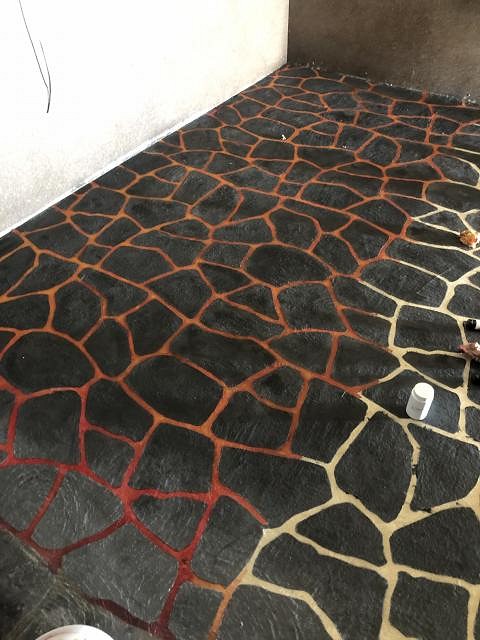
This was the actual reason for the base coat and dark bar area. I went back to the concrete supplier and purchased some orange colouring. My plan was to put a base down and highlight from there. Here's my first test area.
This area is about 2ft by 3ft. It took me nearly an hour. This was looking like it was going to be a long long task. Regardless I was really happy with the result so I was encouraged to keep going. For a week, every evening I would spend a few hours painting away
… covering a few feet each night
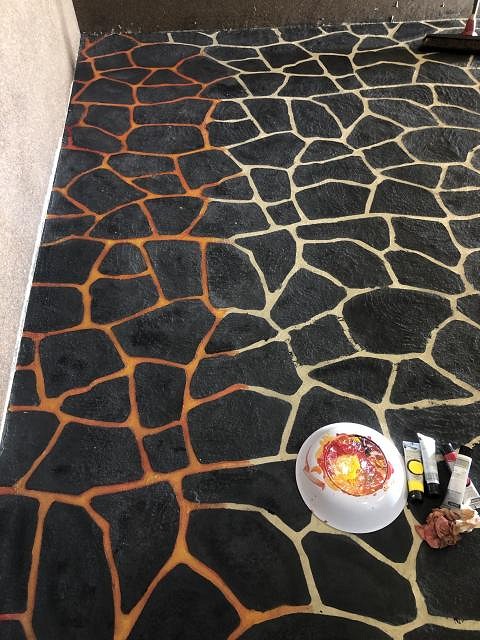
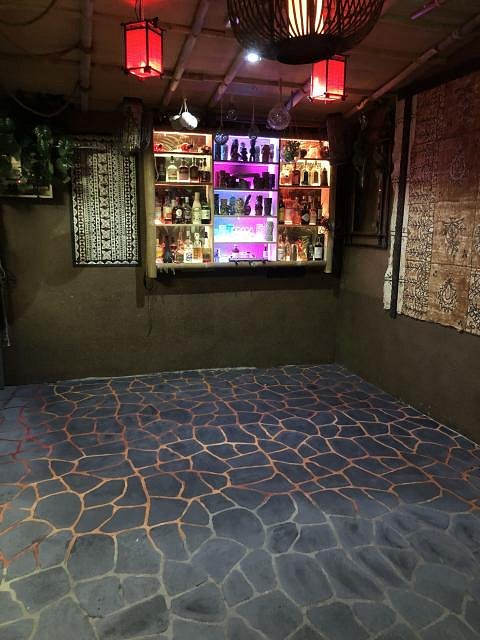
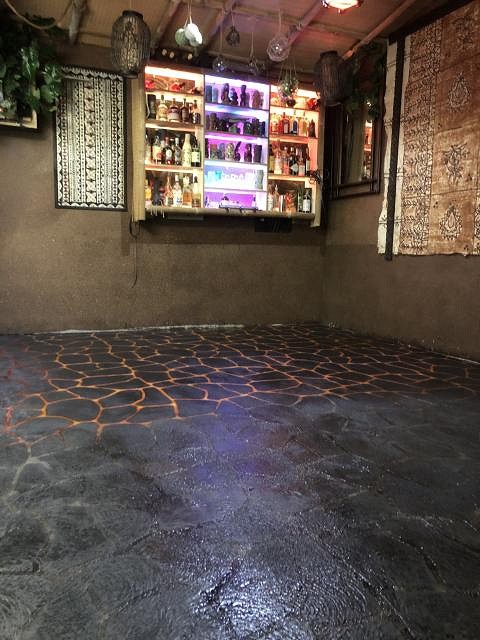
… until finally the bar area was done
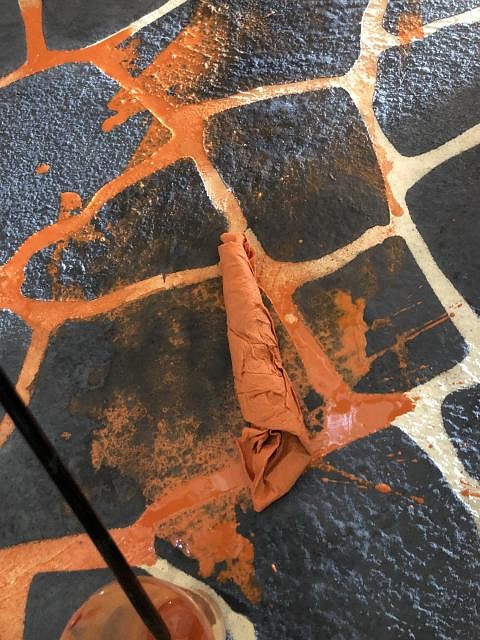
Of course there had to be one spill when I wasn't paying attention.
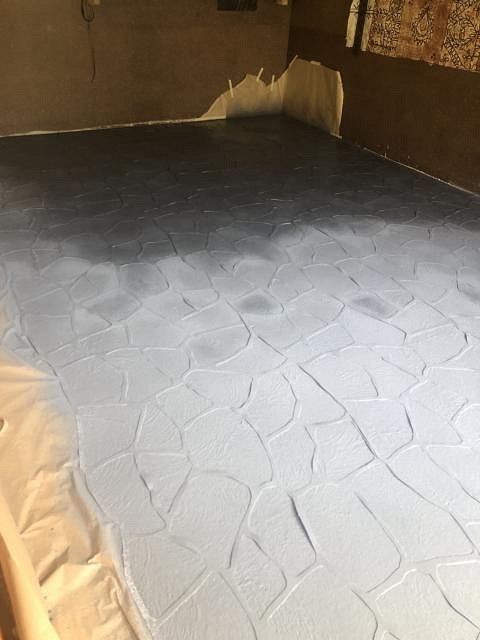
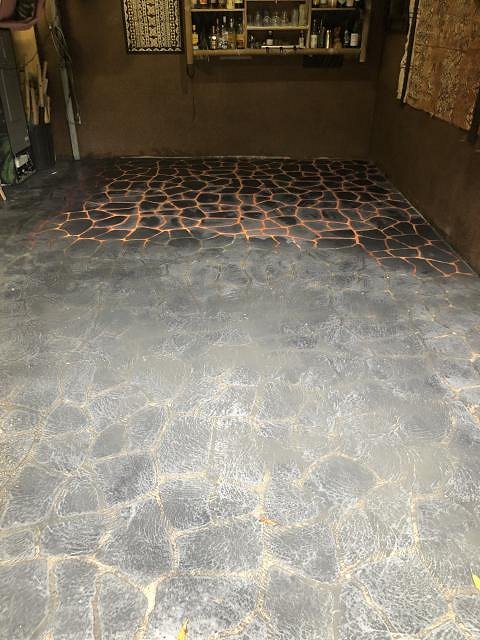
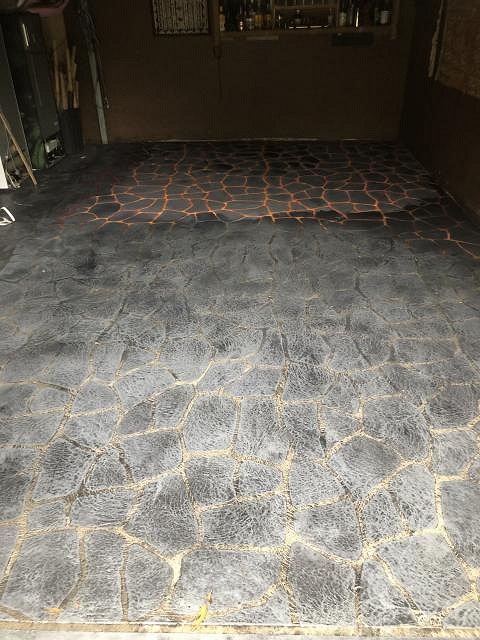
Again I gave everything a wash but this time I was careful not to was the volcano section.
When the wash was dry there was some nice texture. It was a little darker than the left side but not noticeably.
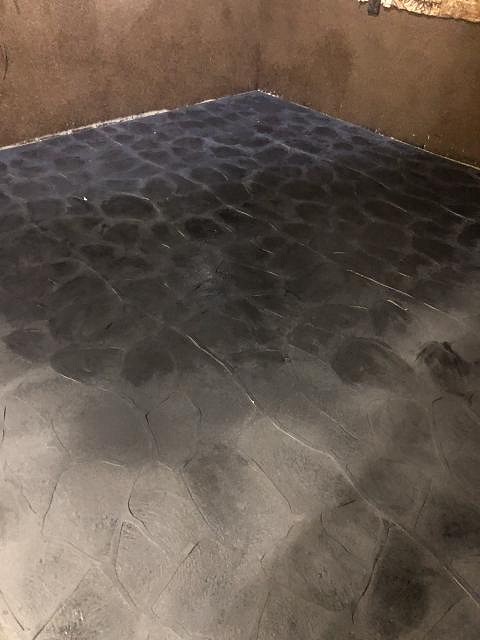
I squeegeed the sealer on… forgetting I used a roller on the right side which gave a thicker coat but a slightly uneven finish.
I was super happy with the finish but a second coat with the roller smoothed everything out. The sealer did make some of the paint bleed over the stones but it's not super noticeable. Of course I'll be super critical and always see it but I doubt others will. |

